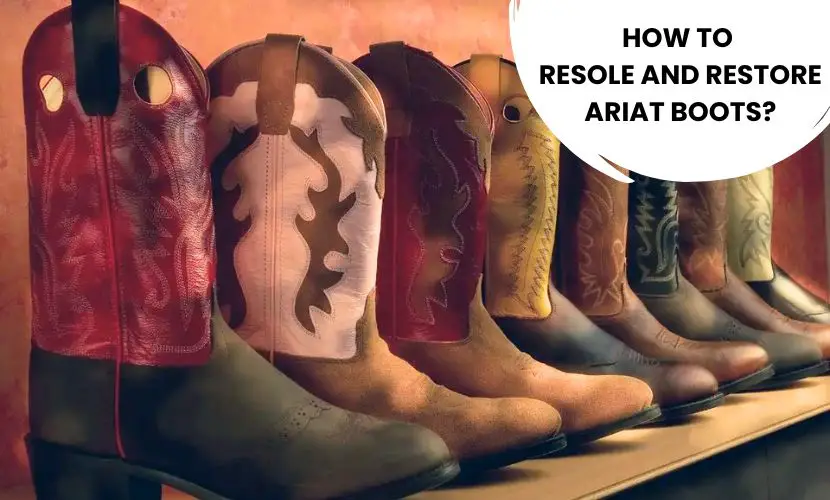
Ariat boots are renowned for their longevity and comfort, but the soles can deteriorate and lose their traction over time. Instead of purchasing the latest pair of boots, it is possible to resole and replace your Ariat boots. This can reduce your expenses and expand the life of your beloved boots.
The process of resoling and restoring Ariat boots involves replacing the worn-out sole with a new one and repairing any damage to the upper part of the boot. While some cobblers may charge additional fees for materials or for more intricate jobs, the cost of resoling an Ariat boot typically ranges from $75 to $150. However, the cost can vary depending on the type of sole being used and the complexity of the job. It is important to find a reputable cobbler who understands Ariat construction and uses authentic Ariat soles, insoles, zippers, and other parts.
Understanding how to resole and restore Ariat boots is essential for maximizing their lifespan and preserving their exceptional quality. Regular care, such as cleaning and conditioning the leather, is crucial in maintaining its durability and appearance. By investing in the proper maintenance and repair of your Ariat boots, you can continue to enjoy their comfort, style, and performance for many more years to come.
Assessing the Damage
Regarding resoling and restoring Ariat boots, the initial step is to evaluate the damage. This step is critical in detecting the standard of repair required and the price of the repair.
Here are several common indications of damage that may need resoling or restoration:
- Worn outsoles: If the boots’ outsoles are damaged, split, or have perforations, then resoling is obligatory.
- Damaged heels: If the heels are mutilated, rough, or worn out, they must be restored.
- Broken zippers: If the zippers are shattered, they must be restored.
- Scuffed leather: If the leather is scrapped, scratched, or faded, replacement is necessary.
Before sending the boots for mending, it is necessary to take apparent photos of the damage and email them to the repair industry. This will aid the repair experts in estimating the damage and offer an appropriate approximate repair price.
It is efficient to mention that not all Ariat boots can be resoled or replaced. Only particular models are suitable for repair, and it is perfect to verify with the brand or the repair industry before dispatching the boots for repair.
In summary, judging the damage is the initial step in resoling and replacing Ariat boots. It is necessary to take ideal photos of the damage and refer to the repair industry to detect the required standard of repair and the repair price.
Gathering Materials
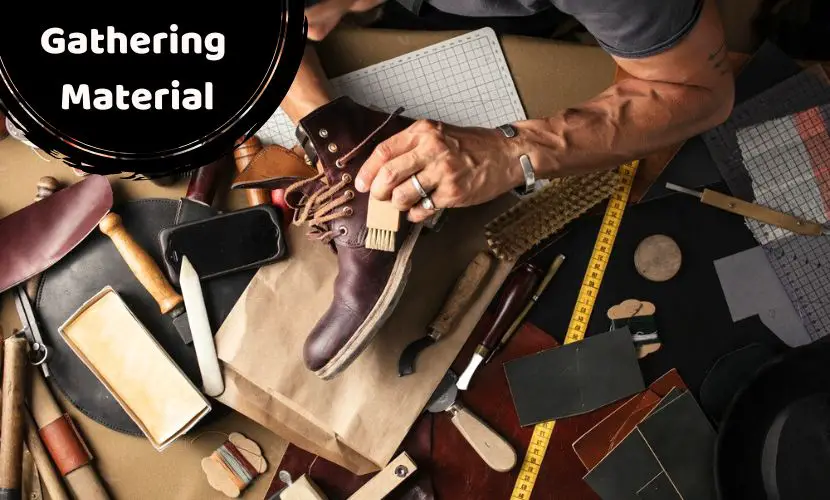
The first step is assembling the necessary materials to resolve and replace Ariat boots. This part will offer a list of elements required for the job and where to discover them.
Materials List
The following elements are in demand for resoling and replacing Ariat boots:
- Resole kit: A resole kit incorporates the latest sole, adhesive, and any obligatory tools. It can be bought online or at a shoe mending shop.
- Leather cleaner: A leather cleaner is utilized to wipe the boots before initiating the restoration procedure. It is available at a shoe store or online.
- Leather conditioner: A leather conditioner is utilized to replace the dampness to the leather and avert it from splitting. It is accessible at a shoe store or online.
- Sandpaper: Sandpaper is utilized to assault the ground of the old sole before using the adhesive. It is obtainable at a hardware store or online.
- Rubber mallet: A rubber mallet is utilized to beat the latest sole onto the boot. It is available at a hardware store or online.
- Heat gun: A heat gun relieves the adhesive before using the latest sole. It is accessible at a hardware store or online.
- Work gloves: Work gloves shield the hands from adhesive and other elements. They are accessible at a hardware store or online.
The restoration procedure can begin once all of the obligatory materials are assembled.
Removing the Old Sole
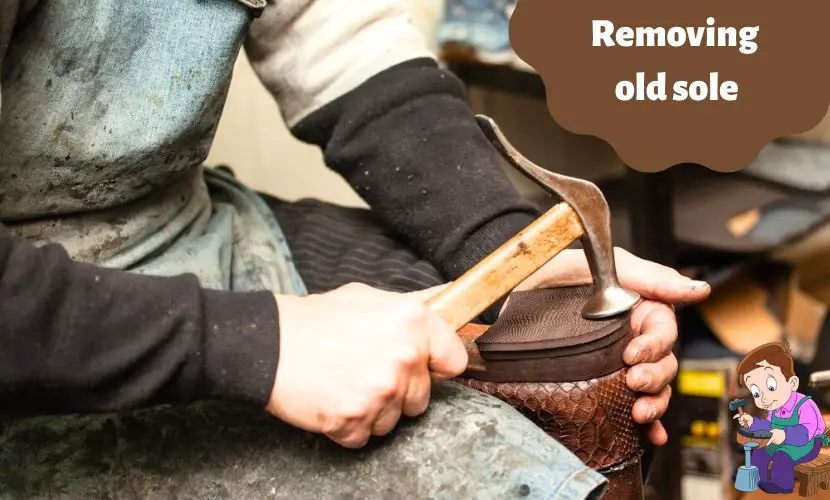
Regarding restoring Ariat boots, one of the most crucial steps is detaching the old sole. This method is necessary to verify that the latest sole sticks accurately to the boot and gives additional durability and ease.
To separate the old sole, the initial step is to wipe the bottom of the boot entirely. This procedure comprises removing any dirt, residue, or adhesive leftovers that may be present. A wire brush or sandpaper can be utilized to wipe the area on every side of the sole.
Once the boot is clean, the further step is to detach the old sole. This procedure can be done in various ways, incorporating:
- Cutting the sole: This process utilizes a sharp knife or cutting tool to detach the sole from the boot. This technique is swift and effective, but it can be demanding to remove the sole smoothly.
- Grinding the sole: This procedure utilizes a grinding tool to separate the sole slowly. This process is slower but offers a more even shifting of the sole.
After detaching the old sole, the upcoming step is to draw up the boot for the latest sole. This procedure incorporates sanding the bottom of the boot to generate a bumpy ground that will support the new sole adhere accurately.
Detaching the old sole can be a demanding and time-taking process. It is critical to take obligatory precautions to verify that the boot is not damaged during the procedure. If you need to be certified regarding detaching the old sole, it is ideal to seek the help of an expert.
In conclusion, separating the old sole is critical in replacing Ariat boots. It is obligatory to take the required precautions to verify that the boot is not damaged during the method. Following the strides outlined above, you can detach the old sole and arrange the boot for the latest sole.

Preparing the New Sole
Once the old sole has been detached from the Ariat boots, it is time to devise a new sole. The latest sole should be of a similar size and appearance as the old one, so it fits correctly onto the boots.
First, the cobbler will wipe the new sole to separate any residue or dirt. Then, they will knock around the surface of the latest sole, utilizing sandpaper to generate a finer bond with the boots.
Next, the cobbler will use glue to the latest sole and the base of the boots. The adhesive should be applied smoothly and permitted to dry for several minutes.
Once the glue is dried, the cobbler will anxiously line up the latest sole onto the boots, verifying it is focused and straight. They will then pressurize the sole to justify a good bond.
If required, the cobbler will crop the edges of the latest sole to suit the appearance of the boots. They will also contribute any obligatory stitching to save the newest sole.
Finally, the cobbler will wipe the boots and burnish them to provide a fresh, latest and new look.
Overall, preparing the advanced sole is an efficient step in resoling and replacing Ariat boots. It must focus on detail and careful artistry to verify an ideal fit and an enduring repair.

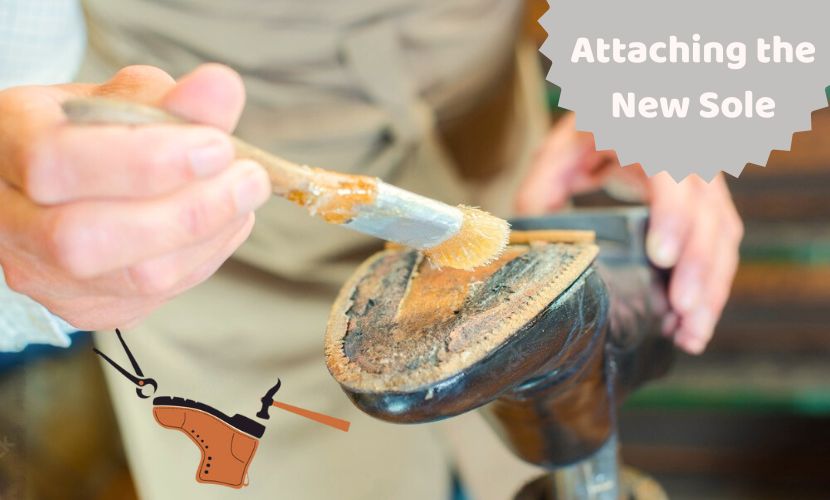
Attaching the New Sole
Concerning resoling Ariat boots, affixing the latest sole is a critical step. This procedure comprises detaching the old sole and safely securing the latest one to the boot. The following are the steps incorporated in attaching the latest sole to your Ariat boots:
- Removing the old sole: The initial step in attaching the latest sole is to detach the old one. This is generally done by trimming the old sole away from the boot and utilizing an intense knife or cutting tool. It is efficient to be careful throughout this procedure to prevent damaging the boot or any stitching.
- Preparing the boot: Once the former sole has been detached, the boot must be cleaned and assembled for the new sole. This incorporates removing any enduring adhesive or residue from the core of the boot and leveling out any bumpy spots.
- Applying adhesive: The further step is to use glue to the base of the boot and the latest sole. The bond will be based on the kind of sole being affixed and the particular boot model. It is necessary to use the adhesive smoothly and to follow the creator’s guidelines for drying time.
- Attaching the new sole: Once the gluey material has dried, the up-to-date sole can be attached to the boot. This is generally done utilizing a press or other particularized tool to verify a safe bond. Smooth pressure on the sole is obligatory to avert air pockets or apertures.
- Finishing touches: After the latest sole has been adhered to, any required stitching can be done to fortify the bond. The boot can also be wiped and conditioned to replace its look and shield the leather.
Attaching the latest sole to Ariat boots requires careful focus on detail and customized tools and materials. It is suggested to have this procedure done by an expert cobbler or mend service to verify the perfect results.
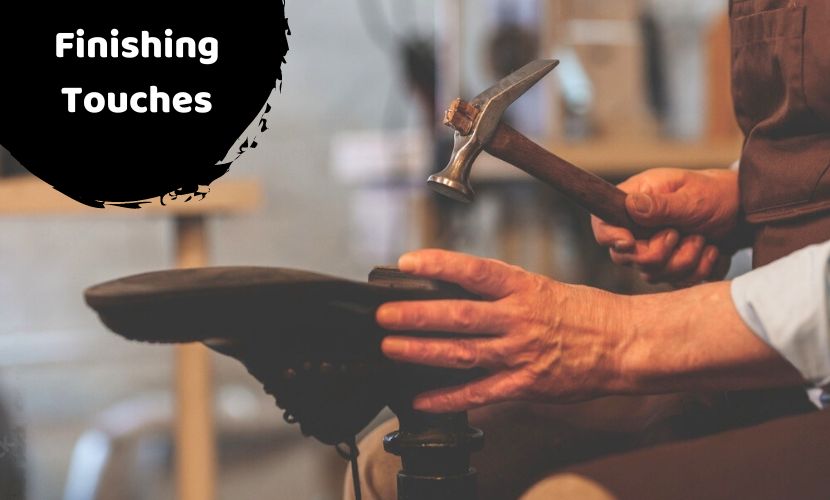
Finishing Touches
After the resoling method, the boots are almost as ideal as new. However, several finishing touches can be processed to make them appear superior and last longer.
One of the most necessary things to do is to clean the leather. Leather can dry out and spit over time, so it’s obligatory to keep it damp. There are several leather conditioners accessible in the industry, but selecting one that’s accurate for the kind of leather utilized in the boots is efficient. Use the conditioner smoothly and let it soak in for several minutes before cleaning any excess.
Another finishing touch is to contribute a supportive layer to the leather. This will support repulse water and other liquids and shield the leather from scrapes and scratches. Several leather protectors are on the market, but again, it’s necessary to opt for one ideal for the leather utilized in the boots. Use the protector smoothly and permit it to dry entirely before wearing the shoes.
It’s also a perfect idea to restore the laces if they deteriorate. This is a plain procedure that can be processed with scissors and the latest laces. Simply detach the old laces and thread the up-to-date ones through the eyelets.
Finally, placing the boots accurately when they’re not worn is efficient. This shows storing them in a cool, fresh, dry place away from sunlight. Packing the boots with newspaper or a shoe tree to support them in adjusting their shape is also a perfect idea.
By following these easy finishing touches, the resoled Ariat boots will not only appear great but also endure longer and offer the user years of ease and style.
Conclusion
Resolving and replacing Ariat boots is feasible and can protect your money in the elongated run. However, not all Ariat boots can be resoled, so verifying with the company or an expert cobbler is efficient before trying to resole your shoes.
NuShoe is a brand that specializes in resoling Ariat boots and provides packages extending from $80 to $165, based on the required repair. They guarantee user satisfaction and have resoled over 4,000,000 pairs of shoes since 1994.
If you prioritize replacing your boots with a skilful cobbler, notable boot retailers such as Tecovas provide a resoling and replacement service for $150.
It is efficient to mention that while restoring and resoling your boots can expand their lifetime, it is not an eternal solution. In the end, all shoes will deteriorate and require repair.
In conclusion, resoling and replacing Ariat boots can be a profitable solution to expand the life of your shoes. Still, it is necessary to do your research and select a noteworthy brand or cobbler to verify the perfect results.
Read more on: