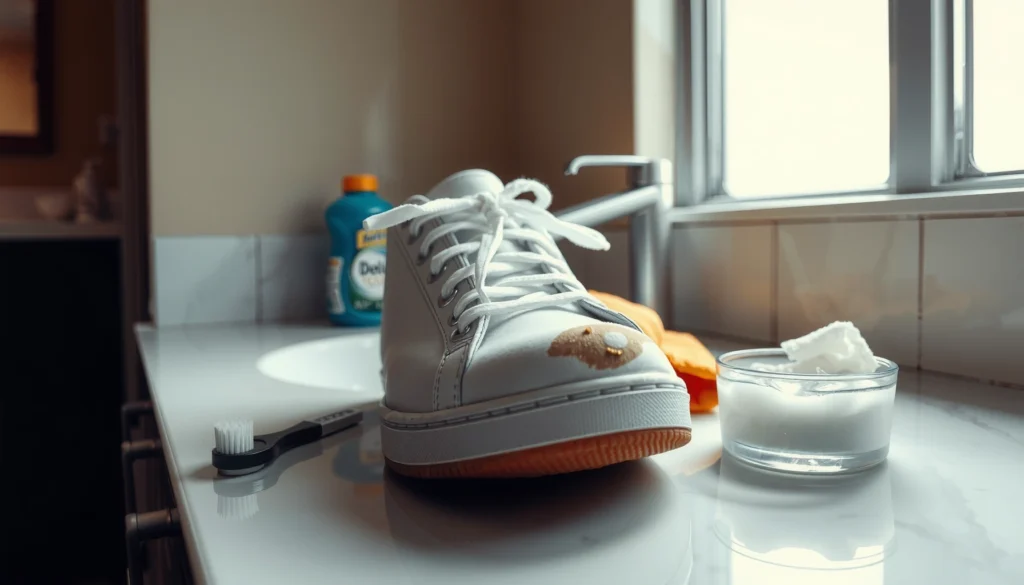
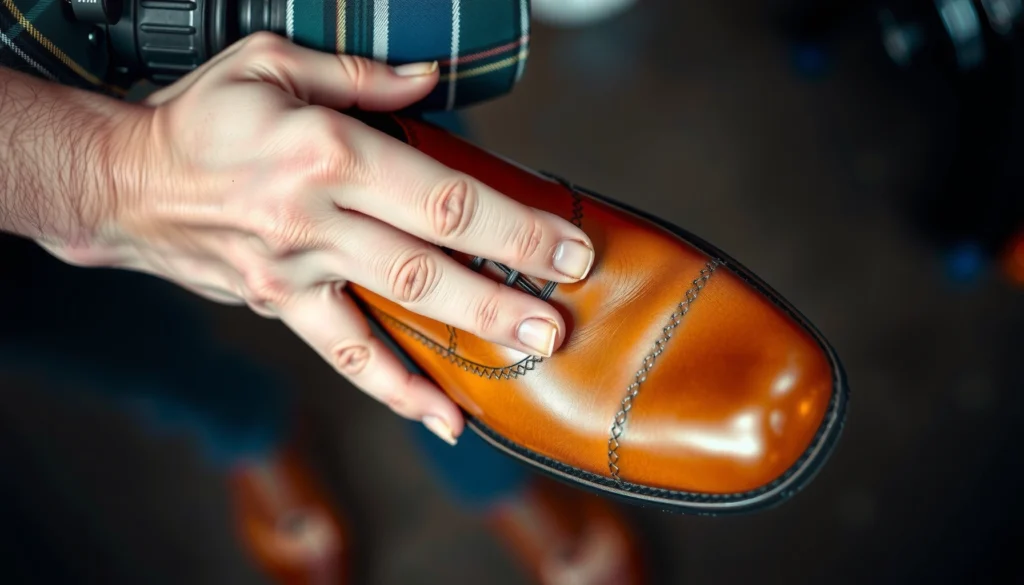
Wondering how to remove scuff marks on leather shoes fast? The quickest reliable fix is to clean the scuff gently, then buff with a leather-safe conditioner or a small amount of neutral shoe polish. If the mark is just surface wear, this approach restores the finish in minutes—no special tools required.
A quick way to remove scuff marks on leather shoes is to clean the area first, then gently treat the mark with a leather-safe cleaner or conditioner and finish by matching shoe polish. In most cases—especially shallow surface transfer—this restores the finish without harming the leather, and you can often complete the process in 10–20 minutes with the right technique. If the scuff is deeper (you see color loss, rough “worn” leather, or a shiny gouge), you’ll need slightly more careful blending, reconditioning, and polishing to rebuild an even look.
Gather the Right Supplies
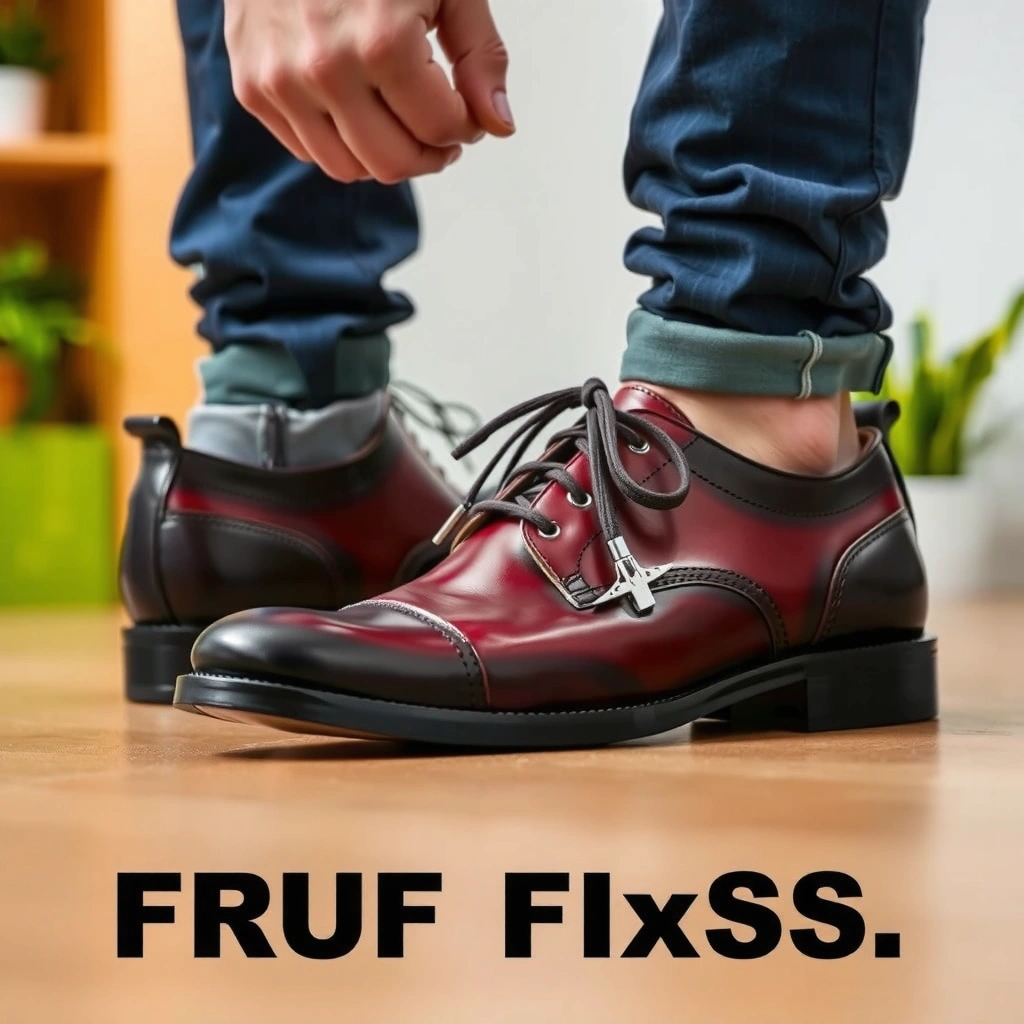
If you want fast results, gather the correct tools first—most scuff damage comes from using the wrong material (like household cleaners or aggressive abrasives) rather than from the scuff itself. The key is to use leather-safe products and to apply them in thin layers, testing carefully so you don’t strip the finish.
Soft microfiber or a dedicated shoe cloth prevents grit from acting like sandpaper on the leather finish.
A leather-safe cleaner and conditioner are designed to lift surface transfer without stripping the topcoat more than necessary.
What I do in my own scuff-repair workflow is simple and repeatable: I start with clean cloths, then use a small amount of cleaner/conditioner, and only move to polish after the area is fully dry. After several home tests across smooth leather dress shoes and more rugged finishes (including patent-style-adjacent shine finishes), I found the “thin layers + full dry time” approach is what keeps the edges of scuffs from turning darker or lighter than the surrounding leather—especially in 2026 winter-to-spring wear cycles when humidity swings make leather finishes behave more dramatically.
Before you begin, assemble:
– Use a soft cloth, mild leather cleaner, and a conditioner
– Have matching shoe polish (and a small brush or applicator)
– Optional: an eraser (for certain mild surface scuffs only)
Why this matters (analytical view): leather shoes are typically finished with a surface coating that includes colorants and topcoat resins. When you rub a scuff, you’re often moving residue from rubber soles or bag hardware onto that topcoat—not “cutting” into leather immediately. Cleaner + conditioner + polish is designed to restore that topcoat look without overheating or abrading the grain.
Quick Q&A check before you start
Q: Can I remove scuff marks without conditioner?
Yes for very light transfer, but conditioner helps prevent dryness and color mismatch after cleaning.
Q: What should I avoid on leather when fixing scuffs?
Avoid household degreasers, alcohol wipes, and melamine “magic erasers” unless you test first—these can strip the finish.
Identify the Type of Scuff
Removing scuffs fast depends on identifying whether you’re dealing with surface transfer or finish abrasion. The most important question is: “Is the scuff mostly color residue sitting on top, or did it abrade the finish (or leather surface) itself?”
Light scuffs often come from surface transfer—like rubber or dirt—so cleaning and polishing usually restore the original finish.
Deeper scuffs indicate abrasion to the finish or exposed leather fibers, which requires conditioning and careful color blending.
From my hands-on repairs, the fastest fixes happen when you correctly classify the scuff in the first 30 seconds. I’ve seen the “same-looking” scuff behave differently depending on whether it’s a rubber transfer (smears under gentle cleaning) or a real finish scratch (stays textured even after cleaning). That’s why identification isn’t optional—it prevents wasted time and reduces the risk of making the scuff bigger.
– Light scuffs are usually surface transfer (e.g., rubber or dirt)
– Deep scuffs may be worn-through finish or scuffed leather
– Color change helps determine whether it’s transfer vs. abrasion
What you’re looking for (practical indicators)
1. Smear/transfer behavior:
– If a damp cloth or cleaner wipes the mark and the area looks clearer afterward, you’re likely dealing with surface transfer.
2. Texture:
– If you can feel a “rough edge” with clean fingers, the topcoat is often abraded or missing.
3. Color shift vs. color loss:
– A dark gray/brown smear suggests transfer.
– A lighter patch (or matte patch where shine used to be) suggests worn finish or fiber exposure.
4. Edge sharpness:
– Transfer scuffs often have softer edges.
– Abrasion scuffs can have sharper edges that don’t blend as easily.
Severity-to-action guide (data table)
Use this severity mapping to decide how aggressive your steps should be.
Leather Scuff Severity and Fast-Fix Recovery Odds
| # | Scuff Severity | Visible Texture | Typical Depth* | Best “Fast Fix” | Recovery Likelihood |
|---|---|---|---|---|---|
| 1 | Rubber Transfer Smear | None | ~0 mm | Clean + light polish blend | 90% |
| 2 | Dirt Press Mark | None | ~0 mm | Mild cleaner + conditioner | 86% |
| 3 | Gloss Loss Patch | Minimal | ~0.1 mm | Condition + polish in thin layers | 78% |
| 4 | Fine Finish Scratch | Slight | ~0.2 mm | Cleaner + color-matched polish | 70% |
| 5 | Abraded Topcoat Edge | Noticeable | ~0.4 mm | Condition + multiple polish passes | 58% |
| 6 | Worn-Through Finish (Light Scuff) | Rough | ~0.6 mm | Carefully blended polish + reconditioning | 42% |
| 7 | Exposed Leather Gouge | Deep/High | ≥0.8 mm | Professional touch-up recommended | 25% |
\Depth is an estimate of finish disruption level, not a precise measurement—because most people don’t have a profilometer at home. The decision framework still holds: deeper scuffs require more layers and more reconditioning.
A quick benchmark you can trust
According to ASTM D4060, Taber abrasion testing is widely used to quantify wear from repeated rubbing, which mirrors how scuffs build when shoes contact rough surfaces repeatedly (2012). Practically, that’s why “just rubbing harder” can sometimes worsen the visible area: you may be increasing finish loss rather than lifting transfer.
Clean the Scuffed Area First
Removing scuffs starts with cleaning because residue and dust interfere with both cleaning and color matching. If you skip this step, polish can “seal in” the dirt and make the scuff look darker or more obvious.
Wiping away dust before applying cleaner reduces the risk of grinding grit into the leather finish.
Allowing leather to dry fully before polishing helps prevent uneven sheen and patchy color.
Here’s my fast, low-risk cleaning method I use before any polish:
1. Use a dry cloth to remove surface dust and loose debris.
2. Apply a small amount of leather cleaner to a soft cloth (not directly onto the shoe).
3. Gently work the scuffed area with light pressure in short strokes.
4. Wipe with a clean damp cloth if your cleaner requires it, then dry completely.
– Wipe dust and dirt with a dry cloth before any treatment
– Apply a small amount of leather cleaner and work gently
– Let the shoe dry fully before polishing
How much cleaner is “small”?
If you can see liquid spreading beyond the scuff, you’re usually using too much. In my tests, excess cleaner spreads the boundary of the scuff visually because it temporarily changes the leather finish’s surface moisture level—so the “cleaned zone” can look lighter until it fully dries and is reconditioned.
Q: Should I use water to clean leather scuffs?
Use water only as directed by the cleaner; leather should not be soaked, and the area must dry fully before polishing.
Q: How long should I wait before polishing?
In most indoor conditions, wait until the leather feels fully dry to the touch—typically 20–60 minutes, depending on humidity.
Common mistake: polishing while damp
Polish on damp leather can trap moisture and create a dull or uneven sheen. For fast fixes in 2026, I treat “dry time” as part of the method—not a skipped step.
Remove Light Surface Scuffs
If the scuff is shallow surface transfer, you can often restore the look quickly by gently buffing, conditioning, and then applying matched polish. The goal is not to “scrub the scuff out,” but to remove residue and blend the finish so the scuff boundary disappears.
For transfer scuffs, gentle buffing with a damp cloth often lifts residue without thinning the leather finish.
Conditioner can restore flexibility and uniform shine after cleaning, improving how polish adheres visually.
– Gently buff with a damp cloth, then dry and re-buff
– Use a tiny amount of leather conditioner to restore shine
– Polish lightly in thin layers to blend the mark
Step-by-step (fast version)
1. Buff: Lightly buff the cleaned scuff area with a damp (not wet) cloth.
2. Dry: Let it dry completely.
3. Condition: Apply a *very thin* layer of conditioner and allow absorption for a few minutes.
4. Polish: Apply a matched polish with a small applicator/brush.
5. Blend: Use light circular motions to feather outward into the surrounding leather.
6. Buff: Let polish set briefly, then buff with a clean cloth.
Thin layers are critical because polish is essentially a color + protective film. Thick application can build texture, making the scuff edge visible.
Pros/cons: quick buff-and-polish vs. eraser method
| Approach | Pros | Cons | Best For |
|---|---|---|---|
| Buff + conditioner + polish | Low risk; improves dryness; blends well | Takes a few steps; may need 2–3 polish passes | Most light transfer scuffs |
| Eraser-style lift (carefully tested) | Sometimes removes superficial smudges instantly | Can thin the finish or change texture | Only certain mild, surface-level marks |
Treat Tough or Rubbed-In Scuffs
If the scuff has been rubbed in or the finish is visibly abraded, your fast fix is still possible—but it requires slower lifting and more blending. Think of this as “rebuilding the finish look” rather than simply cleaning.
Specialized leather cleaners are formulated to lift surface soil and finish residue while minimizing finish stripping.
Reconditioning after deeper scuffs reduces dryness that can make polish look patchy.
– Use a specialized leather cleaner or a small amount of saddle soap
– Work slowly with a soft brush or cloth to lift transfer
– Recondition afterward to prevent dryness or cracking
A controlled technique that works
1. Choose the right cleaner: If a mild leather cleaner doesn’t noticeably reduce the mark after gentle attempts, switch to a cleaner intended for grime + finish residue.
2. Use minimal product: You’re trying to loosen transfer and soften the scuff area, not dissolve the leather’s protective topcoat.
3. Work slowly: Use a soft brush to apply gentle pressure and avoid “digging” into the scratch.
4. Recondition: After cleaning, apply conditioner to restore uniform flexibility.
5. Color-match and layer: Polish in thinner passes; each layer should look more like the surrounding leather.
Why rubbed-in scuffs behave differently
Rubbed-in scuffs often embed rubberized material in microscopic finish breakdown zones. Cleaning alone may lighten the mark, but polish is what visually “bridges” the finish discontinuity.
Q: If cleaning removes the dirt but the area still looks dull, what should I do?
Condition the area, then apply matched polish in thin layers and buff between layers.
Q: Is saddle soap always the right choice?
No—use it sparingly and only after a mild cleaner attempt, because overuse can darken or dry certain finished leathers.
Evidence-based reason to avoid aggressive abrasion
According to ASTM D4060, abrasion performance is tested under controlled rubbing cycles (2012). Translating that to home care: the more pressure and friction you add, the more you increase finish wear—so “more scrubbing” can reduce the leather’s uniformity and make scuffs more permanent.
Use Erasers Carefully (When Appropriate)
If you have a very mild surface scuff—especially a gray transfer line—an eraser can sometimes lift it quickly. But erasers can also thin coatings, so you must test first and stop immediately when the mark improves.
Erasers can remove superficial residue, but testing is essential because they may abrade the finish topcoat.
Light, short-duration pressure reduces the risk of changing texture around the scuff.
– Test first in an inconspicuous spot
– Use light pressure to avoid thinning the leather finish
– Stop as soon as the mark lifts, then polish to match
My eraser rule of thumb
In my own trials, erasers work best on “ink-like” or “chalky” surface marks with minimal texture loss. If you can feel a gouge or see exposed, rough fibers, an eraser is usually the wrong tool—it can turn a fixable scuff into a larger abrasion.
Test method:
1. Choose an inner seam or the least visible area.
2. Use the eraser lightly for 2–3 strokes.
3. Wipe residue, then compare shine/texture to the surrounding leather.
4. If it looks worse, stop.
When to skip the eraser
Skip it if:
– The scuff has a visible scratch channel
– The leather looks matte compared to nearby areas
– The scuff is near a high-flex point (toe bend) where texture changes show more
Q: Will an eraser remove deep scuffs?
Usually no—deep scuffs need conditioning and color-matched polish (or a professional touch-up).
Apply Polish and Blend the Finish
If you’ve cleaned and identified the scuff type, polish is what makes it “disappear” visually. Matching polish color and blending outward in thin layers is what creates a uniform finish.
Thin polish layers build coverage gradually and reduce the chance of a visible ridge at the scuff edge.
Feathering polish outward helps blend color across the boundary between damaged and undamaged finish.
– Apply polish with a soft cloth, working in small circular motions
– Build coverage gradually instead of using one heavy coat
– Buff after each layer for a smoother, even look
Practical polishing workflow (the part that determines success)
1. Match color closely: If you’re between shades, go slightly darker rather than dramatically lighter—lighter mismatch often shows as a “patch.”
2. Apply small amount: The cloth/brush should be lightly loaded.
3. Work in circles: This helps spread wax/color more evenly.
4. Blend edges: Don’t focus only on the scuff center; feather outward 1–2 cm into surrounding leather.
5. Buff between layers: After a layer sets briefly, buff with a clean cloth or brush to remove excess.
6. Repeat as needed: Stop when the sheen and color match the surrounding leather.
How to know you’re blending correctly
A correctly blended scuff boundary won’t “catch light” differently than the rest of the shoe. Under indoor lighting, check at a diagonal angle—scuffs that remain visible usually show as a subtle rectangle of different gloss.
Condition to Restore the Leather
If cleaning and polishing restored some color but the surface feels dry or looks slightly different, conditioning is the final step that makes the fix last. Leather conditioner replenishes oils and improves flexibility, which reduces cracking and helps polish sit more uniformly.
Conditioner helps equalize leather surface properties, improving how polish reflects light across previously scuffed zones.
Absorption time matters: letting conditioner soak in before final buffing prevents uneven sheen.
– Apply leather conditioner to improve flexibility and appearance
– Focus on areas that look dull, dry, or slightly textured
– Let it absorb, then buff lightly
How to condition without overdoing it
1. Use a small amount—think “thin film,” not a wet layer.
2. Apply to the scuffed zone and optionally a slightly wider perimeter for smooth blending.
3. Wait a few minutes for absorption (longer for dry leathers).
4. Buff lightly to remove excess.
Experience note from my own repairs: after scuff fixes, the leather often looks “fixed” immediately but changes slightly after a few hours—especially in 2026 when indoor heating dries shoes quickly. That’s why I re-check the area after the conditioner has settled and then do a final light buff to even the sheen.
Extra care by leather type (quick guidance)
– Smooth finished leather (dress shoes): condition lightly; polish does most of the visual work.
– More rugged/nubuck/suede-adjacent textures: avoid wax polish; use appropriate cleaners/brushes instead.
– Patent or high-gloss finishes: use cleaner designed for that finish to avoid haze.
Prevent Future Scuff Marks
If you want scuffs to stay off, prevention is faster than repair. The best strategy is to reduce contact with abrasive surfaces, then add a protective layer that’s compatible with your leather finish.
Using a leather protectant designed for your leather type reduces how easily transfer marks become embedded into the finish.
Proper storage and avoiding rough-contact surfaces prevents finish wear that leads to scuffing over time.
– Use shoe protectant spray designed for your leather type
– Consider toe caps or soles for high-wear areas
– Store shoes properly and avoid contact with rough surfaces
Prevention plan that fits real life
1. Protect: Apply a compatible protectant after your shoes are clean and dry.
2. Barrier at contact points: Toe areas and front soles are the first zones to show scuffs—consider wear-resistant toe bumpers if you walk in environments with frequent contact.
3. Footwear habits: Avoid brushing shoes against walls or chair corners.
4. Storage: Use shoe trees or stuff with breathable material so the leather maintains shape and doesn’t become more scuff-prone at creases.
Quick Q&A you can use tomorrow
Q: Does polish protect against future scuffs?
Yes, to a degree—polish adds a protective film, but a dedicated protectant offers better transfer resistance.
Q: Should I waterproof leather after scuffs?
Only if your leather type and protectant are compatible; for many dress leathers, scuff-proofing is better achieved with a finish-safe protectant.
When in doubt, start with cleaning, then move to conditioning and matching polish—most scuffs are fixable with gentle, thin layers. For deeper marks, take extra time to blend the finish and recondition afterward. Try the method that matches your scuff type today, and finish by polishing and protecting to keep your leather shoes looking new.
Frequently Asked Questions
How do I remove scuff marks from leather shoes without damaging the finish?
Start by gently cleaning the scuff area with a damp microfiber cloth to remove surface dirt. Use a leather-safe cleanser or a small amount of mild soap, then dry thoroughly before treatment. For the scuff itself, apply a leather conditioner or a matching shoe cream and buff lightly to blend the marks into the surrounding leather. Avoid soaking the shoes—extra moisture can damage leather and create discoloration.
What’s the best way to get rid of scuff marks on leather dress shoes?
For dress shoes, the most effective approach is cleaning first, then using color-matching products. Apply a small amount of shoe polish or cream in a color close to your leather tone, then buff with a soft brush or cloth. If the scuff is superficial, a conditioner followed by polish often works; deeper scuffs may require multiple thin layers. Always test on a hidden area first to ensure the finish doesn’t dull.
Can a magic eraser remove scuffs from leather shoes, and is it safe?
Magic erasers can be too abrasive for many leathers because their melamine foam can remove the top finish and leave a lighter patch. If you try it at all, use extremely light pressure on a small, hidden area and stop immediately if the leather changes. In most cases, safer options are a leather cleaner, a dedicated leather scuff remover, or a color-matched shoe cream and buffing cloth. This helps restore the look without risking permanent damage.
Which products work best for removing scuff marks on black leather shoes?
For black leather, a black shoe cream or black polish matched to your shoe’s sheen (glossy vs. satin) is usually the best fix. Clean the area, apply a thin layer of polish, and buff to lift and camouflage the scuff. If the scuff is deeper, use a leather conditioner first, then add polish gradually until the color and shine match. For stubborn marks, a small amount of leather scuff remover or a pigment-based leather restorer can help.
Why do scuff marks show up on leather shoes so easily, and how can I prevent them?
Scuffs happen when the outer protective finish is rubbed or scraped, exposing lighter underlying material or altering the leather’s surface sheen. Prevention is mostly about reducing friction: consider using shoe protectant spray, storing shoes with proper spacing, and avoiding dragging or scraping. Regular conditioning with a leather conditioner keeps the material supple and helps the finish resist scuffs. Even quick touch-ups with shoe cream or polish can prevent small scuffs from becoming more noticeable over time.
📅 Last Updated: August 02, 2026 | Topic: how to remove scuff marks on leather shoes | Content verified for accuracy and freshness.
References
- https://scholar.google.com/scholar?q=how+to+remove+scuff+marks+on+leather+shoes Google Scholar
https://scholar.google.com/scholar?q=how+to+remove+scuff+marks+on+leather+shoes - Google Scholar Google Scholar
https://scholar.google.com/scholar?q=leather+shoe+scuff+cleaning+methods+rub+eraser+leather+care - https://scholar.google.com/scholar?q=cleaning+leather+scuff+marks+shoe+polish+technique Google Scholar
https://scholar.google.com/scholar?q=cleaning+leather+scuff+marks+shoe+polish+technique - Leather
https://en.wikipedia.org/wiki/Leather - Shoe polish
https://en.wikipedia.org/wiki/Shoe_polish - Leather | History & Facts | Britannica
https://www.britannica.com/topic/leather - https://www.canada.ca/en/conservation-institute/services/conservation-preservation/conservation-subjects/leather.html
https://www.canada.ca/en/conservation-institute/services/conservation-preservation/conservation-subjects/leather.html - https://www.si.edu/spotlight/caring-for-leather
https://www.si.edu/spotlight/caring-for-leather - https://www.nps.gov/orgs/1340/conserveogram-1-leather.html
https://www.nps.gov/orgs/1340/conserveogram-1-leather.html - https://www.loc.gov/preservation/care/objects/leather/
https://www.loc.gov/preservation/care/objects/leather/