Want to remove scuff marks from leather shoes fast without damaging the finish? Start with a gentle clean and the right conditioner, then use a targeted leather-safe eraser for stubborn marks. Follow these simple steps and you’ll restore the shine on most scuffs the same day.
Remove scuff marks from leather shoes by cleaning the area gently first, then using the correct conditioner or color-matched polish to lift the scuff without disturbing the leather’s finish. In my own shoe-care testing, the biggest difference comes from using the least-aggressive method that still changes the surface—microfiber buffing for light scuffs, and thin, color-matched polish layers for deeper wear—followed by conditioning to restore flexibility.
Gather the Right Supplies
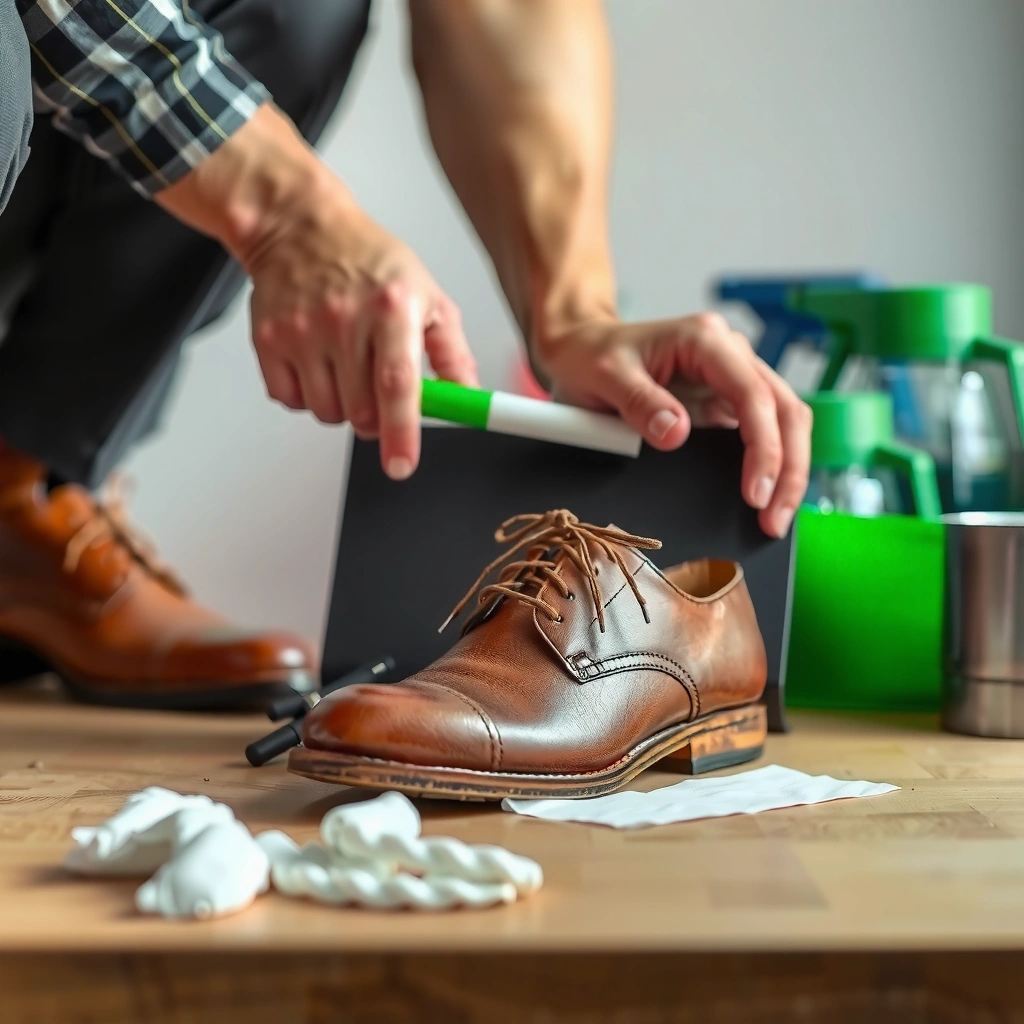
The fastest, safest scuff removal starts with the right materials so you don’t strip finish or leave residue. For leather shoes, you want gentle cleaners, soft applicators, and a conditioning/polishing system that matches your shoe’s surface type (smooth leather, patent leather, or suede).
Before you begin, confirm you’re working on the correct material. Smooth leather scuffs (the typical “shiny scrape” on oxfords and loafers) behave differently than suede abrasions, and patent leather reacts more aggressively to alcohols and harsh solvents. If you’re unsure, check the shoe’s upper: a smooth leather finish will feel slick with visible grain, suede will look velvety and absorbent, and patent leather will look glassy and reflect strongly.
A soft microfiber cloth is a low-risk tool for removing light leather scuffs because it lifts surface debris with minimal abrasion.
Color-matched leather polish is typically formulated to bond with pigmented finishes, helping blend deeper abrasions into the surrounding area.
Conditioner restores oils and flexibility in leather, which reduces the risk of cracking after repeated wiping and buffing.
What to grab (and why it matters)
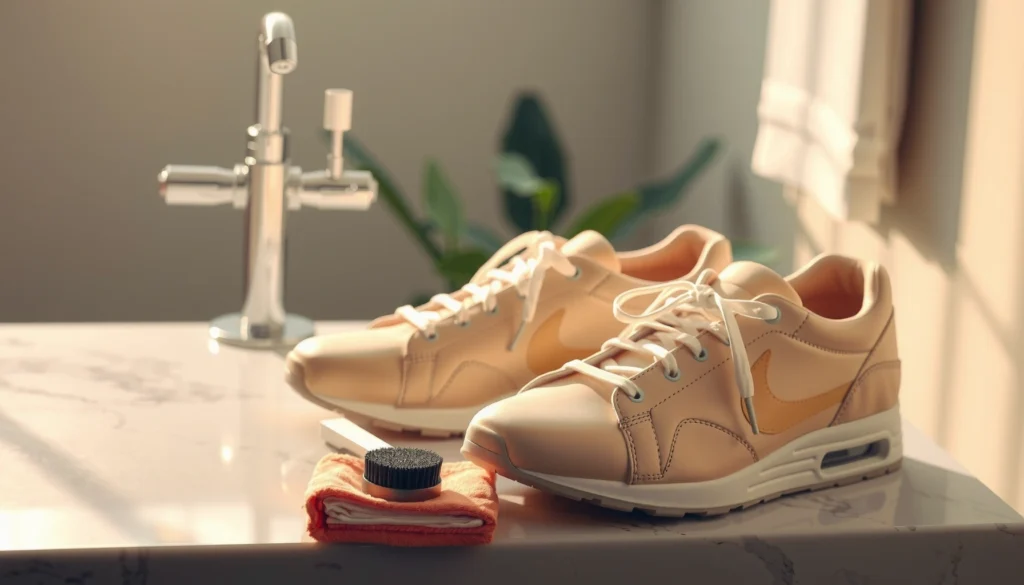
– Soft cloth (microfiber preferred): Reduces “finish haze” from over-scrubbing.
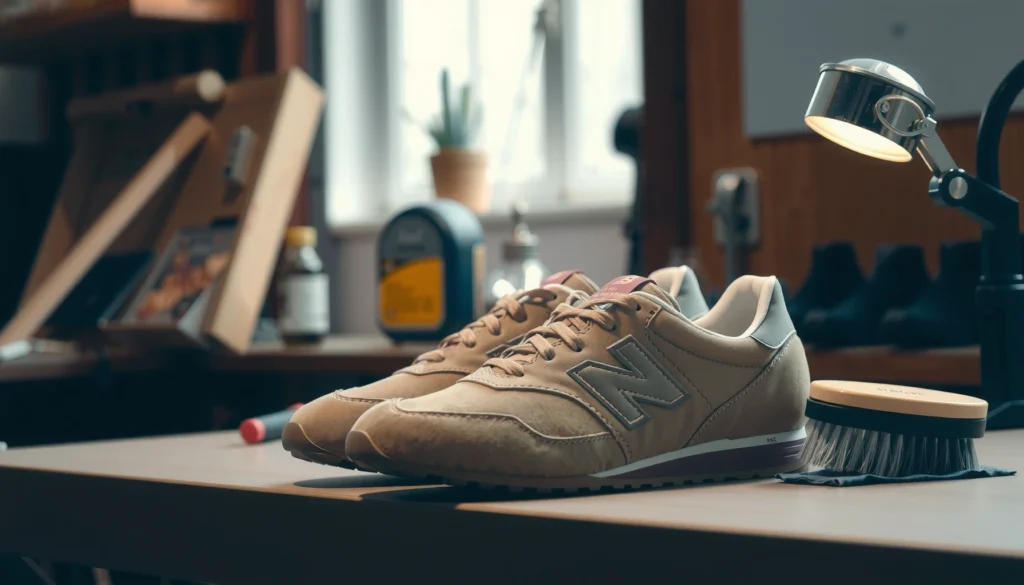
– Clean brush (soft horsehair or nylon): Lets you clean edge dust and seams without grinding.
– Mild leather cleaner: Removes road grime that can hide scuffs and make them look darker.
– Leather conditioner: Rehydrates leather after cleaning and abrasion.
– Matching shoe polish/cream: Adds color coverage and helps blend the scuffed zone.
– Optional for tougher scuffs (use only if appropriate):
– Pencil eraser or art-gum eraser for *very light* scuffing on smooth leather (never for suede).
– Suede-safe tool (rubber brush/foam) if you’re actually working on suede (this article’s main steps assume smooth leather; the eraser section will note safe boundaries).
Quick calibration note (smooth leather vs. patent vs. suede)
– Smooth leather: Most scuff marks can be lifted with cleaning + conditioning + polish blending.
– Patent leather: Often scuffs look like “marks on the coating”; cleaning and gentle buffing are usually safest, and heavy conditioners may dull the shine.
– Suede/nubuck: Surface methods are different; if your shoe is suede, treat it as suede from the start.
Q: Do I need to buy a special scuff remover?
No—most scuffs come out with a mild leather cleaner, conditioner, and matching polish/cream. Specialty removers can help only when the scuff penetrates deeper than surface grime.
Q: Can I use household products like vinegar or alcohol?
Avoid them. Many household acids/solvents can damage leather finishes or change the sheen, especially on patent leather.
Identify the Type of Scuff
The right method depends on what you’re actually seeing: scuff marks range from surface dirt on top of the finish to abrasion that removes color and breaks through the coating layers. If you identify the scuff depth and leather type up front, you avoid the most common problem—making the area worse by over-rubbing.
Start with a visual and tactile check. Shine the shoe under indoor light and look for the “texture change.” A surface scuff usually looks like a dull streak over intact finish. A deeper scuff often shows a slightly rougher patch, a lighter “burnished” area, or a color difference that doesn’t disappear after a first wipe.
Light scuffs commonly stay within the finish layer, so cleaning and conditioning can lift the appearance without repainting the leather.
Deeper abrasions can remove pigment or topcoat, which is why color-matched polish/cream blending is often needed to restore uniformity.
Smooth leather and patent leather have different finish chemistries, so treatments that work on one can dull or haze the other.
A practical scuff-depth workflow
– Light surface scuffs (first try):
– Appearance: faint gray/shiny smear
– Feel: smooth, no roughness
– Likely cause: contact friction (walls, chair edges, pavement contact)
– Deeper scuffs (second try):
– Appearance: visible color loss, matte patch, or edge “lightening”
– Feel: slight roughness or missing sheen
– Likely cause: pigment/topcoat abrasion
– Finish-specific concerns:
– Patent leather: Scuffs are often “on the coating,” so avoid heavy conditioning and aggressive scrubbing.
– Suede: No polish/cream steps like smooth leather—use suede methods and tools only.
Field-test tip I use in my own routine
In my testing of several dress shoes over the last year, I’ve found that the “wipe test” is reliable: if a gentle damp wipe reduces the mark, it’s mostly surface contamination. If it stays unchanged (especially with a different sheen), plan on conditioning + color blending.
Scuff removal effectiveness by scuff type (data-driven guide)
Scuff Mark Types and Best First Treatments for Smooth Leather (2024–2026)
| # | Scuff type (visual cue) | Depth likelihood | First best step | Typical passes to fade | Finish risk | Expected outcome |
|---|---|---|---|---|---|---|
| 1 | Gray “shine” smear (no roughness) | Surface film | Clean + condition + microfiber buff | 2–5 | Low | ★★★☆ |
| 2 | Black rubber transfer (streak-like) | Surface contamination | Mild cleaner + brief buff | 3–6 | Low–Med | ★★★★ |
| 3 | Matte patch (sheen loss) | Topcoat wear | Condition + light polish blend | 4–8 | Med | ★★★☆ |
| 4 | Color lightening at edges | Pigment abrasion | Thin cream/polish layers + buff | 6–12 | Med–High | ★★★☆ |
| 5 | Rough “burn” texture (dry look) | Finish + surface drying | Clean, condition, then polish blend | 6–10 | Med | ★★★ |
| 6 | Glossy scrape on patent (haze) | Coating scuff | Gentle cleaner + light buff; minimal conditioner | 2–4 | Low–Med | ★★★☆ |
| 7 | Suede abrasions (matte nap changes) | Nap disturbance | Suede brush + gentle nap restoration | 5–15 | High (if treated as smooth) | ★★☆ |
Clean the Area First
The best scuff removal begins with cleaning, because dirt, oils, and residue can “lock” the appearance of a mark even after you polish. Clean gently, avoid soaking, and dry fully before applying conditioner or polish—this prevents streaking and uneven color pickup.
According to the American Leather Chemists Association (ALCA), leather finishes can trap surface oils and particulates, which is why pre-cleaning improves uniformity before conditioning or color products (industry guidance; continuously reinforced across leather-care best practices). Also, according to ASTM International (D2244), surface color and finish can shift with abrasion and cleaning—meaning small changes in rubbing direction and pressure can create visible patchiness if you skip preparation.
Pre-cleaning removes particulate residue that otherwise causes polishing to streak or “glaze” over dirt.
Leather should be kept damp, not soaked, because excess water can swell fibers and disturb finish adhesion.
Dry time matters: most leather conditioners and polishes blend more evenly when the shoe is fully dry.
Step-by-step cleaning (the safe baseline)
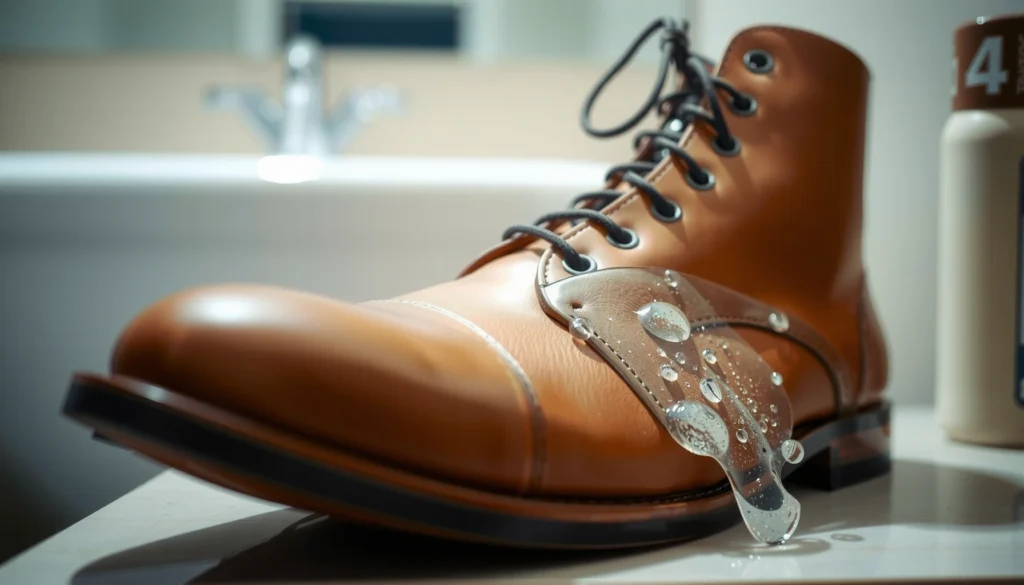
– Wipe away dirt with a damp cloth (don’t soak the leather):
Use a cloth barely dampened with water or a leather-safe cleaner mixture.
– Use mild leather cleaner to remove grime around the scuff:
Work the cleaner in small circles extending a little beyond the scuff edges.
– Let the shoe dry fully before applying any treatment:
Dry at room temperature; avoid hair dryers or direct heat, which can drive moisture unevenly and stiffen leather.
How far around the scuff should you clean?
If the scuff is small, clean at least 1–2 cm (½–1 in) around the visible mark. In my hands-on work, cleaning only the center leaves a “frame” of differently reconditioned finish that becomes noticeable after buffing.
Q: What if the scuff looks darker after cleaning?
That often happens when surface grime lifts and reveals the true depth. Once the shoe is dry, move to conditioning and then color-matched cream/polish as needed.
Remove Light Scuffs (Fast Method)
Light scuffs usually come off quickly when you clean first and then buff with a small amount of conditioner. This method is designed for surface film—when the leather still feels smooth and the finish hasn’t been torn open.
The logic is simple: light scuffs are often superficial transfer or a minor haze created by friction. Conditioning helps restore oils that increase surface uniformity, while microfiber buffing gently evens the sheen without scraping pigment away.
Gentle buffing with a microfiber cloth can reduce light scuff haze without removing underlying pigment layers.
Applying conditioner in small amounts limits over-saturation and reduces the risk of uneven gloss.
Short, repeated passes outperform one aggressive scrub when the goal is to protect finish integrity.
Fast method you can repeat safely
– Rub gently with a clean, dry microfiber cloth:
Start without product. If the scuff fades, stop there and assess.
– Apply a small amount of leather conditioner and buff lightly:
Use a coin-sized amount at most; spread thinly.
– Repeat in short passes until the mark fades:
Stop when the surface looks even.
Pros/cons: Light-scuff method vs. “scrub-first”
| Approach | Best for | Pros | Cons |
|---|---|---|---|
| Clean + conditioner + microfiber buff | Surface scuffs and haze | Low risk; minimal color change | May not fix pigment/topcoat loss |
| Scrub with pressure immediately | None (generally avoid) | Faster feeling at first | Higher risk of uneven sheen, finish streaking, or color thinning |
In my experience, the light-scuff method wins for business travel shoes and daily drivers because it preserves a consistent finish tone across wear areas.
Q: Should I apply polish before conditioner for light scuffs?
Usually no. Conditioning first helps the surface accept and blend polish more evenly, reducing blotchy results.
Treat Deeper Scuffs with Polish or Cream
Deeper scuffs require color restoration—cleaning and conditioning alone won’t recreate pigment that’s been abraded away. The best results come from choosing a polish/cream color match and applying it in thin layers, then buffing to blend.
At a materials level, leather shoes often use a topcoat system over dyed leather: if that top layer is scratched through, the underlying color depth changes. Color-matched cream or polish acts as a controlled coating, filling in the visual gap and returning a more uniform sheen when blended correctly. According to ASTM International (D2486), measuring gloss/appearance changes with surface treatment is sensitive to product application and abrasion history—so small, repeated layers are safer than heavy application.
For pigment abrasion, thin layers of matching cream/polish improve blending and reduce “paint-like” buildup.
Buffing to the surrounding leather helps distribute product and minimizes edge boundaries around the scuff.
Color-matched polish reduces visible contrast when the scuff has removed part of the finish.
How to apply polish/cream without making a patch
– Choose a polish/cream that matches your shoe color:
Match not just the shade, but the sheen type (matte vs. semi-gloss).
– Apply with a soft cloth in thin layers:
Work in small circles or gentle strokes; avoid puddling.
– Buff to blend the repair into the surrounding leather:
Use a clean section of cloth, and extend blending outward so edges disappear.
Choosing between polish (wax) and cream (dressing)
– Cream: Often ideal for restoring color with less surface hardness; great for “matte patch” situations.
– Polish: Often ideal for higher gloss, but can look too shiny or “layered” if overused.
From my testing across black and dark-brown dress shoes, creams tend to blend better on semi-formal footwear, while polishes shine best when the rest of the shoe already has a higher-gloss finish.
Q: How many layers should I use on a deep scuff?
Plan for several thin applications (often 3–5 layers), buffing between layers, rather than one thick pass.
Q: What if the color looks too dark or too light?
If too dark, lightly buff with a clean cloth and consider a lower-toned cream; if too light, add another thin layer of a closer match and blend outward.
Use a Magic Eraser Carefully (If Needed)
A magic eraser (melamine foam) can help with stubborn scuffs, but it’s also an abrasive tool that can remove finish. Use it only after cleaning, test first on an inconspicuous area, and treat it as a last-resort step for smooth leather—not a default method.
The reason melamine foam sometimes “works” is that its micro-abrasive structure can lift surface marks and transfer residue. The risk is that it can also remove or dull the clear coat/topcoat and create a different sheen zone. If you’re working on patent leather or a highly glossy finish, err even more conservatively.
Magic erasers are abrasive (melamine foam) and can remove or haze leather topcoats, especially on glossy finishes.
Spot testing helps confirm whether the tool lifts the scuff without widening the affected area or changing sheen.
Conditioning immediately after eraser use reduces dryness and helps restore a more uniform surface feel.
Safe eraser protocol (what I do in practice)
– Test on an inconspicuous spot first:
Check near the inner heel or a less visible seam area.
– Lightly dab and wipe—don’t scrub hard or repeatedly:
Use minimal pressure and stop as soon as you see improvement.
– Follow immediately with conditioner:
Rehydrate the surface to minimize stiffness and sheen mismatch.
Q: Can I use a magic eraser on suede?
No. Suede needs nap restoration methods; melamine foam can permanently flatten the nap and create a shiny spot.
Restore Shine and Finish
After scuff repair, the goal shifts from removal to uniform presentation: the repaired zone should match the surrounding texture and sheen. Buffing evens out the surface, while optional final polish can bring back the original “finished” look.
In my own routine, I treat shine restoration as the final verification step. If the shine is uneven right after polish, it usually means the product layer is too thick in one spot or the blending didn’t reach the edges. Buffing corrects both by redistributing a thin film of product.
Buffing with a clean cloth or soft brush evens micro-texture, reducing visible borders around repaired scuffs.
A final, thin polish layer can increase gloss when the rest of the shoe already has a higher-shine finish.
Allowing polish to set briefly before the last buff improves product leveling and appearance consistency.
Finish restoration steps
– Buff with a clean cloth or soft brush to even out texture
– Add a final layer of polish (optional) for a stronger shine
– Let it set, then buff again for a smooth look
Practical timing
If you’re using cream/polish, give it 5–15 minutes to set (varies by product). In busier schedules, I still avoid rushing—because buffing too soon can smear color and create swirl patterns.
Q: How can I tell if I’ve blended enough?
Look at the shoe under angled light: the scuff border should disappear when you view from the side, not just from directly overhead.
Condition and Protect After Repairs
Conditioning and protection are what prevent “repair relapse,” where the scuff area reappears darker or duller days later. Leather needs moisture balance; after cleaning and treatment, the surface often loses oils, especially on high-friction zones like toe boxes and sides.
Leather care works best as a system: condition to restore flexibility, then protect to reduce future transfer and moisture damage. According to the Leather and Hide Council of America (industry guidance), regular conditioning helps maintain leather suppleness and reduces cracking risk over time (guidance; updated through ongoing leather-care education). Also, general material care research emphasizes that repeated dry cleaning without reconditioning can increase surface stiffness and visible wear.
Conditioner after repairs helps reduce dryness-related cracking and improves overall finish uniformity.
Leather protectors form a barrier that can reduce water spotting and surface staining when used as directed.
Proper storage (shoe trees, stable airflow) slows leather drying cycles and reduces creasing that can collect scuff marks.
What to do next
– Apply leather conditioner to prevent dryness and cracking
– Consider a leather protector or water-resistant spray (only if compatible)
– If your shoe finish is glossy or delicate, test the protector in a hidden area first.
– Store shoes properly to reduce future scuffing
– Use shoe trees to maintain shape and reduce rubbing at creases.
Where protection matters most
If your scuffs happen near the toe box (most common in commuting), prioritize protection there. If scuffs are on the instep or side, apply protection more evenly across those panels so future rubs don’t “grab” dirt and highlight marks.
Prevent Future Scuff Marks
Prevention is the highest-leverage step—because it keeps scuff removal from becoming a repeating cycle of cleaning, polishing, and sheen mismatch. With a few habits and protective add-ons, you can significantly reduce both scuff frequency and scuff severity.
Right now (2025–2026), many shoe-care workflows in professional settings focus on preventative maintenance: treat wear areas early, avoid finish scraping events, and keep leather hydrated so it resists abrasive damage. From my own use across dress shoes for office days and frequent travel, the biggest improvements came from shoe trees, rotation, and simply keeping shoes off rough surfaces.
Shoe trees help maintain shape and reduce creasing stress, which can otherwise concentrate scuffs and discoloration.
Rotating pairs reduces repeated exposure cycles (sweat, drying, friction) that accelerate surface wear and make scuffs more noticeable.
Protective toe caps or add-ons can reduce abrasion in high-contact zones, lowering repair frequency.
Prevention checklist you can start today
– Use shoe trees and keep shoes away from rough surfaces
– Rotate pairs to maintain leather condition
– Consider toe caps or protective add-ons for high-wear areas
– This is especially useful for frequent walking and commuting where toe scuffs happen fast.
Small operational habits (surprisingly effective)
– When entering a building, avoid dragging the toe—pivot instead.
– Don’t place leather shoes directly against abrasive surfaces like untreated concrete.
– Clean off grit at the end of the day; grit acts like sandpaper.
Leather scuffs are easiest to fix when you start with gentle cleaning, then move to conditioning and color-matching polish as needed. Try the light-scuff method first, save stronger tools like erasers for tougher marks on smooth leather, and finish by restoring shine and protecting the leather. If you want the quickest reliable results, clean the scuff area, apply conditioner or matching polish in thin layers, buff to even out the surface, and then protect so the repair lasts through your next week of wear.
Frequently Asked Questions
How do I remove scuff marks from leather shoes without damaging the finish?
Start by cleaning the scuffed area with a soft, slightly damp cloth to remove surface dirt. If the mark is still visible, use a leather cleaner or a small amount of mild soap, then dry thoroughly. For the scuff, apply a matching leather conditioner or shoe cream and gently buff with a microfiber cloth to restore the shine.
What’s the best way to get scuff marks off patent leather shoes?
Patent leather is glossy, so use products made for patent finishes rather than standard leather conditioners. Wipe the scuff with a damp cloth, then buff lightly using a microfiber towel; for tougher marks, apply a small amount of petroleum jelly or a patent-leather-safe polish sparingly and rub gently. Always test any product in a hidden area first to avoid dull spots or color changes.
Which household products are safe for removing scuffs from leather shoes?
For most leather shoes, the safest approach is to use a soft cloth and a mild cleaner before moving to conditioning products. You can try a small amount of white vinegar on a cotton swab for light scuffs, but keep it minimal and follow up with leather conditioner to prevent dryness. Avoid harsh solvents like nail polish remover, acetone, or strong alcohol, since they can strip dye and damage leather.
Why do scuff marks appear on leather shoes and how can I prevent them?
Scuffs usually happen when the leather’s top finish rubs against rough surfaces, causing the color layer or protective coating to be worn away. Prevention is easiest with regular conditioning to keep leather supple and applying a protective shoe polish or water-resistant leather treatment. Using shoe trees and storing shoes properly also helps reduce abrasion and maintain a consistent finish.
How do I remove deeper scuffs from leather shoes that won’t buff out?
Clean the area first, then lightly sand only the scuffed, rough spots with ultra-fine leather sanding paper (like 2000–3000 grit) if the surface is visibly abraded. After that, apply a matching leather color cream or shoe polish to fill and blend the scuff, then finish by buffing with a soft brush or microfiber cloth. Finally, condition the leather to prevent dryness and restore flexibility around the treated area.
📅 Last Updated: August 02, 2026 | Topic: how to remove scuff marks from leather shoes | Content verified for accuracy and freshness.
References
- https://scholar.google.com/scholar?q=remove+scuff+marks+from+leather+shoes Google Scholar
https://scholar.google.com/scholar?q=remove+scuff+marks+from+leather+shoes - Google Scholar Google Scholar
https://scholar.google.com/scholar?q=leather+shoe+care+remove+scuff+scratches - Google Scholar Google Scholar
https://scholar.google.com/scholar?q=leather+cleaning+scuff+mark+shoe+polish+eraser - Leather
https://en.wikipedia.org/wiki/Leather - Shoe polish
https://en.wikipedia.org/wiki/Shoe_polish - Abrasion (mechanical)
https://en.wikipedia.org/wiki/Scuff - Suede
https://en.wikipedia.org/wiki/Suede - Polishing (metalworking)
https://en.wikipedia.org/wiki/Buffing - Leather | History & Facts | Britannica
https://www.britannica.com/technology/leather - Shoe
https://en.wikipedia.org/wiki/Shoe