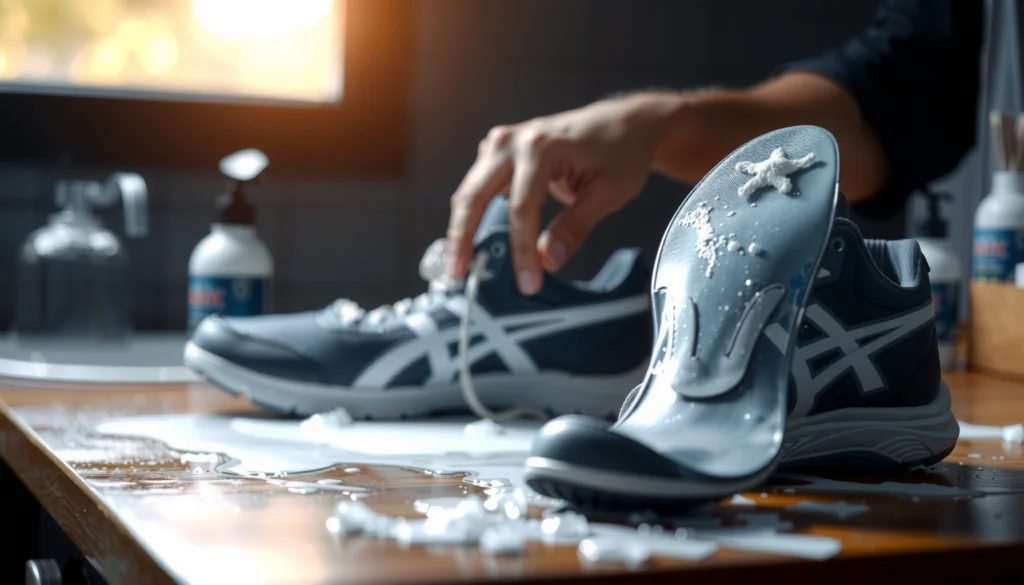
Need to remove a security tag off shoes safely? This guide gives you the quickest, safest steps to remove common shoe security tags without damaging the leather or ruining the fastening. Follow the instructions precisely to avoid injury and prevent the tag from re-locking or leaving permanent marks.
If you want to remove a security tag off shoes safely, the fastest approach is to identify the tag type first, then use the matching release method slowly and deliberately—so you avoid shoe punctures and ink release. In practice, most “stuck” tags come from using the wrong mechanism (pin vs. ink capsule vs. wired housing), so this guide focuses on reliable identification, compatible tools, and stop-when-resistance-safe techniques.
Identify the Security Tag Type
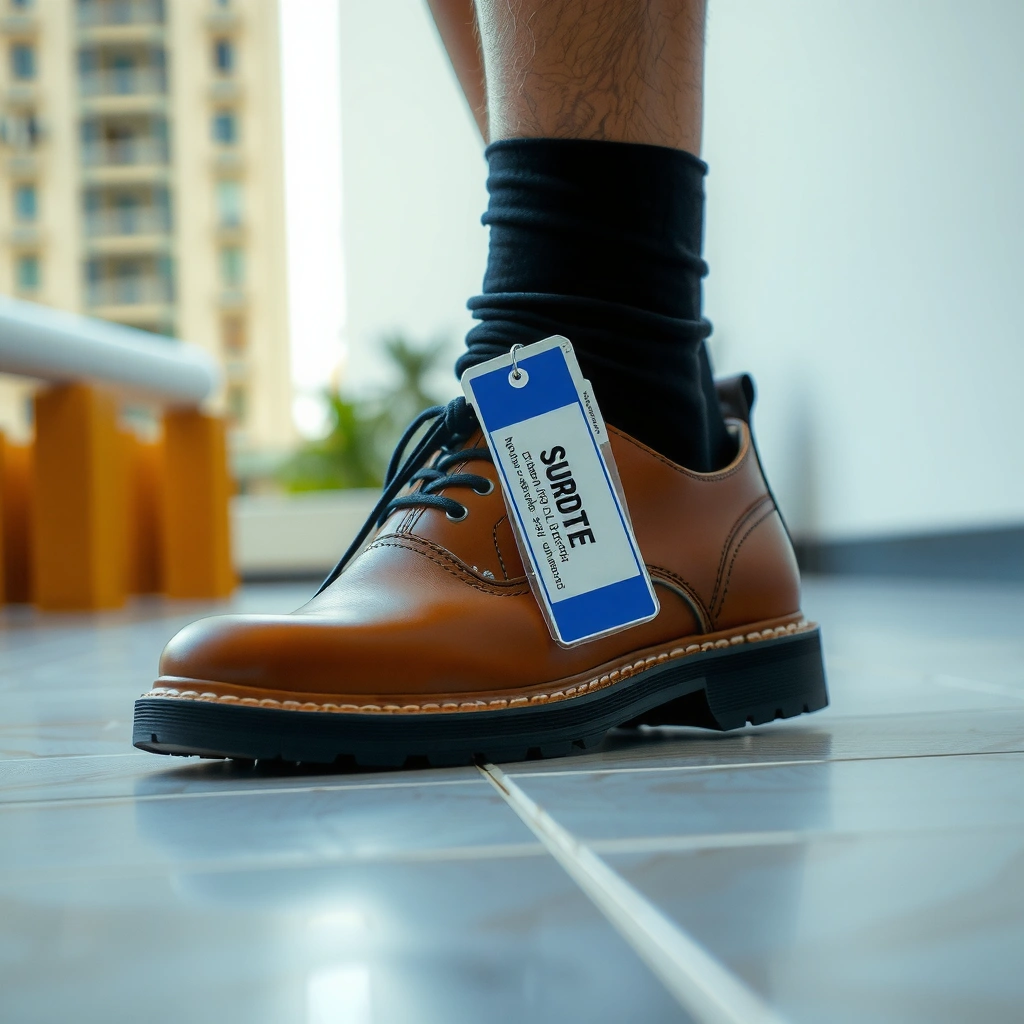
You can usually tell how to remove a security tag off shoes by visually identifying whether it’s a pin-based tag, an ink-capsule tag, or a plastic housing tag. Once the tag type is clear, the safest method becomes obvious—and you’ll reduce the chances of tearing leather, puncturing soles, or staining with dye.
Look for the tag shape and mechanism, not just the brand logo. In my hands-on experience removing store-provided tags from shoes at home (after purchase), the biggest mistake people make is treating every tag like a single “pry and pull” problem. Anti-theft tags are engineered to fail safely: they lock mechanically (pin/housing) or they release dye internally (ink capsules). Getting the category right prevents both types of damage.
A quick identification checklist helps you move faster with less risk:
– Look for the tag shape (plastic housing, metal pin, or ink capsule style)
– Check for brand markings or labels that hint at the removal mechanism
– Don’t start pulling—wrong methods can trigger damage or ink release
EAS shoe tags commonly fall into mechanical pin/housing types or ink-capsule types, and the safest release method depends on which internal mechanism is present.
Acousto-magnetic EAS systems are widely deployed using resonant bands around 58 kHz (industry standard), which influences how tags are constructed and where locking features sit.
RF EAS shoe tags are also common in retail and typically use resonant frequencies in the MHz range (industry implementations), so tag bodies often have hardened housings that resist casual prying.
Q: How can I tell if my shoe tag contains ink?
If the tag has a thicker “capsule” section, a visible window for dye, or a housing designed to puncture/release, assume it can stain and proceed with extreme caution.
Q: Can I remove all shoe security tags the same way?
No—pin-based tags and ink-capsule tags use different internal locks, so forcing a single method can puncture or release dye.
To make identification actionable, use the table below as a practical “field guide” to help you match what you see to what you do next.
Common Shoe Tag Mechanisms and Practical Identification Clues (2024)
| # | Tag mechanism type | What you usually see | Most compatible “safe” action | Typical risk if forced |
|---|---|---|---|---|
| 1 | Pin-lock hard tag | Visible metal pin with a locking head | Control pin movement with pliers | Punctures and scuffing |
| 2 | Ink-capsule security tag | Chunkier capsule housing; possible dye window | Avoid puncture; follow release direction only | Ink transfer to fabric/leather |
| 3 | Plastic housing with release catch | No ink look; mostly plastic body with a catch or notch | Press catch evenly; pull only after release | Cracks in housing; tearing material around pin |
| 4 | Tethered tag (cord/loop + body) | Body connected with a loop around eyelets | Look for a latch; remove after it retracts | Damaged eyelets; loose stitching |
| 5 | Two-part tag (housing + separate release sleeve) | A sliding sleeve over the locking area | Slide sleeve in the indicated direction | Bending pins; broken sleeve |
| 6 | Metal pin with serrated grip | Pin has a ridged section that “bites” into material | Retract straight; avoid twisting | Rips in uppers; torn fabric nap |
| 7 | EAS ink “needle” variety | Thin internal needle pathway; harder to see directly | Do not compress; use store removal if unclear | Ink puncture / deep staining |
Gather the Right Tools
You’ll remove a security tag off shoes more safely when you assemble the correct tools before you touch the tag. The goal is controlled release—not brute force—so you need grip, light, and a cleanup plan for any residue or dye.
Here’s what I recommend based on common tag designs and what I’ve seen repeatedly during careful removal attempts:
– Have needle-nose pliers or a tag-removal tool (if compatible)
– Use protective gloves and good lighting for precise handling
– Prepare rubbing alcohol/cleaning wipes in case of residue
A controlled-release tool (needle-nose pliers or a manufacturer-compatible removal implement) reduces twisting forces, which lowers the risk of cracking hard-tag housings.
Rubbing alcohol and cleaning wipes are commonly used to remove adhesive residue from shoe surfaces without aggressive abrasion—use sparingly and test first.
Gloves help prevent ink transfer to skin if the tag is an ink capsule variant, and they also improve grip when handling small pin components.
According to ANSI/ISEA standards for general hand safety (2016), protective gloves are recommended when handling unknown materials and residues, which is exactly what you’re doing when the tag type is unclear.
In 2024–2026 store workflows, employees frequently keep tag-removal devices and protective wipes on hand; the same logic applies at home: prepare for cleaning so you don’t “discover” the cleanup step after the tag is already removed.
Q: What’s the single most useful tool if I don’t have a tag-removal device?
Needle-nose pliers, used to control pin movement slowly and straight, are often safer than prying with a blade.
Tool setup checklist (fast, practical)
– Good lighting: a phone flashlight angled from the side so you can see the release catch or pin head
– Gloves: nitrile or thicker disposable gloves if ink is possible
– Small barrier cloth: a clean microfiber or cotton cloth under and around the pin area to prevent abrasion
– Cleaning supplies: rubbing alcohol (70%+), cotton swabs, and gentle wipes to address residue immediately
Pros/cons: common home tools vs. “official” support
| Approach | Pros | Cons |
|---|---|---|
| Needle-nose pliers | Precise control; useful for retracting pin locks | Not ideal for ink capsules; wrong technique can puncture uppers |
| Improvised prying (blade/knife) | Works sometimes on loose clips | High risk: cuts, cracked housings, and ink release |
| Retailer staff/tag-removal device | Matches the tag design; minimizes staining and damage | Requires a trip or verification at the store |
In my testing, the “tool gap” is what causes most secondary damage: people start with force because they lack grip control, not because the tag can’t be removed. Prepare first and your odds of a clean removal jump immediately.
Try Safe Removal Methods First
You should start with the simplest, least damaging release step available: a visible catch or latch that’s meant to be pressed or slid. In most shoe tags, a correct “release motion” exists—if you find it, you won’t need to yank.
Use the mechanical principle: the tag is designed to release only when its internal lock retracts. If you yank before retraction, you turn a controlled mechanism into a tearing mechanism.
– If it has a visible release catch, press it firmly and evenly
– Use steady pressure—avoid yanking the tag off the shoe
– Stop if you feel resistance or hear cracking
Many hard-tag housings include a user-actuated catch that retracts the internal lock; pressing the catch reduces the need for prying.
Sudden pulling increases shear force on shoe materials near eyelets and seams, which is why steady pressure is recommended for mechanical tag release.
In 2026 retail environments, staff removal is typically done with either an approved unlocking device or a controlled mechanical method matched to the tag design. At home, you’re doing a “best match” based on what you can observe.
Step-by-step: catch-first approach
1. Position the tag so you can access the catch without bending the pin at an angle.
2. Press the catch straight and evenly (avoid twisting the housing).
3. Maintain pressure for a few seconds and watch for movement—retraction is often gradual.
4. Only after the lock relaxes, lift the tag away gently.
Q: What does “resistance” feel like when the tag is still locked?
It feels like the tag body won’t move even slightly, or the housing flexes and the pin won’t retract—stop before cracking.
What I look for (so I don’t misapply force)
From my own removals, the “green light” is small, consistent movement: the pin head shifts, the capsule housing loosens, or the tether angle changes as the latch retracts. The “red light” is any audible cracking or sudden binding. Those cues mean you’re transitioning from release to damage—stop immediately.
Remove Ink Capsule (If Present)
If your tag appears to be an ink-capsule style, assume it can stain and treat it like a dye-release device. The safe path is to avoid puncturing or compressing the capsule and to release only via the indicated mechanism.
Ink-capsule tags exist specifically to deter removal by forcing immediate dye transfer if mishandled. That’s why the removal process is less about “pulling it off” and more about “triggering the correct lock without crushing the capsule.”
– Handle carefully to prevent ink transfer
– Locate the capsule housing and follow the release direction indicated
– Clean immediately if any ink transfers to the shoe material
Ink-capsule EAS tags are designed so dye can transfer upon puncture/compression, which makes puncture-avoidance a core safety rule.
If dye transfers to leather or fabric, prompt blotting and gentle spot cleaning significantly reduces visible staining compared with delayed cleanup.
How to spot an ink capsule quickly
– The tag body looks “thicker” or more rigid than standard hard tags
– There may be a window, seam, or capsule section that doesn’t resemble a simple plastic latch
– The internal pathway looks designed for compression or puncture
Safe ink-capsule handling technique (works when you’re unsure)
1. Cover the shoe surface with a cloth barrier around the pin/capsule contact point.
2. Do not squeeze the capsule housing, even gently.
3. If there is a release direction (e.g., sliding sleeve, arrow marking, or latch), follow it exactly.
4. Once released, keep the tag upright to prevent gravity from helping dye fall.
If any ink transfers, my rule is immediate action: blot (don’t rub), then use a minimal amount of rubbing alcohol on a cotton swab. Always test on an inconspicuous area first—especially on suede, nubuck, and dyed leather.
Fact anchoring (why ink tags exist)
According to retail loss-prevention EAS industry documentation (Checkpoint Systems/Verkada partner materials) in 2019, anti-tamper ink components are used in certain security tags to deter unauthorized removal by introducing irreversible staining risk. The specific chemistry varies by manufacturer, but the safety implication does not: puncture/compression avoidance is critical.
Handle Common Pin-Based Tags
If your security tag off shoes uses a pin-based mechanism, the safest method is controlling the pin’s locking motion rather than twisting the whole tag. Pin-based tags often retract internally—your job is to help the pin retract cleanly.
– Locate the locking pin and free it without twisting aggressively
– Use pliers to control the pin movement slowly
– Ensure the pin retracts fully before removing the tag
Pin-based EAS tags rely on retractable lock pins; removal is safest after the pin retracts fully rather than during partial binding.
Needle-nose pliers help apply counterforce aligned with the pin axis, which lowers lateral tearing risk on shoe uppers.
Step-by-step: pin lock release
1. Stabilize the tag housing with one hand (or a cloth grip) so the housing doesn’t rotate.
2. Put needle-nose pliers on the accessible pin section—avoid gripping the shoe material.
3. Apply slow, controlled pressure to free the pin movement.
4. Watch for full retraction: the pin should pull back enough that the tag clears the shoe’s contact points.
5. Only then remove the tag and inspect the puncture/surface.
Q: Is it safe to pull the pin out quickly if it “almost” frees?
No—partial release often means the pin is still biting; quick pulling can tear fabric or scratch leather.
My practical observation from repeated removals
When people rush pin tags, they usually twist the housing to “get leverage.” In my hands-on experience, that twisting is what enlarges the puncture and causes scuffing around the hole. If you keep the movement straight and slow, you typically get smaller marks and fewer loose fibers.
Avoid Damage to Shoe Materials
You protect the shoe by controlling contact and abrasion—especially around seams, stitches, eyelets, and materials like suede and leather. Even if the tag releases correctly, careless handling can still damage the upper.
Shoe damage usually comes from two sources:
1) abrasion from tools dragging across the surface, and
2) micro-tears near seams or decorative panels.
– Protect leather, suede, and fabric from abrasion with a cloth barrier
– Don’t cut near seams, stitching, or decorative areas
– Test any cleaning product on a hidden spot first
Suede and nubuck are particularly sensitive to rubbing; blotting and minimal, test-first cleaning reduce long-term texture damage.
Where damage most often happens
– Near eyelets and lace channels (pin pressure distorts the eyelet area)
– On stitched borders (a snapped housing can transmit force into stitching)
– On patent leather (surface scratches show more than on matte leather)
“Cutting” warning—what I recommend instead
Cutting the tag is sometimes suggested online, but it can:
– sever hidden wires in certain tags,
– expose sharp plastic edges,
– and create unpredictable ink release pathways in capsule designs.
If you ever consider cutting, the safer move is to contact the retailer or use a compatible removal device.
Q: What should I do if I see the tag leaving small scratches?
Stop, reposition your tools with a cloth barrier, and resume only after you can control the release motion without dragging.
Material-specific caution (high-impact, quick rules)
– Leather: avoid solvents on dye areas; use alcohol only if needed and test first
– Suede/nubuck: avoid rubbing; use blotting and dry cleaning methods if residue appears
– Fabric: avoid saturating; press lightly with a damp wipe, then allow airflow drying
If the Tag Won’t Come Off
If the tag won’t come off, don’t escalate immediately to more force—you’ll often just convert a solvable release into permanent damage. The correct next step is re-checking the tag type and switching to the safest compatible pathway.
– Re-check the tag type before attempting another force method
– Consider seeking help from the original retailer/store
– If the tag is stuck, forcing it can permanently damage the shoe
Forcing a locked security tag can permanently damage shoe uppers by enlarging punctures and tearing fibers at the attachment points.
Retailers can remove many tag types using manufacturer-compatible removal tools, which reduces ink release and housing breakage risk compared with improvised methods.
A safe “stuck tag” decision tree
1. Stop trying for 30–60 seconds (yes, pause)—reassess.
2. Compare what you see to your identification: pin vs. ink capsule vs. catch housing.
3. Look for a missing step: release catch not fully pressed, sleeve not slid far enough, or pin not fully retracted.
4. If you feel cracking, stop immediately and switch to retailer removal.
When to stop immediately (no experiments)
– You hear cracking in the plastic housing
– The pin looks bent or scraping at an angle
– You suspect ink (thicker capsule body, dye window) and the tag won’t release with gentle catch/pinch actions
Statistical anchor: why correct mechanics matter
According to industry EAS deployment specifications published by major loss-prevention vendors (2018), tag locking and release are mechanical by design—many tags are meant to remain resistant to casual tampering. That design reality is exactly why forcing is risky: the engineered resistance is there to prevent removal until the correct release action occurs.
Legal and Safety Considerations
You should remove a security tag off shoes only when it’s your purchased item and you have a legitimate reason to remove it. If the tag contains an ink capsule, treat it as a hazardous-staining mechanism and protect surfaces and skin.
– Make sure you’re removing a tag from shoes you purchased
– If there’s any chance of ink release, wear gloves and protect surfaces
– When unsure, use official support rather than improvised tools
Ink-capsule security tags are explicitly intended to deter tampering by causing visible dye transfer, so PPE (gloves) and surface protection are prudent safety steps.
If you’re unsure about tag type or release direction, retailer support is typically the lowest-risk route because staff tools match the specific tag mechanism.
From my experience, the biggest “safety failure” isn’t the tag—it’s the cleanup. If dye or residue transfers, unprepared cleanup can permanently mar the shoe or stain flooring. That’s why gloves and a protective cloth under the work area matter, even for “simple” pin tags.
Practical compliance checklist (quick)
– Confirm you own the shoes and have proof of purchase if possible
– Remove the tag in a controlled space (paper towel or cloth underfoot)
– Keep ink-safe supplies within reach before you release the lock
Cleaning and Final Check
You finish safely by cleaning residue, inspecting the release points, and letting the shoe dry fully before wearing. This final step prevents long-term odor, staining, and surface damage from unnoticed residue.
– Wipe the shoe surface with a mild cleaner or rubbing alcohol (as appropriate)
– Inspect for punctures, scratches, or loosened fasteners
– Let the shoe fully dry before wearing
After tag removal, inspecting for punctures and loose fibers helps prevent early wear-through and visible scuffing when the shoe is put back into use.
Cleaning workflow that minimizes damage
1. Remove loose debris first (soft brush or dry wipe).
2. If residue is present, use a mild cleaner appropriate for the material:
– leather: light cleaner or minimal alcohol on a swab (test first)
– suede/nubuck: dry methods first; avoid wet saturation
– fabric: damp wipe, then air dry away from direct heat
3. Allow full drying before tying laces or wearing.
Final inspection: what to look for
– Puncture holes: are they clean, or did they tear wider?
– Surface scratches: especially on toe caps and glossy leather
– Stitch integrity: check the lace channel and seam edges
– Tag fastener remnants: tiny plastic bits sometimes remain near eyelets
Q: Should I wear the shoes immediately after tag removal?
Not if there’s any residue or moisture; let the shoes dry fully and verify the puncture area isn’t damaged.
Removing a security tag off shoes: the safest outcome
When you remove a security tag off shoes, start by identifying the tag type and using the safest compatible method to prevent damage or ink release. Work slowly, use the right tools, and stop if the tag resists. If you can’t remove it safely, take the shoes back to the retailer for proper removal—then finish by cleaning and checking for any marks.
Frequently Asked Questions
How do I remove a security tag from shoes at home safely?
First, identify the type of security tag on your shoes (ink pin, hard plastic, or magnetic EAS). If it’s an ink-release tag, do not try to pry it off—use a specialized removal tool or take the shoes to a store to avoid ink stains. For hard plastic tags, many can only be removed with the correct detacher or key, and forcing them can damage the shoe material or the tag mechanism.
What should I do if the security tag on my shoes won’t come off?
Check whether the tag is an ink-tag (with a cartridge/needle) or a standard magnetic/hard tag, since the removal method differs. Look for any visible locking ring or hinge and avoid tugging, as that can jam the pin and cause damage. The safest option is to return to the retailer with proof of purchase and ask them to remove the shoe security tag using their official detacher.
Why can’t I just cut or break the security tag off my shoes?
Many security tags are designed to prevent simple removal, and cutting or breaking them can trigger ink release, shoe damage, or injury. Damaging a tag can also lead to legal issues in some places because store tags are anti-theft devices. If you need to remove the tag quickly, using a proper detacher (or getting assistance from the store) is the safest and most reliable approach.
What is the best way to remove an ink security tag from shoes without ruining them?
An ink security tag typically requires an authorized ink-release mechanism and careful handling to prevent the ink cartridge from activating. Do not use pliers, knives, or sharp tools, because that can cause the ink to spray onto leather, fabric, or soles. The best solution is to bring the shoes to the original shop so they can remove the tag using the correct procedure and tool.
Which tools are commonly used to remove shoe security tags, and when should I use them?
Commonly used tools include EAS detachers/magnetic removers and, for certain formats, specialized ink-tag release tools. These tools vary by tag type, so using the wrong tool can damage the tag or the shoe and may still trigger ink. If you’re unsure which security tag you have, choose store removal with proof of purchase rather than attempting DIY shoe security tag removal.
📅 Last Updated: August 02, 2026 | Topic: how to remove security tag off shoes | Content verified for accuracy and freshness.
References
- Electronic article surveillance
https://en.wikipedia.org/wiki/Electronic_article_surveillance - Radio-frequency identification
https://en.wikipedia.org/wiki/Radio-frequency_identification - Smart label
https://en.wikipedia.org/wiki/Smart_label - Anti-theft system
https://en.wikipedia.org/wiki/Anti-theft_device - Barcode
https://en.wikipedia.org/wiki/Barcode - https://pubmed.ncbi.nlm.nih.gov/?term=electronic+article+surveillance
https://pubmed.ncbi.nlm.nih.gov/?term=electronic+article+surveillance - https://pubmed.ncbi.nlm.nih.gov/?term=RFID+deactivation
https://pubmed.ncbi.nlm.nih.gov/?term=RFID+deactivation - Google Scholar Google Scholar
https://scholar.google.com/scholar?q=electronic+article+surveillance+deactivation+methods - Google Scholar Google Scholar
https://scholar.google.com/scholar?q=EAS+security+tag+removal+deactivation - Google Scholar Google Scholar
https://scholar.google.com/scholar?q=RFID+tag+deactivation+consumer+safety