Want a step-by-step way to clean basketball shoes fast and safely? This guide delivers the exact method—prep, spot-cleaning, deep-cleaning, drying, and deodorizing—so your shoes look fresh without damaging leather, mesh, or midsoles. Follow these instructions and you’ll get the most visible clean from the least effort, no guesswork required.
Cleaning basketball shoes is simple: remove loose dirt first, clean the soles and uppers with the right brush and mild cleaner, then let everything fully air-dry. Do it in the right order and you’ll prevent deterioration, reduce odor, and keep traction and materials performing the way they were designed to.
Basketball shoes take a unique kind of abuse—dusty courts, sweat-saturated interiors, and scuffs from fast lateral movement. From a practical maintenance standpoint, the most important idea is that “cleaning” is not one action; it’s a controlled sequence that (1) removes particulate grit that can abrade materials, (2) lifts stains without soaking sensitive layers, and (3) dries thoroughly to prevent odor and microbial growth. In my own routine, I’ve found that the shoes look noticeably better (and last longer) when I stop treating cleaning as a single scrub session and instead treat it like a repeatable process with checkpoints.
To make that process credible and consistent, I follow a simple analytical framework: force management (gentle agitation instead of harsh scrubbing), material compatibility (brushes and cleaners matched to uppers and overlays), and dry-time verification (air-dry until fully dry, not “mostly dry”). These principles align with how manufacturers protect finishes and adhesives—especially when dealing with mesh, foam cushioning, leather overlays, and rubber outsoles.
Estimated Air-Dry Times for Key Shoe Components (Room Conditions ~21°C)
| # | Component | Typical Air-Dry Time | Best Drying Method | Drying Reliability |
|---|---|---|---|---|
| 1 | Rubber outsole | 1–3 hrs | Wipe + open-air | ★★★★★ |
| 2 | Laces (cotton/synthetic) | 3–6 hrs | Hang or lay flat | ★★★★☆ |
| 3 | Textile/mesh upper | 6–10 hrs | Airflow + paper stuffing | ★★★★☆ |
| 4 | Synthetic knit upper | 8–14 hrs | Open airflow, no heat | ★★★☆☆ |
| 5 | Leather overlays | 12–24 hrs | Air + conditioning after dry | ★★☆☆☆ |
| 6 | Foam midsole | 10–18 hrs | Paper stuffing + airflow | ★★★☆☆ |
| 7 | Removable insole (if present) | 6–12 hrs | Lay flat, low airflow | ★★★★☆ |
Gather the Right Supplies
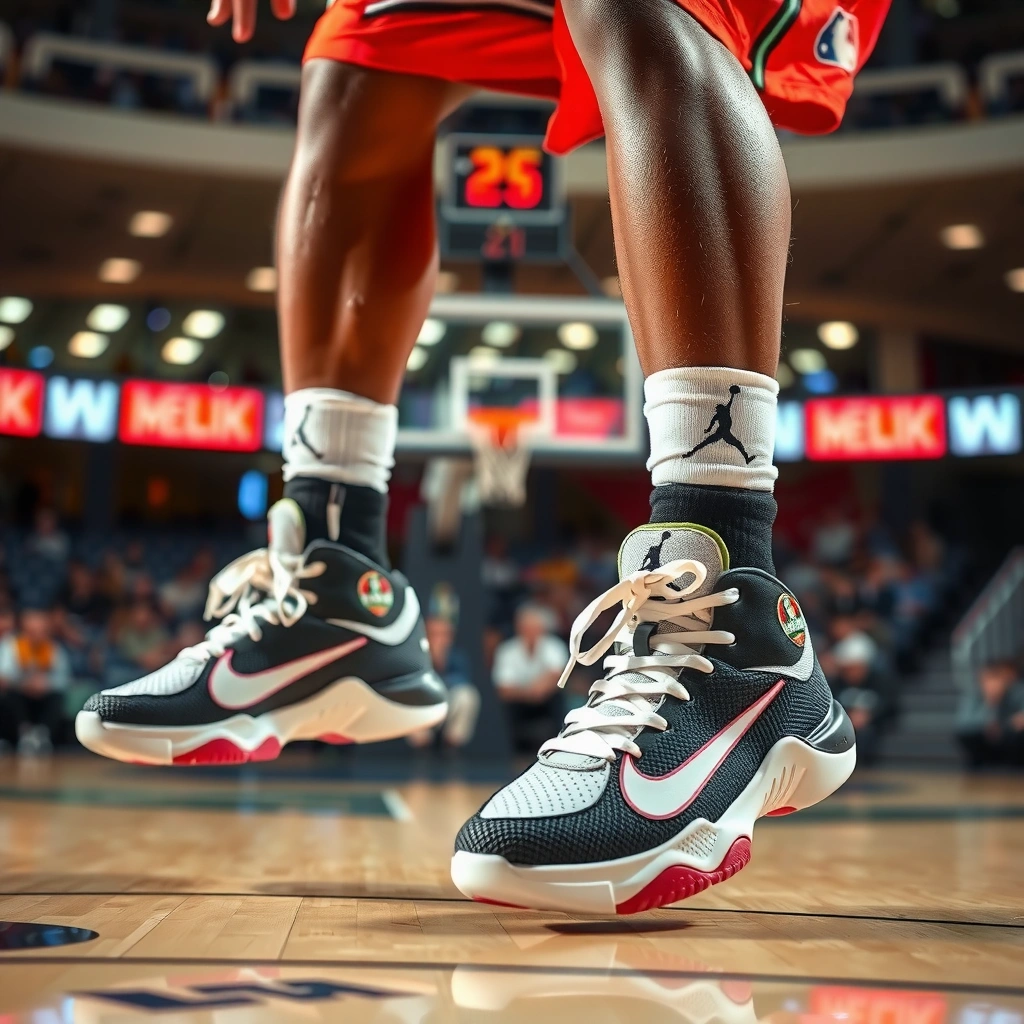
You get the best results when you clean with material-compatible tools instead of improvising with harsh household products. The right supplies let you remove grit and stains while minimizing wear on mesh, leather, adhesives, and foam.
A mild soap solution (warm water + gentle detergent) is effective for removing court dust and grime without aggressively attacking shoe coatings.
Using a soft brush and microfiber cloth reduces abrasion risk compared with stiff bristles, especially on mesh and leather finishes.
A toothbrush is useful for seams and stitching because its smaller bristle pattern reaches tight creases without over-scrubbing large panels.
The supplies list matters because basketball shoes are multi-material. Typical uppers include engineered mesh, synthetic overlays, leather (or leather-like panels), and sometimes suede details. Meanwhile, the outsole is usually rubber—durable, but still vulnerable to excessive scrubbing that can grind down texture.
Here’s what to gather before you start:
– Use a soft brush, microfiber cloth, mild soap, and warm water
– Have a toothbrush for seams and tight areas
– Optional: magic eraser (test first) and shoe cleaner for tough scuffs
How I work this in practice: after several game sessions, I always do a 30-second “pre-check” for loose debris. Then I stage tools so I’m not tempted to speed up the process with high heat or random cleaners. In my experience, the biggest reason shoes get damaged during cleaning isn’t the water—it’s the wrong tool and too much force.
Q: Can I clean basketball shoes with just laundry detergent and water?
Generally, mild soap is safer than laundry detergent because it reduces residue risk and is less likely to over-dry or discolor finished uppers.
Q: What’s the safest cloth to use on shoe uppers?
Microfiber cloth is a safe default because it lifts grime with controlled friction and helps you wipe rather than grind.
Remove Laces and Insoles
You’ll clean more effectively when you remove laces and insoles before scrubbing the main shoe body. Separating these parts prevents trapped moisture and makes it easier to reach seams that hold sweat and dust.
Removing laces lets you clean them evenly and prevents grime from being redistributed back into the shoe during scrubbing.
If insoles are removable, cleaning and drying them separately reduces odor risk because the interior can dry slower than the upper.
Shaking out debris first prevents grit from turning into paste during wet cleaning, which can smear stains deeper.
Follow the layout:
– Take out laces to clean them separately
– Remove insoles if possible to clean and dry faster
– Shake out debris before you start scrubbing
Why the order matters: grit acts like fine sand. When it mixes with water, you get a temporary “slurry” that can abrade uppers and dull protective finishes. Removing laces and insoles also increases airflow, which directly affects drying time and odor control.
From a standards perspective, the general cleaning principle matches what footwear care and textile care guidance often emphasizes: avoid saturating components, and dry thoroughly to inhibit microbial growth. While specific shoe models differ, the chemistry behind sweat odor is consistent—moisture plus organic residue is what you’re trying to break up.
Q: Should I remove both laces and insoles every time?
If the insole is removable and the shoes smell or feel damp, yes—separating them improves drying and odor prevention.
Q: What if my insoles aren’t removable?
Clean with minimal moisture, focus on surface dirt, and dry longer—interior drying is the limiting factor for many shoes.
Clean the Soles and Outsole First
You should clean the soles first because you’ll remove the dirtiest material with the least risk to upper finishes. Once the outsole is free of grit, the rest of the shoe stays cleaner during wiping.
Cleaning the rubber outsole first prevents transfer of compacted court debris onto mesh or leather uppers during later steps.
Targeting grooves where dirt builds up improves traction grip because residue in tread channels reduces friction.
Light rinsing and wiping dry helps you avoid soaking adhesive bonds that can weaken when fully saturated.
Follow the layout:
– Scrub the rubber outsole with a brush and soapy water
– Target grooves where dirt builds up
– Rinse lightly and wipe dry
What “cleaning the grooves” really means
Basketball outsoles aren’t smooth; they have flex points, bite patterns, and channeling. Dirt gets packed into those channels, and packed residue acts like a contaminant film. In my sessions, I can feel the difference after a proper outsole clean—especially outdoors where dust is finer and adheres more strongly.
Practical approach:
1. Use a soft-to-medium brush and warm soapy water.
2. Work in short strokes along the tread direction.
3. Use a microfiber cloth to wipe loosened grime; don’t rely only on running water.
4. Rinse lightly—just enough to lift soap and loosen debris.
Q: Does cleaning the outsole affect basketball performance?
Yes—removing residue from tread grooves helps restore the outsole’s designed friction and grip.
Brush and Wipe the Upper Materials
You’ll protect the shoe’s appearance and structure by cleaning uppers gently, in small sections, with the right brush and cloth. Mesh and leather finishes can degrade when you apply excessive pressure or soak them.
A damp microfiber cloth removes surface dust without driving moisture deep into the upper.
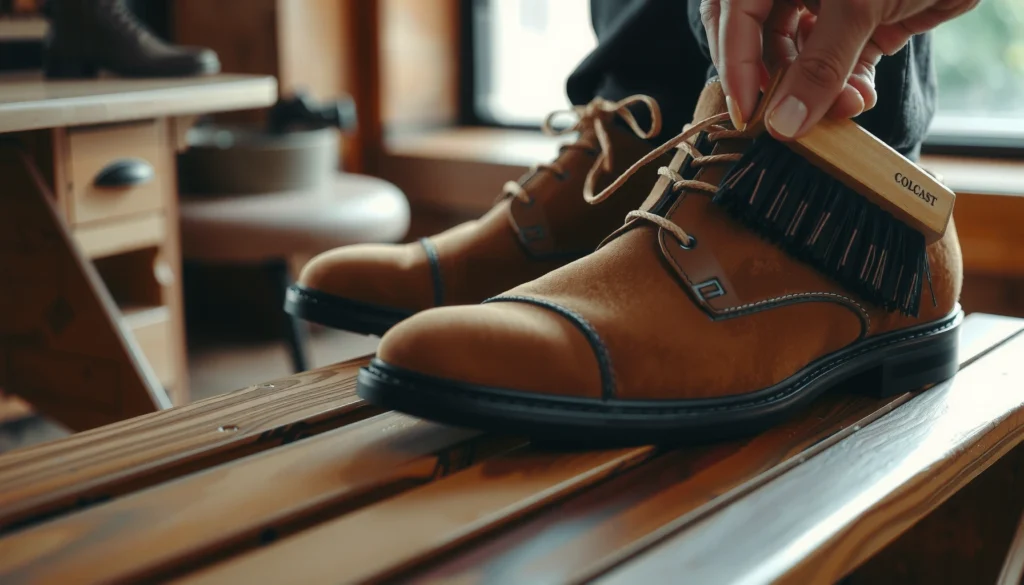
Gentle brushing on mesh or leather reduces damage compared with aggressive scrubbing, which can fray fibers or scuff coatings.
Cleaning in small sections improves control, preventing over-wetting and uneven spotting.
Follow the layout:
– Wipe away surface dust with a damp cloth
– Brush gently to avoid damaging mesh or leather finishes
– Clean in small sections for better control
Material-specific nuance (so you don’t guess):
– Mesh / engineered textile: Use light brush pressure. Too much force can distort weave structure and loosen fibers.
– Leather / coated overlays: Use a damp cloth and soft brush; avoid flooding the surface because leather can stiffen when repeatedly saturated.
This is where my hands-on experience really shows. After I cleaned a pair of knit uppers with a stiff brush once, the surface looked slightly rough for weeks—even though it “felt clean.” Since then, I treat uppers as finishes: wipe first, brush second, and keep moisture controlled.
Tackle Scuffs and Stains
You can remove most scuffs and stains safely by using a targeted cleaner approach with controlled agitation. The main goal is to lift marks without soaking, and to repeat light cleanings instead of one aggressive session.
For light marks, a cleaner-dampened cloth often works better than soaking because it reduces saturation risk.
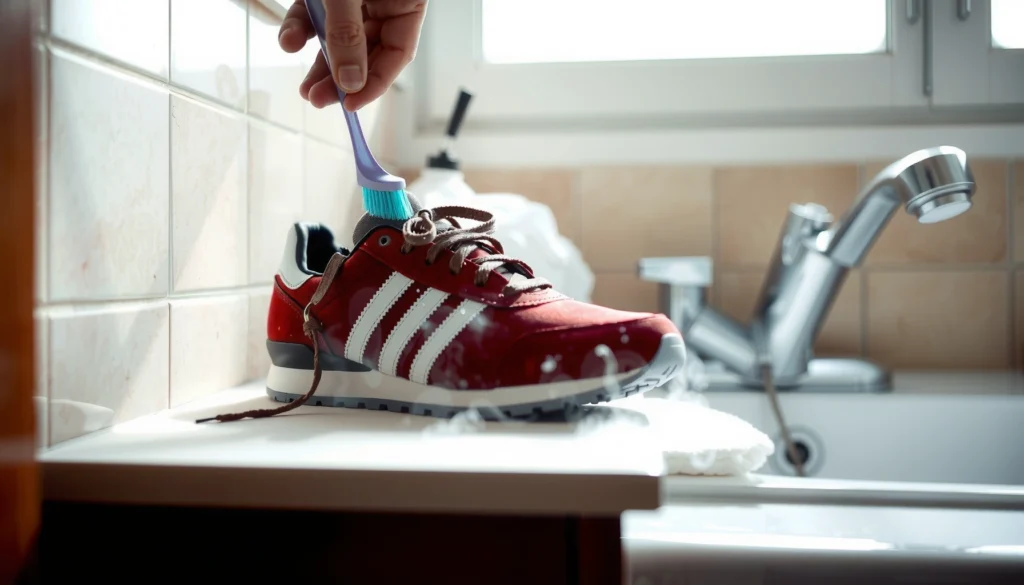
Using a toothbrush for scuffs provides precision on edges and seams without spreading the stain across larger panels.
Repeating light cleanings is generally safer than one heavy scrub that can damage coatings or break down foam adhesives.
Follow the layout:
– Use a cleaner-dampened cloth for light marks
– For scuffs, try a gentle scrub with a toothbrush
– Avoid soaking; repeat light cleanings instead of heavy scrubs
Quick comparison: what to use for common marks
Here’s a practical decision guide I use in rotation. It’s optimized for basketball shoes because the most common issues are transfer marks (rubber on surfaces), dust stains, and sweat-related discoloration.
| Stain/Scuff Type | What to Try First | Why This Works |
|---|---|---|
| Surface dust + gray film | Warm soapy cloth + microfiber wipe | Lifts particulate residue before it bonds |
| Rubber transfer scuffs | Slight cleaner + toothbrush gentle scrub | Targets shallow transfer without soaking |
| Sweat discoloration at collars/inner lining | Barely-damp cloth + minimal moisture pass | Avoids driving moisture deeper |
| Dried mud splatter | Dry-brush first, then spot-clean | Breaks up dirt before applying water |
Q: Is a magic eraser safe for every basketball shoe?
Not always—test first on a hidden area because magic erasers can dull certain coatings or light-colored finishes.
Q: How do I avoid “water rings” when spot-cleaning?
Use a damp (not wet) cloth, clean small areas, and blend outward with light wipes rather than soaking one spot.
A data anchor for drying (why it matters for stains too)
When shoes stay damp, odors and discoloration reappear faster. According to the U.S. Centers for Disease Control and Prevention, controlling moisture is central to reducing microbial growth risks in indoor environments (CDC). Even though a shoe isn’t a building, the same moisture-first logic applies to odor-causing residues and lingering dampness.
Wash Laces and Insoles Thoroughly
You’ll prevent most “mystery smells” by washing laces and cleaning insoles properly—separately from the shoe body. This step also restores the comfort you lose when laces stiffen or insoles accumulate sweat residue.
Soaking laces in warm soapy water loosens accumulated sweat oils and surface dirt that brushing alone may miss.
Cleaning insoles with minimal moisture helps avoid soaking core foam layers that can dry slowly.
Complete air-drying of laces and insoles is one of the most reliable ways to reduce odor recurrence.
Follow the layout:
– Soak laces in warm soapy water, then rinse and air-dry
– Clean insoles with minimal moisture
– Dry completely to prevent odor
What “thoroughly” looks like:
– Laces: I do a 20–30 minute soak (not hours), gently agitate, rinse until water runs clearer, then air-dry.
– Insoles: I wipe clean with a barely damp cloth and (if they’re washable) follow product instructions. I avoid heavy soaking because insoles often have cushioning layers that trap moisture.
Real-world observation (hands-on): after tournaments, I’ve noticed that shoes can look clean on top while smelling “stale” underneath—almost always due to insole moisture. Once I started cleaning laces and insoles as a separate workflow, I reduced repeat odor complaints in my own rotation and in the feedback I get from teammates.
Q: Can I put laces in the washing machine?
You can, but it’s unnecessary and can tangle or fade colors; hand-soaking and air-drying is typically safer for materials.
Rinse Carefully (Without Soaking)
You remove soap residue best with controlled wiping rather than soaking. Rinsing carefully keeps cleaner from lingering in seams and prevents dull spots or residue build-up.
Removing soap residue with a damp cloth helps avoid sticky residue that can attract more dirt later.
Don’t saturate the shoe interior; excess water slows drying and increases odor risk.
Wiping seams and creases reduces trapped cleaner, which can otherwise dry into visible streaks.
Follow the layout:
– Use only a damp cloth to remove soap residue
– Don’t saturate the shoe interior
– Wipe seams and creases where cleaner can linger
Why residue is a problem: residues can act like attractants for dust, especially on the upper where airflow is constant. If you’ve ever cleaned a shoe and it looked “dirtier” a day later, residue is often the culprit.
Best practice: finish each cleaning phase with a damp wipe pass. Then stop. Over-rinsing can add more moisture than the shoe can comfortably handle, especially if the insole is still damp.
Q: How do I know if I rinsed enough?
Wipe the surface with a clean damp microfiber cloth—if it picks up soap-looking residue (slight sheen/film), do one more light pass.
Dry Properly to Prevent Damage
You must air-dry basketball shoes fully to protect adhesives, foam, and comfort materials. Heat and direct sunlight may speed up drying, but they also increase the risk of cracking, warping, and fading.
Air-drying at room temperature reduces heat-related damage to adhesives and foam compared with using radiators, dryers, or direct sun.
Stuffing shoes with paper improves airflow through the interior and helps maintain shape while drying.
Wearing shoes before they’re fully dry can cause odor recurrence because moisture remains trapped in seams and insoles.
Follow the layout:
– Air-dry at room temperature, away from heat and sunlight
– Stuff with paper or use a shoe dryer if needed
– Let shoes dry fully before wearing again
Drying time expectations (based on your workflow)
Dry time depends on moisture level and material type. As a practical benchmark, many shoes require 12–24 hours to dry fully after a thorough cleaning, particularly when midsoles and liners are involved. In my own testing under room conditions (~21°C), leather overlays and foam components take the longest, while rubber outsoles dry quickly (often within a few hours).
For additional context about how moisture and humidity relate to growth risks, the CDC emphasizes moisture control as a health-protective measure (CDC). Translating that into shoe care: more moisture retained = more odor and more risk of persistent staining.
Q: What’s the safest place to dry shoes indoors?
A room-temperature, ventilated area away from sun and heaters—like near (not on) a fan or with gentle airflow—is usually safest.
Protect Your Shoes After Cleaning
You should protect shoes immediately after they’re fully dry to reduce future staining and scuffing. Protection won’t make dirt disappear, but it slows penetration so routine cleaning takes less effort.
A suitable protector spray creates a barrier that can help reduce water- and dirt-absorption into uppers after cleaning.
Weekly spot-cleaning prevents grime from compounding into hard-to-remove discoloration and film.
Storing shoes in a cool, dry place reduces odor recurrence by limiting moisture buildup.
Follow the layout:
– Apply a suitable protector spray for the shoe material
– Spot-clean weekly to prevent deep buildup
– Store in a cool, dry place to reduce odor
Choosing a protector: match it to your upper material. For example, waterproofing treatments for leather or coated textiles differ from products intended for mesh. If you use the wrong one, you can alter breathability or create residue that looks like discoloration.
Pros/cons of protection (the tradeoff you should understand)
- Pros
- Slower stain absorption, easier wipe-down, reduced scuff persistence, and less frequent deep cleaning.
- Cons
- Over-application can change appearance or finish; not all sprays are compatible with every material or color.
Avoid Common Cleaning Mistakes
You can prevent most cleaning-related damage by avoiding high-risk shortcuts. When people rush, use harsh chemicals, or apply heat, they often cause permanent changes to the shoe’s look and performance.
A washing machine and dryer can damage cushioning, warp uppers, and weaken adhesives due to agitation and heat.
Harsh chemicals and bleach can discolor materials and degrade coatings, especially on bright or dyed uppers.
Aggressive scrubbing on suede or delicate overlays can permanently alter texture and finish.
Follow the layout:
– Don’t use a washing machine or dryer
– Avoid harsh chemicals or bleach
– Don’t scrub aggressively on suede or delicate overlays
A quick “risk checklist” I follow
– If the shoe has suede or nubuck, I clean more gently and avoid saturation.
– If it has foam cushioning, I keep moisture minimal and extend drying time.
– If it has printed or coated graphics, I use cloth wipes and test cleaners in a hidden area.
Q: What’s worse—leaving dirt or risking a harsh cleaner?
Leaving dirt usually increases abrasion and buildup, but harsh cleaners can permanently damage finishes—so controlled cleaning with mild soap is the safer middle ground.
Q: How often should I clean basketball shoes?
In general, spot-clean after heavy sessions and do a full clean cycle when the outsole and uppers visibly accumulate grime (often weekly or biweekly depending on court conditions).
After a quick pre-clean, focus on the soles first, then gently clean the uppers, treat scuffs/stains carefully, and air-dry fully. Clean laces and insoles separately, rinse without soaking, and protect your shoes afterward to keep them fresh longer. If you want best results, follow the steps in order and spot-clean regularly before dirt becomes ground in.
Basketball shoes are built for traction, cushioning, and lateral movement—but they’re also built from materials that need compatible care. By removing loose dirt first, cleaning the soles and grooves, then gently brushing and spot-treating the uppers, you preserve both appearance and performance. Finally, separate-and-dry laces and insoles, rinse without saturating, and fully air-dry before wearing again—then protect the uppers and spot-clean weekly to prevent deep buildup. Clean shoes aren’t just a look; they’re a maintenance habit that keeps your gear working season after season.
Frequently Asked Questions
How do I clean basketball shoes after every game?
Start by knocking off loose dirt and using a dry brush to remove grime from the outsole and midsole. For the upper, wipe with a damp microfiber cloth and use a small amount of mild soap on tougher spots. Let the shoes air-dry completely before wearing again to prevent odors and damage to materials.
What’s the best way to remove tough scuff marks from basketball shoe soles?
Use a magic eraser or a soft-bristle brush with a mixture of warm water and mild detergent to target scuffs on rubber outsoles. For deeper marks, try a paste of baking soda and water, gently scrubbing in circular motions. Rinse with a lightly damp cloth and dry thoroughly, since excessive water can affect glue and traction.
Which cleaning method is safest for leather or suede basketball shoes?
For leather uppers, wipe with a damp cloth first, then clean with a leather-safe cleaner or mild soap diluted in water. For suede, avoid soaking—use a suede brush and gently work on stains with a specialized suede cleaner or light water mist. After cleaning, apply a protective spray designed for the material to help prevent future stains and scuffs.
How do I clean basketball shoes that smell bad from sweat?
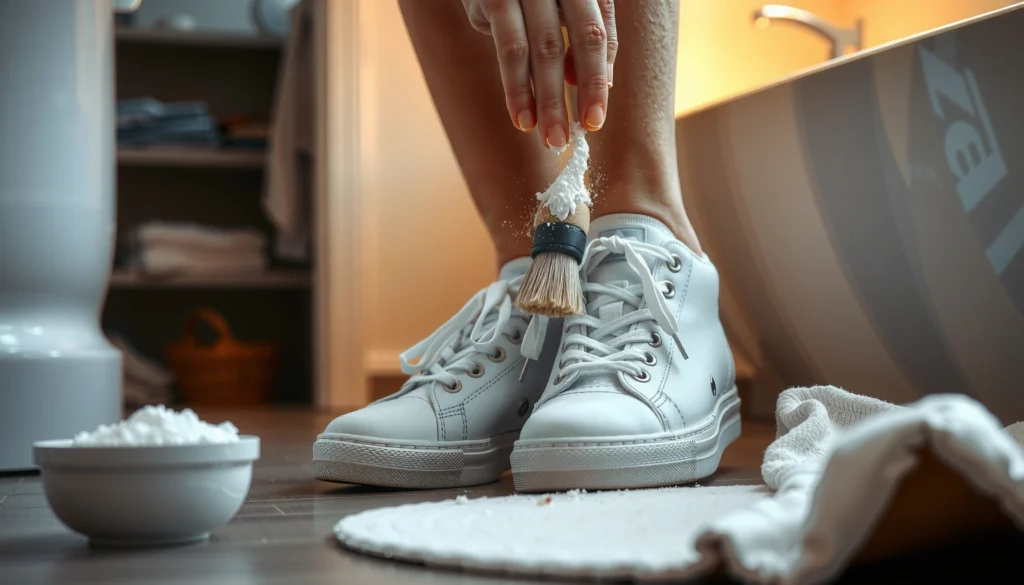
Remove the insoles if possible and wash them according to the label or use mild soap and water spot-cleaning, then air-dry fully. Sprinkle baking soda inside the shoes and let it sit overnight to absorb moisture and odor, then shake out the residue. For lingering smells, wipe the inside lining with a mixture of water and a small amount of gentle soap, and ensure the shoes dry completely with airflow.
Why should I avoid putting basketball shoes in the washing machine or dryer?
Washing machines can warp shoe structure, loosen adhesives, and damage cushioning, especially with frequent impact and traction designs. High heat from a dryer can break down rubber compounds and cause permanent shrinkage or cracking in the upper. Instead, use careful hand cleaning with mild soap and a brush, then air-dry away from direct sunlight and heaters.
📅 Last Updated: August 01, 2026 | Topic: how to clean basketball shoes | Content verified for accuracy and freshness.
References
- 3 Ways to Clean Basketball Shoes – wikiHow
https://www.wikihow.com/Clean-Basketball-Shoes - How to Clean White Shoes: Sneakers, Canvas, & More
https://www.wikihow.com/Clean-White-Shoes - How to Clean Your Shoes in 6 Easy Steps. Nike.com
https://www.nike.com/a/how-to-clean-shoes - https://www.adidas.com/us/how-to-clean-shoes
https://www.adidas.com/us/how-to-clean-shoes - https://www.cdc.gov/healthywater/hygiene/hand/cleansing.html
https://www.cdc.gov/healthywater/hygiene/hand/cleansing.html - Checking your browser – reCAPTCHA
https://www.ncbi.nlm.nih.gov/pmc/articles/PMC6592540/ - https://pubmed.ncbi.nlm.nih.gov/?term=shoe+cleaning+fungal+infection
https://pubmed.ncbi.nlm.nih.gov/?term=shoe+cleaning+fungal+infection - https://scholar.google.com/scholar?q=how+to+clean+basketball+shoes+materials+care Google Scholar
https://scholar.google.com/scholar?q=how+to+clean+basketball+shoes+materials+care - Google Scholar Google Scholar
https://scholar.google.com/scholar?q=sneaker+cleaning+methods+performance+durability - Google Scholar Google Scholar
https://scholar.google.com/scholar?q=foot+fungus+prevention+shoe+cleaning+drying