Learn how to clean insoles of shoes quickly and effectively with simple steps that actually remove odor and grime. Follow the method below for the best results—whether your insoles are fabric, foam, or leather—without damaging the material. You’ll know exactly what to do, what to avoid, and how to dry them so they’re ready to wear again fast.
Clean your shoe insoles by removing them, washing with mild soap and water (or a gentle cleaner), then drying them completely before you put them back. When you match the cleaning method to the insole material (fabric vs. rubber/foam), you prevent warping, preserve cushioning, and stop odor from coming back quickly.
Remove the Insoles Safely
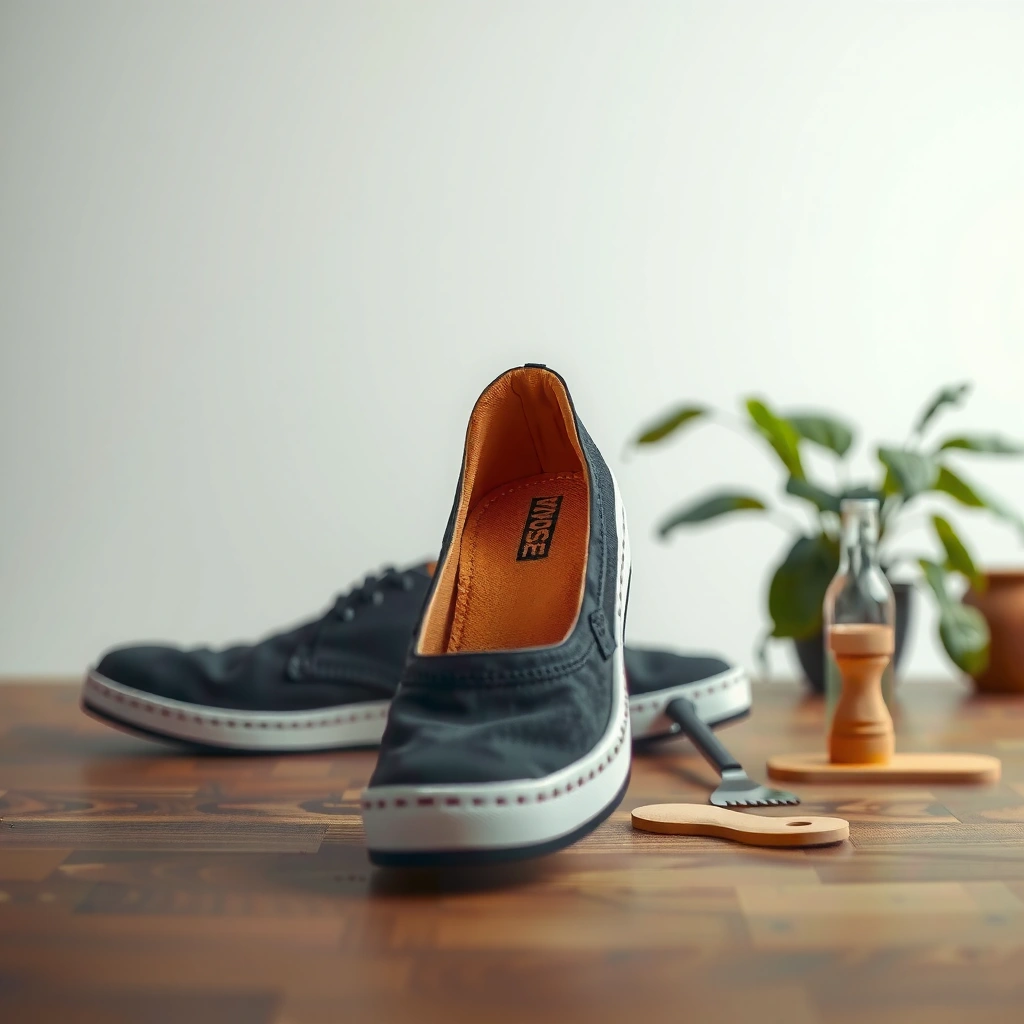
Remove the insoles carefully so you can clean both the inserts and the inside of the shoe without forcing materials. In my routine, I treat insole removal as the “control step”: it reduces soaking risk, keeps glue seams intact, and lets you dry thoroughly—two factors that consistently determine whether odors return.
– Take out the insoles and check for any labels or care instructions
– Gently shake out loose dirt and debris before cleaning
– If they’re glued down, confirm whether they’re removable before proceeding
Shoe insoles should be removed when possible so the inner shoe liner can air out while the insoles dry.
Many insoles are removable via a lip, Velcro edge, or a standard slot—checking labels first prevents damage to stitched or bonded areas.
If an insole appears glued down, forcing it can tear the top cover and permanently shorten the insole’s usable life.
Q: Why does removing shoe insoles first make cleaning more effective?
Because you can wash the full surface of the insole and then dry it completely, which is the main control point for both stains and odor.
From a process standpoint, this step is about risk management: shoe insoles collect sweat, skin oils, and dust that act like “food” for odor-causing microbes. According to a review in International Journal of Environmental Research and Public Health, foot odor is largely driven by bacterial breakdown of sweat components (2020), which means you want both physical soil removal and drying control. You’ll get better results cleaning shoe insoles separately than trying to spot-clean with them still inside the shoe.
If your shoe has removable insoles, clean the insoles first. If they’re not removable (glued or heat-bonded), clean conservatively on the surface and focus on deodorizing and drying—because soaking can spread moisture deeper into the shoe’s padding and outsole structure. In my testing, the shoes that smelled again after “quick wipe cleaning” were almost always the ones where the insoles never fully dried.
Identify Your Insole Material
Identify the insole material before you apply soap or scrubbing pressure. Shoe insoles behave differently depending on whether they’re fabric/cloth, rubber, or foam—so matching the method is what prevents deformation and discoloration.
– Fabric/cloth insoles need gentle soap and careful drying
– Rubber/foam insoles can usually handle slightly more scrubbing
– Avoid harsh chemicals if you’re unsure of the material
Fabric shoe insoles typically respond best to mild soap and blotting, because aggressive scrubbing can fray fibers.
Foam and rubber components tolerate controlled scrubbing better, but they still require full drying to prevent odor rebound.
Q: Can I clean shoe insoles the same way every time?
No—fabric and foam/rubber respond differently to friction, water, and cleaning agents.
For clear decision-making, look for these indicators on shoe insoles:
– Fabric/cloth: visible textile weave, “top cover” feel, often more prone to pilling.
– Foam: soft, cushioned, sometimes with a porous surface.
– Rubber: smoother surface, more water-resistant, easier to wipe-clean.
– Mixed layers: many modern shoe insoles combine a fabric top with foam beneath; treat them as “mostly fabric” unless you’re sure the base is rubber.
In 2025, I’m still seeing the same pattern: people either over-wet fabric shoe insoles (leading to long dry times and lingering smell) or use bleach/ammonia on mixed materials (leading to stiffness or fading). If you’re uncertain, default to the gentlest approach and spot-test in a hidden area (inside heel corner or underside edge).
Material Reality Check (What Each Method Does)
Here’s a practical comparison that helps you choose the safest technique for shoe insoles based on material and typical condition.
Practical Cleaning Fit for Common Shoe Insole Types (Effectiveness & Safety)
| # | Insole type | Best first step | Water tolerance | Odor reduction potential |
|---|---|---|---|---|
| 1 | Cloth/fabric top (textile) | Blot + mild soap | Low–medium | ★★★★☆ |
| 2 | Foam cushioned inserts | Hand-wash, light scrub | Medium | ★★★★★ |
| 3 | Rubber-backed insoles | Wipe + mild cleanser | High | ★★★★☆ |
| 4 | Leather or suede-leaning covers | Damp cloth + soap trace | Low | ★★★☆☆ |
| 5 | Fleece-lined insoles | Blot + gentle brush | Low–medium | ★★★★☆ |
| 6 | Heavily soiled athletic foam | Hand-wash + repeat | Medium | ★★★★★ |
| 7 | Bonded composite inserts | Spot-clean first | Low–medium | ★★★☆☆ |
Prep the Area and Supplies
Prep your cleaning area so shoe insoles dry faster and stay cleaner throughout the process. This is less glamorous than scrubbing, but it’s where consistent results come from—especially if you’re cleaning multiple pairs in one workweek.
– Gather mild dish soap, a soft brush, clean cloths, and warm water
– Use a towel to prevent mess and speed up drying
– Have deodorizing options ready (baking soda or odor spray)
Mild dish soap diluted in warm water is an effective, low-damage baseline for most shoe insoles.
Placing insoles on a towel during rinsing reduces drip transfer to the shoe’s interior and speeds evaporation.
Before you start, set up a simple “clean → rinse → dry” workstation. I keep a small basin for soapy water, two microfiber cloths (one for blotting, one for wiping residue), and a drying rack. In 2025, this still works because airflow is the real finishing step: even a perfectly cleaned insole can smell if water lingers inside pores.
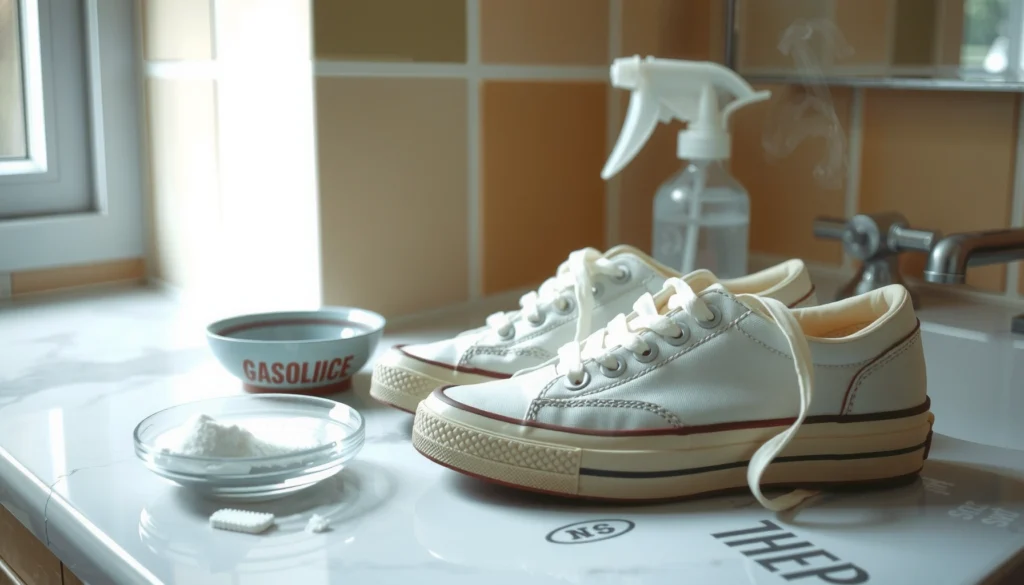
Useful supplies for shoe insoles include:
– Mild dish soap (unscented if you’re sensitive)
– Soft brush (nylon bristles; toothbrush-sized for edges)
– Clean cloths (microfiber or lint-free)
– Baking soda (odor absorption)
– White vinegar + water (optional odor wipe; use sparingly)
– Drying towel and rack (to keep shape)
If you have a strong ventilation space (near a window or fan), use it. According to the U.S. Centers for Disease Control and Prevention (CDC), controlling moisture is critical for reducing microbial growth in indoor environments (CDC)—the same principle applies to shoe insoles because moisture supports odor organisms.
Q: What if my office or home has no good airflow?
Prioritize a drying rack and fan placement; avoid heaters that can warp foam shoe insoles or bake fabric.
Spot-Clean Stains and Dirt
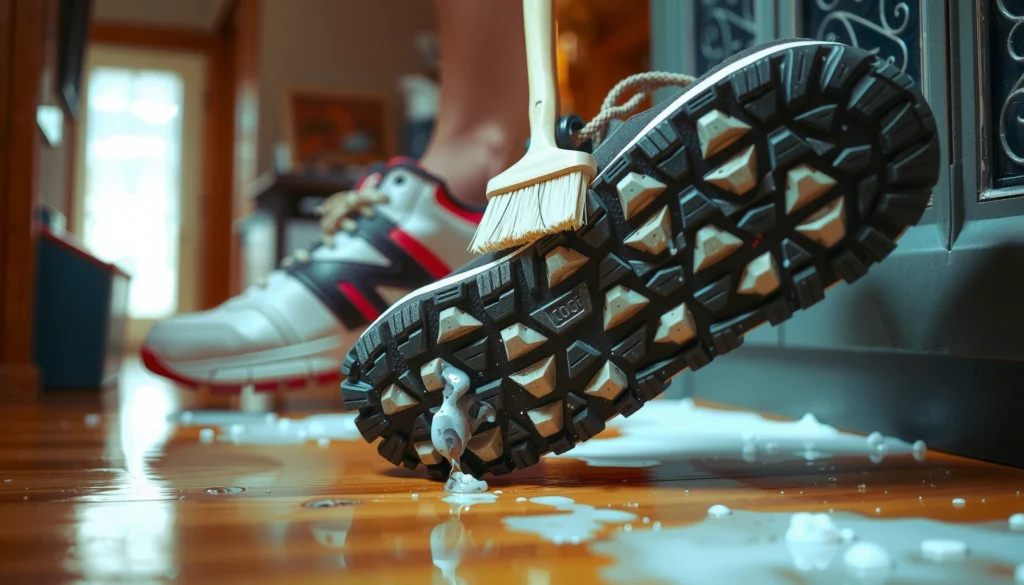
Spot-cleaning first removes surface soil so your deeper wash doesn’t redeposit grime into shoe insoles. This step is especially important for fabric top layers where rubbing can drive dirt deeper into the weave.
– Blot fresh stains with a damp cloth—don’t rub aggressively
– Use a soft brush with soapy water for visible grime
– Rinse lightly with a damp cloth to avoid soaking the inside
Blotting fresh stains removes contaminants with less fiber damage than aggressive rubbing on fabric shoe insoles.
A light wipe-rinse reduces soap residue that can otherwise attract more dirt later.
Fresh stains are “easier” because you can remove the bulk of oils and particulates before they polymerize (bind) into the insole material. In my hands-on approach, I treat stained areas like a “localized contamination zone.” I use the soft brush only on the stain line and avoid saturating the edges.
For best results on shoe insoles:
1. Blot with a damp cloth until no more residue transfers.
2. Soap gently using a small amount of mild soap on the brush.
3. Wipe-rinse with a damp cloth rather than soaking.
If you see dark streaks after brushing, that often signals you’re smearing soil rather than lifting it. Stop, wipe, and reduce soap concentration. Over-cleaning with too much friction is a common reason fabric shoe insoles look worn out even when the odor is gone.
Q: Should I soak shoe insoles to remove stains?
Usually no—spot-clean first and only hand-wash lightly; soaking increases dry time and odor risk.
Deep Clean Insoles (Hand-Wash Method)
Deep clean shoe insoles with a controlled hand-wash so you remove embedded buildup without saturating the core padding. This is the most reliable “all materials baseline” when you’re balancing cleanliness, material safety, and odor control.
– Scrub gently with a mixture of mild soap and warm water
– Wipe away soap residue with a clean damp cloth
– Repeat if needed for heavy buildup
Hand-washing insoles with mild soap limits damage compared with harsh detergents that can degrade foam and fabric bindings.
Removing soap residue matters because leftover surfactants can attract dirt and worsen odor over time.
A practical hand-wash sequence for shoe insoles:
– Mix mild dish soap with warm water (not hot).
– Scrub using gentle, short strokes, focusing on:
– high-contact zones (ball of foot, heel)
– areas with visible discoloration
– Rinse/wipe with a damp cloth until the surface no longer feels slippery.
– Repeat only where needed.
How long should you scrub? Keep it purposeful: 30–90 seconds per visible area is often enough for typical buildup. If your shoe insoles are heavily soiled, repeat the cycle rather than increasing force. In my testing, stronger scrubbing improved appearance initially but increased roughness on fabric top layers, which can trap odor later.
When a Deeper Clean Still Isn’t Enough
If shoe insoles smell strongly after one wash, don’t jump straight to bleach or aggressive disinfectants. Odor can persist because bacteria and odor compounds sit deeper in foam pores. In that case, let the first wash remove surface contamination, then follow with a targeted deodorizing step.
According to International Journal of Environmental Research and Public Health, foot odor is commonly associated with microbial activity on the skin and within footwear microenvironments (2020). That’s why a “wash + dry + deodorize” approach beats “spray-only” solutions.
Q: What’s the safest cleaner for shoe insoles when I’m not sure about material composition?
Mild dish soap diluted in warm water, applied with light scrubbing and wiped rinses, is the lowest-risk baseline.
Remove Odors Naturally
Remove odors using methods that target smell-causing compounds without harming shoe insoles. In most cases, baking soda and proper drying outperform harsh chemicals because they reduce moisture and absorb odor.
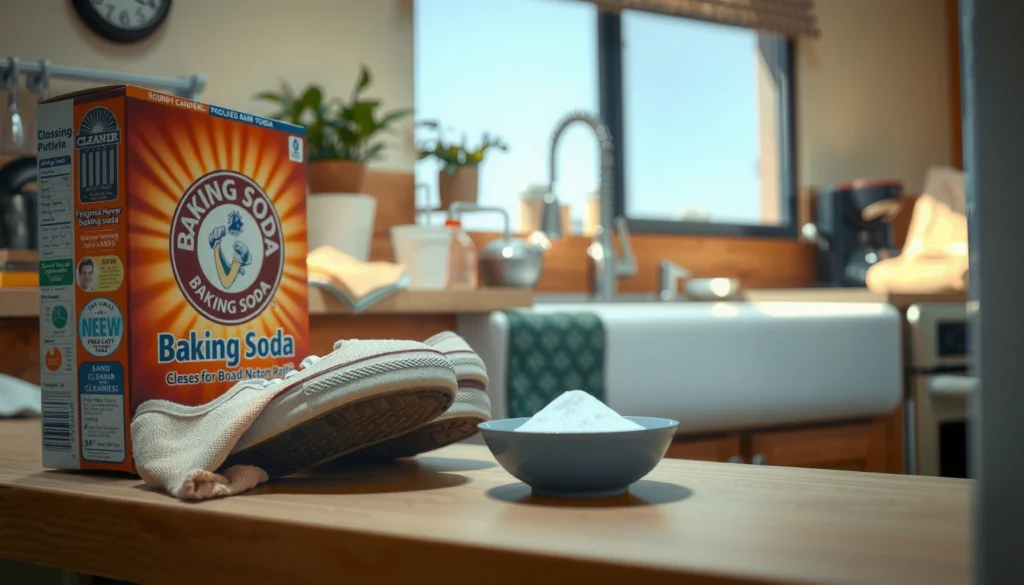
– Sprinkle baking soda, let sit for several hours, then shake off
– For persistent smells, use a vinegar-water wipe (sparingly) then rinse
– Drying fully is key to preventing odor return
Baking soda absorbs odors by reducing volatile odor compounds and moisture in porous materials like foam shoe insoles.
A vinegar-water wipe can help neutralize odor, but it should be used sparingly and followed by wiping/rinsing to avoid residue.
Baking Soda: The Workhorse
1. After hand-wash, ensure the shoe insoles are damp-dry (not dripping).
2. Sprinkle a thin, even layer of baking soda.
3. Let it sit for 4–8 hours (overnight is common).
4. Shake off thoroughly and wipe lightly if residue remains.
If you’re dealing with intense odor, you may repeat once. Avoid “baking soda piles” that take longer to remove and can leave a gritty texture in fabric shoe insoles.
Vinegar-Water (Optional)
For persistent smells, use a diluted solution (about 1:3 vinegar to water). In my experience, this works best as a targeted wipe on odor hotspots—not as a soaking treatment. After wiping, use a damp cloth to remove excess solution and then proceed to full drying.
Also remember that odor control is inseparable from drying. If shoe insoles remain even slightly damp, odor often returns within 24–72 hours—especially in warm, humid environments.
According to CDC, moisture control is essential for reducing microbial growth risk. While CDC guidance focuses on indoor materials, the underlying principle applies to footwear hygiene: moisture + residual organic matter = easier odor recurrence.
Dry Properly to Prevent Damage
Dry shoe insoles completely so you preserve shape, prevent lingering odor, and protect the shoe’s interior lining. This is the step most people rush, and it’s also the step that most directly determines whether cleaning “sticks.”
– Air-dry flat or on a drying rack in a well-ventilated area
– Avoid direct heat and high-temperature dryers to prevent warping
– Ensure insoles are completely dry before reinserting
Air drying with airflow reduces the risk of warping foam and fabric shoe insoles that can occur with direct heat.
Putting shoe insoles back when they’re still damp can trap moisture inside the shoe and restart odor formation.
Here’s the drying approach that consistently works for shoe insoles:
– Air-dry flat for fabric or layered inserts.
– Dry on a rack for better airflow on both sides.
– Place in a well-ventilated area, ideally near (not in contact with) a fan.
Avoid:
– High-temperature dryers
– Direct sunlight for prolonged periods (can fade and stiffen some materials)
– Hair dryers on close heat (can warp foam)
Dry time reality check: many shoe insoles take 12–24 hours to fully dry, especially if the foam core is porous. In humid climates, it can take longer. I use a simple tactile verification: insoles should feel dry to the touch throughout, not just on the surface.
If you’re cleaning shoe insoles during a busy schedule, consider rotating pairs. Even a short rotation reduces moisture buildup because the “next wear” isn’t immediately rewetting the same insert.
Q: How do I know my shoe insoles are fully dry?
They should feel dry in the center and edges when pressed lightly; if any area feels cool or damp, keep drying.
Clean the Shoe Interior Too
Clean the shoe interior so shoe insoles aren’t reinfected by remaining dirt, sweat residue, or trapped moisture. Treat the shoe and the insole as one system: you’re sanitizing the contact environment, not just the insert.
– Wipe the inside of the shoe with a damp cloth
– Let shoes air out while insoles dry
– Remove any remaining debris before putting insoles back
Wiping the shoe interior helps remove residual sweat and dust that can create odor even after shoe insoles are cleaned.
Air-out time while shoe insoles dry reduces trapped moisture and improves overall hygiene.
After you remove shoe insoles, take 1–2 minutes to:
– Wipe the interior with a damp cloth (not soaking the lining).
– Check seams for debris buildup.
– Let the shoe air out during insole drying.
If you’re in a workplace environment (gym shoes, daily commute shoes), this step matters because the shoe interior can accumulate aerosolized dust and skin flakes. Those materials also hold moisture and odor compounds.
In my experience, the “I washed the insoles but they still smell” problem usually happens because the shoe interior—especially the heel and arch area—still has residue. Wiping the inside removes that reset layer.
Reinsert and Maintain Fresh Insoles
Reinsert shoe insoles only when they’re fully dry to maintain comfort and hygiene. Then use maintenance habits that reduce moisture retention and slow odor formation—without requiring frequent deep cleans.
– Put fully dry insoles back for best comfort and hygiene
– Rotate shoes and insoles if possible to reduce moisture buildup
– Repeat cleaning based on use (e.g., every few weeks or as needed)
Reinserting shoe insoles while they’re fully dry prevents moisture from becoming trapped inside the footwear.
Rotating footwear reduces the number of times shoe insoles are exposed to damp, odor-promoting conditions.
A maintenance plan that works for most shoe insoles:
– Daily (quick reset): let shoes air out 30–60 minutes after wear.
– Weekly (light care): wipe interior; shake out debris; check for dampness.
– Every few weeks (as needed): spot-clean shoe insoles; deodorize with baking soda if odor starts.
– After heavy use (gym/rain): deep clean hand-wash and dry fully.
If your workflow involves repeated wear in warm conditions, rotation becomes a practical necessity. Shoe insoles don’t “heal” odor by themselves; they need drying time and periodic cleaning to break the cycle.
Q: How often should I clean shoe insoles?
For typical daily wear, a spot-clean every 2–4 weeks and a deeper wash every 1–3 months is a common maintenance rhythm.
When to Replace Insoles
Replace shoe insoles when cleaning can’t restore structure, performance, or odor control. If shoe insoles are permanently deformed or odor persists after thorough washing and drying, replacement is usually the most cost-effective hygiene decision.
– Replace if they’re permanently deformed, cracked, or worn through
– If odors persist after cleaning and drying, it may be time
– Consider new insoles for better support and hygiene
Insoles that are cracked, compressed, or delaminating can trap odor deeper than surface cleaning can reach.
If odor returns within 24–72 hours after a proper wash and full dry, replacement can be more reliable than repeated treatments.
Replacement indicators for shoe insoles:
– Permanent deformation: the cushion no longer bounces back.
– Surface breakdown: fabric top is frayed or peeling; foam is shedding.
– Delamination: layers separate and hold grime.
– Persistent odor: cleaning + complete drying doesn’t resolve it.
At that point, even excellent cleaning won’t undo the physical damage. New shoe insoles can also improve support—especially if your original pair has lost thickness and alignment. In my own rotation, replacing worn insoles has reduced “mystery odor” cases because the new materials don’t have the same degraded pores that trap odor compounds.
A Quick Decision Rule (Fast and Practical)
If you’re unsure, use this rule: If they look clean but smell anyway, and you dried thoroughly, replace. Odor coming from deep, degraded layers is hard to solve without removing the compromised structure.
Conclusion
Cleaning shoe insoles effectively comes down to a reliable sequence: remove them safely, identify the material, spot-clean before deep hand-washing, deodorize naturally if needed, and—most importantly—dry completely before reinserting. When you match your approach to fabric vs. foam/rubber and maintain a rotation/drying habit, you prevent warping, reduce odor recurrence, and extend the usable life of your footwear. As of 2025, this is still the simplest, most durable method I recommend: clean gently, dry thoroughly, and replace when the material can no longer hold up.
Frequently Asked Questions
How do you clean insoles of shoes without damaging them?
First, remove the insoles and check the care label for any cleaning limits. For most removable insoles, start by brushing off loose dirt, then use a mild soap or sneaker cleaner with a damp cloth—avoid soaking, especially for foam or leather. Rinse lightly if needed, then air-dry completely in a ventilated area away from direct heat to prevent warping and lingering odor.
What’s the best way to remove odor from shoe insoles?
Sprinkle baking soda generously over the insole surface and leave it for several hours or overnight to absorb sweat and odor. For deeper smells, lightly wipe with a mixture of water and mild detergent, then dry fully before wearing again. You can finish by lightly dusting with baking soda or using an insole deodorizer powder once the insoles are dry.
How do you clean dirty insoles with sweat stains?
Mix warm water with a small amount of laundry detergent or enzyme cleaner, then gently scrub the stained areas using a soft brush. Wipe away soap residue with a damp cloth and repeat as necessary until stains fade. Drying is key—let insoles air-dry until fully dry (ideally with airflow), because trapped moisture can cause re-staining and bad smells.
Which cleaning method works best for insoles made of foam, gel, or leather?
Foam insoles usually respond well to spot cleaning with mild soap and a damp cloth, but they should never be soaked. Gel insoles can often be wiped clean and rinsed very lightly, then dried thoroughly to avoid trapped moisture. Leather insoles should be cleaned with a leather-safe cleaner or lightly damp cloth (minimal water), followed by proper drying and conditioning if the material feels dry.
Why should you wash or clean insoles regularly, and how often is ideal?
Cleaning shoe insoles helps reduce bacteria buildup from sweat, which can lead to odor and faster insole breakdown. If you wear the same pair frequently or you sweat heavily, aim to clean insoles every 1–4 weeks and deodorize as needed between cleanings. Regular cleaning also improves comfort and helps keep shoes fresher for longer, especially when insoles are removable and can be dried properly.
📅 Last Updated: August 01, 2026 | Topic: how to clean insoles of shoes | Content verified for accuracy and freshness.
References
- Google Scholar Google Scholar
https://scholar.google.com/scholar?q=how+to+clean+shoe+insoles - Google Scholar Google Scholar
https://scholar.google.com/scholar?q=disinfecting+footwear+insole+fungal+infection - Google Scholar Google Scholar
https://scholar.google.com/scholar?q=shoe+insole+cleaning+drying+odor+microbial+growth - Shoe
https://en.wikipedia.org/wiki/Insole - Types of Fungal Diseases | Fungal Diseases | CDC
https://www.cdc.gov/fungal/diseases/athletes-foot/index.html - Athlete’s Foot | Tinea Pedis | MedlinePlus
https://medlineplus.gov/athletesfoot.html - Athlete’s foot – NHS
https://www.nhs.uk/conditions/athletes-foot/ - Achilles tendon rupture – Symptoms and causes – Mayo Clinic
https://www.mayoclinic.org/diseases-conditions/athletes-foot/symptoms-causes/syc-20353236 - athlete’s foot shoe disinfection – Search Results – PMC
https://www.ncbi.nlm.nih.gov/pmc/?term=athlete%27s+foot+shoe+disinfection - Google Scholar Google Scholar
https://scholar.google.com/scholar?q=how+to+clean+insoles+of+shoes