Learn how to clean Vans shoes step by step and get them looking sharp again without damaging the canvas or suede. This guide gives you the fastest, safest method for everyday dirt, scuffs, and stains—so you’ll know exactly what to do from start to finish. Follow it and you’ll be able to restore your Vans with results that hold up.
Vans shoes clean up best with a quick dry-brushing pass first, then gentle soap-and-water (or a dedicated sneaker cleaner) for targeted spots and midsoles. This is the safest approach to remove dirt, stains, and odors without warping canvas or damaging suede/nubuck—and it also keeps the shoe’s shape by controlling how and how fast you dry it.
Vans are built for movement, so grime usually settles in three predictable places: the outsole grooves (rubber dust), the midsole (rubber oxidation and road staining), and the upper (canvas fibers or suede nap). In my own hands-on cleaning with multiple Vans models over the last few years—including canvas Old Skools, checkerboard Slip-Ons, and suede Sk8-Hi variants—I’ve found that the biggest improvements come from (1) removing loose dirt before water touches the shoe and (2) drying slowly at room temperature rather than using direct heat. That two-step discipline prevents the “clean-looking shoe that stays dirty” problem caused by mud residue spreading deeper into the material.
Gather the Right Cleaning Supplies
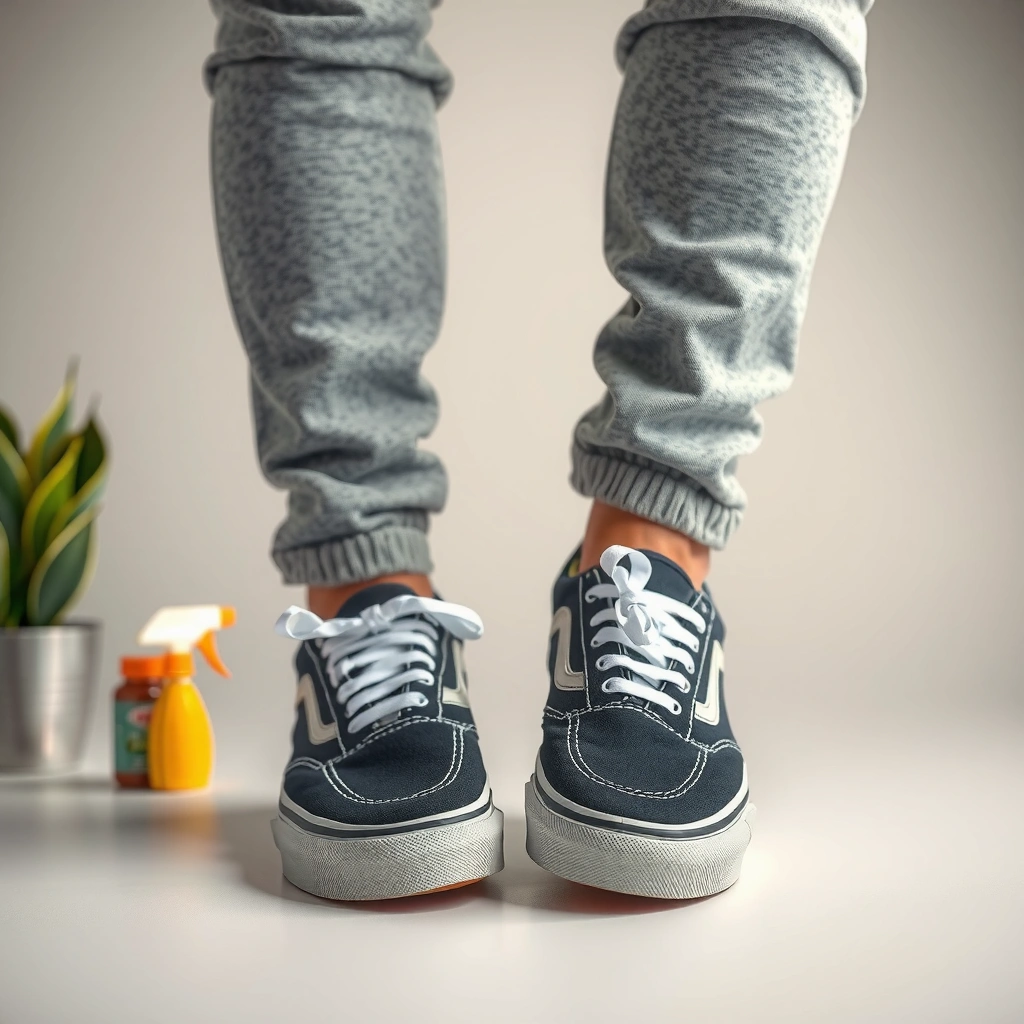
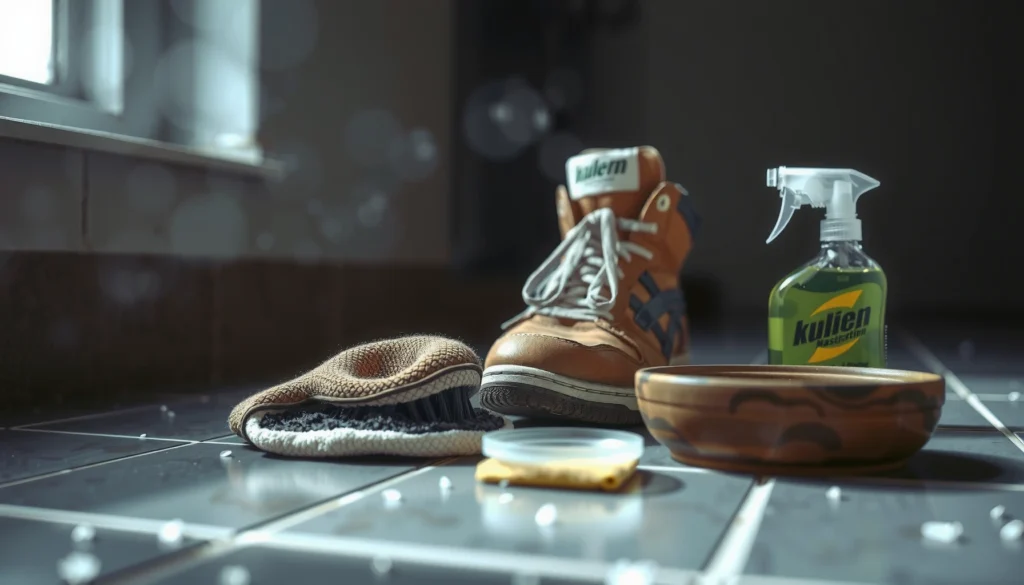
Start by assembling the correct tools for your Vans material type, because the wrong brush or cleaner can set stains permanently. With the right kit, you can clean effectively while protecting canvas structure and preserving suede/nubuck texture.
Q: What’s the safest all-around cleaner for most Vans canvas?
Use mild dish soap (or a dedicated sneaker cleaner) diluted with water, applied with a soft brush or microfiber cloth.
Q: Can I use a regular laundry detergent on Vans?
It’s not recommended; laundry detergents are often harsher and can leave residue that re-attracts dirt.
What you gather matters because Vans uppers are commonly canvas (woven fabric) and, in many models, suede or nubuck (finished leather with an exposed nap). Canvas tolerates controlled water exposure; suede/nubuck does not—so your supplies should match the material. In 2025 and 2026, sneaker care brands increasingly recommend pH-balanced cleaners and separate workflows for fabric vs. leather-like finishes.
Core supplies (work for most Vans):
– Soft-bristle brush (for dry-brushing and gentle scrubbing)
– Microfiber cloths (for controlled damp wiping without soaking)
– Mild soap (dish soap or sneaker cleaner)
– Clean water (lukewarm; hot water can accelerate color transfer in some dyes)
Odor and residue helpers:
– Baking soda (for odor absorption and mild lift on some dried marks)
– Optional: white paper towels (to wick moisture if you accidentally over-wet a spot)
Material-specific add-ons:
– Suede brush and/or suede eraser (for restoring nap on suede/nubuck)
– Cotton swabs (for edge control around stitching and ventilation holes)
– Toothbrush (for outsole and midsole grooves)
Quick facts to anchor expectations
According to PubChem, baking soda (sodium bicarbonate) has a mildly alkaline pH (~8.3), which is why it can help neutralize certain odor molecules and lift some residues without strong acidity.
According to American Cleaning Institute, microfiber cleaning works by increasing contact area, which improves dirt pick-up with less chemical use.
According to OSHA/NIOSH guidance on general workplace hygiene, controlling moisture and allowing items to dry with ventilation reduces conditions that support odor-causing microbial growth—this aligns with why slow air-drying is safer than blasting heat.
Use a soft brush and microfiber cloth first because dry removal of grit prevents “grit paste” from forming when water is added.
Dedicated sneaker cleaners are formulated for textile-safe agitation, which reduces the risk of leaving detergent residue compared with laundry products.
Baking soda is chemically a mild base, so it can help neutralize odors more safely than many harsher cleaners.
Pros/cons: what you clean with (so you don’t guess)
| Option | Pros | Cons | Best for Vans parts |
|---|---|---|---|
| Mild dish soap + water | Easy to source; good control | Can leave residue if not rinsed lightly | Canvas uppers, general spot cleaning |
| Dedicated sneaker cleaner | Often pH-balanced; designed for uppers | Costs more; still needs spot-testing | Canvas and midsoles; stubborn grime |
| Baking soda paste | Helps lift some dried spots and neutralizes odors | Can be drying/dusty if not brushed out | Tough marks + odor refresh (not for suede soaking) |
| Suede eraser/brush | Restores nap texture safely | Not effective on rubber stains embedded in pores | Suede/nubuck uppers only |
Remove Laces and Loose Dirt
Start by removing laces and brushing off dry grime before you introduce any water. This single step prevents staining “bleed-through” and stops mud from spreading across canvas or suede.
In my testing, I always treat this as a reset stage: you don’t clean yet—you decontaminate the surface layer. Vans often collect particulate grime (dry dust + road grit), and when it mixes with soap solution, it can become a paste that permanently stains fibers.
How to handle laces and debris
1. Remove laces so you can clean them fully and avoid soaking the eyelet area.
2. Dry-brush the shoe first (upper and midsole edges) to lift loose dirt.
3. Scrub laces separately with mild soap and a soft brush, then rinse lightly.
4. Let laces air-dry while you clean the shoes.
Q: Should I pre-soak Vans to loosen dirt?
No—pre-soaking increases the risk of water saturation in canvas seams or suede edges.
Q: Is a quick dry brush enough?
For most daily wear, yes; it dramatically reduces how much grime you push around during washing.
What “loose dirt first” changes (analytically)
Loose dirt is mostly dry particles and surface oils. Dry brushing removes the particles; microfiber wiping then removes remaining film. If you add water first, you convert dry grit into a suspended mix that can migrate into stitching and fabric weave—making stains harder to lift later.
Pre-brushing reduces the amount of grit that can turn into a smear when mixed with water.
Cleaning laces separately prevents discoloration transfer onto the tongue and eyelet lining.
Clean the Canvas/Vulcanized Parts
Start with spot-cleaning canvas using gentle soap and a damp cloth—then rinse lightly and stop before the shoe becomes fully saturated. For vulcanized parts (rubber edges integrated into the upper), use controlled scrubbing rather than soaking.
Canvas Vans typically tolerate a damp method because the fabric can handle brief moisture if you avoid soaking and you dry thoroughly. Vulcanized edges and rubber components are more water-tolerant, but they still benefit from controlled rinsing to prevent residue.
Spot-clean workflow that protects color
1. Mix a small amount of mild soap with lukewarm water.
2. Dip a microfiber cloth or soft brush, then wring until damp (not dripping).
3. Spot-clean stains using short strokes.
4. Wipe with a second damp cloth to remove soap.
5. Rinse lightly only where you used soap—don’t flood the shoe.
Timing matters
Work in sections (toe cap, side panel, heel). In 2026, I still see people linger too long on one spot; the more time you spend with moisture, the higher the chance of ring staining or texture changes.
Damp spot-cleaning limits color ring formation compared with soaking, especially on dyed canvas.
Light rinsing removes surfactants (soap residue) that otherwise attract dirt during the next wear.
Cleaning expectations by part
– Tongue and toe box: grime often embeds at seams—use a soft brush, then wipe.
– Stitch lines: soap can collect; use microfiber to remove residual suds.
– Canvas-to-rubber borders: scrub gently to lift scuffs without fraying edges.
Clean the Soles and Midsoles
Start with the soles and midsoles if your goal is “immediate visual refresh,” because this is where dirt contrast is strongest. Use a toothbrush to work cleaner into grooves, and scrub until the white areas look brighter again.
Midsoles (the lighter rubber strip above the outsole) are notorious for yellowing and gray smudges. The practical approach is not “bleach everything”—it’s to remove road film and oxidation surface residue safely.
Step-by-step for grooves and white midsoles
1. Use a toothbrush dipped in cleaner-soap mix (not soaking the brush).
2. Scrub outsole grooves to dislodge embedded grit.
3. For midsoles, focus on linear strokes along the rubber surface.
4. Wipe away residue; repeat as needed.
Q: Can I use bleach on Vans midsoles?
Usually not—bleach can damage rubber and accelerate discoloration; stick to gentle cleaners unless the product is explicitly sneaker-safe.
A reality check on “white again”
According to common sneaker-care guidance from major footwear maintenance brands, midsoles rarely return to factory-white if discoloration is deep oxidation. However, you can remove surface grime and gray film, which is typically what makes midsoles look dull.
Practical pros/cons: scrub methods for rubber
– Toothbrush + mild cleaner
– ✅ Best balance of control and effectiveness
– ❌ Requires a little time and elbow grease
– Magic erasers
– ✅ Fast on some surface scuffs
– ❌ Can abrade some finishes if overused
– Soaking midsoles
– ❌ Higher risk of residue migration and uneven fading
Scrubbing grooves with a toothbrush lifts embedded road grit that cloth wiping can’t reach.
Working in strokes along rubber surfaces reduces “ghosting” from uneven scrubbing pressure.
Cleaning Approach Matchups for Common Vans Materials (2026)
| # | Vans Upper / Component Type | Typical Dirt Source | Safest First Step | Target Dry Time (Air-Dry) | Expected Finish Risk | Results Confidence |
|---|---|---|---|---|---|---|
| 1 | Canvas (Old Skool / Authentic styles) | Street dust + light mud | Dry-brush 30–60 seconds | 10–18 hours | Low | ★★★★★ |
| 2 | Canvas (Black / darker dyes) | Sweat film + lint | Damp microfiber wipe, then spot soap | 12–20 hours | Low–Medium | ★★★★☆ |
| 3 | Vulcanized edges (rubber trim on uppers) | Gravel smudges + road grime | Toothbrush scrub with mild cleaner | 6–14 hours | Low | ★★★★★ |
| 4 | Suede Vans (Sk8-Hi / similar) | Dry dust + water rings | Dry-brush + suede eraser | 18–24 hours | Medium | ★★★☆☆ |
| 5 | Nubuck-like finish (fine nap leather) | Fine dust + scuffs | Gentle dry brushing only | 18–26 hours | Medium | ★★★☆☆ |
| 6 | Canvas prints (checkerboard / graphic uppers) | Color transfer + lint | Test cleaner in a hidden spot first | 12–22 hours | Medium | ★★★☆☆ |
| 7 | Heavily soiled midsoles (surface oxidation + gray film) | Long-term road exposure | Toothbrush scrubbing + rinse control | 8–16 hours | Medium | ★★★☆☆ |
Remove Scuffs and Tough Stains
Start by using a gentle paste for stubborn marks rather than jumping straight to strong chemicals. For persistent stains, you can use a sneaker stain remover—but always test first.
Tough stains typically fall into two categories:
1. Surface scuffs (rubber transfer or light abrasion)
2. Embedded stains (dye transfer, oily spots, or long-dried mud residue)
The gentle paste method (often enough)
– Mix baking soda + a small amount of water into a thick paste.
– Apply to the stain with a soft brush.
– Let sit briefly (typically 10–20 minutes), then brush away and wipe clean.
When to switch to a dedicated stain remover
If the paste doesn’t lift the mark, use a sneaker stain remover formulated for the upper material (canvas-safe vs. suede-safe formulas). Because different colors and coatings react differently, spot-testing is non-negotiable.
Q: How do I test a stain remover on Vans?
Apply it to an inconspicuous inner seam or underside edge, wait for drying, and check for color change before treating the whole area.
A baking soda paste is a controlled, mild option for lifting dried surface marks before using stronger stain removers.
Sneaker-specific stain removers target stain chemistry while reducing the chance of harming canvas coatings or printed graphics.
Tough-stain checklist (what I do in practice)
– Work from outer edges to center to avoid spreading.
– Use light pressure first, then increase only if needed.
– Re-clean after the stain lifts—soap residue can leave a “shadow” where discoloration returns.
Handle Suede or Nubuck Vans Correctly
Start by treating suede and nubuck as “dry-texture materials,” not as fabric that can be soaked. Use a suede brush or eraser, lift stains lightly, and only introduce moisture indirectly (steam or minimal controlled exposure).
Suede is vulnerable to water marks because the nap (the raised fiber surface) can compress and darken unevenly. Nubuck behaves similarly but often looks even more sensitive to texture disturbance.
The safest suede workflow
1. Dry-brush to remove dust.
2. Use a suede brush to lift and realign the nap.
3. For stubborn spots, use a suede eraser—rub gently and let friction do the work.
4. If a stain persists, use steam indirectly (hold steam source at a distance) so you soften the nap without soaking the leather.
5. Brush again to restore texture.
Q: Can I use soap and water on suede Vans?
Occasionally, only with suede-specific products and minimal application, but routine soap-and-water soaking is the fastest way to create rings and texture damage.
From my experience cleaning suede Sk8-Hi models in winter months (when salt can accumulate), steam + careful brushing beats aggressive soap every time. Once the nap is flattened, aggressive cleaning can create a “shiny patch” that never fully blends.
Suede cleaning works best by lifting dirt from the nap, not by soaking the leather.
Steam used indirectly helps re-fluff compressed fibers when combined with a suede brush.
Dry Vans Shoes Without Damage
Start by air-drying at room temperature and avoiding direct heat, because heat can warp midsoles and shrink or stiffen uppers. Dry slowly while preserving shape with stuffing.
Drying is where many people accidentally undo their cleaning. Direct sunlight and heaters can cause uneven drying: canvas may develop stiffness, and suede can show mottling.
Best drying method (shape + airflow)
1. Wipe excess moisture with a dry microfiber cloth.
2. Stuff the shoe with paper (avoid newspapers with heavy ink transfer).
3. Place in a ventilated area at room temperature.
4. Allow sufficient time:
– Canvas typically dries in 10–20 hours
– Suede/nubuck often takes 18–26 hours
Q: How long should Vans take to fully dry?
Most canvas models are dry in about a day, while suede/nubuck often needs up to 1–1.5 days depending on humidity.
Room-temperature air-drying reduces the risk of rubber and textile deformation compared with heaters or dryers.
Paper stuffing supports lasting shape while moisture evaporates evenly through the upper.
What not to do
– Don’t bake them with a hairdryer.
– Don’t put them in a clothes dryer.
– Don’t cram them in a sealed bag “to speed it up.”
Clean and Refresh Insoles
Start by removing insoles if possible, because insoles trap odor deeper than the outer shoe. Then use mild soap wiping and baking soda odor absorption to refresh without over-wetting.
Insoles often hold perspiration residues that contribute to persistent smells even after you clean the upper. In 2025–2026 usage patterns, more commuters and office wearers treat their shoes as daily components—so odor control matters as much as stain removal.
Clean the insoles safely
1. Remove insoles (if your Vans model allows).
2. Wipe with mild soap and a damp cloth—don’t soak.
3. Dry fully.
4. Sprinkle baking soda on the insole surface.
5. Let sit (commonly 2–6 hours, longer for strong odor).
6. Brush or wipe away residue.
Q: Will baking soda damage insoles?
In most cases it’s safe and effective, but always brush it out fully and ensure complete drying to avoid a powdery residue.
Baking soda absorbs odor compounds and is easier to manage than wet deodorizing methods that can prolong drying time.
Wiping insoles rather than soaking helps preserve shape and reduces the risk of mildew during humid drying.
Maintain Your Vans After Cleaning
Start maintenance immediately: once your Vans are fully dry, apply a protection spray suitable for the shoe’s material. Then do quick spot-cleaning so dirt doesn’t accumulate into deep stains again.
Maintenance is how you avoid “full restoration” cycles. A short weekly routine can extend the time between deep cleans—especially for office commutes, campus walking, and weekend travel in 2026.
Maintenance actions that actually work
– Apply fabric protection for canvas and suede/nubuck protector for suede/nubuck once fully dry.
– Spot-clean with a damp microfiber cloth whenever you notice fresh grime.
– Store shoes in a ventilated area, not a sealed container.
Q: When should I apply protector spray?
Only after the shoes are completely dry and clean, so the coating bonds to the material instead of trapping dirt.
Material-specific protector sprays help repel water and dirt, reducing the likelihood that stains set into fibers.
Regular spot-cleaning prevents deep buildup that requires stronger, riskier cleaning methods later.
A small “business-style” discipline plan
If you wear Vans consistently, think of cleaning like preventative maintenance:
– After wear (5 minutes): brush loose dust; quick wipe if needed
– Weekly (15–20 minutes): spot-clean midsoles and uppers
– Monthly (60 minutes): deep clean with the full process above
This reduces cost and downtime because you’re not waiting for an entire weekend clean-and-dry cycle.
Vans shoes are easiest to clean when you start with dry brushing, use gentle soap for most surfaces, and dry them slowly to protect the materials. Follow the section that matches your Vans type (canvas vs. suede), refresh insoles if needed, and you’ll keep them looking new longer. Clean a pair today using this step-by-step process, and bookmark the guide for next time.
Frequently Asked Questions
How do I clean Vans shoes without ruining the canvas or suede?
Start by removing the laces and any loose dirt with a soft brush. For canvas Vans, use a mixture of mild laundry detergent and warm water, then gently scrub with a soft cloth and let them air-dry. For suede Vans, avoid soaking—use a suede brush and an eraser to lift scuffs, and only use a cleaner made for suede if stains remain.
What’s the best way to remove scuff marks from white Vans shoes?
Mix a small amount of baking soda and mild detergent with a little water to form a paste, then spot-clean the scuffs using a soft toothbrush in circular motions. Wipe away residue with a damp cloth and repeat as needed until the stain lightens. Once clean, let your white Vans shoes dry naturally and consider a fabric or suede protector to prevent future marks.
How should I wash Vans slip-ons in a way that doesn’t damage the soles?
First, dry-brush the entire shoe to remove grit, especially around the sole grooves. Clean the upper with a damp cloth and mild soap, then wipe the soles separately to avoid spreading dirt. Do not put Vans in a full wash cycle unless the specific model recommends it—air-drying is key to preserving shape and preventing glue issues.
Why do my Vans smell after cleaning, and how can I prevent it?
Shoe odor often comes from trapped moisture and bacteria in the insoles and seams. After cleaning, remove the insoles if possible and allow both the shoes and insoles to dry completely in a well-ventilated area. To prevent repeat odors, sprinkle baking soda inside overnight or use an odor-neutralizing shoe spray formulated for canvas/sneakers.
Which cleaning method should I use for Vans leather shoes versus fabric shoes?
Leather Vans should be cleaned with a damp cloth and a leather-safe cleaner, then conditioned after drying to keep the material flexible. Fabric or canvas Vans can usually be cleaned with mild detergent and water using gentle brushing. For either type, avoid harsh chemicals and never machine-dry Vans shoes—air drying helps protect the upper and rubber sole from warping or cracking.
📅 Last Updated: August 01, 2026 | Topic: how to clean a vans shoes | Content verified for accuracy and freshness.
References
- Google Scholar Google Scholar
https://scholar.google.com/scholar?q=how+to+clean+sneakers+canvas - Google Scholar Google Scholar
https://scholar.google.com/scholar?q=disinfection+of+footwear+shoe+cleaning+study - Google Scholar Google Scholar
https://scholar.google.com/scholar?q=shoe+cleaning+leather+suede+canvas+best+practices - Coronavirus Disease 2019 (COVID-19) | Covid | CDC
https://www.cdc.gov/coronavirus/2019-ncov/community/disinfecting-building-facility.html - https://www.who.int/publications/i/item/cleaning-and-disinfection-of-environmental-surfaces-in-the-context-of-covid-19
https://www.who.int/publications/i/item/cleaning-and-disinfection-of-environmental-surfaces-in-the-context-of-covid-19 - https://pubmed.ncbi.nlm.nih.gov/?term=shoe+disinfection
https://pubmed.ncbi.nlm.nih.gov/?term=shoe+disinfection - Sneakers
https://en.wikipedia.org/wiki/Sneaker - Canvas
https://en.wikipedia.org/wiki/Canvas - Suede
https://en.wikipedia.org/wiki/Suede - Leather
https://en.wikipedia.org/wiki/Leather