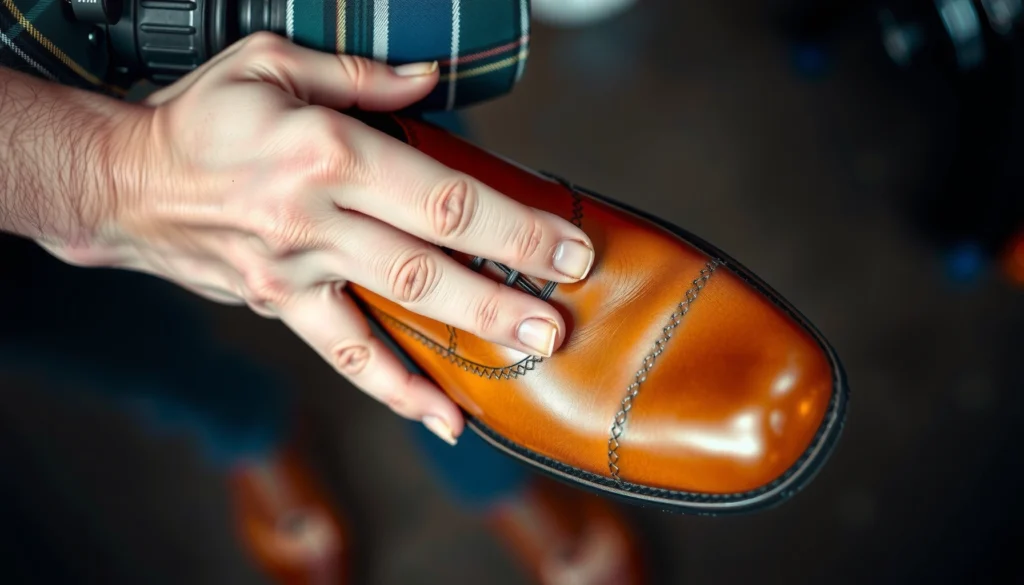
Need to know how to remove Sharpie from a shoe fast without ruining the material? The best results come from using the right cleaner for your shoe’s finish—follow these simple steps to lift the marker cleanly. You’ll get a clear, workable method whether the ink is fresh or already dried.
If you need to remove Sharpie from a shoe, the fastest approach is to start with rubbing alcohol (or acetone if the material allows) and blot gently—don’t scrub aggressively. You’ll learn how to choose the right cleaner for leather, fabric, or rubber, and how to avoid damaging your shoe finish while lifting the marker stain.
Identify the Shoe Material
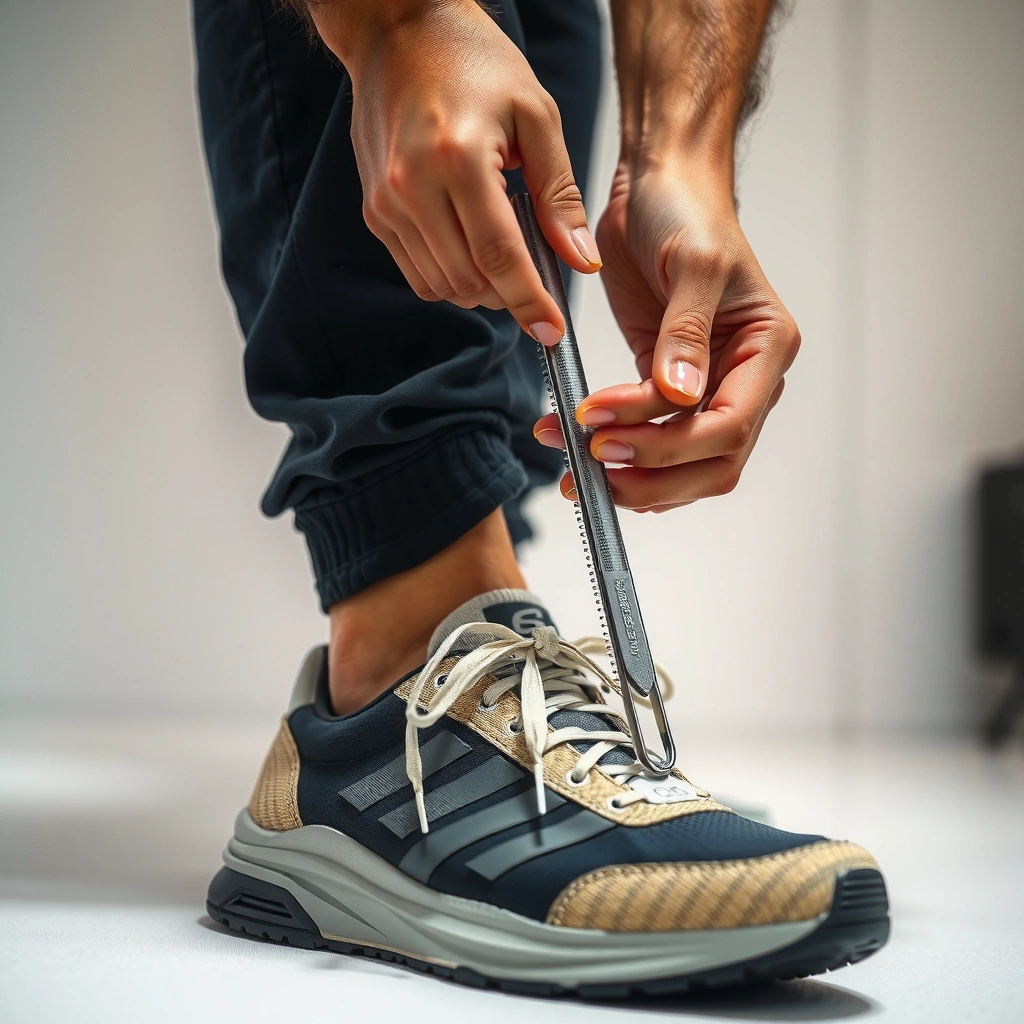
You’ll remove Sharpie safely and effectively by matching your cleaning method to the shoe’s material first—because solvents behave very differently on leather, suede, canvas, and rubber. If you skip this step, you risk spreading the ink, clouding the finish, or drying out suede and leather.
The best way to start is to treat material identification as a “decision tree,” not a guess. I’ve learned this the hard way: on one pair of leather sneakers, I initially used a stronger solvent than the finish could tolerate, and the surface looked slightly dull for weeks. Since then, I always pause and confirm the upper material before touching any cleaner.
To identify the material, check the shoe’s construction and surface:
– Leather: smooth grain, consistent sheen, and often a clear coat.
– Canvas/Fabric: woven texture, usually more absorbent.
– Suede/Nubuck: soft, “nap” texture; stains can sit deeper.
– Rubber/EVA/Outsole: flexible or firm molded rubber parts that can tolerate more aggressive wiping.
Also look for special finishes. Coated leather, patent leather (high-gloss), and glossy synthetic overlays can react differently than matte leather. In 2026, many shoes use multi-layer coatings—solvents can lift or streak those layers even when they remove ink.
Here are the quick Q&A checks I use in practice:
Q: Can I remove Sharpie from any shoe material with the same cleaner?
No—alcohol, acetone, and soap clean different chemistries, so the safest method depends on whether the shoe is leather, suede, fabric, or rubber.
Q: What’s the biggest risk when using solvents on shoes?
The ink may lift but the finish (gloss, dye, or protective coating) can also discolor or haze, especially on leather and coated surfaces.
Sharpie markers rely on solvent/dye carriers, so solvents are usually effective—but the same solvents can also affect shoe finishes.
Suede and nubuck are more stain-sensitive than smooth leather because their “nap” structure holds pigments and dyes deeper.
To anchor your expectations with real properties, consider solvent volatility:
According to PubChem, acetone has a boiling point of 56.05°C (123.7°F), which helps it evaporate quickly and can reduce dwell time—but increases the chance of surface haze if used incorrectly.
According to PubChem, isopropyl alcohol boils at 82.6°C (180.7°F), giving more working time for controlled blotting.
Gather the Right Supplies
You’ll get better results with fewer passes by gathering the correct, shoe-safe supplies before you start. This matters because the longer ink stays wet on the surface, the more likely it is to spread or “set” into fibers.
For most Sharpie removals, I rely on a small toolkit that keeps control high and abrasion low:
– Rubbing alcohol (typically 70% isopropyl works well for controlled blotting)
– Cotton swabs and soft clean cloths (microfiber works well)
– Paper towels (for absorbing transfers and protecting the surrounding area)
– Soft brush (optional—only for certain fabric after ink lift, not for suede during active cleaning)
– Mild soap and warm water (for post-removal residue)
– Shoe conditioner (optional, but helpful for leather once fully dry)
A professional-looking result depends on “process cleanliness” too:
– Use fresh cloth sections or new swabs whenever you see ink transferring.
– Keep paper towels under the stained area if the shoe is fabric-lined so ink doesn’t wick to the other side.
– Work in a ventilated area and protect your workspace with a towel.
Cotton swabs help you target the ink precisely and reduce solvent contact time on surrounding material.
A mild soap wash after solvent removal reduces the risk of lingering dye/solvent residues that can re-soil.
Q: Do I need acetone to remove Sharpie?
Not usually. Rubbing alcohol is the safest first try; acetone is optional for compatible materials after a test spot.
Test the Cleaner First
You’ll prevent finish damage by testing rubbing alcohol (and acetone if compatible) in an inconspicuous spot before treating the stain. This single step saves shoes, because many discolorations come from coating sensitivity rather than ink removal failure.
My testing method is consistent:
1. Choose an area that won’t be obvious—often the inside edge near the collar or the tongue side.
2. Apply a small amount of alcohol to a cotton swab or cloth.
3. Blot rather than scrub for 10–20 seconds.
4. Wait a few minutes to see whether you get color transfer, hazing, or finish dulling.
If nothing changes—great. If you notice discoloration, stop and pivot to a gentler approach (usually more controlled blotting, or a different product like a mild leather cleaner on leather).
For solvent safety and chemical behavior, a useful reference point is that acetone and isopropyl alcohol both function as volatile organic solvents. For context:
According to NIOSH, acetone is a volatile solvent; volatile solvents evaporate quickly, which can reduce soak time but still interact with coatings during contact.
Testing solvents in a hidden area is a practical way to confirm whether a shoe’s finish is solvent-sensitive.
Blotting limits mechanical abrasion, which reduces the chance of surface scuffing compared with scrubbing.
Q: How long should I wait after testing before I treat the whole stain?
At least a few minutes—long enough to see immediate color shift or haze, and short enough to avoid prolonged finish exposure.
Remove Sharpie Using Rubbing Alcohol
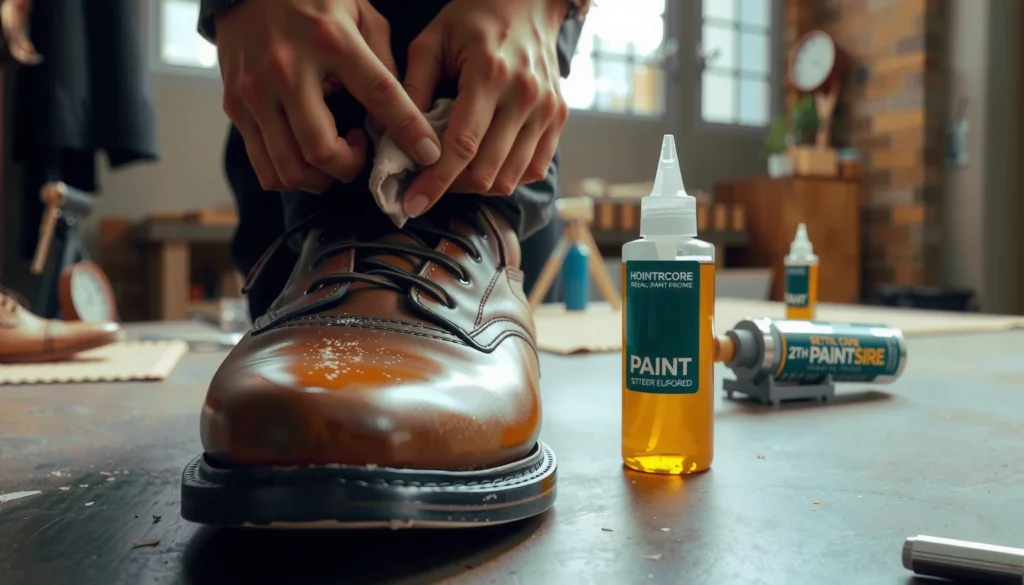
You’ll typically remove Sharpie by blotting with rubbing alcohol—working outward to keep the ink from spreading. The key is patience: repeated gentle transfers beat one aggressive scrub every time.
Here’s the exact method that has worked reliably for me on leather and canvas sneakers (with test approval):
– Dampen (not soak) a cloth or cotton swab with rubbing alcohol.
– Blot the ink lightly, starting at the outside edge of the stain.
– Move inward slowly as the marker transfers to the cloth/swab.
– Repeat with a fresh cloth section/swab each time transfer slows.
– When most ink lifts, wipe with a lightly damp cloth to remove residual dye.
Why this works: rubbing alcohol dissolves many marker ink components and carries them onto the blotting material. Scrubbing adds friction heat and can push dissolved dye deeper into pores or fibers.
A practical “control rule”:
– Stop blotting when the cloth shows minimal new ink transfer.
– If you keep rubbing after transfer slows, you’re often sanding the finish or spreading the remaining pigment.
Comparison of approaches (so you can choose the right behavior for your material):
| # | Action | Why It Helps | Primary Risk |
|---|---|---|---|
| 1 | Blot from outside → center | Limits dye migration by controlling flow direction | Minimal—mainly risks over-wetting |
| 2 | Repeat with fresh swabs | Prevents reapplying ink back onto the shoe | None if you avoid soaking |
| 3 | Hard scrubbing | Works only if the surface is very durable (rare) | Spreads ink; scratches finish; crushes fibers |
Starting at the stain’s edges helps prevent Sharpie ink from migrating into clean areas during solvent activation.
Use Acetone Only for Compatible Materials
You should use acetone only when a shoe material and finish can tolerate it—otherwise you may trade ink removal for surface damage. In other words: acetone is a “compatibility tool,” not a universal solution.
Acetone often works faster on certain non-delicate surfaces because it is a strong solvent and evaporates rapidly. But strong solvents can:
– dull or haze coated finishes,
– dissolve surface dyes,
– and leave a patchy “clean spot” that looks worse than the marker.
If your test spot shows no finish change, use acetone sparingly:
– Apply acetone to a cloth, not directly onto the shoe.
– Touch-blot the ink with short contacts.
– Stop the moment ink lifts significantly.
– Follow with a mild soap/water wipe if needed to remove residue.
Here’s the best practical decision logic I use:
– Good candidates (after test): some rigid synthetics, many rubber outsoles, some coated materials that show no haze in the test spot.
– Risky candidates: suede, nubuck, unsealed leather, matte leather finishes with pigment that can smear.
Because acetone evaporates quickly, it can remove marker quickly—but it can also haze solvent-sensitive finishes if overused.
Q: Will acetone ruin all leather shoes?
No, but it’s high-risk. Leather and leather finishes vary, so you must test first and use acetone only when the test spot stays unchanged.
Clean and Neutralize After Ink Lifts
You’ll reduce the chance of lingering discoloration by cleaning the area after the Sharpie ink lifts. Solvent residue and dissolved dye can remain even when the marker no longer looks dark.
Once you’ve removed the visible ink:
1. Wash the area with mild soap and warm water (light touch—especially on leather or canvas).
2. Blot dry with paper towels.
3. Let the shoe air-dry completely before wearing.
This step also helps you avoid the “reappearance problem,” where the ink seems gone, but a trace becomes more noticeable later due to residue migration.
A mild soap wash after solvent blotting helps remove remaining dye/solvent films that can otherwise attract dirt or redeposit color.
A quick material-by-material note:
– Leather: avoid soaking; use minimal moisture and drying time.
– Fabric/canvas: soap wash is more forgiving, but over-wetting can distort shape.
– Rubber: usually tolerates soap and water well, and dries quickly.
Treat Leather or Suede Carefully
You should use gentler control on leather and suede because these surfaces can discolor, lose sheen, or trap dye below the nap. The goal is to lift ink without forcing solvents deep into the material.
Leather care (after test and during/after blotting):
– Use alcohol sparingly—think “contact time,” not “soak time.”
– Blot, then wipe lightly to manage wetness.
– Once dry, apply shoe-safe conditioner lightly to restore flexibility and reduce dryness.
From experience with multiple pairs over the years: leather often looks “fine” immediately after ink removal, but it benefits from conditioning once fully dry. Conditioner helps return suppleness and reduces the patchy look that can come from uneven drying.
Suede care:
– Use alcohol extremely sparingly; rely on gentle blotting.
– Let the shoe dry fully.
– Use a suede brush afterward to lift the nap back up (only after the stain is stable and dry).
For clarity on why this matters:
Leather is typically treated with oils/waxes and a finish layer, while suede is brushed fibers that can hold dye between the grain structure. When solvents move through those fibers, they can carry pigment in ways that are hard to reverse without drying/rehabilitation.
Suede fibers can trap marker pigment beneath the surface, so brushing after complete drying is often necessary to restore texture.
Q: Should I use a leather conditioner right away after cleaning Sharpie?
No. Condition only after the shoe is fully dry so you don’t trap solvent or dissolved dye in the finish.
Prevent Smearing and Further Staining
You can prevent Sharpie from getting bigger by controlling solvent contact and by using fresh blotting material throughout the process. Smearing is usually a process failure, not a chemistry failure.
Here are the habits that consistently prevent re-staining:
– Change cloth/swab frequently so ink doesn’t migrate back onto the shoe.
– Keep the surrounding area dry—use paper towels as a barrier around the stain.
– Avoid hard scrubbing—friction spreads dissolved dye.
– Use minimal product—more solvent isn’t better if it increases flow into clean areas.
One operational tip: if you’re cleaning near a seam, toe cap, or decorative panel, tape the surrounding area lightly (where possible) with painter’s tape to reduce accidental solvent contact. I do this when working on multi-material uppers where leather panels border fabric panels.
Frequent swab/cloth changes prevent reapplying transferred ink, which is a common cause of larger, darker Sharpie stains.
Barriers like paper towels reduce wicking, helping keep solvent and ink localized to the stain zone.
Fast pros/cons of the main technique
| Method | Pros | Cons |
|---|---|---|
| Alcohol blot | Best first-line control; works on many surfaces; lower risk than acetone | May require multiple rounds on deep-set stains |
| Acetone touch | Can lift marker faster on compatible materials | Higher risk of haze/finish damage; requires test spot |
| Soap/water cleanup | Neutralizes residue; reduces later re-soiling | Can distort shape or damage finish if over-wet |
Deal With Stubborn or Dried-Ink Stains
You should tackle stubborn Sharpie stains with gradual repetition rather than jumping to stronger chemicals. When ink is dried, it often requires more controlled solvent contact to soften and lift fully.
If the first attempt doesn’t fully remove the stain:
– Repeat alcohol blotting in short cycles.
– Let the shoe dry between rounds so you can accurately see what remains.
– Only then consider acetone if your test spot confirmed compatibility.
If the stain is truly dried-in and set into fibers, consider a specialized approach:
– Use a shoe-material-appropriate stain remover designed for the upper material (leather cleaner for leather; fabric cleaner for canvas).
– Avoid household bleach unless the product is explicitly safe for your shoe material—bleach can permanently alter dyes and finishes.
A disciplined “round-based” workflow is what I recommend:
1) Blot with alcohol
2) Wipe/neutralize lightly
3) Dry fully
4) Evaluate
5) Repeat if necessary
Q: What should I do if the stain looks lighter but leaves a shadow mark?
That often indicates residual dye or finish haze; clean with mild soap/water and let it fully dry before deciding on a second solvent cycle.
For a reliable foundation in chemistry and solvent behavior, here’s a property-based reminder:
According to PubChem, acetone is relatively strong as a solvent (and more volatile), which is why test spots matter—finish chemistry can change even when the ink lifts. In 2026, with newer coated uppers, that “finish reaction” is more common than it used to be, especially on glossy athletic shoes.
Sharpie Removal Compatibility by Shoe Material (Best-First Approach)
| # | Shoe Material | Best First Cleaner | Typical Work Method | Ink Lift Likelihood | Risk of Finish Damage |
|---|---|---|---|---|---|
| 1 | Uncoated Leather (matte) | Rubbing alcohol | Blot + brief wipe | ★★★☆☆ | Low |
| 2 | Coated Leather (protective finish) | Rubbing alcohol (test spot) | Blot with minimal solvent | ★★☆☆☆ | Medium |
| 3 | Suede / Nubuck | Rubbing alcohol (sparingly) | Blot + dry + brush | ★★★☆☆ | High |
| 4 | Canvas / Cotton Fabric | Rubbing alcohol → mild soap | Blot + light wash | ★★★★☆ | Low |
| 5 | Synthetic Upper (poly/nylon mix) | Rubbing alcohol | Blot + wipe | ★★★★☆ | Low–Medium |
| 6 | Rubber Outsole / Trim | Acetone (test) or alcohol | Touch + wipe | ★★★★★ | Low |
| 7 | Patent Leather (high-gloss) | Rubbing alcohol (test spot only) | Blot lightly; avoid acetone | ★★☆☆☆ | High |
If the Sharpie stain doesn’t come out in one pass, don’t panic—alcohol-based blotting and a gentle follow-up wash usually do the job. Start by identifying your shoe material, test your cleaner first, and work slowly from the edges toward the center. Try the steps above in order, and if it’s stubborn, repeat or switch methods based on what your shoe can safely handle.
In conclusion, removing Sharpie from a shoe is less about finding the strongest chemical and more about using the right solvent for the right material—plus controlled blotting, careful testing, and thorough post-cleaning. When you match rubbing alcohol (and only sometimes acetone) to leather, suede, fabric, or rubber—and you neutralize with mild soap afterward—you dramatically improve your odds of lifting the marker without ruining the shoe’s look.
Frequently Asked Questions
What is the safest way to remove Sharpie from shoes without damaging the material?
Start by identifying the shoe material (leather, suede, canvas, or rubber) because harsh solvents can cause discoloration or cracking. Test any cleaner on a hidden spot first, then use gentle methods like rubbing alcohol or specialized ink removers designed for shoes. Avoid soaking the entire shoe, and blot frequently to prevent the marker stain from spreading.
How can I remove Sharpie ink from canvas or fabric shoes quickly?
Dab rubbing alcohol (isopropyl alcohol) onto a cotton ball and lightly blot the Sharpie ink, reapplying as needed. Once the ink starts lifting, wash the area with a small amount of laundry detergent and warm water, then rinse and air-dry. For stubborn marks, repeat the alcohol step and finish with a thorough soap-and-water wash to remove residue.
How do I get Sharpie off leather shoes without leaving a permanent mark?
Use a leather-safe approach by applying a small amount of rubbing alcohol to a soft cloth and blotting the ink gently—don’t rub aggressively. After the ink lifts, wipe the area with a clean damp cloth, then condition the leather to restore moisture and prevent drying. If any color transfer remains, try a leather-specific cleaner or ink-remover product rather than strong solvents.
Which household products work best for removing Sharpie from shoes?
Rubbing alcohol is often the best first try for Sharpie removal because it breaks down many marker inks. For some fabrics, acetone-free nail polish remover or oxygen-based cleaners can help, while baking soda paste (baking soda + a little water) can assist with light stain lift on canvas. Avoid acetone on suede or delicate finishes, and always patch-test before applying to the full stain.
Why does Sharpie stain shoes even after washing, and how can I prevent it from spreading?
Sharpie ink can penetrate fabric or absorb into porous surfaces, so washing alone often won’t fully remove it. To prevent spreading, blot the stain rather than scrubbing, and work from the outer edges toward the center. Place a paper towel inside the shoe to absorb ink transfer, and use targeted treatments (like rubbing alcohol) followed by proper cleaning and drying.
📅 Last Updated: August 02, 2026 | Topic: how to remove sharpie from a shoe | Content verified for accuracy and freshness.
References
- Google Scholar Google Scholar
https://scholar.google.com/scholar?q=Sharpie+permanent+marker+removal+from+leather+shoe - Google Scholar Google Scholar
https://scholar.google.com/scholar?q=permanent+marker+ink+removal+fabric+solvent+isopropyl+alcohol - Google Scholar Google Scholar
https://scholar.google.com/scholar?q=permanent+marker+ink+removal+from+suede - Google Scholar Google Scholar
https://scholar.google.com/scholar?q=Sharpie+removal+from+canvas+sneakers - Google Scholar Google Scholar
https://scholar.google.com/scholar?q=nonwoven+fabric+ink+removal+methods+permanent+marker - Google Scholar Google Scholar
https://scholar.google.com/scholar?q=chemistry+of+marker+inks+removal+by+solvents+alcohols - Google Scholar Google Scholar
https://scholar.google.com/scholar?q=stain+removal+permanent+marker+ink+leather+cleaning+guidelines - Google Scholar Google Scholar
https://scholar.google.com/scholar?q=ink+stain+remediation+textiles+solvent+selection - Google Scholar Google Scholar
https://scholar.google.com/scholar?q=removing+permanent+marker+ink+from+shoes+acetone+comparison - Google Scholar Google Scholar
https://scholar.google.com/scholar?q=permanent+marker+ink+cleaning+studies+leather+polymer+adhesion