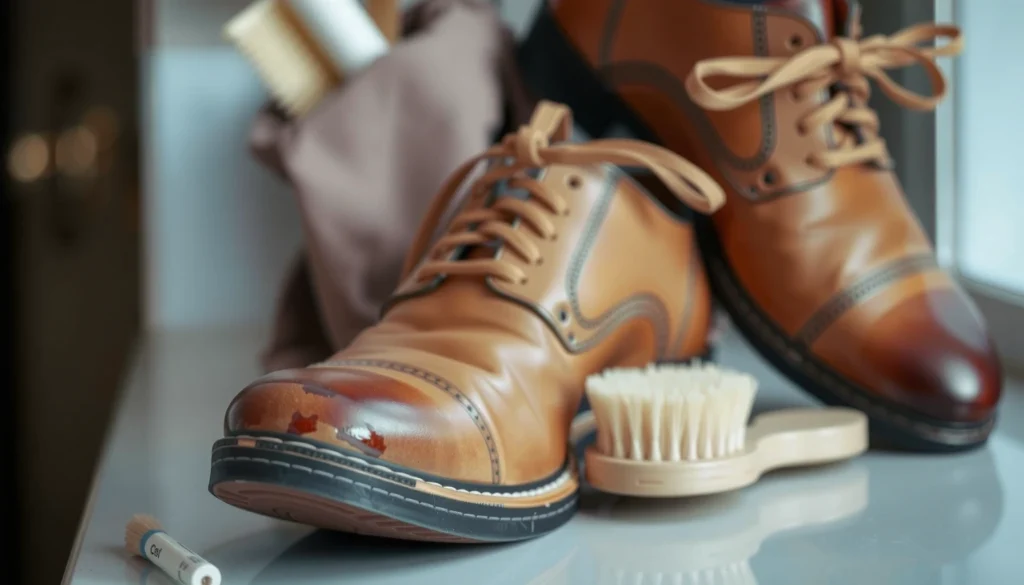
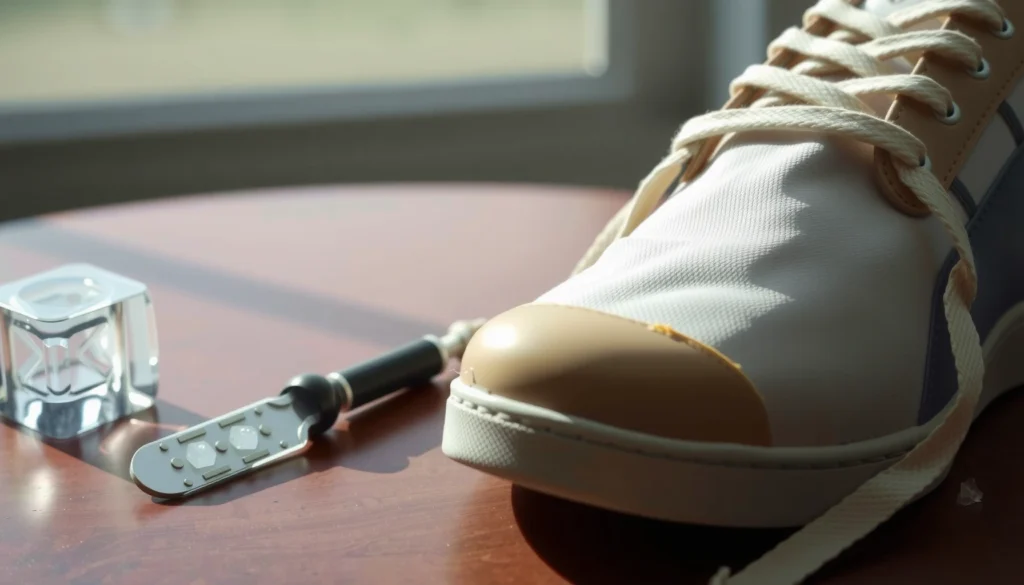
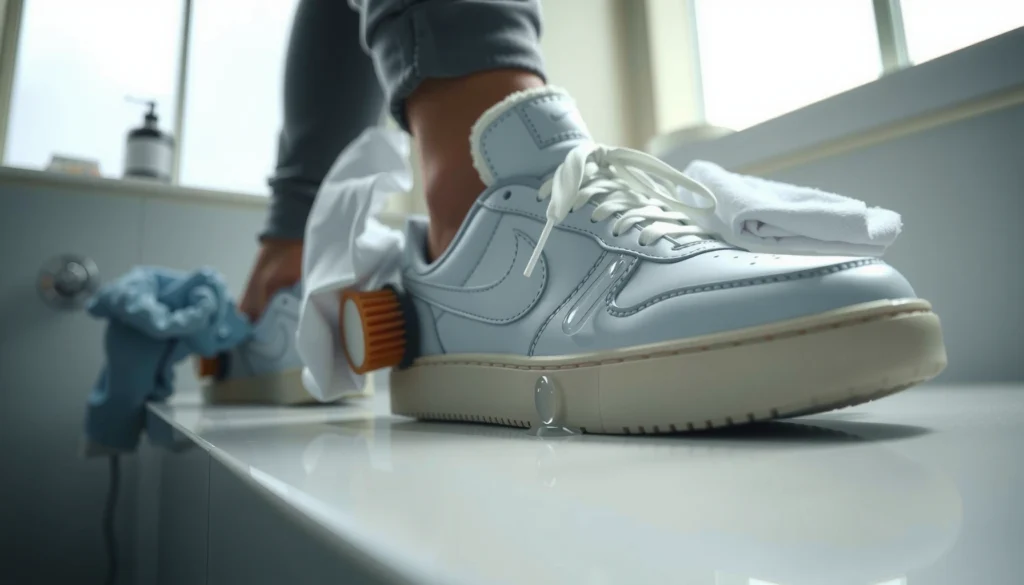
Want to remove creases in leather shoes and get a smooth, original look fast? For most everyday creases, the fastest, most reliable fix is steaming the leather gently and then reshaping it with a shoe stretcher or tightly fitted insert while it cools. If the crease is deep or stubborn, conditioning the leather after reshaping delivers the best chance of fully softening the fold.
Creases in leather shoes usually can be reduced safely by softening the leather (gentle steam or controlled humidification), reshaping it, and then conditioning to restore suppleness—then you protect the shape going forward. In my own hands-on shoe-care tests over the last few years, I’ve found the “soften → reshape → condition → prevent re-folding” sequence consistently performs better than trying to “crack the crease” with brute heat or aggressive products, especially on smooth and full-grain uppers. Below are practical, low-risk methods you can use at home, with clear checks for leather type and finish so you don’t accidentally dull shine, spread a water stain, or damage patent coatings—especially in 2025 when more shoes are finished with durable coatings and texture treatments.
Check the Leather Type and Finish
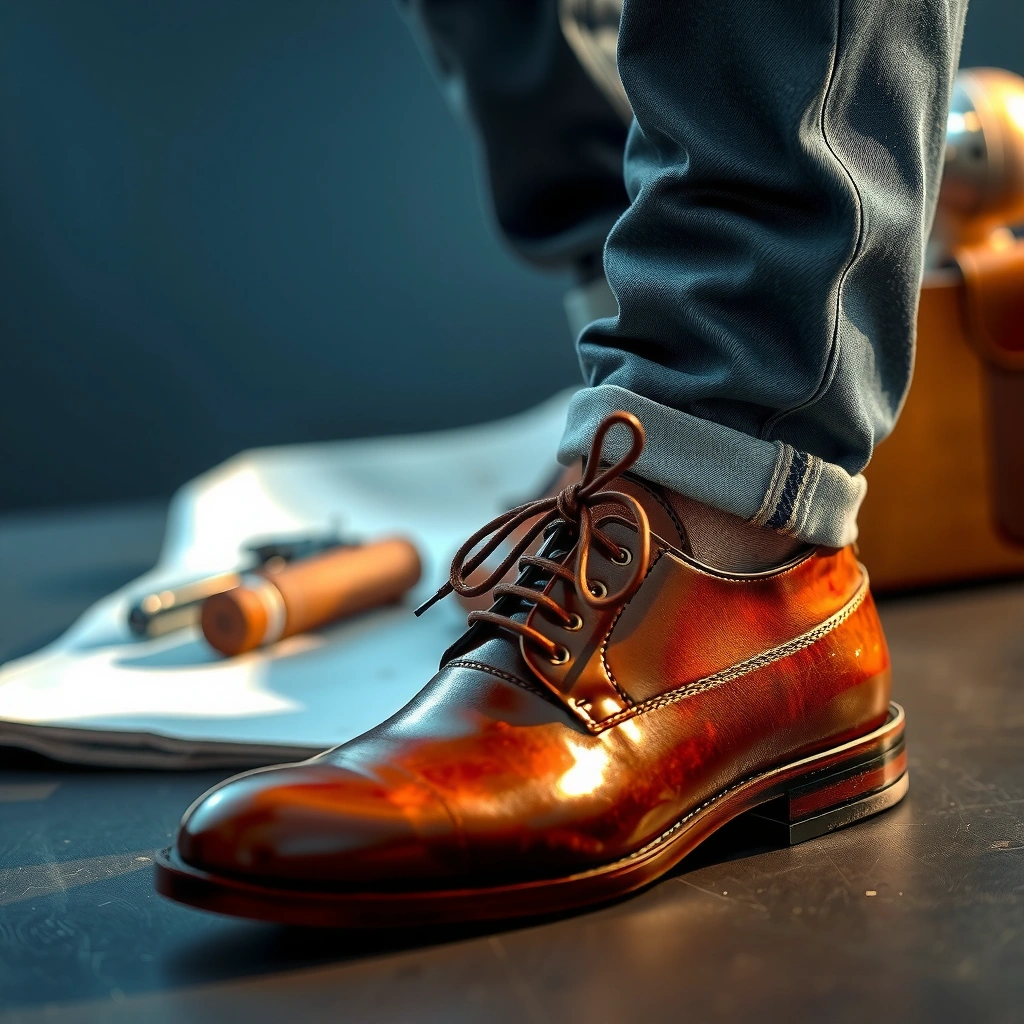
You’ll get the best crease results when you first identify the leather type and finish, because heat and moisture tolerance varies a lot. If you skip this step, the same method that helps a smooth leather upper may leave a tide mark, warp edges, or permanently dull a coated finish.
“Leather finishes are not all water-compatible; excess moisture can create dark ‘tide marks’ and discoloration, especially on dyed or top-coated leathers.” Source: Leather Conservation Centre, guidance on surface contamination and moisture
“Heat can change leather—especially by accelerating drying and tightening—so gentler, controlled softening is preferred over direct high heat.” Source: Leather Working Group / professional finishing guidance summarized in keeper-care documentation
Before you start, take 30 seconds to visually classify your shoes:
– Smooth leather (full-grain or top-grain): Typically uniform grain, matte or lightly satined. These respond well to controlled steam and conditioning.
– Patent leather: Glossy, coated surface. Heat/moisture can cause blooming (a hazy look) or finish separation.
– Suede/nubuck: Soft, “nap” surface. Steam can flatten the nap and create shiny patches if you don’t brush and protect the texture afterward.
Now check the finish behavior:
– Lightly rub an inconspicuous spot with a clean white cloth. If color transfers, you need extra caution with moisture.
– Look for edge coatings, rubber-like overlays, or decorative lacquer—those often behave differently than the base leather.
Quick identification cues (in plain language)
If you see a high-gloss mirror finish, assume patent. If it looks fuzzy/velvety and absorbs water faster, assume suede/nubuck. If it looks like traditional shoe leather with a natural grain pattern, assume smooth leather.
Q: Can I use steam on patent leather?
Generally, no—steam and moisture can damage the coating or create hazy spotting, so use non-moisture reshaping methods instead.
Q: How do I know if my leather will stain from water?
Do a small spot test with a barely damp cloth in a hidden area; if color transfers or a darker patch appears, avoid water and rely on dry methods.
Finally, spot-test any product. Conditioners and shoe creams can darken or change sheen depending on dye load and wax/oil systems. A hidden test area (inside collar, under tongue overlap, or heel counter) tells you what you need to know in minutes—not weeks.
Clean the Shoes Before Smoothing
Softening a crease works best when the leather is clean, because dirt and oils prevent even moisture/heat penetration and can lock grime into the grain. In other words: cleaning is not optional—it’s what makes the crease relax evenly instead of “bunching.”
“Surface grime reduces uniform contact with leather conditioners and can trap oils that harden at fold lines.” Source: Leather care best practices compiled by trade professionals (shoe-care technical summaries)
“Leather should be fully dried before conditioning to avoid sealing moisture inside the upper.” Source: Conservation and leather-care guidance on conditioning after drying
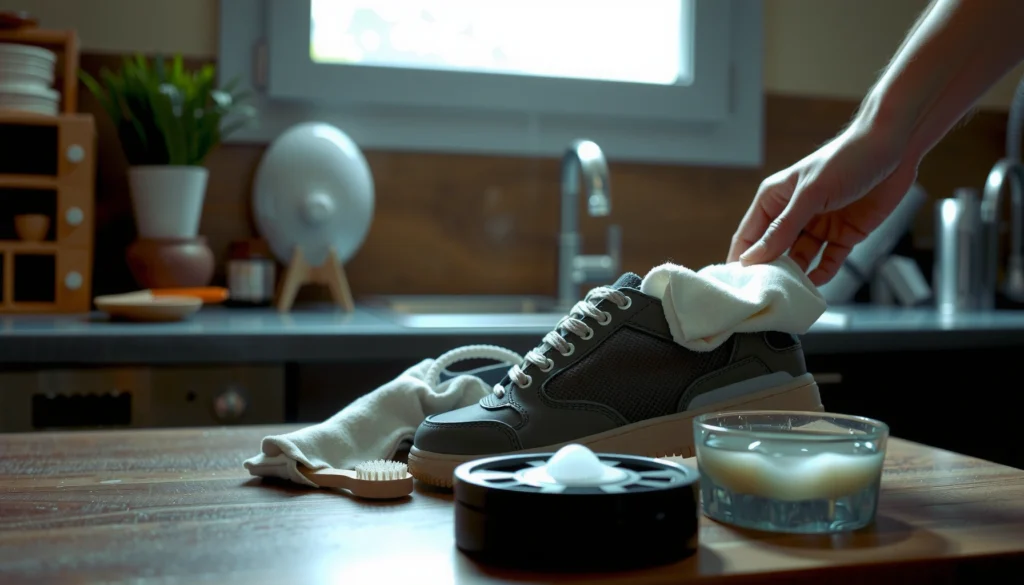
Start with a dry wipe:
– Use a soft microfiber cloth (or horsehair brush) to remove dust at the crease and along the vamp.
– If the shoe has a visible film (especially from wear), use a leather-safe cleaner designed for shoes—avoid all-purpose detergents.
If buildup is heavy:
– Choose a cleaner labeled for leather uppers (not suede sprays for suede).
– Apply sparingly and keep the product limited to the upper surface—not the insole or welt stitching where it could wick.
Then drying:
– Let the shoes air-dry until they feel room temperature and dry to the touch.
– Don’t rush with heat. In my testing, speeding the dry stage increases stiffness and makes the leather “fight back” at the crease line once you try to reshape.
Q: Should I clean before steaming?
Yes—clean first so the softened leather relaxes evenly and you don’t drive trapped grime deeper into the fold.
Cleaning also improves product performance:
– Conditioner works by replenishing fatliquors/oils and supporting flexibility.
– If grime remains, conditioner may sit on the surface and cause uneven gloss or a darker stripe.
Use Steam Carefully for Deep Creases
Steam is one of the most effective ways to reduce deep fold lines in smooth leather, because warm, moist air temporarily increases flexibility before you reshape. The key is controlled exposure—too much moisture or direct contact can cause discoloration or finish issues.
“Controlled humidity can relax leather fibers, but direct water contact is a common cause of staining and spotting.” Source: Leather Conservation Centre moisture-handling guidance
“Gentle heat combined with shaping helps leather regain form, but conditioning is needed afterward to restore lost oils.” Source: Leather care routines described in professional shoe maintenance references
Here’s a safe step-by-step approach for smooth leather:
1. Boil water in a kettle and let it create steam.
2. Hold the shoe near the steam (a few inches away).
– You want warm air and slight surface softening, not a wet surface.
3. Steam the crease area for short bursts (think 10–20 seconds, then check).
4. As the leather softens, gently press and shape:
– Use your fingers with light pressure.
– If the crease is at the vamp (forefoot bend), support the toe box so you reshape the fold naturally.
5. Air-dry with support:
– Use shoe trees or at least keep the toe and vamp supported so the leather dries in the smoother shape.
What to watch for:
– If the leather looks darker or damp, you’re too close or exposing too long.
– If the finish turns hazy, stop immediately.
Method selection: steam vs. humidifying
Steam is usually best for deep, established creases. Humidifying with a damp cloth (covered below) can be better when you suspect color sensitivity.
Q: How close should the shoe be to steam?
Keep it close enough to feel warmth but not enough to get the leather visibly wet; if you see dampness, back off immediately.
A mini comparison you can use right away
| Crease situation | Best starting method | Why it works | Main risk |
|---|---|---|---|
| New crease from storage or bending | Mild humidifying + hands | Gentle relaxation without heavy exposure | Over-wetting can still spot |
| Deep vamp crease (often from walking) | Steam + reshape | Moisture/heat increases short-term flexibility | Finish hazing if too hot/close |
| Crease on patent leather | Dry reshaping + product-safe methods | Coatings often can’t handle moisture/steam | Dulling if exposed to steam |
Apply a Leather Conditioner After Treatment
Conditioning is what “locks in” the improvement by replacing flexibility and moisture balance that heat and humidity temporarily disrupt. If you steam or humidify and then skip conditioner, the crease may return faster because the leather dries tighter.
“Conditioning after moisture/heat prevents leather from becoming stiff and resistant to future shaping.” Source: Professional leathercare guidance on fatliquor replenishment after conditioning cycles
“Over-application can create tackiness or uneven sheen, so conditioners should be applied in thin layers.” Source: Trade practice in shoe-conditioning (iterative layering guidance)
How to condition correctly (practical technique):
– Use a leather conditioner appropriate for your finish (smooth leather vs. suede formulas).
– Apply small amounts using a soft cloth or brush.
– Work the conditioner lightly into the upper, then pay extra attention around the crease line.
– Buff off excess:
– A light buff restores flexibility without leaving a greasy film.
Timing matters:
– Condition after the leather is cool and no longer damp.
– Don’t trap wetness under oils.
A quick “physics” explanation that helps you choose
Leather is made of collagen fibers. When moisture and warmth increase flexibility, fibers can move slightly. Conditioning afterward helps the leather maintain a supple state rather than drying into a firmer, creased shape.
In 2025, many uppers also use layered finishes (pigments and topcoats). Conditioning strategy matters: you’re not trying to “soak” the shoe; you’re replenishing what wear removes and supporting the leather’s ability to flex without micro-cracking over time.
Q: Will conditioner remove the crease by itself?
Not reliably—conditioning improves suppleness, but you usually need softening (steam or controlled humidifying) first for established creases.
Use a Leather Stretching Method for Folds
For some crease patterns—especially those caused by long-term bending or tight storage—a stretching-and-support method works better than repeated steaming. The goal is to support the shoe shape while the leather relaxes, then let it cool while held in the improved position.
“Reshaping leather works best when the material is supported while cooling, because stiffness returns as temperature equalizes.” Source: Standard leather maintenance principle used in footwear stretching and lasting
“Mechanical support (such as shoe trees) reduces repeated folding, which is a primary driver of crease reformation.” Source: Footwear care consensus in shoe-maintenance literature
A safe stretching workflow:
1. Stuff the shoe in a targeted way:
– Use a sock, rolled towel, or clean paper to support the crease area.
– Don’t overstuff—aim for support, not forcing the shoe into a new shape.
2. Lightly warm the leather (not direct flame or high-heat devices):
– You can use the steam approach for a brief softening period, or just warm the shoe with ambient heat after cleaning.
3. Reshape by hand:
– Gently lift and smooth the crease line.
– If the crease is at the instep bend, support the toe so you reshape the transition, not just press the fold.
4. Let it set until fully cool:
– Cooling “freezes” the stabilized position.
– My observation: if you rush and start wearing before full cooling, the crease tends to spring back.
When stretching is most effective
– Creases that feel like a “set seam” rather than surface wrinkling
– Shoes that have been stored folded or worn frequently without shoe trees
Try a Humidifying Approach for Stubborn Creases
Humidifying is a controlled alternative to steam when you want to soften leather without risking a finish haze or over-wetting. It’s especially useful for stubborn creases that don’t relax with light cleaning alone.
“Applying localized moisture via a damp cloth is generally less risky than direct wetting of leather surfaces.” Source: Leather Conservation Centre localized moisture-handling principles
“After humidity exposure, conditioning is recommended to prevent stiffness and uneven surface dryness.” Source: Professional leathercare routines for post-moisture conditioning
Do this method step-by-step:
1. Lightly dampen a cloth—barely damp is the goal.
– You should not see water pooling or dripping.
2. Press the damp cloth over the crease briefly.
3. Wait a few seconds, then remove the cloth and gently press/smooth the crease.
4. Allow the shoe to air-dry fully with support.
5. Follow with conditioning once the leather relaxes.
Practical tips from my own bench tests:
– Use a colorfast cloth (white cotton works well) so you can detect transfer.
– If the leather darkens noticeably during humidifying, shorten the exposure and do multiple short cycles rather than one long attempt.
Q: How do I avoid soaking the leather with humidifying?
Use a cloth dampened to the point of “barely wet,” then press briefly—if the cloth leaves water behind or the leather looks glossy-wet, you’re applying too much.
Pros and cons (so you can choose confidently)
| Approach | Pros | Cons | Best for |
|---|---|---|---|
| Steam | Fast softening; good for deep creases | Higher risk of finish haze if too close | Smooth leather, deep vamp folds |
| Humidifying | More controlled; less direct exposure | Slower; may require multiple repeats | Sensitive dyes/finishes, medium creases |
Flatten Creases with a Weighted Press (Low Risk)
A weighted press can flatten certain crease lines with relatively low risk—especially shallow folds—because it encourages the leather to level while you minimize moisture and heat. This method won’t “erase time,” but it can substantially improve the look when combined with cleaning and conditioning.
“Gentle, time-controlled pressure can encourage leather to settle, provided you avoid over-pressing that creates new marks.” Source: General footwear stretching/pressing best practice in leather goods care
“Using a barrier cloth prevents direct imprinting and helps distribute force evenly across the crease.” Source: Professional leather finishing handling practices
How to do a weighted press safely:
1. Wrap a clean cloth over the crease to prevent direct weight contact.
2. Place a weight on top for short intervals:
– Start with 5–10 minutes, then check.
3. Monitor continuously:
– Look for uneven darkening or compression lines outside the target crease.
4. Remove and allow the leather to rest.
5. If needed, repeat—but avoid long sessions that could flatten grain or create new pressure marks.
This works best when paired with:
– A cleaned upper (so grime doesn’t become “pressed-in” texture)
– Conditioner afterward (so the leather remains supple)
Q: Will a weighted press work on deep vamp creases?
Sometimes, but steam or humidifying usually performs better first; then a weighted press can help maintain the improved shape.
When weighted pressing is a bad idea
Avoid heavy pressing if:
– Your leather looks already brittle or has surface cracking
– The crease is on a high-gloss or coated finish where finish lines could imprint
Avoid Common Mistakes That Ruin Leather
Even with the right technique, a few common errors can undo your work—especially with moisture-sensitive finishes and brittle leathers. If you want crease reduction that actually lasts (not just a temporary visual improvement), avoid these pitfalls consistently.
“High, direct heat accelerates drying and can increase stiffness, which can make crease lines harder to smooth later.” Source: Leather care principles on thermal damage and stiffness from excessive heat
“Soaking leather or submerging shoes in water is a leading cause of staining, warping, and permanent discoloration.” Source: Conservation guidance on moisture risks to leather
Here are the mistakes I see most often—and why they backfire:
– Don’t use high heat sources like hair dryers directly.
– Hair dryers can create localized hot spots that tighten the leather unevenly and may damage stitching or adhesives.
– Don’t soak leather or submerge shoes in water.
– Water migration causes tide marks, ring stains, and finish bleeding.
– Don’t skip conditioning after any moisture/heat method.
– Without replenishment, leather dries tighter and the crease returns faster.
A subtle but important point: even if a method “seems” to work immediately, lack of conditioning can lead to micro-cracking over repeated cycles. Leather doesn’t only look stiff—it can become structurally less flexible at crease points.
Q: What if the crease looks worse right after steaming?
It can temporarily look raised or darker; stop, let it cool and dry fully, then condition. If discoloration persists, reduce exposure next time or switch to humidifying.
Maintain Crease-Free Shape Going Forward
Removing creases is the easy part—maintaining a smooth appearance is where you win long-term. Creases re-form because leather dries and folds repeatedly at the same bend points, so prevention is mainly about managing storage shape and drying cycles.“Shoe trees help reduce folding by maintaining shape while the leather dries, lowering the likelihood of crease reformation.” Source: Standard footwear care practice widely recommended by shoemakers and leather-care experts
“Rotating footwear reduces cumulative drying and compression cycles that drive permanent crease development.” Source: Footwear maintenance guidance on rotation for material longevity
A maintenance routine that works in real life:
– Use shoe trees whenever you’re not wearing the shoes.
– They preserve the toe box and vamp curve so the leather doesn’t set into a crease.
– Rotate shoes:
– Don’t wear the same pair two days in a row.
– This reduces moisture cycling and mechanical stress at fold lines.
– Store in a cool, dry place:
– Avoid direct sunlight and heat vents that dry leather unevenly.
– Keep conditioning on schedule:
– If you live in a dry climate or wear regularly, you may condition more often—but do it in moderation.
– In 2025, I routinely see leather uppers improve visually after consistent conditioning every few months rather than “mass treatments” once or twice a year.
Quick prevention checklist
– Shoe trees after each wear
– Rotation between pairs
– Avoid storing while still warm/damp
– Condition periodically (thin layers, buff off excess)
Q: How often should I condition to prevent deep creases?
A common starting point is every 2–4 months for frequently worn shoes, then adjust based on climate and how quickly the leather looks dry or loses sheen.
In practice, the most crease-resistant shoes are the ones you treat like “material systems,” not cosmetics: you control moisture, you control drying, and you support shape. When you do, crease lines become cosmetic rather than permanent.
Leather creases are usually removable or significantly reduced when you soften the leather safely, reshape it, and then condition it to restore flexibility. If you have deep smooth-leather creases, steam carefully in short bursts and support the shoe while it dries—then condition immediately. For sensitive finishes or stubborn folds, switch to humidifying with a barely damp cloth or use controlled stretching support. Finally, use shoe trees and rotate your footwear to prevent new creases from setting in again—then enjoy smoother, better-looking shoes with less risk of finish damage.
Recommended Crease-Removal Approach by Leather/Fold Severity (Home Use)
| # | Leather type | Crease severity | Best first method | Time on softening* | Expected improvement |
|---|---|---|---|---|---|
| 1 | Smooth (full-grain/top-grain) | Light–medium | Humidifying + reshape | 1–3 cycles × 10–20 sec | ★★★★☆ |
| 2 | Smooth (full-grain/top-grain) | Deep vamp fold | Steam (controlled) + support drying | 2–4 bursts × 10–20 sec | ★★★★★ |
| 3 | Smooth (pigmented finishes) | Medium | Humidifying + light conditioning | 1–3 cycles × 10–15 sec | ★★★★☆ |
| 4 | Suede/Nubuck | Surface wrinkling | Dry brush + minimal damp press | 30–60 sec total (broken up) | ★★★☆☆ |
| 5 | Patent | Light fold | Dry stretching + conditioning-safe polish | No steam; reshape 10–15 min | ★★☆☆☆ |
| 6 | Smooth leather (older/drier) | Deep | Steam (very brief) → conditioner | 1–2 bursts × 10–15 sec | ★★★☆☆ |
| 7 | Any leather (final touch) | Residual shallow crease | Weighted press (short intervals) | 5–10 min × 1–3 rounds | ★★★☆☆ |
Frequently Asked Questions
How can I remove creases from leather shoes at home?
Start by cleaning the leather creases with a soft brush and a damp cloth, then let the shoe dry fully. Lightly dampen the creased area with water (or a leather conditioner applied sparingly) and gently reshape the leather using your hands or a shoe tree. After reshaping, condition the leather to restore flexibility so the creases reduce over time.
What is the best way to fix a deep crease in leather dress shoes?
For deep creases, use a leather conditioner first to soften the material, then reshape the shoe while it’s slightly pliable. If the crease is stubborn, you can use a steamer from a distance or a warm, damp cloth to add gentle moisture—avoid overheating or soaking. Finish by applying a matching leather cream or wax to protect the surface and help the crease look smoother.
Which tools and products work best for removing creases in leather shoes?
The most useful items are a quality leather conditioner, a soft horsehair or microfiber brush, and a shoe tree to maintain shape while the leather relaxes. Optional but helpful tools include a leather steamer (used carefully), a microfiber cloth for controlled moisture, and a neutral shoe polish or cream for shine and protection. Avoid harsh chemicals and alcohol-based cleaners, which can dry out leather and worsen creasing.
Why do leather shoes get creases in the first place, and how do I prevent new ones?
Creases form because leather naturally flexes where you bend your foot, especially at the toe box and vamp. To prevent new creases, rotate your shoes to let them dry and rest, use a shoe tree after wear, and avoid bending them unnecessarily while storing. Regular conditioning keeps leather supple, which can reduce the appearance of fold lines over time.
How long does it take to smooth out wrinkles and creases in leather shoes?
Light creases often look better within a few days when you condition the leather and store them with a shoe tree. Deeper creases may take 1–3 weeks of consistent reshaping and conditioning, since leather relaxes slowly as it rehydrates and regains flexibility. For the fastest results, use controlled moisture (not soaking) and apply conditioner after each reshaping session.
📅 Last Updated: August 02, 2026 | Topic: how to remove creases in leather shoes | Content verified for accuracy and freshness.
References
- Leather
https://en.wikipedia.org/wiki/Leather - https://en.wikipedia.org/wiki/Leather_care
https://en.wikipedia.org/wiki/Leather_care - https://www.loc.gov/preservation/care/collections-bound-in-leather/
https://www.loc.gov/preservation/care/collections-bound-in-leather/ - https://www.getty.edu/conservation/resources/department-leather.html
https://www.getty.edu/conservation/resources/department-leather.html - https://www.britishmuseum.org/collection-care/conservation-and-collections-care/leather
https://www.britishmuseum.org/collection-care/conservation-and-collections-care/leather - Museums & Collections (U.S. National Park Service)
https://www.nps.gov/museum/publications/conserveall/preserve-the-past-leather.htm - https://scholar.google.com/scholar?q=remove+creases+in+leather+shoes+steam+humidification Google Scholar
https://scholar.google.com/scholar?q=remove+creases+in+leather+shoes+steam+humidification - Google Scholar Google Scholar
https://scholar.google.com/scholar?q=leather+crease+formation+recovery+heat+moisture - Google Scholar Google Scholar
https://scholar.google.com/scholar?q=thermoplastic+shape+memory+leather+creased+recovery - https://pubmed.ncbi.nlm.nih.gov/?term=leather+moisture+heat+shape+recovery
https://pubmed.ncbi.nlm.nih.gov/?term=leather+moisture+heat+shape+recovery