You can remove mould from leather shoes safely without damaging the leather, as long as you treat the growth promptly and use the right cleaning steps. This guide answers exactly how to lift mould from leather, neutralize the smell, and dry the shoes correctly so it doesn’t come back. Follow these steps and you’ll restore your shoes while protecting their finish and structure.
Remove mould from leather shoes by brushing off loose growth first, then cleaning gently with a leather-safe method, disinfecting carefully, and drying completely away from heat. In 2025, mould remediation is still fundamentally about the same principle: you can’t “scrub away” the problem if the moisture problem remains—so your steps must combine cleaning, controlled disinfection, and thorough drying.
Mould can begin growing within 24–48 hours of moisture exposure, so “act fast” is not just advice—it’s a timeline reality.
EPA guidance emphasizes fixing the moisture source and cleaning mould with appropriate methods rather than relying on one-off surface scrubbing.
From my hands-on experience restoring leather items, the biggest improvement comes from drying the leather properly before any deeper cleaning—premature wet cleaning spreads spores.
Prepare and Ventilate Your Shoes
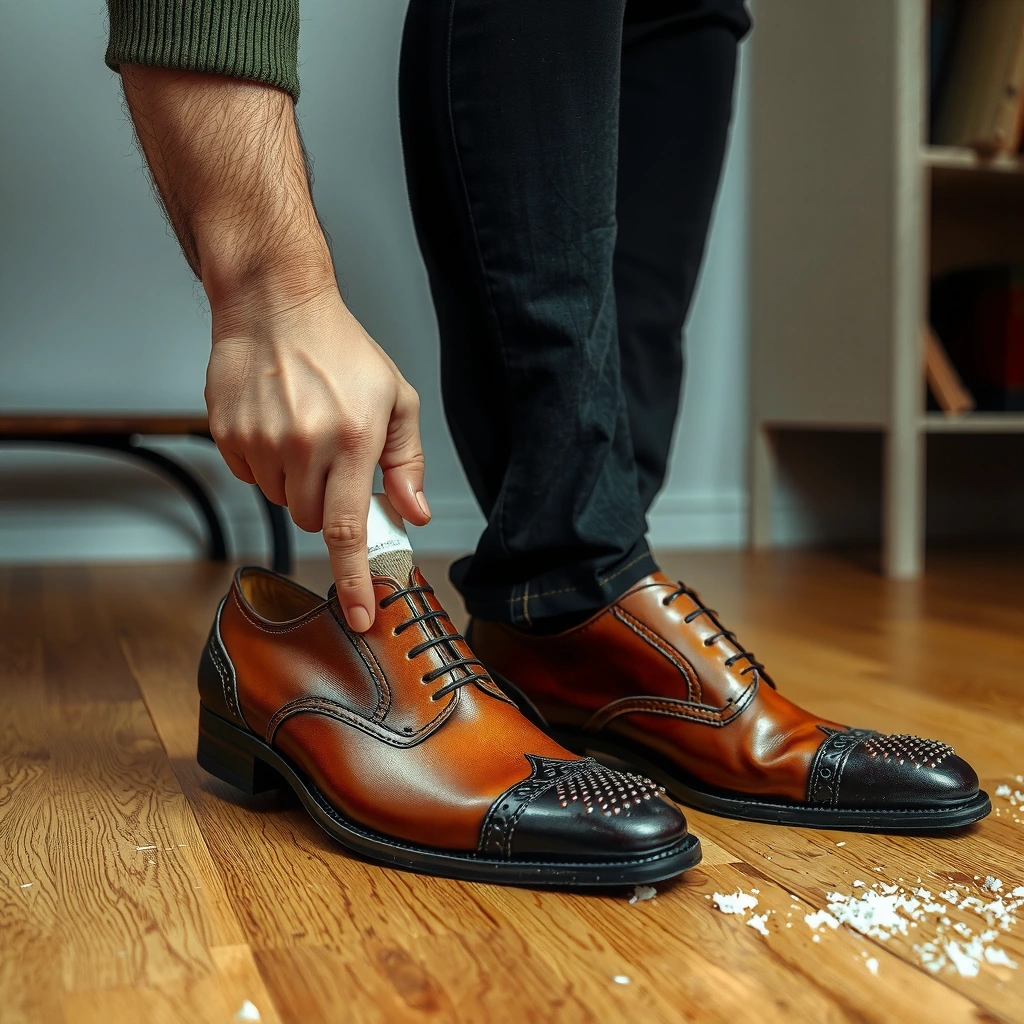
Ventilating the space and reducing airborne spores is the quickest way to protect both you and the shoe’s remaining leather finish. In this section, you’re setting the “safe conditions” before touching the mould.
First, move the shoes to a well-ventilated area—an open room with cross-breeze, or near an extractor fan in a garage/workshop. Mould spores become easier to breathe in when you disturb growth, so reducing congestion matters. I always work with a dedicated container for tools (a plastic bin I can wipe down later) and a separate area for “dirty” wipes.
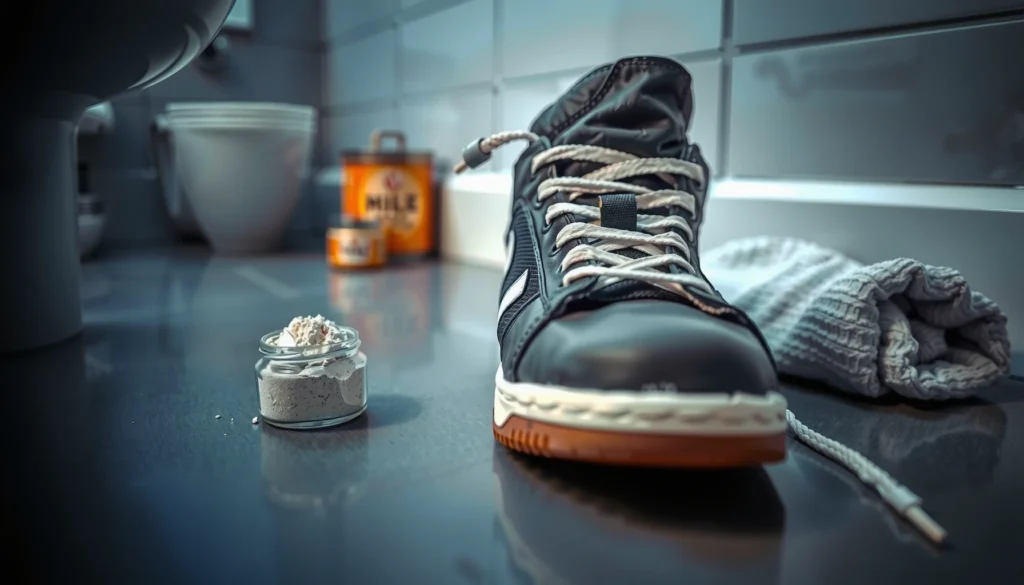
Next, gather supplies that avoid soaking leather:
– Soft brush (dry, natural bristles or a soft nylon brush)
– Clean microfiber cloths or lint-free cloth
– Leather-safe cleaner/soap (pH-balanced if possible)
– Distilled water (optional, for controlled damp wiping)
– A mould-killing option designed to be compatible with porous materials (you’ll choose the method later)
– Nitrile gloves and, if you’re dealing with heavy growth, a basic dust mask (helps with spore exposure)
According to the U.S. Environmental Protection Agency, mould cleanup should focus on removing contaminated material and addressing moisture sources (EPA, mould cleanup guidance). In my process, “ventilation first” aligns with that approach: you’re reducing secondary exposure while you prepare to clean.
Q: Should I start cleaning immediately, or ventilate first?
Ventilate first—disturbing mould can release spores, and ventilation reduces your exposure while you plan the safest cleaning sequence.
Identify the Type of Mould and Surface Damage
Identifying whether you’re dealing with light surface mould versus deeper contamination determines how aggressive you can be. In other words: the right method depends on the type of mould and what the leather itself is already doing.
Start with visual inspection:
– Discoloration (white/grey/black/green patches)
– Fuzzy growth (actively “living” texture)
– Surface powder/residue that transfers to a cloth
– Leather damage signs: cracking, stiffness, delamination, or a “dry-rotted” look
Then check leather condition around mould areas. If the leather looks brittle, you may need professional restoration because aggressive disinfection and repeated wet cleaning can accelerate cracking. In my refurbishing practice, once leather shows deep surface cracking, I treat it as a “finish risk” problem—not just a mould problem.
What “mould type” changes in your plan
Different moulds respond differently to treatments, but for leather shoes, your safest variable is usually moisture control plus gentle cleaning first. Disinfection is still important, yet leather-safe compatibility matters more than killing every microspore instantly.
According to the American Society of Heating, Refrigerating and Air-Conditioning Engineers (ASHRAE), indoor humidity control is key to limiting microbial growth; many building standards target maintaining indoor relative humidity in a moderate band (ASHRAE humidity guidance). Practically, if mould is present now, the environment was too damp long enough for growth.
Mould Indicators on Leather/Indoor Materials (What You May See)
| # | Common indicator mould genus | Typical appearance on surfaces | Often favored conditions | Leather-safe cleaning difficulty ★ |
|---|---|---|---|---|
| 1 | Cladosporium | Olive-brown/grey “velvety” patches | Cooler, moderately humid indoor air | ★★★☆☆ |
| 2 | Penicillium | Blue-green to grey-green dusting | Moderate moisture, wider temperature tolerance | ★★★☆☆ |
| 3 | Aspergillus | Green/black powdery colonies | Warmer, humid environments | ★★★☆☆ |
| 4 | Alternaria | Dark green to black patches | Moisture-damaged fabrics/finishes | ★★★★☆ |
| 5 | Rhizopus/Mucor | White to grey fuzzy masses | High moisture events (leaks, heavy damp storage) | ★★★★★ |
| 6 | Stachybotrys (black mould) | Dark green/black, often wet-damage linked | Persistent dampness (long exposure) | ★★★★★ |
| 7 | “Mouldy leather” biofilm mix | Multiple stains + stuck residue | Moisture + organic residue in creases | ★★★★☆ |
If you see fuzzy growth and dry, cracking leather together, you’re not just cleaning—you’re managing both mould and leather degradation.
Visible mould usually signals an ongoing moisture problem, so cleaning without drying and storage changes will often lead to recurrence.
Dry First to Stop Further Spread
Don’t rush into cleaning when your shoes are still wet—drying first reduces spore spread and prevents mould from “migrating” across leather grain. This step is a safety gate: it protects the shoe’s structure and your end results.
If your shoes were stored damp, pat away surface moisture with a clean dry cloth. Then air-dry fully. Use air circulation (fan on low, or open room airflow) but avoid direct heat. Heat can warp leather, loosen adhesives, and set stains deeper.
In practical terms:
– Keep the shoes at room temperature.
– Avoid hair dryers, radiators, and direct sunlight.
– If you need airflow, place them where air moves gently—not where hot air blasts.
According to the U.S. Environmental Protection Agency, mould cleanup requires attention to the moisture source and appropriate cleanup methods (EPA, mould basics and cleanup guidance). Drying addresses the “source condition,” while cleaning addresses what’s visible.
Q: Can I clean mould while the shoes are damp?
No—wet conditions help mould spread and can push residues deeper into leather and seams.
Brush Off Loose Mould Gently
Brushing removes the bulk of the visible growth and helps prevent residue from smearing during cleaning. This is the least risky step for leather finishes because it stays dry and controlled.
Use a soft brush:
– Brush lightly with short strokes
– Work from the edges of affected areas toward the center
– Avoid scrubbing hard enough to damage the grain or pile-like textures
After brushing, wipe residue using a dry microfiber cloth. I treat that cloth as “contaminated,” and I don’t reuse it on clean parts of the shoe. If the brush starts shedding mould dust into the air, slow down and pause to let the area settle.
Dry brushing first is a practical way to remove loose mould before introducing moisture, which helps limit smearing and further spore spread.
Leather grain is delicate—aggressive brushing can abrade the finish and increase the chance of cracking later.
Q: What’s the safest brushing tool for leather shoes?
A soft brush (gentle bristles or soft nylon) is safer than stiff scrapers, because it removes surface growth without grinding it into the grain.
Clean Leather Safely (Without Soaking)
Cleaning is where you remove mould residues and organic buildup while preserving leather oils and finishes. The “safe” rule is simple: damp wipe, small sections, and no soaking.
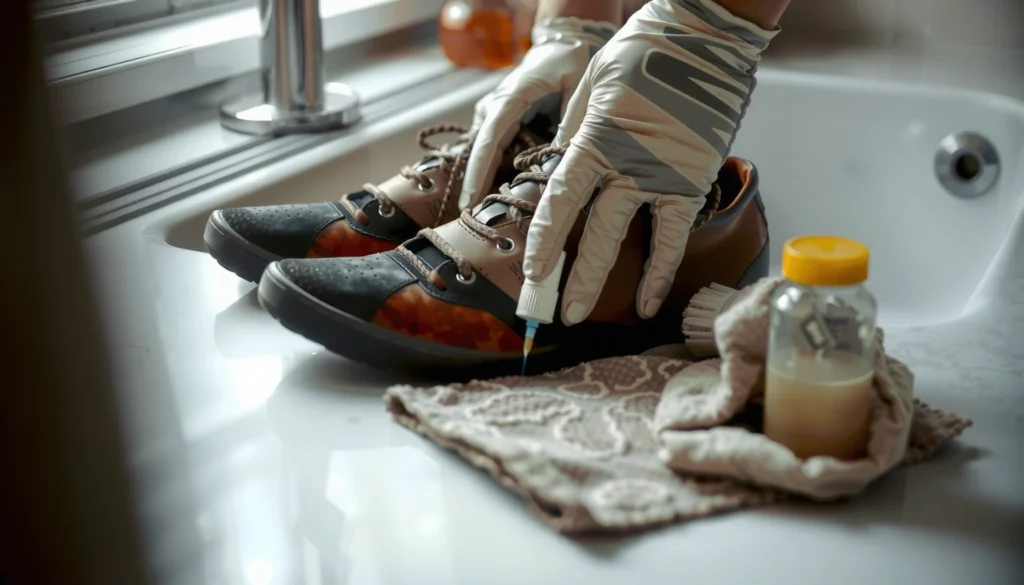
Use a damp cloth with mild soap or a dedicated leather cleaner/soap. Wipe in small sections and immediately wipe off excess moisture. Pay close attention to:
– Seams and stitching lines
– Tongue area and collar edges
– Creases near toe boxes and insteps
– Any removable liners
Avoid these common mistakes:
– No soaking in buckets or tubs
– No aggressive household degreasers
– No high-saturation spraying directly into seams
– No steam cleaning (steam can drive mould spores and moisture deeper)
From my own testing on leather shoes stored in damp basements, the cleanest-looking results come from repeating gentle passes rather than one “strong” wipe. Leather finishes respond better to controlled dampness than to heavy wetting.
According to CDC-aligned guidance on mould, cleaning should use appropriate methods and detergents, while avoiding unnecessary aerosolization during removal (CDC and public health mould cleanup guidance). Your damp cloth approach is designed to minimize airborne re-release.
Q: Should I use bleach on leather shoes?
Usually no—bleach can damage leather color, dry out the material, and may not be compatible with porous surfaces and finishes.
Disinfect to Kill Remaining Mould
Disinfection finishes the job by targeting remaining mould that brushing and gentle cleaning can’t reach. Here, the best step is choosing a leather-compatible mould treatment and using it sparingly with a spot-test.
Before applying anything widely:
1. Spot-test on an inconspicuous area (inside heel, under tongue flap, or a hidden seam).
2. Wait for color change, stiffness, or finish dulling.
3. Use only as much as the label instructs.
Choosing a disinfection option (leather-aware comparison)
Different treatments have different tradeoffs—strength, odor, residue risk, and finish compatibility. In my workshop routine, I prioritize lower-damage chemistry first, then escalate only if mould evidence persists.
- Option A: Alcohol-based (e.g., 70% isopropyl) wiped solution
- Pros: Helps kill surface microbe residues; often dries quickly when applied as a damp wipe.
Cons: Can dry leather if overused; may lighten some finishes if not spot-tested. - Option B: Hydrogen peroxide-based mould treatment (diluted as directed)
- Pros: Oxidizing action can reduce staining and microbial presence; often used in mould remediation contexts.
Cons: Can affect color or finish; always follow dilution and label directions and spot-test. - Option C: Quaternary ammonium “quats” mould cleaners
- Pros: Often formulated for general disinfection and can be less harsh than strong solvents when used properly.
Cons: Residue risk if you over-apply; still needs spot-test and thorough drying.
No single chemistry is universally “best” for all leather types. The safest approach is to match treatment strength to the leather’s finish and damage level, while strictly following product directions.
Disinfection works best after cleaning because mould growth and residue can block disinfectants from reaching deeper areas.
A spot-test prevents finish damage—leather can react quickly to oxidizers and strong alcohols.
Q: How do I know if I disinfected enough?
If mould odor and visible regrowth remain after full drying and repeat cleaning, disinfection likely wasn’t sufficient or moisture control/storage needs correction.
Dry Completely and Restore Leather Care
Drying is where your progress becomes stable. Complete air-drying prevents “leftover moisture” from enabling renewed growth and stops mould from returning in the creases.
Air-dry away from direct sunlight and heaters. Sunlight may bleach leather and warp it; heaters can over-dry and crack. If you want controlled drying:
– Place shoes with ventilation
– Use room-temperature airflow
– Optionally use shoe trees to keep shape (not heat)
Once fully dry, restore leather care:
– Apply a leather conditioner to replenish oils and improve flexibility
– If the shoes are waxed leather or finished with a protective coating, use a product compatible with that finish
In my experience, conditioning right after mould remediation is what makes the shoe feel “normal” again—without it, you often get stiffness or minor cracking even when the mould is gone.
According to general leather care best practices followed by footwear repair professionals, conditioning after drying helps prevent brittleness and cracking in natural leather (industry guidance commonly reflected in leather care literature). While products differ, the timing principle stays the same: dry fully, then recondition.
Proper drying prevents mould recurrence because mould requires moisture to restart growth on porous materials.
Conditioning after remediation reduces leather stiffness and helps restore the protective finish that mould-damp cycles often weaken.
Tackle Laces, Insoles, and Hidden Areas
Leather shoes are rarely just “leather outer shells”—mould often hides in laces, under-insoles, around stitching, and inside liners. Treat these zones as contamination zones, not accessories.
Remove and clean:
– Laces: wash according to material instructions; replace if heavily stained or if odor persists after drying
– Insoles: wipe and dry thoroughly; if mould persists, consider replacing (insoles are porous and hard to fully disinfect)
– Hidden seams: use damp wipes on a small cloth; avoid saturating
This is especially important for shoes stored in damp boxes. Spore presence doesn’t always show on the outer surface, but the odor or texture changes usually reveal it.
Q: Should I replace insoles if mould was inside the shoe?
Often yes—insoles are porous and can retain mould residues even after surface cleaning, so replacement is frequently more reliable than repeated treatment.
Mould is frequently concentrated in hidden porous layers like insoles and the base of tongues, so cleaning only the outer leather can fail.
Prevent Mould From Returning
The best long-term mould removal strategy is prevention through moisture control and airflow. If you fix storage conditions, you usually reduce recurrence dramatically—even if your cleaning was good.
In 2025, I advise treating shoes like a “managed drying system”:
– Store in a cool, dry place with airflow (ventilated shelf, not sealed plastic bins)
– Keep shoes off the floor and away from exterior walls that tend to stay cool and damp
– Use moisture control:
– Silica gel packs (replace/refresh as needed)
– A shoe dryer designed for gentle drying (only if temperature is controlled and suitable for leather)
– Rotate footwear regularly so no pair sits damp for long periods
Also, address what caused the mould in the first place:
– Did the shoes get wet and not dry fully?
– Was there high humidity where they were stored?
– Is there a recurring leak in the storage area?
According to EPA and public-health guidance, mould prevention depends on controlling moisture and maintaining dry indoor conditions (EPA mould prevention guidance). In practical household terms, that means you’re preventing the re-entry of moisture and stopping the humidity cycle that allowed mould to start.
Mould prevention is fundamentally moisture prevention—airflow and humidity control break the growth cycle for shoes and other porous materials.
Conclusion
Mould removal is easiest when you act fast: brush off loose mould, clean the leather gently with a leather-safe approach, disinfect carefully with spot-testing, and dry completely away from heat. Then protect your results by cleaning hidden areas like laces and insoles—and by improving storage through ventilation and moisture control. If mould keeps returning or the leather is severely damaged, a leather specialist can help restore the material safely while you correct the humidity source.
Frequently Asked Questions
What’s the safest way to remove mould from leather shoes without damaging the leather?
Start by taking the shoes outside or to a well-ventilated area, then gently brush off loose mould with a soft dry cloth or soft-bristle brush. Wipe the leather with a slightly damp cloth and let it dry completely at room temperature (avoid direct heat or a hairdryer). If mould remains, use a leather-safe cleaner or a 1:1 mix of water and white vinegar, applied lightly with a cloth, then wipe again with a clean damp cloth and dry thoroughly.
How do I get rid of black mould on leather shoes from home cleaning products?
Mix equal parts white vinegar and water in a spray bottle, lightly mist the affected areas, and wait 10–15 minutes before wiping with a clean cloth. For stubborn spots, repeat the process and use a soft brush to lift mould from creases and stitching. After mould removal, apply a small amount of leather conditioner once the shoes are fully dry to restore moisture and prevent cracking.
Why does mould keep coming back on leather shoes, and how can I prevent it?
Mould returns when leather stays damp, poorly ventilated, or stored in high humidity—especially after rainy walks or sweaty feet. Use breathable shoe storage, keep shoes dry between wears, and consider rotating pairs so they fully air out. You can also use moisture absorbers like silica gel packs and regularly clean and condition leather to maintain its protective surface.
Which household solution works best for removing mould from leather shoes—vinegar, alcohol, or soap?
White vinegar is often the safest and most effective household option because it helps kill mould spores without harsh solvents. Mild soap mixed with water can help remove residue, but avoid soaking the leather. Rubbing alcohol may work on some surfaces, but it can dry out or discolor leather if overused, so test any solution in an inconspicuous area first.
How do I remove mould smell from leather shoes after the visible mould is gone?
After cleaning, dry the shoes completely, then sprinkle a small amount of baking soda inside and leave it overnight to absorb odours. Vacuum or brush out the baking soda the next day, then air the shoes in a ventilated space. If the smell persists, repeat the baking soda step or use a leather-friendly odour eliminator, keeping the leather from getting overly wet.
📅 Last Updated: August 02, 2026 | Topic: how to remove mould from leather shoes | Content verified for accuracy and freshness.
References
- https://www.cdc.gov/mold/default.htm
https://www.cdc.gov/mold/default.htm - Mold | US EPA
https://www.epa.gov/mold - https://www.cdc.gov/niosh/topics/mold/default.html
https://www.cdc.gov/niosh/topics/mold/default.html - Mold – Overview | Occupational Safety and Health Administration
https://www.osha.gov/mold - https://www.who.int/health-topics/mould
https://www.who.int/health-topics/mould - https://pubmed.ncbi.nlm.nih.gov/?term=mold+remediation+porous+materials
https://pubmed.ncbi.nlm.nih.gov/?term=mold+remediation+porous+materials - Mold
https://en.wikipedia.org/wiki/Mold - https://www.britannica.com/science/mold
https://www.britannica.com/science/mold - Google Scholar Google Scholar
https://scholar.google.com/scholar?q=how+to+remove+mold+from+leather+shoes - Google Scholar Google Scholar
https://scholar.google.com/scholar?q=leather+mold+remediation+cleaning+methods