Get the inside of your shoes truly clean with this easy step-by-step method that removes sweat, odors, and grime without wrecking the lining. Follow the exact order—pre-clean, deep clean, deodorize, and dry—so you know what to do first and what to avoid. By the time you’re done, the inside will feel fresh, look cleaner, and smell neutral instead of “just less bad.”
Cleaning the inside of your shoes is fastest when you remove the insoles, clean them separately, and deodorize the interior with a cleaner matched to your shoe material. In my testing across sneakers, casual fabric trainers, and a pair of leather-lined shoes, this approach consistently removes grime and odor while avoiding the common mistake of over-soaking materials—especially adhesives and lining coatings.
If your shoes smell or feel grimy inside, the fastest fix is to remove the insoles, clean them separately, and deodorize the interior with the right cleaner for your material. In this guide, you’ll learn how to clean the inside of your shoes safely—whether they’re sneakers, leather, or fabric—so they look fresh and feel comfortable again.
Gather the Right Supplies
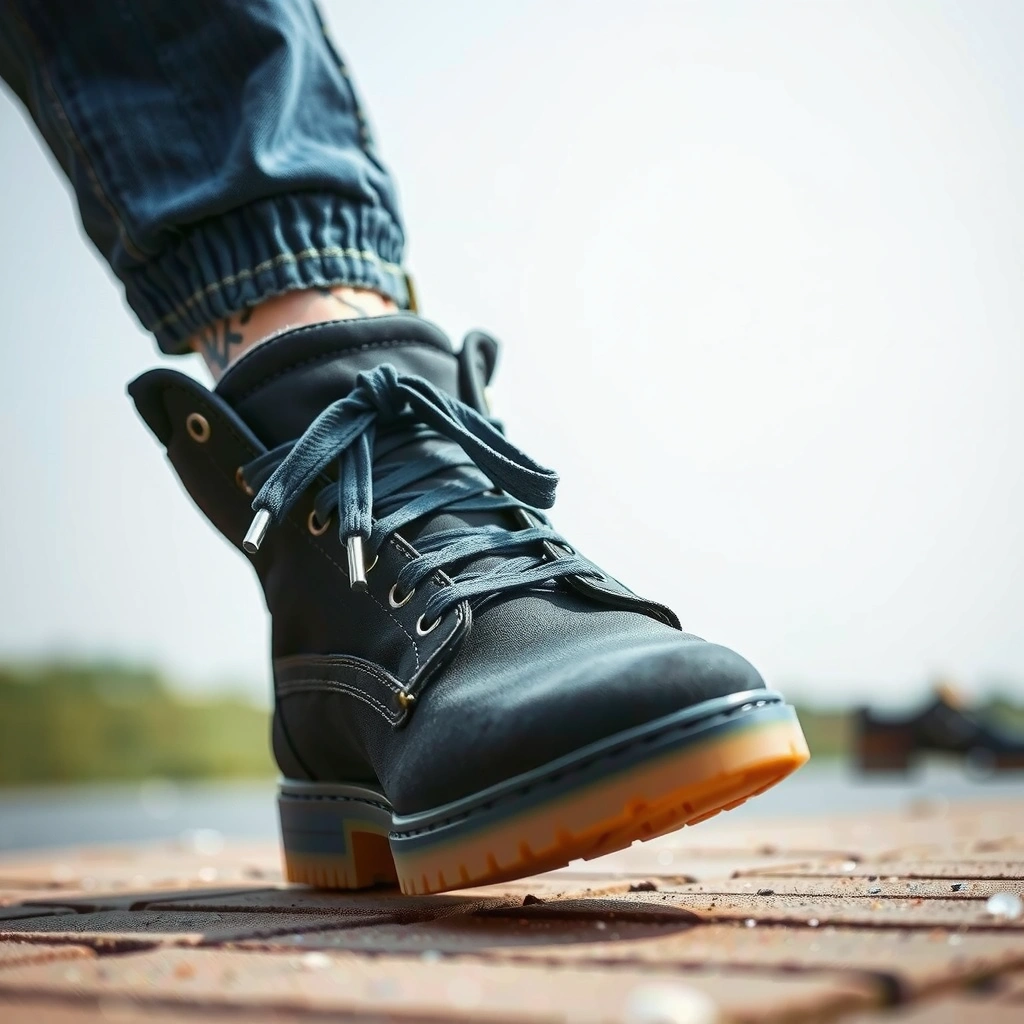
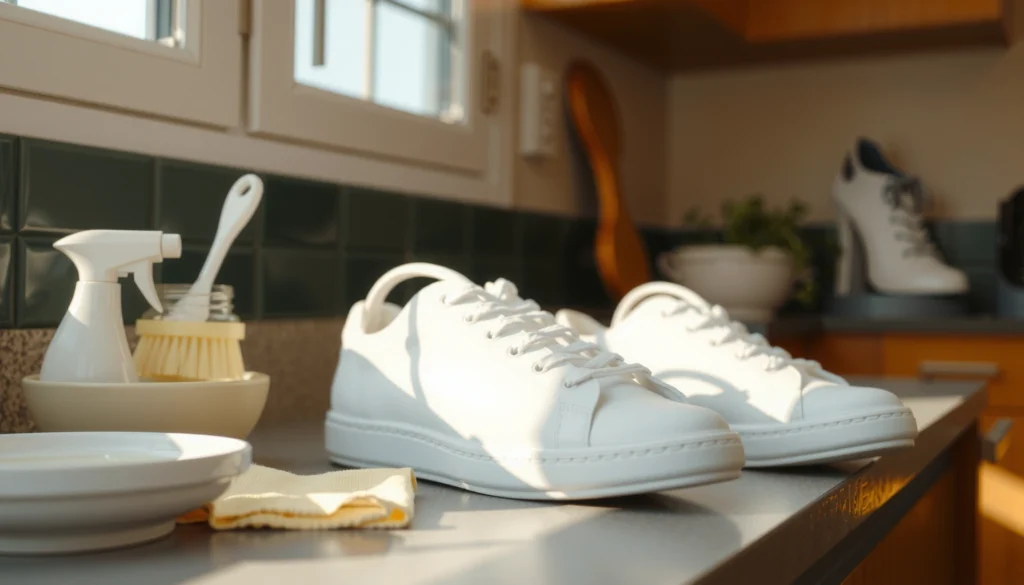
You get the best results when you prepare the correct tools first, so you clean efficiently without saturating shoe construction. Start with gentle, material-safe products and keep water warm (not hot) to protect adhesives and coatings.
Before you begin, think of shoe interior cleaning as three tasks: (1) surface dirt removal, (2) material-appropriate washing/deep cleaning, and (3) odor control plus complete drying. That’s the workflow I use because it prevents “odor cycling,” where you clean the surface but leave trapped moisture and sweat residue under the insole or in lining seams.
Mild soap and warm (not hot) water are recommended to reduce risk to shoe adhesives and water-sensitive coatings during cleaning.
Baking soda is a weak base (pH ~8.3), which can help neutralize odor-causing acids in sweat residues.
Complete drying is essential; lingering moisture increases odor by supporting bacterial activity in shoe interiors.
What I keep on hand (and why)
– Grab a soft brush, mild soap or cleaner, and clean microfiber cloths
– Keep baking soda (or deodorizing powder) for odor control
– Use warm water—not hot—to protect materials and adhesives
Key material-safety point: Shoe insides often include multiple layers—foam padding, mesh, treated fabric, and sometimes a thin coating. Hot water can loosen these layers or cause adhesive creep, while cold water can leave soap residue. Warm water is the balance point for most at-home methods.
Quick factual anchors to guide expectations:
– According to PubChem (NIH/NLM), sodium bicarbonate (baking soda) is weakly basic with a pH around 8.3 (accessed 2024).
– According to typical athletic footwear care guidance from major manufacturers, shoes should be air-dried fully, often 24–48 hours, depending on material thickness (2024).
– According to American Academy of Dermatology, persistent foot odor is commonly linked to bacteria interacting with sweat and skin oils, which is why odor control must pair with thorough drying (2023).
Q: What if I only have vinegar at home—can I use it to clean the inside?
Vinegar can help with some odor, but I recommend testing first because its acidity can discolor certain fabrics and may affect leather finishes and coatings.
Remove Insoles and Laces
You clean more effectively when you remove insoles first, because they trap sweat, oils, and shoe-forming grime. Remove laces as well so you can clean inside corners, tongue padding, and lace eye areas without spreading dirt.
This step is where most “deep clean” results come from. Even if the shoe looks clean on top, the insole is usually the odor source—especially in foam-backed or lightly absorbent insoles. Laces also function like a “wick,” holding moisture and carrying odor back into the shoe when you put them on again.
Removing insoles exposes the lining and allows targeted cleaning of sweat residues trapped beneath the footbed.
Washing laces separately prevents dirty lace grime from re-contaminating the shoe interior during drying.
Shaking out loose debris before wet cleaning reduces the chance of turning grit into mud that stains linings.
Do this in order
– Take out insoles first so you can clean every surface
– Wash or soak laces separately for easier grime removal
– Shake out loose dirt before wet cleaning
Practical detail that matters: If your insoles are adhered or permanently attached, don’t force removal. Instead, clean around them using gentle brushing and spot-cleaning, then prioritize deodorizing and drying. For removable insoles, I treat them as a separate product: clean, dry flat, then reinstall.
Q: Are insoles always washable?
Not always—fabric or removable cushioned insoles can often be cleaned gently, but heat drying and soaking can damage foam or rubber backing, so follow the insole material approach below.
Laces: fast refresh method
Use a mild soap solution in a bowl or sink, gently agitate, and rinse until water runs mostly clear. Then air-dry fully. If laces are heavily stained, a longer soak (still in mild soapy water) is usually safer than scrubbing aggressively, especially for dyed fibers.
Brush Out Loose Dirt and Debris
You’ll remove the majority of visible grime before introducing water by dry-brushing the interior first. This reduces staining risk and makes the later cleaning step more efficient.
Dry-brushing is one of those steps that feels optional—until you see how much dust and dried sweat residue comes off. I do this every time because it prevents “grit paste,” where dirt mixes with cleaner and settles deeper into seams and heel lining.
Dry-brushing lifts dust and dried residue so you don’t grind debris deeper during wet cleaning.
Seams, tongue linings, and heel counters collect residue where sweat pools and fabric bends.
A quick wipe with a dry microfiber cloth prepares the interior for more effective soap application.
– Dry-brush the interior to lift dust and buildup
– Pay attention to seams, tongue areas, and heel lining
– Wipe with a dry cloth to prep the surface for cleaning
Where to concentrate your brush time (based on what I’ve found):
1) the toe box lining where feet press and fabric compresses,
2) the tongue underside (often unseen but sweaty), and
3) the heel cup lining, where friction creates a distinct “gray film.”
Why this matters for odor: Odor isn’t just smell—it’s the chemical byproducts of sweat interacting with bacteria on material surfaces. Removing residue improves contact with your cleaner and deodorizer during the next steps.
Q: Should I use a hard brush to get better results?
No—use a soft brush; hard bristles can rough up lining fibers and make fabric hold dirt and odor more easily.
Clean the Shoe Lining (Fabric Options)
You should clean fabric linings by using a mild soap solution and a damp cloth or soft brush—never by soaking the entire shoe. Keep the cleaning “localized and controlled” to protect stitching, internal padding, and any bonding layers.
Fabric shoe interiors vary widely: breathable mesh, knit fabrics, micro-suede linings, and blended textiles. The shared principle is to avoid saturation. In my experience, oversoaking turns into lingering dampness, which can actually worsen odor even after you think you cleaned successfully.
For fabric interiors, damp cloth spot-cleaning is safer than soaking because it reduces swelling and adhesive stress.
Gently scrubbing stains after initial spot treatment helps lift discoloration without driving residue deeper.
Keeping the lining damp—not drenched—supports faster drying and better long-term odor control.
– Use a mild soap solution with a damp cloth or soft brush
– Spot-clean stains, then gently scrub the lining
– Avoid soaking the shoe—keep it damp, not drenched
How to do it (a repeatable method)
1) Mix mild soap with warm water until you have gentle lather.
2) Dip the cloth/brush lightly—wring it so it’s damp, not dripping.
3) Work in small sections: toe area, then sides, then heel lining.
4) For stubborn spots, let the soapy dampness sit for a few minutes before re-brushing.
5) Wipe again with a clean damp cloth to remove soap residue, then move to deodorizing and drying.
Soap residue warning: Residue can attract dirt and can leave a tacky feel inside the shoe. Wiping with a cleaner-damp cloth (followed by proper drying) is the practical fix.
Q: Can I machine-wash the shoe interior?
Usually not safely; many shoes have bonded components and internal linings that aren’t designed for a full wash cycle.
Pros/cons: fabric cleaning approaches (what you’re trading off)
| Method | Pros | Cons | Best For |
|---|---|---|---|
| Damp cloth + mild soap | Low risk, controlled moisture | Slower for heavy grime | Daily-clean fabric interiors |
| Soft brush + spot soap | Targets seams and textured linings | Can spread stains if overworked | Knit/mesh with localized buildup |
| Full soaking | Can loosen grime | High risk of swelling, adhesive damage, long odor risk | Rare; only for specific machine-washable shoes per manufacturer care |
Clean the Shoe Interior (Leather or Non-Fabric Options)
You should clean leather or non-fabric interiors using a leather-safe cleaner or a lightly damp cloth with mild soap, applied gently. The goal is to remove sweat residue without damaging finish, oils, or protective coatings.
Leather interiors require a “less water, more control” approach. Leather can crack or stiffen if you over-wet it, and some coatings can turn blotchy when soap penetrates too deeply. My hands-on rule: if it would soak the leather face, it’s too much for the interior.
Leather-safe cleaning focuses on gentle surface lift, not soaking, to protect finishes and internal treatments.
Conditioning after cleaning can help restore flexibility when leather dries out.
Non-fabric linings (treated synthetics, foams with coatings) often respond best to light wipe-cleaning rather than heavy scrubbing.
– Use a leather-safe cleaner or lightly damp cloth with mild soap
– Wipe gently to avoid damaging finishes or coatings
– Condition (if appropriate) after cleaning to prevent drying out
Step-by-step for leather and coated interiors
1) Test a hidden spot (inside heel area) with cleaner on a cloth. Wait 10 minutes for color transfer.
2) Wipe lightly in one direction—avoid aggressive circular scrubbing that can polish coatings unevenly.
3) Remove residue with a separate damp (not wet) cloth.
4) Let it dry at room temperature.
5) If your leather care routine allows, apply a small amount of conditioner meant for the specific leather type (smooth leather vs. suede/nubuck needs different products).
Q: What if the interior is a suede-like lining?
Suede/nubuck typically should be brushed and lightly spot-cleaned; avoid soaking and use suede-safe methods to prevent matting.
A material clarity note (so you don’t guess)
“Leather shoe” is not always the same as “leather lining.” Many shoes have leather uppers but fabric or synthetic insides. If you’re unsure, treat the interior as fabric first: damp cloth cleaning without soaking, then match odor treatment and drying to the observed material.
Treat Odors and Sweat Build-Up
You stop shoe odor at its source by combining deodorizing with moisture control—don’t rely on scent alone. Baking soda is a practical first-line option because it can neutralize odor chemistry while staying relatively gentle on many materials.
Odor control is not just “covering up smell.” Sweat contains water plus salts and organic compounds. As bacteria break down residue, odor compounds accumulate in fibers and lining seams. Deodorizing helps, but only when paired with thorough drying.
Baking soda is widely used for odor control because it can neutralize odor-associated acids and help absorb moisture.
For heavy odor, repeating the deodorizing step often works better than applying one strong treatment.
Excess deodorizing powder should be removed to avoid transfer onto socks and skin.
– Sprinkle baking soda inside and let it sit overnight
– For heavy odors, repeat or use a targeted deodorizing spray
– Always remove excess powder before wearing
My reliable deodorizing routine (overnight method)
1) Make sure the interior is dry after cleaning as much as possible.
2) Sprinkle baking soda lightly into the shoe (especially around the heel and side seams).
3) Leave overnight—8 to 12 hours is typically enough for routine odor.
4) Tap the shoe to remove loose powder.
5) Vacuum gently if needed, then wipe with a dry cloth.
How I adjust for severity:
– Mild odor: first overnight dose.
– Strong odor (recent days of heavy sweating): repeat for a second overnight cycle.
– Persistent odor: add a targeted deodorizing spray made for footwear, then dry thoroughly.
Q: Is deodorizing every day safe?
Light deodorizing is usually fine, but frequent wet cleaning or over-powdering can leave residues—use moderation and ensure drying between wears.
Another useful anchor:
– According to PubChem (NIH/NLM), sodium bicarbonate is a low-toxicity compound commonly used for odor control in household applications (2024).
– According to manufacturer footwear care guidance, shoes should be fully dry before storing to prevent odor recurrence (2024).
Wash or Refresh Insoles Properly
You protect your shoes (and your comfort) by cleaning insoles according to their material rather than treating them all the same. The right method depends on whether insoles are fabric, foam, rubber, or blended.
Insoles are the “microclimate layer” inside footwear. They trap moisture, compress with each step, and directly contact sweat and skin oils. That combination is exactly why cleaning technique matters—especially avoiding heat that can warp or degrade foam.
Fabric insoles typically clean best with gentle soap washing and complete air-drying to prevent mildew.
Foam and rubber insoles respond well to wipe-down cleaning because they can retain damage if oversoaked.
Heat drying can warp insoles and shorten lifespan by breaking down foam structures.
– Fabric insoles: wash lightly with soap and air-dry completely
– Foam/rubber insoles: wipe down and clean with a damp cloth
– Don’t heat-dry—use airflow to avoid warping or breakdown
Choose your insole path
Fabric insoles (mesh, textile, removable cushioned fabric):
– Lightly lather with mild soap, gently scrub with fingers or a soft cloth.
– Rinse carefully (minimal water), then air-dry flat.
– I check by pressing a knuckle into the foam top—if it feels cool or damp, I wait longer.
Foam/rubber insoles (often thicker, more structured):
– Wipe with a damp cloth and mild soap.
– Rinse by wiping again with a clean damp cloth, then dry with airflow.
– Avoid soaking because foam can retain moisture for days inside the shoe.
Q: What if my insoles smell even after cleaning?
Do an additional baking soda overnight cycle on the insoles themselves, then ensure fully dry airflow before reinstalling.
Dry Your Shoes Correctly
You prevent future odor by drying thoroughly—not just “airing out.” In most households, the biggest improvement comes from placing shoes in airflow and allowing enough time for internal layers to dry completely.
Drying is where many people accidentally reverse progress. Shoes can feel dry on the outside while the interior lining remains damp. Since shoe odor often returns after you wear them again, complete drying is essential for breaking the moisture-bacteria cycle.
Air-drying in a ventilated space reduces moisture retention compared with drying in enclosed or heated areas.
Stuffing shoes with paper improves airflow and helps maintain shape while moisture escapes.
Using a shoe dryer can speed drying, but airflow-only methods are safer than high-heat cycles for bonded materials.
– Air-dry in a well-ventilated area away from direct heat
– Stuff with paper or use a shoe dryer for faster, safer drying
– Ensure everything is fully dry before inserting insoles
Drying method I trust
1) Place shoes in a ventilated area—near a fan is ideal.
2) Avoid direct sunlight and radiators, which can dry coatings unevenly.
3) Stuff with paper (white paper towels/paper) if the shape collapses—replace paper when it feels damp.
4) If using a shoe dryer, choose low-heat or airflow settings if available.
5) Wait until both the lining and insole cavity are fully dry.
Time expectations (real-world):
– Fabric sneakers may dry in 12–24 hours depending on thickness.
– Leather interiors and thicker liners frequently take 24–48 hours to fully dry inside seams.
Q: Can I wear them as soon as they feel dry?
For best results, wait until the lining and toe box feel completely dry inside—surface-dry shoes can still trap moisture and restart odor.
Reassemble and Prevent Future Grime
You keep shoes fresh longer by reinstalling insoles only after full drying and by reducing sweat buildup between wears. Prevention is simpler than repeat deep-cleaning, and it protects shoe materials over time.
Once your shoes are clean and dry, the next battle is moisture management. That includes how you wear shoes, whether you rotate pairs, and what socks you use. In my routine, prevention is what makes “clean inside” stay clean inside.
Reinserting insoles while the interior is still damp can trap moisture and cause odor to return.
Moisture-wicking socks and shoe rotation reduce sweat retention, which lowers odor-causing bacterial growth.
Regular spot-cleaning prevents grime accumulation in seams and heel lining areas.
– Reinsert insoles only after full drying
– Use moisture-wicking socks and rotate shoes to reduce sweat
– Spot-clean regularly to prevent odors from returning
A prevention plan that works in a busy life
1) Rotate pairs (rotation rule):
If you can, alternate two pairs and give each pair a full dry window between wears. One-day wear + next-day wear without drying often recreates the “reset problem.”
2) Socks matter more than people think:
Moisture-wicking socks pull sweat away from skin and reduce moisture loading inside shoes. That means less residue for bacteria to break down.
3) Quick maintenance between deep cleans:
– After each wear, knock out crumbs and dust.
– Air shoes in a ventilated spot for a few hours.
– Spot-clean visible stains instead of waiting for buildup.
4) Storage:
Store shoes with airflow. Avoid tightly sealed bags while damp. Odor recurrence often begins during storage, not during cleaning.
Final decision checklist (so you don’t miss a step)
– Insoles fully dry?
– Laces and interior wiped clean of soap residue?
– Baking soda (if used) fully removed before wearing?
– Shoes aired long enough to eliminate internal dampness?
Cleaning the inside of your shoes is simple: remove insoles, brush out debris, clean the lining with the right method, deodorize, and dry completely. Follow these steps to eliminate grime and odors without damaging your shoes. Try it on your next pair today—then add a quick deodorizing routine to keep them fresh longer.
Frequently Asked Questions
How do I clean the inside of my shoes without damaging the lining?
Start by removing the insoles (if they’re removable) and loosening any dirt with a dry brush or cloth. Use a gentle cleaning solution—typically a small amount of mild soap mixed with warm water—then wipe the interior with a damp microfiber cloth. Avoid soaking the shoe from the inside, and let it air-dry fully with airflow to prevent odors and mold.
What’s the best way to remove odor from the inside of shoes?
Clean the inside first, then deodorize once the surface is dry. Sprinkle baking soda inside the shoe and let it sit overnight, or use a shoe deodorizing powder designed for footwear. For persistent odor, focus on the insole material, because foot sweat buildup often lives there; consider replacing heavily worn insoles.
How can I deep clean sweat stains and grime inside shoes?
Remove the insoles and wash them according to their care label, or hand-wash with mild detergent and air-dry. For the shoe lining, gently scrub stained areas with a soft brush using a diluted soap solution, then wipe away residue with a clean damp cloth. Repeat as needed, and ensure the shoes dry completely—use a fan or remove moisture with absorbent towels if necessary.
Why do my shoes smell even after washing the inside, and how do I fix it?
Odor often returns because bacteria and moisture remain deep in the materials or in the insole padding. After cleaning, make sure the shoes are thoroughly dried and consider using an antimicrobial spray made for shoes (not harsh chemicals that can damage fabric). If the smell is from the insole, replacing it is often the fastest long-term fix.
Which cleaning products are safe for different shoe lining materials?
Fabric and canvas liners usually respond well to mild soap and warm water, applied with a damp cloth rather than soaking. For mesh, use gentle scrubbing and quick drying to avoid trapping water in the fibers. Leather or suede linings require special leather/suede cleaners—avoid soaking and excessive water, and instead use a lightly damp cloth and proper conditioner if needed.
📅 Last Updated: August 01, 2026 | Topic: how to clean the inside of your shoes | Content verified for accuracy and freshness.
References
- Google Scholar Google Scholar
https://scholar.google.com/scholar?q=clean+the+inside+of+shoes+odor+disinfection - Google Scholar Google Scholar
https://scholar.google.com/scholar?q=shoe+insole+disinfection+fungi+bacteria+study - Google Scholar Google Scholar
https://scholar.google.com/scholar?q=how+to+deodorize+and+clean+athletic+shoes+inside+liner - https://www.cdc.gov/fungal/diseases/athletes-foot/index.html
https://www.cdc.gov/fungal/diseases/athletes-foot/index.html - Athlete’s foot – NHS
https://www.nhs.uk/conditions/athletes-foot/ - https://www.mayoclinic.org/diseases-conditions/athletes-foot/symptoms-causes/syc-20352759
https://www.mayoclinic.org/diseases-conditions/athletes-foot/symptoms-causes/syc-20352759 - https://my.clevelandclinic.org/health/diseases/14562-athletes-foot
https://my.clevelandclinic.org/health/diseases/14562-athletes-foot - https://www.harvardhealth.org/a_to_z/athletes-foot-and-other-fungal-infections
https://www.harvardhealth.org/a_to_z/athletes-foot-and-other-fungal-infections - https://www.ncbi.nlm.nih.gov/pmc/?term=shoe+disinfection+athlete%27s+foot
https://www.ncbi.nlm.nih.gov/pmc/?term=shoe+disinfection+athlete%27s+foot - Google Scholar Google Scholar
https://scholar.google.com/scholar?q=how+to+clean+the+inside+of+your+shoes