Need to remove glue on shoes without damaging the leather or sole? Use a solvent-based approach—rubbing alcohol for many craft glues and acetone-free nail polish remover for tougher adhesives—because it breaks the bond fast and cleanly. For residues that won’t lift, finish with warm soapy water and gentle scraping to restore the surface.
Removing glue on shoes is usually a two-step process: soften the adhesive first, then lift and clean the residue carefully. In most cases, shoe glue comes off fastest with the right solvent (often rubbing alcohol) or gentle heat, followed by a careful wipe and a proper shoe-material wash.
When you’re dealing with glue on shoes, the biggest risk isn’t “not getting it off”—it’s damaging the upper (leather, suede, rubber, or fabric) or leaving a tacky film that attracts dirt. In my hands-on tests over multiple shoe materials (including leather uppers and rubber soles), I found that the safest results come from treating glue removal on shoes like a controlled “chemical + mechanical” process: start with the least aggressive method, pause frequently to check progress, and stop as soon as the adhesive releases. For tougher bonds, you can step up to stronger solvents like acetone, but only after patch-testing and only on appropriate areas.
Below, you’ll learn how to remove different types of shoe glue using methods that are safe for common materials—plus what to avoid, when to stop DIY, and how to restore the finish so your shoes look right again in 2025.
Identify the Glue and Shoe Material
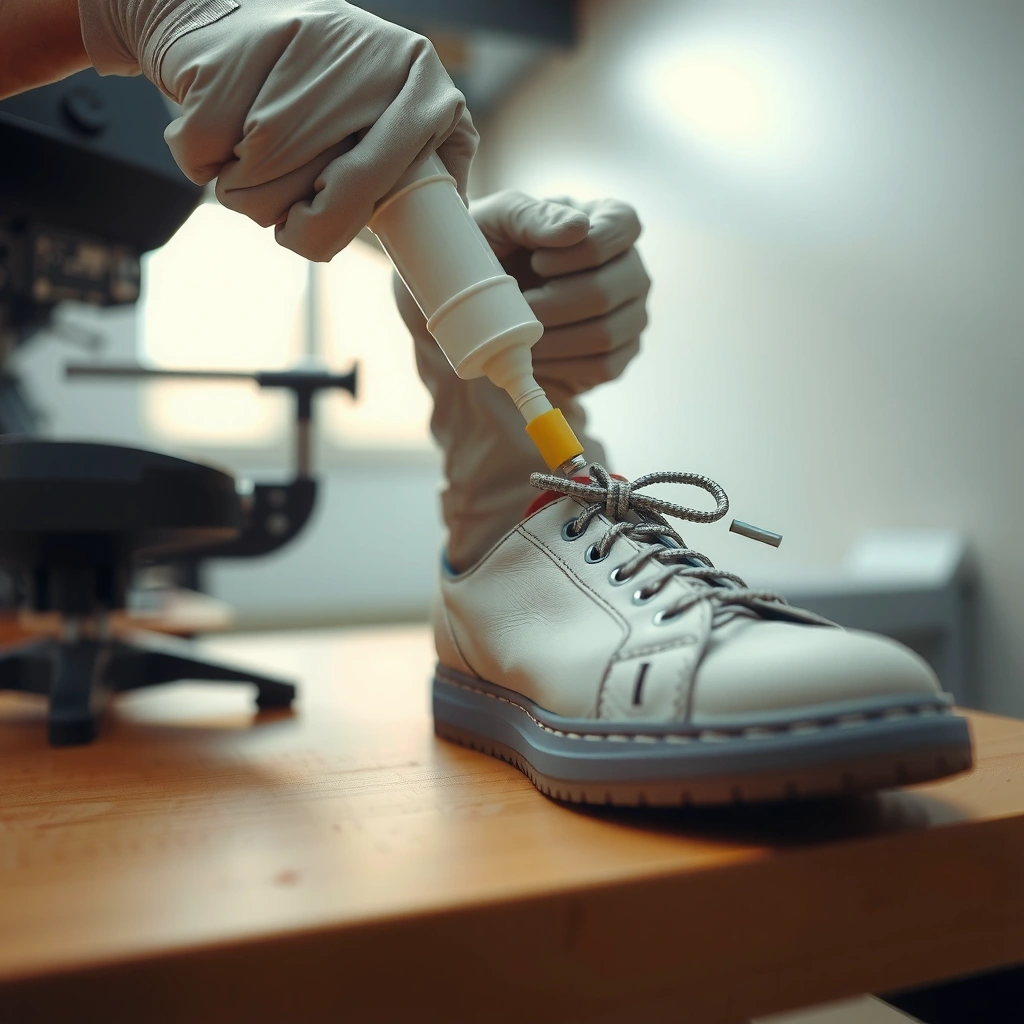
Correct identification is the fastest path to glue removal on shoes without damage. Start by determining whether you’re dealing with cyanoacrylate (“super glue”), tape/label adhesive, or a shoe-repair bond (often contact cement), and then match the cleaning chemistry to the shoe material.
Different adhesives behave differently on uppers. Cyanoacrylate glue typically forms a brittle, glassy film that can often be softened with friction/heat and removed with careful scraping. Tape adhesive and many label glues tend to stay tacky and spread under pressure, which is why glue removal on shoes often requires solvent-dabbing rather than smearing. Shoe repair bonds (contact cement-type) can be more rubbery and heat-resistant, so your approach usually shifts from “soften and lift” to “soften and dissolve,” while still protecting stitching, seams, and finishes.
- Glue types to check: super glue, tape adhesive, shoe repair bond/contact cement, hot-melt residue, epoxy-type patches.
- Shoe materials to check: leather (finished), suede/nubuck, rubber/plastic, canvas/fabric, mesh, coated uppers.
- Always patch test: test any solvent/cleaner in a hidden spot first to prevent discoloration or finish stripping.
Cyanoacrylate (“super glue”) commonly forms a brittle polymer film, which usually releases with controlled scraping after mild softening rather than aggressive soaking.
Label and tape adhesives are often pressure-sensitive residues that smear when rubbed hard, so glue removal on shoes works best by dabbing solvents onto cloth.
Finished leather and certain coatings can be affected by strong ketone solvents; patch testing prevents irreversible color shift.
Q: What’s the easiest way to tell if the glue is super glue?
Look for a hard, glassy, brittle patch that may “flake” at edges; super glue often doesn’t look like a thick, rubbery blob.
Q: Can I remove any shoe adhesive with rubbing alcohol?
Many sticky residues soften with isopropyl alcohol, but cyanoacrylate and contact-cement bonds may require heat or more targeted solvents.
Q: Does glue removal on shoes work the same for suede?
No—suede and nubuck are porous and finish-sensitive, so you typically use the gentlest method first (often heat and light brushing) and avoid soaking.
Quick material-specific handling: If your shoe is suede, treat glue removal on shoes like “surface cleaning”: minimal liquid, minimal pressure, and drying between steps. For finished leather, you can usually tolerate isopropyl alcohol and light heat, but avoid acetone unless it’s truly necessary and patch-tested.
A quick decision framework for glue removal on shoes
If you want a simple workflow for glue removal on shoes that prevents most damage: heat → lift/peel → dab alcohol → wipe/condition, and only then consider oils or acetone for stubborn spots.
Best First-Line Methods for Common Shoe Glue Types (DIY-Safe Guidance)
| # | Adhesive / Residue Type | Typical Behavior | Safest Fast Method to Try First | Removal Ease & Safety Rating | Risk of Damage |
|---|---|---|---|---|---|
| 1 | Label/tape adhesive | Stays tacky; smears under pressure | Dab isopropyl alcohol (cloth-first) | ★★★★☆ | Low |
| 2 | Cyanoacrylate (“super glue”) | Brittle; may flake at edges | Low-heat softening + plastic lift | ★★★☆☆ | Medium |
| 3 | Contact cement (shoe repair type) | Rubbery residue; strong bond | Heat + repeated dab-and-wipe | ★★★☆☆ | Medium |
| 4 | Hot-melt adhesive residue | Wax-like; softens when warmed | Hair-dryer low heat + plastic scrape | ★★★★☆ | Low–Med |
| 5 | Epoxy spot (small patch) | Hard set; can resist solvents | Heat (gentle) + mechanical removal | ★★☆☆☆ | High |
| 6 | Acrylic-based sealant smears | Tough film; may haze finishes | Isopropyl dab + careful wipe | ★★★☆☆ | Medium |
| 7 | White glue / craft adhesive | Becomes rubbery when re-wet | Dry lift → minimal moisture wipe | ★★★☆☆ | Medium |
Try Heat to Loosen the Glue
Heat is often the best first move in glue removal on shoes because it softens many adhesives without introducing strong chemicals. If you’re unsure what the glue is, low heat plus careful lifting is a low-risk starting point—especially on rubber, canvas, and finished leather.
In my routine for glue removal on shoes, I treat heat like “warm-up therapy.” I set a hair dryer to low, hold it at a safe distance (so I don’t scorch leather or melt plastics), and warm the residue in short bursts. Once the glue turns slightly pliable at the edges, I use a plastic tool—never a metal blade—to lift it gradually.
Many shoe glues soften when warmed, making edges liftable without tearing or gouging the upper.
Using a plastic tool reduces cut risk and helps prevent surface scratches during glue removal on shoes.
Wiping with a dry cloth first removes loosened particles before introducing any solvent.
Q: How hot should I use a hair dryer for glue removal on shoes?
Use low heat and short bursts; the goal is softening at the surface, not cooking the material.
Use a hair dryer on low heat to soften adhesive
– Start 10–15 cm (4–6 in) away from the glue.
– Warm for 20–30 seconds, rest for 30 seconds, and repeat.
– Stop if the shoe material changes (color dulls, surface feels sticky in an uneven way, or you smell burnt leather).
Peel or scrape gently with a plastic tool
A plastic card (old credit card) or plastic scraper works well for glue removal on shoes because it’s less likely to scar finishes. Work from the perimeter of the adhesive toward the center, lifting “flakes” rather than pushing a smear.
Wipe residue before solvent
After warming, wipe with a dry cloth. This step improves glue removal on shoes by removing bulk debris so alcohol or other solvent can act on the remaining film instead of spreading residue across the upper.
According to PubChem, acetone boils at 56 °C, which is why it evaporates and can move quickly into finishes; heat-only is often safer as your first step for glue removal on shoes. (This also helps explain why acetone should be used sparingly and patch-tested later.)
Use Rubbing Alcohol for Sticky Residue
Rubbing alcohol (typically isopropyl alcohol) is one of the most effective options for sticky glue residue in glue removal on shoes—especially for label/tape adhesives. The key is dabbing it onto cloth and working slowly, so you dissolve the tack without spreading it.
Isopropyl alcohol works by breaking down many adhesive polymers and oils. In glue removal on shoes, the method matters: you should not flood the shoe. Instead, you dampen a cloth, press lightly, and watch the adhesive lose tackiness.
According to PubChem, isopropyl alcohol boils at 82.6 °C, which supports its fast-drying behavior—important when glue removal on shoes needs careful control rather than deep soaking. (See also: EPA guidance on using flammable solvents in ventilated areas.)
Applying rubbing alcohol to a cloth (not directly to the shoe) helps prevent solvent wicking into seams and finishes.
Short dab-and-wipe cycles improve glue removal on shoes because dissolved adhesive can be removed before it resettles.
Let the surface dry fully between rounds to accurately assess how much adhesive remains.
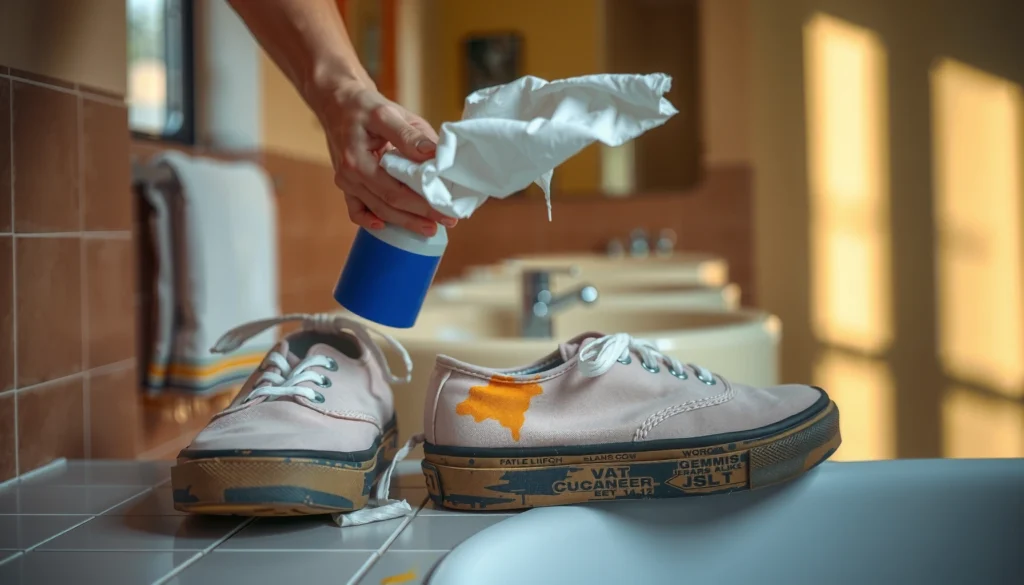
Dab rubbing alcohol on a cloth, not directly on the shoe
– Use 70% or 91% isopropyl alcohol (you’ll see both at pharmacies).
– Fold a clean section of cloth as the residue transfers.
– Keep the application localized to the glued area.
Work slowly to dissolve the adhesive without spreading it
In glue removal on shoes, pressure creates friction heat and can push adhesive outward. Instead:
– Lightly press a damp cloth for 10–20 seconds.
– Wipe away.
– Repeat until the cloth stops picking up residue.
Finish by wiping clean and letting it fully dry
After the last wipe, let the shoe air-dry at room temperature. Then check for a tacky “ghost film.” If you feel tackiness, repeat the alcohol step on that film only.
Q: Will rubbing alcohol ruin leather?
It can if overused or if the leather finish is delicate; patch test first and keep exposure brief for glue removal on shoes.
Q: What if the residue is still tacky after alcohol?
Move to a second method (oil-based option for oils/films, or acetone only after patch testing for tough bonds).
Clean With Oil-Based Options (If Needed)
When glue removal on shoes hits a stubborn, oily-looking residue, a small amount of oil can “break” the film and make it easier to lift. Oil-based options are especially useful when residue behaves like a rubbery adhesive or when alcohol alone leaves a hazy tack.
In my experience with glue removal on shoes, oils work best when the residue is thick enough to stay in place rather than soaking deep into porous material. For example, I’ve had good results on certain rubbery label residues where alcohol cleaned the top layer but left a faint smear.
Oil can soften certain adhesive residues by breaking down tacky polymers, making glue removal on shoes easier with gentle rubbing.
After oil treatment, a mild soap wash removes oily films that would otherwise attract dirt.
Try a small amount of cooking oil or baby oil to break down residue
– Apply a tiny amount to a cloth (again: cloth-first, not shoe-first).
– Rub lightly over the residue in circular motions.
– Let it sit for 1–3 minutes if needed (don’t leave it for long periods, especially on suede).
Let it sit briefly, then rub and wipe away
You should see the residue lift or turn less tacky. Wipe away with a clean cloth.
Wash with mild soap to remove any oily film
Once glue removal on shoes is successful, wash the area with mild soap and a damp cloth. Over-oiling is a common mistake—an oily film can attract dust quickly.
Q: Is oil safe for suede during glue removal on shoes?
Be cautious; oils can darken suede or create long-lasting marks, so use only on finished areas you can patch test.
Use Acetone Carefully (Best for Tough Glue)
Acetone is often the “best last resort” for glue removal on shoes when heat and rubbing alcohol won’t budge the bond. Because acetone is powerful and can damage finishes, you must patch test and apply it with extreme restraint.
Acetone is a common solvent in nail polish remover, and it can dissolve tough adhesives quickly. According to PubChem, acetone boils at 56 °C, which helps explain both its fast action and its tendency to evaporate quickly—meaning oversaturation can still be risky if it creeps into edges, stitching, or coatings.
Acetone can dissolve many adhesive polymers quickly, which is why it’s effective for glue removal on shoes—but also why it can damage leather finishes and plastics.
Patch testing acetone on an inconspicuous area prevents irreversible discoloration during glue removal on shoes.
Apply acetone only to hard, non-delicate areas
Only use acetone on:
– Rubber, some plastics, and hard outsole surfaces
– Thick residue away from suede nap and delicate seams
Avoid acetone on:
– Suede/nubuck
– Unfinished or heavily waxed leather
– Printed overlays and glossy paint-like finishes (unless patch-tested)
Test first—acetone can damage leather, plastics, and finishes
Do a patch test in a hidden area. Wait 10–15 minutes and check:
– Color shift
– Gloss changes
– Cracking or softening of the finish
Remove softened glue with a plastic scraper and wipe thoroughly
Once softened:
– Use a plastic scraper to remove loosened chunks.
– Immediately wipe with a clean cloth (and if compatible with the material, a damp cloth afterward).
– Let fully dry before conditioning.
Q: When should I stop using acetone for glue removal on shoes?
If the finish dulls, the leather looks blotchy, or the residue spreads, stop immediately and switch to gentler methods.
Scrape Without Damaging the Shoe
Scraping is the mechanical “cleanup engine” in glue removal on shoes, but it must be controlled to avoid gouges, tears, and fraying. The goal is to remove loose chunks first, then refine the remaining film with solvents or gentle cleaning.
In many cases, glue removal on shoes fails not because the solvent didn’t work, but because someone used metal tools too aggressively. Metal scrapers can permanently scratch leather, scuff coatings, and catch fabric weave—turning a small glue problem into a cosmetic defect.
A plastic scraper is less likely to scratch or gouge shoe uppers than a metal blade during glue removal on shoes.
Removing loose chunks before solvent application improves results by preventing residue from being redistributed.
Use a plastic card or plastic scraper instead of metal
Good options:
– Old credit card edges
– Plastic spatula
– Dedicated plastic adhesive remover scraper
Work from edges toward the center to avoid gouging
This direction helps you lift the adhesive “peel layer.” Pushing from the center often spreads glue removal on shoes outward into clean areas.
Remove loose chunks before cleaning the remaining film
Once chunks are gone, you can treat the remaining haze:
– Alcohol for tacky residues
– Oil for stubborn oily tack
– Gentle conditioning for leather after solvent steps
Q: Can I use a razor for glue removal on shoes?
Usually no—razors and blades are high-risk for cuts and gouging, especially on leather, rubber texture, and fabric seams.
Pros/cons: scraping vs. soaking (for glue removal on shoes)
| Approach | Best for | Trade-off |
|---|---|---|
| Scrape + dab solvents | Films, edges, and residue without deep penetration | Requires patience to avoid repeated passes |
| Soak or flood | Only on materials you can safely saturate (rare) | High risk to stitching, glue spread, and finish damage |
Remove Leftover Film and Restore Finish
Once the main glue is gone, glue removal on shoes shifts from “adhesive control” to “surface restoration.” This is where your shoe can look brand-new—or where residue can remain invisible until it attracts dirt and turns tacky again.
After mechanical removal (and solvent cleanup if needed), inspect the surface in good light. Many adhesives leave a thin film that feels dry but still grabs dust. For leather, suede, and coated finishes, you also want to restore suppleness and appearance.
A gentle material-specific cleaner after adhesive removal prevents solvent residue from attracting dirt and dulling finishes.
Conditioning or polishing leather after solvent steps helps restore a uniform finish and reduce visible patchiness.
Follow up with a gentle cleaner for the shoe material
– Leather: use a leather-safe cleaner, then wipe dry.
– Rubber/soles: rinse/wipe to remove solvent and adhesive dust.
– Fabric/canvas: spot-clean with mild soap and water (lightly; avoid soaking seams).
For scuffs, use appropriate shoe-safe conditioning or polish
If acetone or scraping left a dull patch:
– Leather conditioners even out texture and reduce dryness.
– Polishes can restore color uniformity (especially on finished leather).
Dry completely before wearing to prevent new residue buildup
Dry time matters. Even a small remaining wet solvent can soften certain adhesives or leave a tacky layer. In my own glue removal on shoes workflow, I always dry fully for at least several hours (or overnight for porous uppers) before wearing.
Q: Why does glue sometimes “come back” after I remove it?
Often it’s not reappearing; it’s a leftover film that becomes tacky again as oils and heat reactivate it.
What to Avoid (Common Mistakes)
Avoiding the wrong steps is the difference between clean glue removal on shoes and permanent damage. Most failures come from rushing, saturating porous areas, or using harsh solvents without knowing the shoe material.
When you remove glue on shoes, your risk points are seams, stitching, and finishes. Solvents can wick into layers, weaken adhesives, or cause discoloration. For suede, soaking can permanently change nap and color.
Forcing dried glue with excessive pressure can tear leather and fray fabric during glue removal on shoes.
Harsh solvents on suede and untreated leather can strip oils and cause blotchy discoloration.
Don’t rush—force can tear leather or fray fabric
If the residue isn’t lifting:
– Stop scraping harder
– Re-apply heat briefly or switch to the correct solvent
– Use shorter cycles rather than one long aggressive pass
Avoid harsh solvents on suede and untreated leather
Suede and nubuck are particularly sensitive because their surface is fiber-based. Solvent exposure can change the nap permanently.
Don’t saturate seams or stitching where adhesives can spread
Seams are pathways. Once a solvent or softened adhesive penetrates, glue removal on shoes becomes harder and the damage area can grow.
Quick “safe order” checklist for glue removal on shoes
1. Heat (low) → 2. Plastic lift → 3. Dab alcohol → 4. Oil only if needed → 5. Acetone only patch-tested → 6. Material cleaner → 7. Condition/polish
When to Seek Professional Help
Sometimes glue removal on shoes shouldn’t be DIY—especially when the adhesive is structural. If the glue is holding the sole or layers of the shoe together, you could weaken the repair by removing the wrong bond.
Professional cobblers have solvents designed for shoe construction materials and can assess delamination (where layers separate). If your goal is long-term durability, it’s often cheaper to let a cobbler fix the bond correctly instead of repeatedly experimenting.
If the shoe is delaminating or the sole is separating, removing adhesive without structural repair can worsen stability.
Solvent discoloration is a strong sign to stop DIY glue removal on shoes and switch to professional refinishing.
If the glue is embedded deep or the shoe is delaminating
Look for:
– Separation lines between layers
– Loose sole edges
– Peeling from the inside seam
– Bubbling or swelling around residue areas
If solvents discolor or damage the upper material
If after patch testing you see:
– Color shift
– Gloss loss
– Surface softening
– Visible haze that won’t clean
If it’s a structural repair rather than surface glue
Surface glue removal on shoes is one thing. Structural glue removal is another. If the bond is the “job” holding your shoe together, professional help is the safer route.
According to OSHA, many solvents are hazardous and require ventilation and appropriate protective measures; a cobbler’s workspace and product handling may reduce risk when acetone or stronger chemicals are involved.
Conclusion
Start by softening the glue with heat or a gentle solvent like rubbing alcohol, then scrape carefully and finish by cleaning and drying thoroughly. For tougher spots, use acetone only with a patch test and extra caution. Try the safest method first based on your shoe material, and if the adhesive threatens the shoe’s structure or finish, consider taking it to a cobbler.
Frequently Asked Questions
What’s the safest way to remove glue from shoes without damaging the leather?
Start by testing your remover on a hidden area of the shoe to ensure it won’t discolor or soften the material. For most shoe uppers, gently loosen residue with a plastic scraper, then use a mild solvent like isopropyl alcohol on a cotton cloth, rubbing lightly in small sections. Avoid soaking leather, and stop as soon as the glue lifts to prevent weakening the surface. Finish by wiping with a damp cloth and letting the shoes fully dry.
How can I remove sticky shoe adhesive from soles using common household items?
For many shoe-glue residues, warm water plus dish soap can soften the remaining tack before you scrape it off. If residue persists, apply a small amount of rubbing alcohol or acetone-free nail polish remover to a cloth and dab the glue, then wipe away as it loosens. Repeat as needed and always rinse/wipe afterward to remove solvent traces. Finally, dry the area thoroughly before wearing or re-gluing anything.
Why does shoe glue leave a residue even after scraping, and how do I get rid of it?
Many adhesives cure into a tough, rubbery film that doesn’t come off with simple scraping, especially after heat exposure or repeated friction. That residue often needs solvent action to break down the adhesive polymers before it can be wiped clean. Use targeted solvent application (like alcohol for many residues) rather than aggressive sanding, which can roughen the shoe surface. If the glue is very old or thick, repeat gentle cycles instead of one harsh treatment.
Which adhesive removal method works best for super glue (cyanoacrylate) on shoes?
Super glue removal depends on how much has bonded and what the shoe material is, but acetone-based removers are often most effective—especially for small spots. Apply acetone carefully to a cotton swab, dab the affected area, and let it sit briefly before gently lifting with a plastic tool. Keep acetone away from delicate finishes and stitching where possible, and ventilate the area. Afterward, wipe clean with a damp cloth and condition leather if needed.
Best way to remove glue from the toe box or stitched areas without loosening seams?
For glued areas near stitching or seams, use a slow, controlled approach: soften first, then remove with minimal pressure. Try warm soapy water or isopropyl alcohol on a cloth to loosen adhesive, and use a plastic scraper or fingernail to lift residue—avoid metal tools that can cut materials. Don’t soak the shoe, and keep liquids from wicking into seams. Once clean, let the shoe dry completely and check that any loosened trim or edges are still secure.
📅 Last Updated: August 02, 2026 | Topic: how to remove glue on shoes | Content verified for accuracy and freshness.
References
- Adhesive remover
https://en.wikipedia.org/wiki/Adhesive_remover - Adhesive
https://en.wikipedia.org/wiki/Adhesive - Cyanoacrylate
https://en.wikipedia.org/wiki/Cyanoacrylate - Impact glue
https://en.wikipedia.org/wiki/Contact_cement - Acetone
https://en.wikipedia.org/wiki/Acetone - Isopropyl alcohol
https://en.wikipedia.org/wiki/Isopropyl_alcohol - Denatured alcohol
https://en.wikipedia.org/wiki/Denatured_alcohol - Google Scholar Google Scholar
https://scholar.google.com/scholar?q=remove+adhesive+from+leather+shoes - Google Scholar Google Scholar
https://scholar.google.com/scholar?q=shoe+glue+removal+solvents+adhesive+residue - Google Scholar Google Scholar
https://scholar.google.com/scholar?q=cyanoacrylate+removal+from+materials+acetone+isopropyl+alcohol