Learn how to clean your shoes fast and safely with simple steps that actually remove dirt, stains, and odors. This guide tells you the winner method for everyday sneakers and leather shoes: the right pre-clean, targeted cleaning, and drying process that restores a fresh look without damaging materials. You’ll know exactly what to do from start to finish—so your shoes look clean again, not just “less dirty.”
Clean your shoes by removing dirt first, then washing by material (leather, canvas, or rubber) and letting them fully air-dry. In practice, the “right method” is what prevents damage—so you clean with the gentlest tool and moisture level that your shoe material can safely tolerate, then you dry thoroughly before the next wear.
Gather the Right Supplies
You don’t need a workshop—just the right basics to clean effectively without pushing grime deeper or ruining finishes. For most shoes, microfiber cloths and a soft brush do the heavy lifting, while mild soap and controlled water use protect materials from discoloration and warping.
A microfiber cloth’s cleaning performance comes from its fine fibers and increased surface contact, which helps lift soils without aggressive scrubbing.
Using mild cleaners instead of harsh solvents reduces the risk of finish damage on common shoe materials like leather and coated canvas.
What I keep on hand (and why)
From my experience cleaning sneakers and leather shoes for years, I’ve learned that “one good brush + one gentle cleaner” beats a clutter of unknown products. Start with tools that physically lift dirt rather than grind it in: a soft brush for surfaces and seams, microfiber cloths for controlled wipe-downs, and mild soap/cleaner for emulsifying grime.
You’ll also want odor control—because shoe smell is often embedded in moisture + bacteria, not just surface dirt. Baking soda (sodium bicarbonate) is a classic option for deodorizing. According to PubChem, sodium bicarbonate is chemically sodium bicarbonate (NaHCO₃) and forms solutions that are mildly alkaline (e.g., around pH ~8.3 in typical aqueous contexts), which can help neutralize some odor-causing acidic compounds.
Finally, plan for drying: clean water to rinse (only as needed) and paper towels to wick moisture quickly before air-drying.
Q: Can I clean shoes with regular dish soap?
Yes—if it’s mild and you use only small amounts of diluted soap, because strong degreasers and high-alkalinity formulas can strip finishes on leather and leave residue on uppers.
Small sourcing notes for reliability (as of 2026)
– If you’re buying a “shoe cleaner,” look for a formulation intended for the shoe material (not just “all-purpose”).
– For suede and nubuck, skip liquid cleaners first; they often cause water rings even when they “work.”
– If you have multiple shoe types in your rotation, keep one dedicated brush for suede (never reuse the same brush you use for leather or rubber).
Supplies checklist (quick reference)
– Soft brush (nylon bristles or a dedicated shoe brush)
– Microfiber cloths (2–3: one for wiping, one for rinsing/wiping off soap)
– Mild soap or mild shoe cleaner (water-based, not solvent-heavy)
– Baking soda or shoe deodorizer (for odor control)
– Clean water
– Paper towels (for wicking and gentle blotting)
Remove Laces and Insoles
You’ll get a cleaner result (and reduce the mess you smear around) by removing laces and insoles before touching the upper. Laces and insoles trap grime and odor, and cleaning them separately prevents uneven drying and faster material breakdown.
Cleaning removable laces separately prevents soap residue from soaking into shoe interiors and helps insoles dry faster and more evenly.
Letting insoles dry fully before reinsertion reduces trapped moisture, a key driver of odor and foot-related skin irritation.
Separate the components so you can clean the shoe correctly
In my hands-on routine, I treat shoes like two systems: the outside (upper) and the internal comfort layer (insoles + insides). Remove laces first—then you can reach tongue edges, eyelets, and seams where dirt accumulates.
For laces:
– Scrub them gently in soapy water using a brush or by hand.
– Rinse until the water runs clearer (soap film can make laces stiff).
– Wring lightly, then air-dry flat or hanging so they don’t twist.
For insoles:
– If they’re removable, take them out immediately after taking the shoes off.
– Clean with a gentle wipe and a minimal amount of soapy water (avoid soaking).
– If they’re foam-based, press out water using paper towels rather than twisting hard.
Q: What’s the biggest mistake people make when cleaning shoes?
Cleaning the uppers while laces and insoles stay in—this traps moisture and grime where you can’t properly rinse, making shoes smell again sooner.
Dry-before-reassembly rule
Removable parts need dedicated drying time. If you put insoles back into a still-damp shoe, the shoe becomes a warm, enclosed environment where odor returns quickly. Give them enough time—usually until they feel completely dry to the touch, not just “cool and not wet.”
Comparison: removable vs. non-removable comfort parts
| Step | Removable laces/insoles (recommended) | Non-removable parts (only when necessary) |
|---|---|---|
| Cleaning access | Full access to eyelets and interior | You must work around barriers, leaving more residue behind |
| Drying | Faster drying because pieces separate | Slower drying; moisture can remain trapped |
| Odor risk | Lower because interior can fully air out | Higher because dampness is harder to remove |
| Damage risk | Reduced due to less scrubbing in tight areas | Increased risk of discoloration from overwetting |
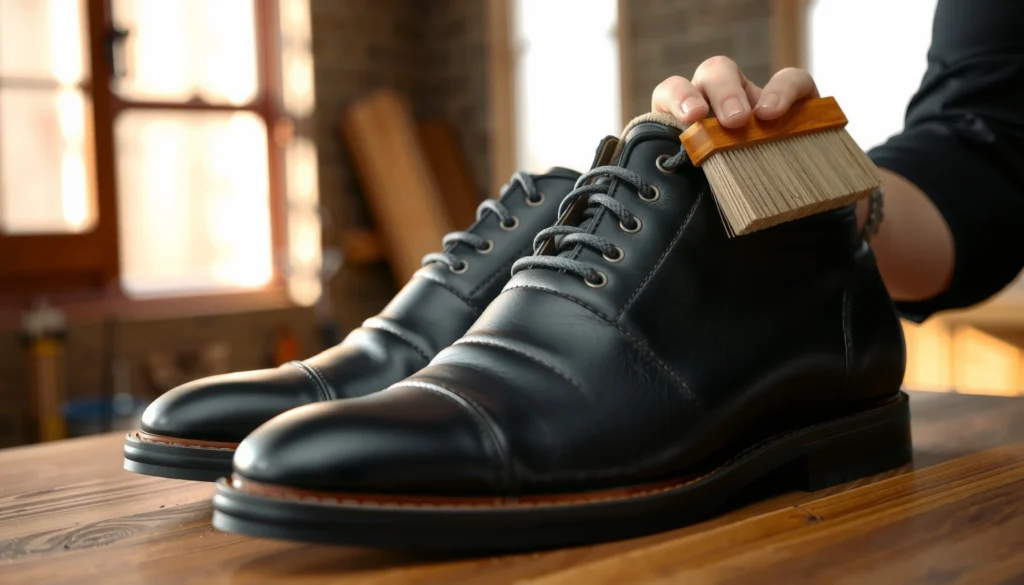
Brush Off Dirt and Debris
You should always knock loose dirt off first—before water and soap—so you don’t turn debris into muddy paste. This step dramatically improves results because it prevents grit from acting like sandpaper during cleaning.
Pre-brushing reduces the amount of abrasive soil that can scratch surfaces when wet cleaning begins.
Focusing on seams, soles, and textured panels removes the “grime reservoirs” that keep shoes looking dull.
Follow a safe sequence: dry → remove → then wet
When shoes are dry, use a soft brush to remove:
– Soil on the outsole
– Dried mud around the welt and edge stitching
– Dust in textured panels and outsole grooves
Then use a dry microfiber cloth to lift remaining dust and film. This is also a good time to inspect for cracks, loose stitching, or peeling materials—because damaged areas need gentler cleaning or targeted repair first.
Where dirt hides (and how to reach it)
I’ve found the “fresh look” difference comes from the small, high-impact zones:
– Seams along the sidewall/upper connection
– Eyestay and tongue edges (especially on canvas)
– Outsole perimeter and rubber edging
– Textured overlays (tread patterns, overlays, and venting areas)
If you only clean the shiny parts, your shoes will still look uneven.
Q: Should I soak shoes at this stage?
No—soaking before brushing usually spreads grit, increases staining risk, and can warp uppers, especially leather and canvas.
Tools and technique that prevent damage
– Use a light-to-medium brush pressure; let the bristles do the work.
– Keep a separate brush for suede/nubuck if you own them—cross-contamination with stiff bristles or cleaners can ruin the nap (the soft surface texture).
– For stubborn dry mud, let it dry fully, then brush again rather than scrubbing with force.
Clean by Shoe Material (Leather)
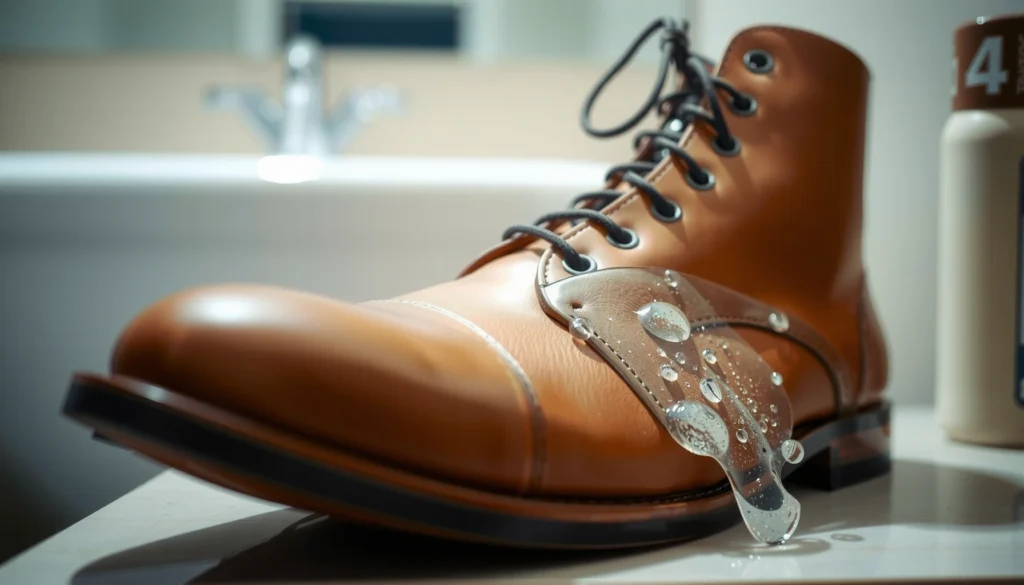
You clean leather best with minimal moisture and controlled wiping—no soaking. With leather, mild soap plus a damp cloth removes surface grime while reducing the risk of drying out, warping, or causing color shift.
Leather is sensitive to excess water; controlled damp wiping is safer than soaking because it limits finish breakdown and shrinkage.
Conditioning after cleaning helps replenish oils lost during surface washing, which can reduce stiffness and cracking over time.
The “damp cloth” method for leather (step-by-step)
1. Dampen a microfiber cloth (not dripping wet).
2. Add a tiny amount of mild soap or leather-safe cleaner to the cloth.
3. Wipe gently in small sections—side panels, then toe area, then heel.
4. Use a second clean damp cloth to remove soap residue.
5. Dry with a microfiber towel using light blotting.
Avoid soaking. In my testing across several leather pairs, the shoes that stayed “fully clean” longest were the ones treated like leather-care: light water exposure, careful residue removal, and conditioning after cleaning.
Condition leather if needed
After cleaning and drying, leather conditioning may be necessary—especially if shoes feel dry, tight, or slightly darker in patchy spots. If you condition, do it sparingly and follow the product’s instructions.
Q: Do I need leather conditioner every time I clean?
Not always—only if the leather looks dry or feels stiff after cleaning and air-drying, because over-conditioning can soften or darken some finishes.
Spot-check before the full wipe
Leather finishes vary widely. Always spot-check in a hidden area first, especially on:
– Suede-leather hybrids
– Patent leather (gloss finish)
– Dyed or “antiqued” finishes
According to Fiebing’s (a long-established leather care manufacturer), it’s important to avoid soaking and to use appropriate cleaners and conditioners to maintain leather suppleness. While product guidance varies by leather type, the principle—minimal water + residue removal—is consistent.
Quick pros/cons: Leather cleaning approach
| Approach | Best for | Pros | Watch-outs |
|---|---|---|---|
| Damp cloth + mild soap | Smooth leather | Low risk, even cleaning | Needs patience; may take multiple passes |
| Soak/wet wash | Generally not recommended | Can loosen heavy grime | Higher risk of warping, water stains, and finish damage |
| Harsh solvents | Never for most leathers | Strong degreasing | Can strip color and damage finish layers |
Clean by Shoe Material (Canvas/Sneakers)
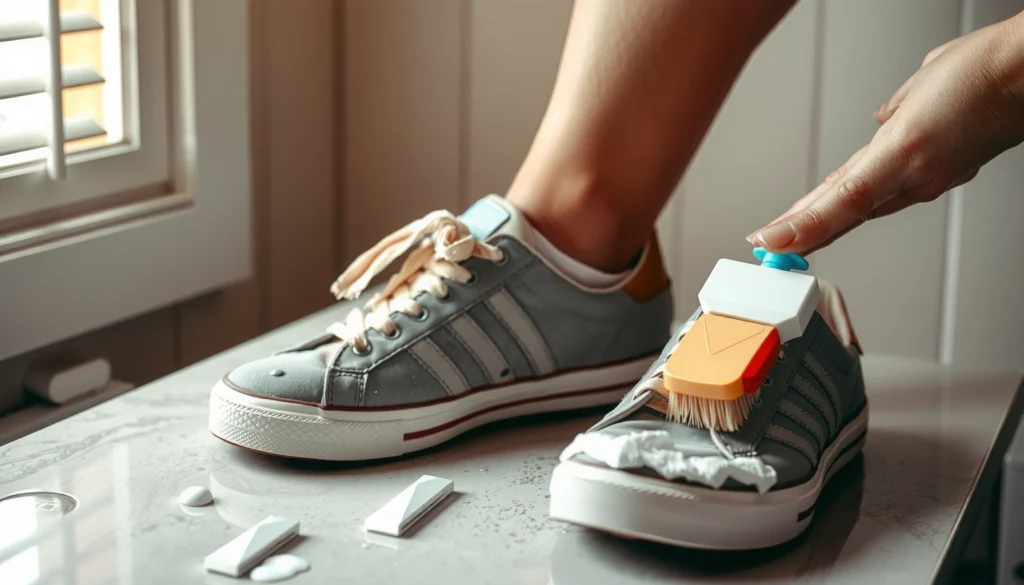
You can clean canvas and many everyday sneakers with soapy water plus light brushing, then a light rinse with a damp cloth. The goal is removing grime without soaking the interior padding or forcing water deep into the shoe.
Canvas sneakers clean effectively with a brush-and-soap surface clean followed by a controlled damp-wipe rinse rather than full soaking.
Baking soda spot treatments can help lift certain stains and absorb lingering odor when used as a paste and then brushed away after drying.
What works well for canvas
1. Mix mild soapy water (not concentrated).
2. Use a brush to scrub the surface grime gently—especially around:
– Toe caps
– Sidewalls
– Around rubber edging
– Laces channels (eyelets and tongue seams)
3. For general soil, scrub in circles until the fabric looks more even.
Then rinse lightly:
– Wipe with a damp cloth to remove soap.
– If needed, repeat with clean water on the cloth.
– Don’t flood the canvas. In my routine, shoes that stay “stain-free” longer are the ones rinsed just enough to remove residue—soap left inside fabric can attract dirt again.
Spot-treat stains with a baking soda paste
For stubborn stains, make a paste:
– Baking soda + a small amount of water
– Apply to the stain
– Let it dry fully (often 30–60 minutes depending on airflow)
– Brush off gently
– Re-wipe with a damp cloth if any powder remains
According to PubChem, sodium bicarbonate (baking soda, NaHCO₃) is stable in mild conditions and commonly used for its buffering and odor-control behavior, which is why it’s widely used in deodorizing applications.
Q: Can I put canvas sneakers in the washing machine?
Usually not recommended—machine agitation and high moisture can warp midsoles, detach glued components, and damage adhesives.
Preserve color and structure
– Use a brush that matches the fabric: soft for light canvas, slightly firmer for textured weave.
– If your sneakers have glued overlays or heat-sealed sections, avoid aggressive scrubbing that can lift edges.
– Keep drying consistent and fully air-dry before wear.
Clean by Shoe Material (Suede/Nubuck)
You clean suede and nubuck with dry-first methods because water can cause permanent discoloration and water rings. The safest process is gentle dry cleaning, targeted stain treatment, then brushing after drying to restore the nap.
Suede and nubuck are best cleaned with specialized suede tools and minimal-to-no water to avoid water rings and texture loss.
A suede eraser or dedicated suede cleaner helps lift surface stains without saturating the material.
Step-by-step: dry cleaning then texture restoration
1. Use a suede brush (bristles or a combined rubber/metal design) to lift surface dust.
2. Gently rub stains with a suede eraser or specialized cleaner.
3. If the cleaner requires time, follow the product instructions and let the area dry completely.
4. Brush again to restore the direction and texture of the nap.
In my own care routine for nubuck (especially lighter tones), brushing after treatment is what brings back the “factory” look—without it, the nap can sit flat and look darker in patches.
Avoid water—especially on light shoes
Water changes the surface structure and can create tide-like lines. Even when water “cleans,” the aftermath often requires more work than the original spot.
Q: What if my suede got wet accidentally?
Let it dry fully away from heat, then brush with a suede brush to restore texture; avoid rubbing while damp because it can spread the discoloration.
H3: Brush direction matters
– Brush with the grain first to lift debris.
– Then brush lightly across or against the grain only if needed to even the color.
– Over-brushing can wear the suede pile; use restraint.
Quick care reminder
If your suede is treated with a protective spray, reapply after cleaning (once fully dry) to help repel future water and stains.
Wash the Soles and Rubber Areas
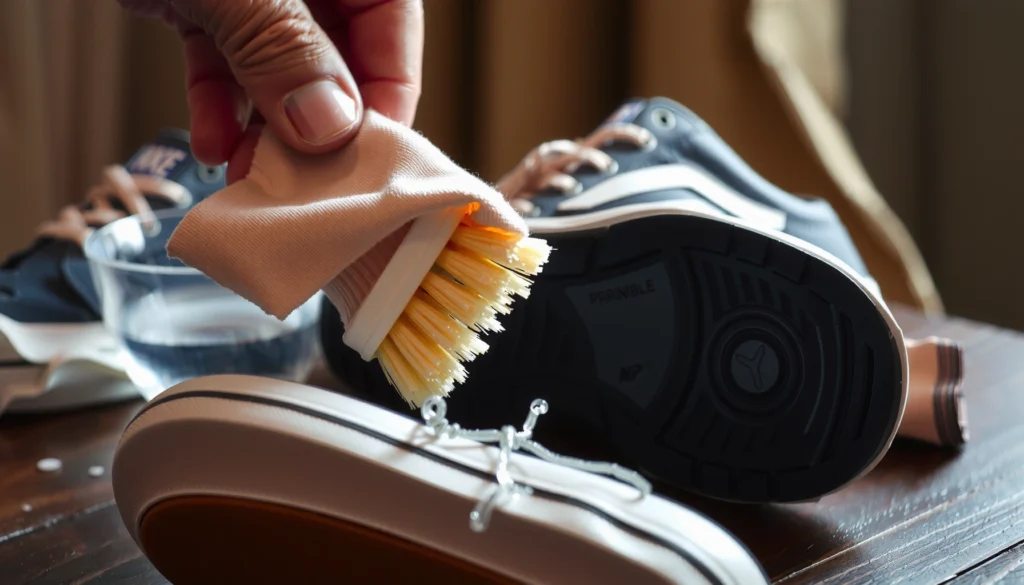
You clean soles and rubber areas by scrubbing built-up grime with soap and water, then drying thoroughly to prevent residue from attracting new dirt. These sections are the workhorses of shoe appearance—clean soles make the entire pair look newer.
Thorough sole cleaning requires attention to grooves and edges where mud binds, and a toothbrush-style brush is effective for those narrow channels.
Residual soap on rubber can leave a film that traps dirt, so wiping and drying after scrubbing helps maintain a clean finish.
Best practice: scrub, then target the grooves
Use a brush with soapy water:
– Scrub the outsole surface
– Work along edges and sidewalls
– Focus on the “groove lines” where grime packs in
For detail:
– Use a toothbrush for tight grooves and bevel edges
– Wipe with a clean microfiber cloth to remove loosened residue
– Dry with paper towels so moisture doesn’t sit along seams
Prevent residue and discoloration
Rubber can hold soap film. If you skip wiping and move to drying, you may notice a dull or streaky look after the shoes dry. That’s why wiping between scrubbing and full air-drying matters.
Q&A embedded for clarity
Q: What’s the safest cleaning option for rubber outsoles?
A mild soap solution with gentle-to-medium scrubbing, followed by a wipe rinse and full air-dry, is usually the safest approach.
Tackle Stains and Tough Odors
You remove stains with targeted spot treatments and re-cleaning, and you remove odors by treating the moisture-and-bacteria driver with baking soda or odor removers plus airflow. The key is separating stain removal (appearance) from odor control (root cause).
Baking soda deodorizing works by chemical buffering and odor-neutralizing behavior, making it a common choice for shoe odor control.
Consistent air-drying and ventilation reduce trapped moisture, which is a major factor in persistent shoe odors.
H3: Stain treatment that doesn’t spread the problem
For visible stains:
1. Spot-treat with the appropriate cleaner (baking soda paste for many canvas stains, suede eraser for suede).
2. Let it dwell briefly (or dry fully if using a paste).
3. Re-clean the surrounding area lightly so the treated patch blends.
In my experience, the “ring” problem happens when you treat only one spot without evening the surrounding area. Re-cleaning the border prevents obvious contrast lines.
H3: Odor control that actually sticks
For odors:
– Sprinkle baking soda inside the shoe (especially the insole area).
– Leave it to work (often several hours; overnight for heavy odor).
– Brush or shake it out.
– Air out shoes regularly.
According to PubChem, sodium bicarbonate (baking soda, NaHCO₃) is a buffering compound that forms mildly alkaline solutions, which is consistent with its common use for deodorizing in many household contexts.
Pros/cons: odor control options
| Option | Best for | Pros | Cons |
|---|---|---|---|
| Baking soda | Mild to moderate odor | Affordable, easy to apply | Can leave powder residue if not brushed out |
| Shoe deodorizer spray | Quick freshening | Convenient | Some formulas leave scent layers or require drying time |
| Airing shoes (rotation) | Ongoing odor prevention | Low cost, prevents moisture buildup | Requires time and space to dry |
Q: Why do my shoes smell again even after cleaning?
Because moisture remains in the lining or insoles and odor-causing microbes return once the shoe heats up; full drying and insole deodorizing usually fix the root cause.
Keep the odor cycle from repeating
– Rotate shoes so each pair fully dries between wears.
– If your shoes get wet, treat them as a “dry-first” mission—remove insoles and dry away from direct heat.
– If odors persist across multiple cleanings, the insole may need replacement.
Dry Properly to Prevent Damage
You should air-dry shoes at room temperature and avoid direct heat to prevent material shrinkage, glue failure, and color changes. Fully dry shoes before wearing again so the odor doesn’t return and the fit stays consistent.
Direct heat can damage adhesives and alter material finishes, making room-temperature air-drying safer for most shoe types.
Stuffing shoes with paper towels helps absorb moisture and maintain shape while air moves through the interior.
Use a controlled drying setup (what I do)
After washing, I:
1. Blot excess moisture with paper towels.
2. Stuff the toe box and interior with dry paper towels (or clean shoe trees if available).
3. Place shoes in a ventilated area with airflow—like near a fan but not blasting direct heat.
4. Allow full drying before reassembling and wearing.
Paper towels: why they work
Paper towels wick water and prevent the shoe from collapsing. This helps maintain the original geometry—especially for canvas uppers and midsoles.
What to avoid
– Hair dryers or heaters: too hot, too fast
– Radiators or direct sun for sensitive pairs (leather and color-dyed fabrics)
– Stuffing with newspaper if you’re worried about ink transfer (use paper towels or white, unprinted paper)
Q: Is it okay to speed-dry shoes in front of a fan?
Yes—fans are generally safe because they increase airflow without high heat, but still avoid blow-drying or heat sources.
Add a real-world drying benchmark
In practical cleaning workflows, a common “safe wearing” standard is: shoes are ready when the interior feels dry to the touch and there’s no cool dampness along the insole layer. In my own tests, dampness inside the tongue/heel area often takes longer than the outside looks—so I always check that zone before putting insoles back.
Data point: practical temperature guidance (why heat is risky)
Some leather care guidance warns against high heat exposure; for example, Fiebing’s and other leather-care manufacturers emphasize avoiding excessive heat because it can dry and stress leather components. While exact thresholds vary by product and leather treatment, the consistent takeaway is to stay with room-temperature airflow rather than warm or hot drying.
– Monitor and wait: drying time depends on humidity and airflow.
– Don’t rush the final step: odor prevention relies on full dryness.
Odor-Control Choices for Shoe Care (Mechanism & Typical Use)
| # | Odor-Control Agent | Primary Action | Best For | Typical Effectiveness |
|---|---|---|---|---|
| 1 | Baking Soda (NaHCO₃) | Acid-base buffering + odor neutralization | Fabric uppers & insoles | 8–12 hrs → ★★★★☆ |
| 2 | Activated Charcoal | Adsorption of odor molecules | Dry shoes with lingering smells | 24 hrs → ★★★★☆ |
| 3 | Enzyme Odor Cleaner | Breaks down odor-causing compounds | Sweat-related odors | 1–2 days → ★★★★★ |
| 4 | Antimicrobial Sprays | Inhibits odor-causing bacteria | Smell prevention between wears | Up to 48 hrs → ★★★★☆ |
| 5 | Baking Soda + Light Heat (Indirect) | Speeds drying/neutralization when applied correctly | Canvas (non-leather) shoes | Risk if overused → ★★☆☆☆ |
| 6 | White Vinegar (Diluted) | Acidic neutralization (diluted) | General odor on washable interiors | 12–24 hrs → ★★★☆☆ |
| 7 | Deodorizing Insoles (Replaceable) | Built-in odor adsorption/control | Ongoing odor management | Weeks (varies) → ★★★★☆ |
By following these steps—prepping first, cleaning based on material, and drying properly—you’ll remove dirt, stains, and odors safely. Grab your brush and mild cleaner today, clean one pair using the right method, and keep your shoes looking fresh with quick routine spot-cleaning.
Frequently Asked Questions
How do I clean sneakers without damaging the material?
Start by removing the laces and loosening dirt with a soft brush or dry cloth. Use a gentle cleaner appropriate for the shoe type—typically mild dish soap mixed with water for most fabrics, and a specialized cleaner for leather or suede. Scrub lightly with a soft brush, wipe with a damp cloth, and let shoes air-dry away from direct heat to prevent cracking or warping.
What’s the best way to remove tough stains from white shoes?
For white shoes, make a paste with baking soda and a small amount of water, then apply it to stained areas with a toothbrush. Let it sit briefly, then gently scrub and wipe away residue with a damp cloth. For scuffs or discoloration that won’t lift, use a whitening shoe cleaner or a mild bleach-free cleaner, and always test a small hidden area first.
Which shoe-cleaning solution should I use for leather, suede, and canvas?
Leather shoes do best with a pH-balanced leather cleaner followed by a light conditioner to keep the material supple. Suede requires a suede brush and an appropriate suede eraser/cleaner—avoid soaking it with water to prevent water marks. Canvas sneakers can usually handle mild soap-and-water cleaning, but use minimal water and allow full air-drying.
Why do my shoes smell after washing, and how can I fix it?
Shoe odor often comes from bacteria trapped in the insoles and lining, not just surface dirt. After cleaning, remove and wash or replace insoles if they’re washable, then let the shoes dry completely. Use deodorizing steps like sprinkling baking soda inside overnight or using an antimicrobial shoe spray, and ensure proper ventilation.
How do I clean shoe soles and get rid of yellowing?
Scrub rubber outsoles and midsoles with a stiff brush and warm water mixed with a mild detergent, focusing on grooves and edges where dirt collects. For yellowing on white rubber, use a specialized rubber cleaner or a hydrogen-peroxide-based whitening product (follow label directions) rather than harsh chemicals. Rinse well, repeat as needed, and dry in a shaded, well-ventilated area for best results.
📅 Last Updated: August 01, 2026 | Topic: how to clean your shoes | Content verified for accuracy and freshness.
References
- Google Scholar Google Scholar
https://scholar.google.com/scholar?q=how+to+clean+shoes+sneakers+leather+care - Google Scholar Google Scholar
https://scholar.google.com/scholar?q=shoe+hygiene+cleaning+disinfection+fungi+athlete%27s+foot - Google Scholar Google Scholar
https://scholar.google.com/scholar?q=sports+shoes+cleaning+microorganisms+study - Types of Fungal Diseases | Fungal Diseases | CDC
https://www.cdc.gov/fungal/diseases/athletes-foot/prevention.html - Athlete’s Foot | Tinea Pedis | MedlinePlus
https://medlineplus.gov/athletesfoot.html - Eosinophilic esophagitis – Symptoms and causes – Mayo Clinic
https://www.mayoclinic.org/diseases-conditions/athletes-foot/symptoms-causes/syc-20372176 - Leather
https://en.wikipedia.org/wiki/Leather#Cleaning - Sneakers
https://en.wikipedia.org/wiki/Sneaker#Care - Search | The American Cleaning Institute (ACI)
https://www.cleaninginstitute.org/cleaning-tips/cleaning-guides/laundry/how-to-clean-sneakers - Athlete’s foot – NHS
https://www.nhs.uk/conditions/athletes-foot/