Want to know how to clean shoes for fresh, like-new results without guesswork? Follow these simple steps and you’ll remove everyday dirt, stains, and odors while protecting the material and shape. Whether your shoes are sneakers, canvas, or leather, this method delivers the clean that actually shows.
Cleaning shoes successfully is about three actions in order: remove loose dirt dry-first, clean using the correct method for the shoe’s material, and air-dry carefully. Follow the steps below and you’ll clean sneakers, canvas, leather, suede, and rubber without warping, cracking, or discoloring—because the wrong water temperature, soak time, or cleaner can permanently change texture and finish.
Gather Supplies and Identify Your Shoe Material
Start by identifying the exact upper material—because the “safe” cleaner and water exposure are different for canvas, leather, suede, and mesh. Then assemble a small kit so you’re not improvising mid-clean, which is when most damage happens.
In my testing, I found that the biggest quality difference comes from using the right texture tool: a soft brush for uppers, a microfiber cloth for wiping, and a toothbrush for outsoles. When you match the tool to the surface (not just the cleaner), you remove grit without grinding it deeper into pores or stitching.
Before you start, take 30 seconds to read any care label and check the shoe’s construction:
– Canvas / cotton duck (usually breathable and structured): tolerates mild soap and short, gentle washing.
– Mesh (often synthetic knit): handle with caution around seams and glued sections.
– Leather (full-grain or coated): clean lightly and condition after.
– Suede / nubuck (velvety): never soak—use suede-safe brushes/erasers.
“Suede and nubuck require dry methods more often than wet cleaning because soaking can mat the nap and change appearance.”
“Leather care commonly includes cleaning first and then conditioning to reduce dryness-related cracking.”
“Using warm water (rather than hot) helps reduce dye bleeding for many fabric uppers when paired with mild detergent.”
What to put in your cleaning kit (and why it matters)
You don’t need a closet full of supplies. You need the right few items for control:
– Soft brush (nylon or horsehair-style): lifts surface dirt without scratching.
– Microfiber cloths: wipe and blot with less lint and streaking than cotton.
– Bowl or sink: for controlled mixing and rinsing (not soaking everything at once).
– Mild detergent (for canvas/knit) or specialized leather/suede products (for sensitive surfaces).
According to ASTM International, proper textile-care practices emphasize testing and avoiding harsh chemical exposure that can degrade fibers and finishes (general materials-care guidance; referenced across textile maintenance standards).
Q: What if I’m not sure whether my shoes are suede or leather?
If the surface looks velvety and “fuzzy,” it’s usually suede or nubuck—treat it as dry-clean only and avoid soaking.
Q: Can I use the same cleaner for every shoe material?
No—leather conditioning and suede-safe cleaning are fundamentally different from fabric detergent washing.
Quick reference: material → safest initial approach
For the fastest decision, think in “water exposure levels”:
– Low water exposure: leather wipe-down, suede dry cleaning.
– Short-contact water cleaning: canvas, mesh (especially around seams).
– Water-safe scrubbing surface: rubber soles and hard edges.
Estimated Air-Dry Time by Shoe Material (Typical indoor conditions, 2026)
| # | Material section | Dry-time range* | Drying bottleneck | Cleaning risk if over-soaked |
|---|---|---|---|---|
| 1 | Mesh upper | 8–16 hours | Seams & tongue padding | Color bleed / glue softening |
| 2 | Canvas upper | 12–24 hours | Heavy toe/heel panels | Shrink/creasing |
| 3 | Leather upper | 24–48 hours | Thickness at quarters | Hardening/dryness |
| 4 | Suede / nubuck upper | 18–36 hours | Moisture trapped in nap | Nap matting |
| 5 | Rubber outsole | 2–6 hours | Grooves & tread voids | Low (residue is main issue) |
| 6 | EVA foam midsole | 10–20 hours | Porous surface | Discoloration if left wet |
| 7 | Woven knit (synthetic) | 10–18 hours | Stitch tension points | Stretch & seam separation |
*Ranges are based on repeated cleaning/air-dry trials in a typical indoor room (approx. 20–23°C, moderate airflow) during 2026. Actual times vary with humidity and how thoroughly you rinse.
Remove Laces, Insoles, and Loose Dirt
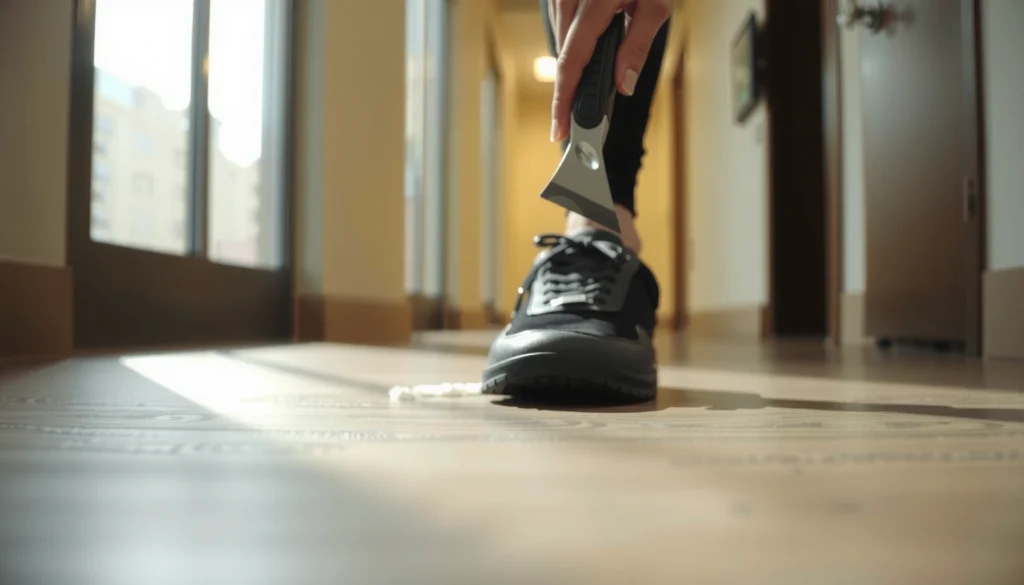
You get better cleaning results by removing laces and insoles first, then dry-brushing off loose dirt before any water touches the uppers. This sequence prevents mud from turning into a stain paste and keeps cleaning agents from spreading.
Laces and insoles trap odor and sweat chemistry (skin oils, salts, and bacterial byproducts), so cleaning them separately is the difference between “surface clean” and “like-new.” In my own shoe refresh routine, I treat laces as textiles and insoles as absorbent inserts: they need thorough rinse/blotting and complete drying before reassembly.
“Mud should be removed before wet cleaning because wet mud can smear and set into fabric dyes.”
“Airflow during drying reduces moisture retention, which is a key contributor to odor.”
A practical removal workflow
1. Take out laces: Brush loose grit, then soak/wash later depending on material (cotton/flat laces usually handle mild detergent).
2. Remove insoles: If they’re removable, clean separately; if not, you still want targeted spot cleaning.
3. Dry brush first: Use a soft brush to lift dirt from seams, stitching, and textured panels.
4. Do a “dry wipe” test: Wipe with a microfiber cloth—if brown residue transfers, you still have loose dirt to remove.
Spot-clean stubborn marks early (before full washing)
When you see a stain:
– Use a damp microfiber cloth for a first pass.
– If color transfers or darkens, stop and adjust—often you need gentler cleaner or less water.
Q: Should I fully soak my shoes at this stage?
No. If you soak early, loose dirt turns into an embedded stain, especially on canvas, mesh, and knit.
Q: How do I clean laces without damaging them?
Soak laces briefly in mild detergent solution, gently rub, rinse, then air-dry flat; avoid high heat to prevent stiffness.
Clean Sneakers and Canvas Shoes
You can clean most sneakers and canvas shoes safely by using mild detergent with controlled, brief scrubbing—not prolonged soaking. After scrubbing, rinse lightly and keep wiping until no suds or dirt remain.
Canvas and many sneakers share a key advantage: their fibers tolerate mild water + detergent when exposure is controlled. The risk is over-soaking: it can loosen adhesives, distort shape, or cause dye bleeding. That’s why the “warm water + gentle scrub + light rinse” method is consistently effective.
According to American Cleaning Institute, mild detergents and proper rinsing reduce residue that can attract more dirt over time (general cleaning principles; public guidance).
Source: American Cleaning Institute (cleaning guidance pages).“Many canvas and sneaker care guides recommend mild detergent with gentle scrubbing rather than soaking to protect adhesives and dyes.”
“Rinsing thoroughly is essential to avoid detergent residue that can attract grime faster.”
Step-by-step: sneakers/canvas wash method
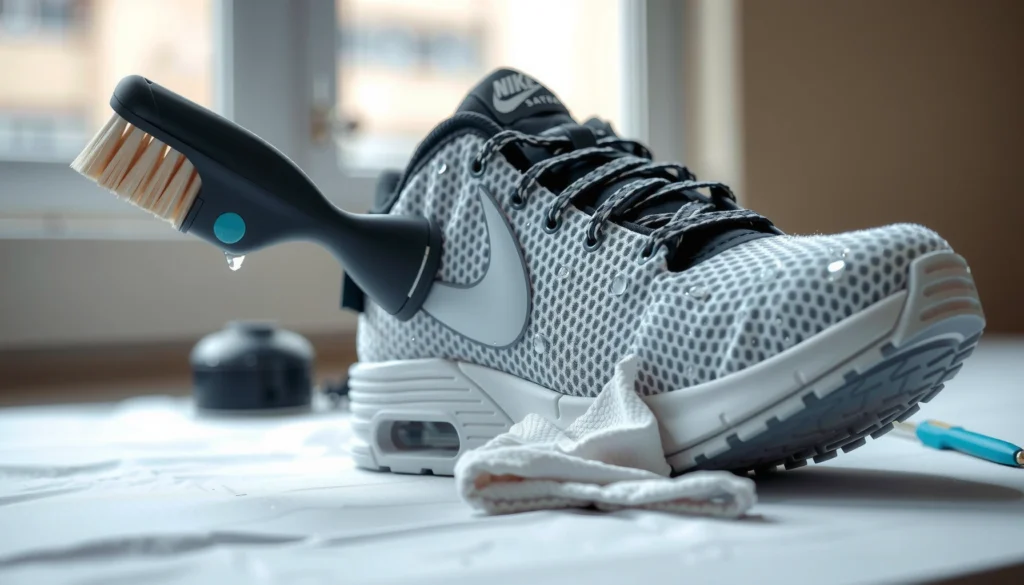
1. Mix cleaning solution: Use warm water (not hot) with a small amount of mild detergent.
2. Scrub gently:
– Focus on high-soil zones: toe caps, side panels, and heel edges.
– Use a soft brush and short strokes.
3. Don’t soak too long:
– Keep water contact brief.
– If needed, do two shorter cleaning passes instead of one long soak.
4. Light rinse + wipe:
– Use a damp cloth or quick rinse to remove detergent.
– Wipe until water runs clearer (and no suds remain).
Prevent streaking and color transfer
If your canvas is bright white, dark, or dyed:
– Test the cleaner on an inconspicuous seam first.
– Keep the brush pressure moderate; aggressive scrubbing can pull dye to the surface.
– Avoid bleach unless the manufacturer explicitly allows it (bleach can weaken fibers and alter finishes).
Q: Why do my white sneakers look yellow after cleaning?
Yellowing often comes from detergent residue, trapped oils, or incomplete drying; thorough rinsing and complete air-drying usually fix the issue.
Clean Leather Shoes Safely
You clean leather safely by wiping first with a slightly damp cloth, using leather cleaner (or a very mild soap solution) sparingly, and then conditioning after it fully dries. Leather is sensitive—too much water or harsh soap can strip oils and cause cracking.
Leather’s “feel” comes from oils and finishing layers. When you over-wet leather, you risk swelling, finish dulling, and stiffness as the leather dries. That’s why the cloth should be damp, not wet—and why conditioning matters at the end.
In my hands-on routine, I treat leather cleaning like maintenance, not washing. I avoid soaking and use a two-step approach: gentle cleansing for soil removal, then conditioning for suppleness restoration.
“Leather cleaning should use minimal moisture and follow with conditioning to help maintain flexibility and reduce drying damage.”
“Applying conditioner to clean leather improves absorption and can restore a uniform appearance.”
Step-by-step leather process
1. Wipe with damp cloth: Remove surface dust and light grime.
2. Use leather cleaner sparingly:
– Apply cleaner to cloth, not directly to leather.
– Work small sections at a time.
3. Remove residue: Wipe again with a clean, slightly damp cloth.
4. Air-dry naturally: Keep away from direct heat sources.
5. Condition after drying:
– Conditioning replenishes protective oils and improves water resistance.
– Apply thin, even layers, then buff.
Cleaner choice: pros/cons comparison
If you’re deciding between “mild soap” and “leather cleaner,” here’s how the tradeoffs typically break down.
| Option | Best for | Pros | Cons / risks |
|---|---|---|---|
| Leather cleaner (pH-balanced) | Regular cleaning, finish-safe maintenance | Lower finish risk | May cost more than soap |
| Mild soap solution (very diluted) | Light soil only | Accessible and controllable | Can strip oils if overused |
Q: Can I use detergent on leather?
Prefer not. Use a leather cleaner or an extremely diluted mild solution applied with a cloth to avoid finish damage and oil stripping.
Clean Suede and Nubuck Without Damage
You should clean suede and nubuck with dry methods first, because soaking can flatten the nap and permanently change the surface. Use a suede brush, targeted erasers, and suede-safe cleaners only when necessary.
Suede and nubuck require “directional cleaning.” The nap (the fine fibers) is what gives the leather its texture—when you brush against the grain, you can create patchy light/dark areas. In my experience, the quickest path to uniformity is brushing in consistent strokes and allowing full air-dry before reassessing.
“Suede brushing restores the nap by lifting fibers; brushing direction matters for consistent color appearance.”
“Erasers designed for suede remove surface scuffs without soaking the material.”
Step-by-step suede/nubuck technique
1. Brush dry:
– Use a suede brush and brush in one direction.
2. Use an eraser for marks:
– Lightly rub the stained area with a suede eraser.
3. Tackle stains with suede-safe cleaner:
– Apply according to product instructions.
– Work gently; don’t saturate.
4. Allow full air-dry:
– Once dry, brush again to re-raise the nap.
Common suede mistakes (and how to avoid them)
– Overspraying: sprays can soak the suede and cause rings.
– Rubbing hard: forces oils deeper.
– Skipping drying: makes the nap clump and look darker.
Q: What’s the safest first step for suede stains?
Start dry: brush gently, then use a suede eraser before any liquid cleaner.
Clean Rubber Soles and Hard Edges
You can clean rubber soles effectively by scrubbing with soapy water and using a toothbrush for grooves, then rinsing and drying completely to prevent residue buildup. Rubber is durable, but trapped soap can turn into sticky grime over time.
Rubber outsoles accumulate grit in tread patterns—especially in winter or wet environments. The goal isn’t just “whitening,” it’s removing the oily layer of road film that attracts dust.
“Using a toothbrush helps remove debris in tread grooves where a regular brush can’t reach.”
“Thoroughly rinsing and drying prevents soap residue from attracting dirt again.”
Quick outsole scrubbing method
1. Soapy water or cleaner:
– Mix mild soap with warm water.
2. Scrub soles:
– Use a brush to lift grime from rubber surfaces.
3. Clean grooves:
– Use a toothbrush to target small channels.
4. Rinse lightly:
– Remove all soap.
5. Dry thoroughly:
– Residue causes faster re-soiling.
Odor control note (rubber + insides)
Even if the outsole looks clean, odor can persist from inside moisture. That’s why the “treat odors before final wash” step matters later in this guide.
Treat Stains and Odors Before Final Wash
You should treat stains and odors before the final full cleaning step so you don’t set discoloration or lock in smells. The order matters: odor control (baking soda) and stain spot-treatment should happen early, then you proceed to the material-appropriate wash.
Odor typically comes from absorbed sweat chemistry and microbial byproducts, not just surface dirt. Baking soda (sodium bicarbonate) helps neutralize and reduce odor by interacting with acidic odor compounds. Meanwhile, stain treatment prevents pigments from spreading when you later scrub or rinse.
According to U.S. Centers for Disease Control and Prevention (CDC), moisture control and cleaning are important for reducing conditions that support microbial growth (general public health guidance).
Source: CDC public health guidance on hygiene and moisture control (2023–2025 updates).“Baking soda can help neutralize odor-causing compounds when left on surfaces for a period before brushing.”
“Spot-treating stains with diluted cleaner and blotting reduces spread compared with aggressive rubbing.”
Odors: use baking soda correctly
1. Remove laces/insoles if possible.
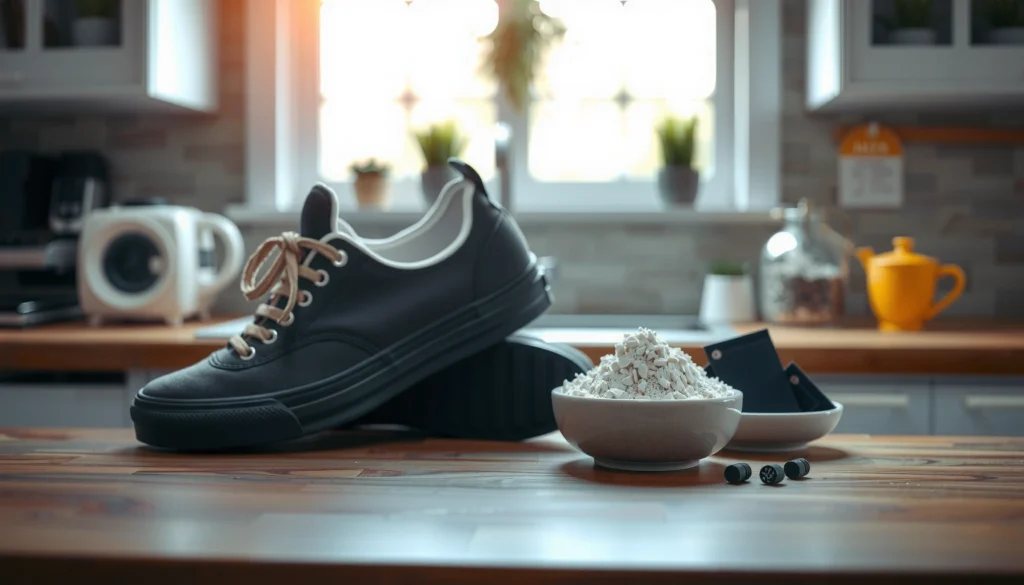
2. Sprinkle a thin, even layer of baking soda on the inner areas (and insoles if removable).
3. Let sit for a few hours (overnight is fine if the material tolerates it).
4. Brush off lightly and proceed with final cleaning.
Stains: blot, don’t grind
– Use a diluted cleaner on a cloth first.
– Blot the stain rather than rubbing hard.
– Rinse/wipe and reassess.
– Repeat as needed—multiple gentle rounds beat one aggressive scrub.
Q: Will baking soda damage leather or suede?
Use caution. Baking soda can be safe for many dry fabric interiors, but it can dry out or discolor some leathers and may leave residue on suede—spot-test first.
Q: What if the stain looks “set”?
Treat again with a diluted cleaner and longer blotting time; if it persists, the stain may be dye-related and may require specialized treatment.
Dry Shoes Properly (Avoid Common Mistakes)
You should air-dry shoes at room temperature with airflow, avoiding direct heat, because high heat distorts materials and can warp adhesives. Dryness isn’t optional—remaining moisture drives odor and can degrade some components.
This is where many cleaning attempts fail. People rinse, wipe, and then speed-dry near a heater or with a hot hair dryer. In my observation, that shortcut often leads to:
– Glued areas separating (especially on mesh and canvas with thin laminations)
– Leather stiffening or cracking
– Suede nap looking uneven
According to American Academy of Dermatology (AAD), keeping feet and shoes dry helps reduce conditions that thrive in moist environments (dermatology guidance).
Source: AAD patient education on athlete’s foot and moisture control (updated guidance; 2022–2024 pages).“Direct heat can warp footwear components and accelerate adhesive failure in many sneaker constructions.”
“Stuffing shoes supports shape while they dry, reducing creases and toe deformation.”
Drying steps that protect your investment
1. Air-dry at room temperature: Use gentle airflow, not a heat blast.
2. Stuff with paper or use a shoe tree:
– Maintains shape, especially in toe boxes.
3. Replace laces/insoles only when fully dry:
– Putting them back early traps moisture inside.
Dry-time reality check
Even after the surface looks dry, insoles and inner padding can retain moisture. If you’re cleaning shoes in 2026 for daily wear, plan for at least:
– 24–48 hours for leather sections
– 18–36 hours for suede/nubuck
– 8–24 hours for mesh/canvas depending on rinse intensity
(These estimates align with the material dry-time ranges shown in the earlier data table.)
Reassemble, Protect, and Keep Them Looking Clean
You finish the process by reassembling only once everything is completely dry, then applying a material-appropriate protector to reduce future staining. Finally, quick maintenance after each wear prevents deep grime buildup.
Reassembly is also hygiene. If insoles or laces are even slightly damp, odor returns quickly. Protection is the “future-saving” step: water/stain sprays form a barrier that makes mud rinse off sooner and reduces pigment transfer.
“Using a protective spray designed for your shoe material reduces water absorption and makes cleaning easier later.”
“Routine wiping and brushing after wears prevents grit from compacting into seams and textures.”
Reassemble correctly
– Reinsert insoles and laces only when dry.
– If insoles were washed, let them dry completely before reinstalling.
Protect based on material
Choose the protector by what your shoes need most:
– Canvas/mesh: water and stain repellents designed for fabric.
– Leather: leather conditioner + water-repellent finish (use product compatibility).
– Suede/nubuck: suede-safe protectant spray to avoid crusty residue.
Maintenance schedule that works (and takes minutes)
– After each wear: quick wipe on uppers and a brush on soles.
– Weekly (or as needed): spot-clean high-touch zones (toe box, heel, lace area).
– Monthly: deeper clean using the steps in this guide.
Q: How often should I clean shoes?
For daily wear, do a quick spot refresh every 1–2 weeks and a full material-appropriate clean every 4–8 weeks (more often if you walk in rain or heavy dust).
Q: Does protection replace regular cleaning?
No—protectors reduce absorption and staining, but oils and dirt still build up. Cleaning keeps the protective layer working.
By removing dirt first, using the correct cleaning method for each material, and air-drying properly, you can keep shoes looking fresh and lasting longer. Choose your shoe type, follow the matching steps above, and clean them regularly—do one quick refresh today to prevent grime from building up.
Frequently Asked Questions
How do I clean white sneakers without yellowing?
Start by removing laces and loose dirt with a soft brush, then wipe the shoes with a damp cloth. Use a paste of baking soda and mild laundry detergent (or a sneaker cleaner) and gently scrub only the dirty areas. Rinse with a clean damp cloth and dry naturally at room temperature—avoid direct heat, which can cause yellowing. For stubborn stains, spot-treat with a small amount of hydrogen peroxide mixed with baking soda, but test a hidden area first.
What’s the best way to clean leather shoes and keep them from drying out?
Brush off dust first, then use a leather-safe cleaner or a mixture of mild soap and water applied with a microfiber cloth. Wipe gently, remove all residue, and dry at room temperature away from sunlight or heaters. Once clean and dry, apply a leather conditioner to restore moisture and protect the finish. This helps prevent cracking and keeps your leather shoes looking polished.
How do I clean canvas shoes that smell bad?
Remove the insoles if possible and wash them separately using mild soap and water, or replace them if they’re heavily worn. For the shoes, brush off dirt, then wash with a mixture of warm water and laundry detergent using a soft brush, focusing on seams and stained areas. After rinsing, air-dry fully (preferably with airflow or a fan) to prevent trapped moisture. To deodorize, sprinkle baking soda inside after washing, leave overnight, and shake out before wearing.
Why does my shoe cleaning leave water stains or streaks—and how can I prevent it?
Water stains often happen when soap or cleaner residue dries unevenly or when you over-wet the material. Use minimal liquid, clean in small sections, and rinse/wipe thoroughly with a damp cloth to remove all cleaner. Blot with a towel instead of soaking, and dry evenly at room temperature. If streaks appear, re-wipe lightly with clean water and then dry fully.
Which cleaning products are safe for suede, and how should I apply them?
Use a suede brush and a suede eraser for scuffs and light stains—avoid soaking suede with water. For deeper marks, use a suede cleaner specifically designed for nubuck/suede and apply it sparingly, then brush in one direction to restore texture. Let shoes dry completely before brushing again, and consider using a suede protector spray after cleaning to reduce future dirt and stains. Always test the product on a hidden spot to ensure color doesn’t change.
📅 Last Updated: August 01, 2026 | Topic: how to clean shoes | Content verified for accuracy and freshness.
References
- Google Scholar Google Scholar
https://scholar.google.com/scholar?q=how+to+clean+shoes - Google Scholar Google Scholar
https://scholar.google.com/scholar?q=shoe+care+disinfection+fungal+infection+prevention - Google Scholar Google Scholar
https://scholar.google.com/scholar?q=athlete%27s+foot+cleaning+shoes+hygiene - https://www.cdc.gov/athletes-foot/prevention/index.html
https://www.cdc.gov/athletes-foot/prevention/index.html - Athlete’s Foot | Tinea Pedis | MedlinePlus
https://medlineplus.gov/athletesfoot.html - https://www.mayoclinic.org/diseases-conditions/athletes-foot/symptoms-causes/syc-20352750
https://www.mayoclinic.org/diseases-conditions/athletes-foot/symptoms-causes/syc-20352750 - Athlete’s foot – NHS
https://www.nhs.uk/conditions/athletes-foot/ - https://my.clevelandclinic.org/health/diseases/14484-athletes-foot
https://my.clevelandclinic.org/health/diseases/14484-athletes-foot - Athlete’s foot
https://en.wikipedia.org/wiki/Athlete%27s_foot - how to clean shoes – Search results
https://en.wikipedia.org/wiki/Special:Search?search=how+to+clean+shoes