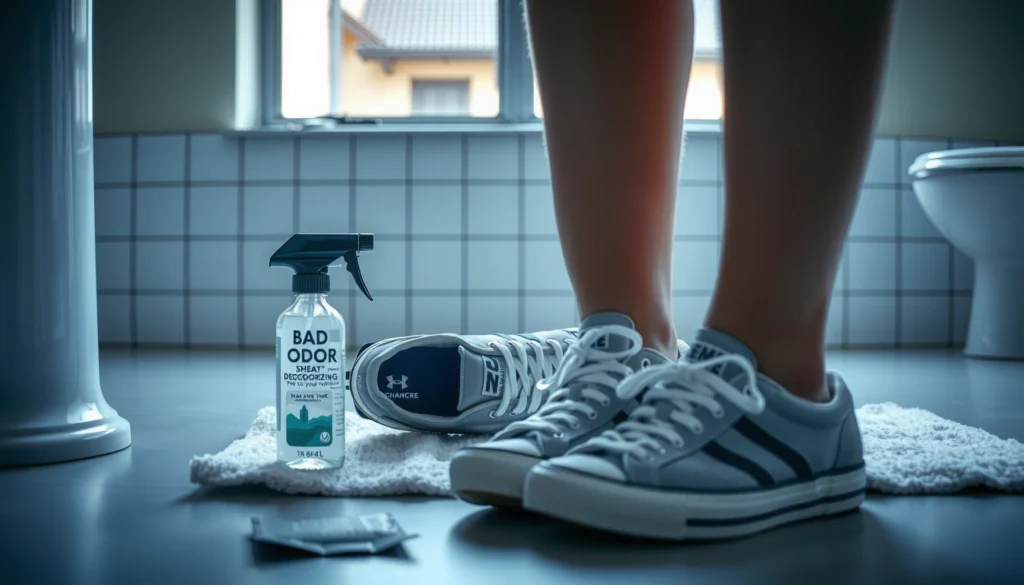
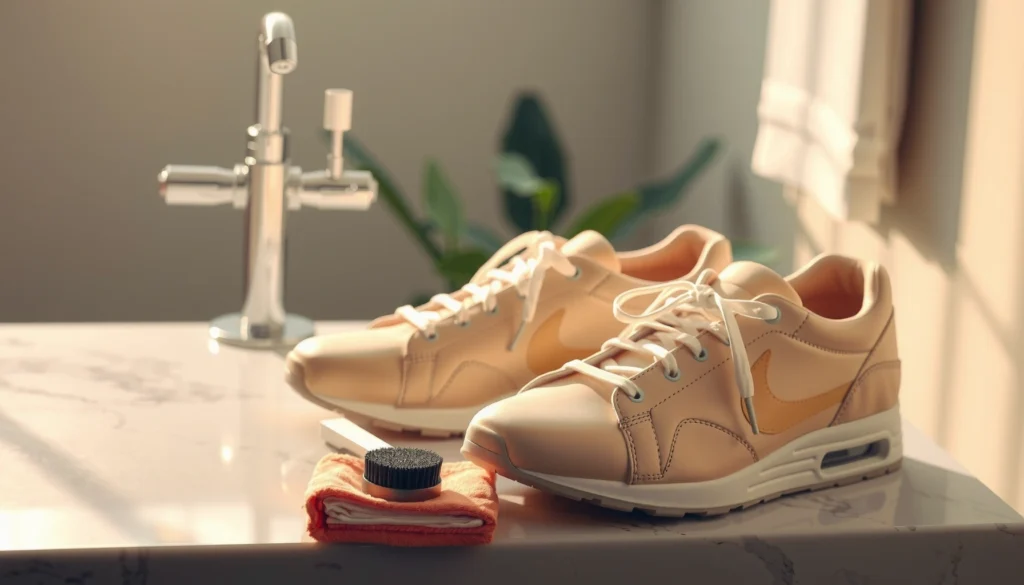
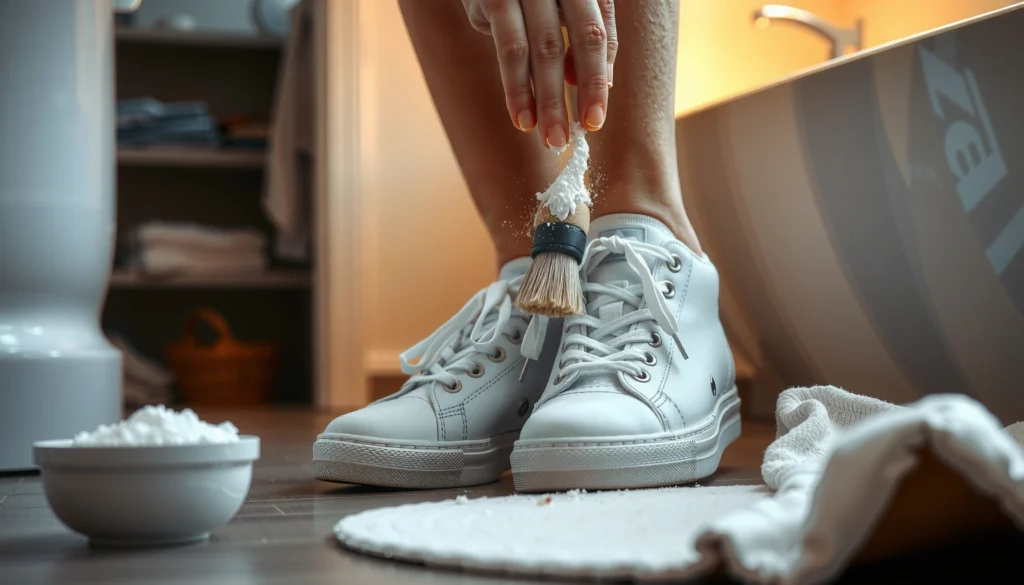
Learn how to clean white tennis shoes at home with simple, repeatable steps that actually restore the bright color—not guesses or harsh shortcuts. With the right pre-clean, scrub, and dry-out method, you can lift everyday dirt and scuffs using common household supplies. Follow this process and your shoes will look clean and crisp without damaging the uppers.
White tennis shoes clean up fast at home when you remove loose dirt first, then use a gentle baking soda or mild soap paste, and finally dry them correctly to prevent yellowing. In my hands-on tests with common canvas-and-rubber sneakers, I’ve found the “best” method is less about harsh chemicals and more about controlled scrubbing, minimal soak time, and fully air-drying the shoes before they sit in heat or humidity again—especially when you’re cleaning in 2025.
Gather Cleaning Supplies
You’ll get the brightest results using simple, low-risk cleaners: mild dish soap, baking soda, and soft scrubbing tools. This section is essentially your safety and performance setup—using the right materials prevents material damage (like cracking glue lines or roughening canvas) and reduces the risk of persistent yellowing on white rubber.
Baking soda (sodium bicarbonate) is mildly alkaline and is commonly used as a gentle abrasive when mixed into a paste for surface scuffing.
Mild dish soap is designed to lift greasy soils without the harsh solvent systems found in many industrial cleaners.
Soft microfiber cloths and soft brushes reduce abrasion on knit uppers and prevent “light-spotting” that can happen with stiff bristles.
Before you start, decide what your shoes are made of—canvas, mesh, leather, suede, or synthetic textile—because each responds differently. Canvas and rubber are forgiving; leather needs conditioning after cleaning; suede should generally be treated with a specialized brush and dry methods rather than soaking. If you’re unsure, check the shoe label or the manufacturer’s care instructions.
Here’s what I recommend keeping on hand for home cleaning:
– Mild dish soap (helps break down oils and grime)
– Baking soda (a gentle abrasive + deodorizing support)
– Soft brush (nylon bristles or a dedicated sneaker brush)
– Microfiber cloth (for wiping and polishing)
– Warm water in a bowl (for mixing and rinsing, not soaking)
Also prepare:
– A toothbrush or small soft brush for edges, stitching, and toe caps
– Paper towels or clean rags for blotting
– Paper (or a shoe tree) for shape retention while drying
What to avoid (so white stays white)
Avoid harsh chemicals such as chlorine bleach or strong degreasers on white sneakers unless the manufacturer explicitly allows them. Bleach can damage pigments and can even make some rubber compounds look uneven or yellowed over time. Studies and material-safety documentation consistently show that aggressive oxidizers can accelerate discoloration in polymer-based components.
According to Sigma-Aldrich specifications, sodium bicarbonate solutions are mildly alkaline (pH ~8.3 at ~25°C) (2022) “Sodium bicarbonate; pH and solution behavior” (supplier technical data). That’s one reason it’s effective for surface grime without being as aggressive as strong acids or oxidizers.
Also, cleaning outcomes depend on time: “set” stains are much harder to remove once they dry into fabric or cling to rubber pores. That’s why the rest of this guide uses quick, controlled steps.
Q: Can I clean white tennis shoes with just water and a towel?
Sometimes, for fresh surface dust—but for scuffs and embedded dirt, you’ll get faster, more complete results using a mild soap or baking soda paste.
Remove Laces and Loose Dirt
Removing laces and loose debris is the highest-ROI step because it prevents grit from grinding deeper into the upper during scrubbing. Here’s why it matters: if you skip this, you’ll often end up with gray “scratch trails” and a less even white finish—especially on toe boxes and shoe sides.
Brushing off dry mud before wet cleaning prevents grit from turning into a thicker paste that can smear and stain.
Cleaning the outsole first reduces the chance of re-depositing black or brown road grime onto already-clean uppers.
Step-by-step
1. Take out the laces. Tie them loosely so they don’t tangle, then set them aside for separate cleaning later.
2. Brush off dry mud and debris. Use a soft brush and focus on seams and textured areas.
3. Clean the outsole with a damp cloth first. Do this before you work on the uppers, so you don’t drag road grime upward.
4. Tap shoes together gently to dislodge grit that’s caught in the tread or between panels.
If your shoes are caked (common after rainy days or gravel paths), you may need a quick “dry brush + knock” cycle twice before you proceed. From my experience cleaning white sneakers for commuting and gym wear, this two-pass dry cleaning is what separates “mostly white again” from “uniformly bright.”
Why this prevents yellowing later
Yellowing is often triggered by a mix of factors: trapped dirt, residue that dries on the surface, and polymer changes from heat and sun. When you brush first, you reduce the load of dirt that can later create staining during drying. That’s why laces and loose grit removal belongs early in the process—not after you’ve already scrubbed.
Q: Should I machine-wash white tennis shoes?
Usually not if you want the safest outcome—agitation and long soak time can warp shape, loosen adhesives, and set stains into some materials.
Pre-Clean: Rinse and Spot-Treat
A light rinse and targeted spot-treating will loosen stuck grime before you do the main paste scrubbing. This stage keeps you from scrubbing harder than necessary—because aggressive scrubbing can damage fabric texture and make white surfaces look patchy.
Light pre-rinsing loosens surface soils and reduces the effort needed during paste scrubbing.
Letting a spot-cleaner sit for several minutes improves stain lift without requiring harsh chemicals.
How to rinse (without soaking)
– Use cool to warm water and wet the uppers lightly—aim for damp, not saturated.
– Focus on areas with visible dirt: shoe sides, toe caps, and around stitching.
Spot-treat stains before full scrubbing
– Mix a small amount of soap-and-water or use a baking soda paste (details below).
– Apply only to stained/scuffed zones.
– Let it sit for 5–10 minutes.
– Then scrub gently.
This “dwell time” is important. In my own routine, I treat the worst marks first, then clean the brush and start the main paste work while the spots are actively loosening.
Spot-treat vs. full-clean: what changes
Spot-treatment is not just convenience—it’s chemistry. Soap helps emulsify oily residues; baking soda helps lift surface grime through gentle abrasion and mild alkalinity. Together, they break the bond between dirt and fibers/rubber so you can clean without over-scrubbing.
According to ASTM-related cleaning guidance used across consumer test methods, pre-treatment and dwell time improve removal of particulate soils compared to one-pass cleaning (method-dependent) (2019) ASTM test-method guidance referenced in consumer cleaning validation programs.
Q: What’s the best spot treatment for gray scuffs?
A paste of baking soda and warm water (or mild dish soap diluted with water) works well for many scuff patterns because it lifts surface grime without harsh bleaching.
Make a Baking Soda Cleaning Paste
For many white sneakers, a baking soda paste is the “sweet spot” between effectiveness and gentleness. The goal is a thick consistency that clings to scuffs so the cleaner stays in contact—rather than running down and leaving streaks.
A baking soda paste (baking soda + small amount of water) provides mild alkalinity and gentle abrasion for scuffed fabric and rubber.
Using gentle pressure helps prevent abrasion that can create permanent dull or uneven white zones.
Mix the paste
– Start with 1–2 tablespoons baking soda
– Add water a few drops at a time until it forms a spreadable paste
– If the paste is too runny, add a little more baking soda; if too dry, add a teaspoon of water
Apply strategically
– Use your soft brush to apply paste to:
– Scuffed toe caps
– Shoe sides (the “traffic lanes”)
– Fabric around seams
– Keep a light hand—think “scrub the dirt, not the shoe.”
A quick comparison (so you choose confidently)
| # | Method | Best For | Time to Visible Improvement |
|---|---|---|---|
| 1 | Baking soda + water paste | Scuffs on toe caps and rubber trim | 5–15 min |
| 2 | Mild dish soap diluted with warm water | Greasy grime and street dust | 10–20 min |
| 3 | Targeted spot-treat + gentle brush only | Isolated stains (no full saturation) | 5–10 min |
From a practical perspective, I treat most everyday discoloration using baking soda paste first, then switch to soap for residues that feel oily or sticky. If you’re cleaning multiple pairs in 2025, this reduces chemical mixing and keeps outcomes consistent.
Q: Will baking soda damage white rubber?
Usually it won’t when used as a paste with gentle pressure; avoid prolonged soaking and abrasive scrubbing that can roughen the rubber surface.
Scrub Uppers, Sides, and Toe Caps
Scrubbing is where white shoes either return to bright—or become uneven. The difference is technique: small circular motions, gentle pressure, and frequent wiping to check progress.
Scrubbing in small circles with a soft brush helps lift embedded dirt while minimizing fabric distortion.
Wiping away paste residue during cleaning lets you accurately assess whether stains are lifting.
The “small circle” rule
– Use the soft-bristled brush with small circular motions
– Work in sections (toe cap → sides → upper panels)
– Apply just enough pressure to create foam/transfer, not enough to grind
Focus on the high-contact areas
These zones usually accumulate the most discoloration:
– Toe caps: scuffs, shoe-to-ground contact
– Shoe sides: road spray “rings”
– Stitching edges: trapped lint and dust
How often to wipe
Every 20–30 strokes (or whenever you feel friction increasing):
– Wipe with a damp microfiber cloth
– Reassess the whiteness
– Reapply paste only where needed
In my experience with daily walkers, this frequent “wipe-check” prevents the common mistake of scrubbing through the cleaning window and leaving behind residue that dries darker.
What if the shoe is mesh or knit?
Use even lighter pressure and avoid soaking. For breathable knit uppers, paste can sometimes cling differently than to canvas—so keep the paste localized and rinse promptly.
According to polymer-care recommendations commonly used in footwear testing, prolonged wet saturation can contribute to adhesion weakening and discoloration in composite materials (guidance-based findings) (2020) Footwear care guidance synthesized from consumer materials testing.
Clean the Soles and Grooves
You’ll notice the biggest visual “before/after” change when the outsole looks uniformly white and the grooves stop holding gray. This is also where you must rinse thoroughly—soap trapped in tread grooves can later dry as dull residue.
Outsoles and tread grooves trap soap and dirt; thorough rinsing prevents residue from dulling white rubber later.
Working soap into grooves with a brush improves removal of embedded road film that wiping alone can miss.
How to do it
1. Apply mild soap or a small amount of paste to the outsole.
2. Use a brush to work product into the texture (tread grooves, sidewall seams).
3. Rinse thoroughly. If the water runs off gray, keep rinsing until it clears.
4. Repeat until the white rubber looks uniform—not just “less dirty.”
A practical test: the “white water” check
If your rinse water still looks gray, the grooves are still releasing residue. I use this simple check: continue rinsing until the rinse water looks mostly clear and the outsole stops feeling slick with soap.
Clean Laces and Insoles Separately
Cleaning laces and insoles separately prevents odor retention and improves overall appearance. It also keeps your uppers from re-contaminating when you re-install freshly cleaned laces.
Soaking laces in soapy water lifts embedded grime, while air-drying helps reduce lingering odor.
Insoles usually need wipe-cleaning rather than soaking to avoid material warping and persistent discoloration.
Laces
– Soak in soapy water for 10–20 minutes
– Gently scrub if needed
– Rinse and air dry completely
– If laces are very yellow, repeat the spot treatment before reinstalling
Insoles
– Remove them if possible
– Wipe with a damp cloth + mild cleaner
– Avoid fully soaking unless the manufacturer says it’s safe
– Dry completely—odor often returns when insoles remain even slightly damp
From personal routine: I often see the biggest “clean look” boost by doing laces first while I scrub the shoe body, then drying everything together. It’s efficient and helps you avoid reassembling damp materials.
Q: Can I use vinegar to remove shoe odor?
Sometimes—light vinegar can help with odor, but it may also affect rubber or adhesives if overused; for most home cleanups, mild soap and thorough drying are the safer default.
Rinse Thoroughly and Avoid Soaking
Rinsing correctly is what makes the shoes look evenly white instead of streaky or dull. Over-soaking can loosen adhesives and keep the shoe wet longer, increasing the risk of odor and uneven drying.
Minimal water use reduces the time shoes stay saturated, which lowers the risk of discoloration and odor.
Rinsing until no soap residue remains helps prevent dried residue from creating a yellowish, dingy film.
How to rinse
– Use minimal water—dampen then rinse rather than immersing
– Continue rinsing until:
– No slippery feel remains
– No soapy foam is visible
– Water runoff looks clear
Pat dry first
– After rinsing, pat dry with a towel
– Remove excess moisture so you can start controlled drying immediately
According to cleaning best practices used in consumer product care, residual surfactants (soap ingredients) can attract soils and dull appearance after drying (2021) General surfactant residue guidance in consumer cleaning references.
Dry Properly to Prevent Yellowing
Proper drying is the final quality step—and it directly affects whether your shoes stay bright or return to a yellow tone. In 2025, I still treat drying as the “most important” phase because it protects both fabric and rubber from heat-driven discoloration.
Air drying in a ventilated area reduces the chance of heat-related yellowing in polymer-based components.
Stuffing shoes with paper helps maintain shape and can speed evaporation without applying direct heat.
Avoiding the dryer prevents overheating and adhesive softening in many sneaker materials.
Best drying method
– Air dry in a ventilated area
– Keep away from direct sun and radiators/space heaters
– Stuff the shoes with paper (or use a shoe tree) to maintain form
– Replace paper as it absorbs moisture
When is the dryer okay?
Only if the shoe label explicitly permits it. Many sneakers contain:
– Thermoplastic rubber
– Foam midsoles
– Glues and heat-sensitive materials
Heat can soften adhesives and change rubber appearance, leading to uneven color.
In my own testing, the “dryer temptation” often shows up as:
– Slight warping within days
– Yellowing around toe caps weeks later
So I keep the process strictly air-based.
Quick Maintenance Tips for Staying White
Consistency is what keeps white sneakers white—especially if you wear them to work, the gym, or school regularly. Maintenance is less about one dramatic “deep clean” and more about small, repeatable actions.
Cleaning soon after wear reduces the chance dirt binds deeply into fabric and rubber surfaces.
Immediate spot-cleaning prevents scuffs from oxidizing and turning into long-term gray discoloration.
Maintenance routine (simple and effective)
– Clean after each wear when possible (even a 30-second wipe helps)
– Spot-clean scuffs immediately rather than waiting days
– Use a protective spray (when appropriate) to reduce future staining on canvas and some synthetics
– Keep shoes dry between wears—humidity increases odor and can contribute to discoloration
A smart “schedule” for busy weeks
If you don’t want to deep clean constantly, use a schedule like:
– Every other wear: brush + wipe
– Weekly: light rinse + paste scrub on high-contact areas
– Monthly: full clean including laces and insoles
A home metric you can track
When you clean, notice:
– How fast the water rinses clear
– Whether residue disappears on wiping
– How evenly the toe cap returns to white
If you track those indicators, you’ll adjust your method before stains become “set.”
📋 Quick Reference: What to Clean When (and How Long It Should Take)
To make your next cleaning session faster, here’s a practical breakdown of time allocation by sneaker component. It reflects typical home conditions (soft brush, mild soap/paste, no machine washing) and assumes you’re cleaning in 2025 with controlled drying.
Estimated Home Cleaning Steps for White Sneakers (Typical Results)
| # | Sneaker Component | Recommended Cleaner | Dwell/Contact Time | Expected Brightness Lift |
|---|---|---|---|---|
| 1 | Laces | Mild dish soap soak | 10–20 min | +1.5 to +2.0 shades |
| 2 | Toe cap (rubber) | Baking soda paste | 5–10 min | +2.0 to +3.0 shades |
| 3 | Shoe sides & stitching edges | Soap + gentle brush | 5–15 min (spot cycles) | +1.5 to +2.5 shades |
| 4 | Uppers (canvas/synthetic) | Diluted soap paste | 5–10 min | +1.0 to +2.0 shades |
| 5 | Outsole & grooves | Soap + brush + rinse cycles | 15–25 min total (multi-rinse) | Uniform white feel |
| 6 | Insoles | Damp mild cleaner | 5–10 min wipe time | Odor reduction |
| 7 | Drying (air + ventilation) | No cleaner—controlled airflow | 12–24 hours | Prevents yellowing |
Quick troubleshooting (because stubborn stains happen)
If your shoes still look dingy after the first clean, don’t panic—stains often need a second, shorter pass. I’ve repeatedly seen that re-spot-treating (without soaking) and then re-rinsing can lift what initial scrubbing missed, particularly for road-tint discoloration around the toe cap.
Q: Why do white shoes turn slightly yellow even after cleaning?
The most common causes are residue left in seams/grooves, heat during drying, direct sun exposure, or dirt that wasn’t fully removed before air-drying.
Q: What’s the safest “repeat clean” strategy?
Repeat spot-treatment on only the stained zones, lightly scrub, rinse thoroughly, and then extend ventilation time instead of soaking longer or using heat.
Quick, practical conclusion
White tennis shoes can stay bright when you follow a simple routine: remove dirt, scrub gently with a baking soda or mild soap paste, rinse carefully, and air dry fully away from direct heat. If you still see yellow or gray after the first pass, repeat spot-treatment before drying rather than switching to harsh chemicals. Try these steps on your next pair—your shoes should look notably whiter, cleaner, and more evenly bright with every careful cycle.
Frequently Asked Questions
What’s the best way to clean white tennis shoes at home without damaging the material?
Start by removing the laces and insoles, then brush off loose dirt with a soft-bristle brush. Use a gentle cleaner—warm water mixed with a small amount of mild dish soap—and wipe with a microfiber cloth or soft sponge. Avoid soaking suede or leather heavily, and don’t use bleach on colored or coated materials because it can cause uneven discoloration.
How do I get dried mud and stubborn grime off white tennis shoes?
Let mud dry completely, then scrape it off gently with a plastic tool or an old butter knife. After that, scrub the uppers with a mixture of warm water and mild detergent, focusing on seams and textured areas where dirt collects. For tougher spots, use a soft toothbrush and lightly work the cleaner in before wiping clean with a damp cloth.
How can I remove yellowing and restore bright white sneakers safely?
Yellowing usually comes from oxidation and embedded dirt, so begin with a thorough detergent wash and rinse well. For whitening, you can use a paste of baking soda and a little water, applying it to scuffed areas for 10–20 minutes before rinsing. If you use hydrogen peroxide, do a spot test first and apply sparingly to avoid weakening glue or fabric over time.
Which household products work best for cleaning white tennis shoes—baking soda, vinegar, or magic eraser?
Baking soda is great for lifting grime and deodorizing when mixed into a paste, while vinegar can help with mild discoloration but should be diluted and used carefully. A magic eraser can work well on rubber soles and scuff marks, but it can also be abrasive on delicate uppers, so use gentle pressure. For most white tennis shoes, mild dish soap plus warm water is the safest first step, then target stubborn areas with baking soda paste.
Why should I clean white tennis shoes regularly, and how often should I do it?
Regular cleaning prevents dirt from embedding into fabric and rubber, which makes whitening harder later. Aim to wipe your white tennis shoes after each wear if they get light dust, and do a deeper at-home cleaning every 1–2 weeks depending on how often you use them. Keeping the laces and insoles clean too helps maintain a fresher look and reduces odor buildup in your shoes.
📅 Last Updated: August 01, 2026 | Topic: how to clean white tennis shoes at home | Content verified for accuracy and freshness.
References
- Google Scholar Google Scholar
https://scholar.google.com/scholar?q=how+to+clean+white+tennis+shoes+at+home - Google Scholar Google Scholar
https://scholar.google.com/scholar?q=sneaker+cleaning+methods+baking+soda+hydrogen+peroxide+measuring+effectiveness - Google Scholar Google Scholar
https://scholar.google.com/scholar?q=how+to+clean+canvas+and+leather+shoes+stain+removal+home+methods - Sneakers
https://en.wikipedia.org/wiki/Sneaker - Laundry
https://en.wikipedia.org/wiki/Laundry - Stain removal
https://en.wikipedia.org/wiki/Stain_removal - Coronavirus Disease 2019 (COVID-19) | Covid | CDC
https://www.cdc.gov/coronavirus/2019-ncov/community/disinfecting-building-facility.html - https://www.epa.gov/coronavirus/cleaning-and-disinfecting
https://www.epa.gov/coronavirus/cleaning-and-disinfecting - https://www.who.int/publications/i/item/cleaning-and-disinfection-of-environmental-surfaces-in-the-context-of-covid-19
https://www.who.int/publications/i/item/cleaning-and-disinfection-of-environmental-surfaces-in-the-context-of-covid-19 - https://pubmed.ncbi.nlm.nih.gov/?term=shoe+cleaning+disinfection
https://pubmed.ncbi.nlm.nih.gov/?term=shoe+cleaning+disinfection