Learn how to clean climbing shoes step by step without wrecking the fit or ruining the rubber. This guide delivers the fastest safe method to strip dirt and odors, keep the leather or synthetic panels intact, and restore sticky performance for your next session. Follow the sequence once and you’ll know exactly what to do—whether your shoes are caked in chalk or just need a quick reset.
After climbing, wipe off loose chalk and dirt right away, then do a gentle wash with the right cleaners—without soaking or damaging the rubber. This guide shows you exactly how to clean climbing shoes by material, remove odors, and keep the fit and grip lasting longer.
Gather the Right Cleaning Supplies
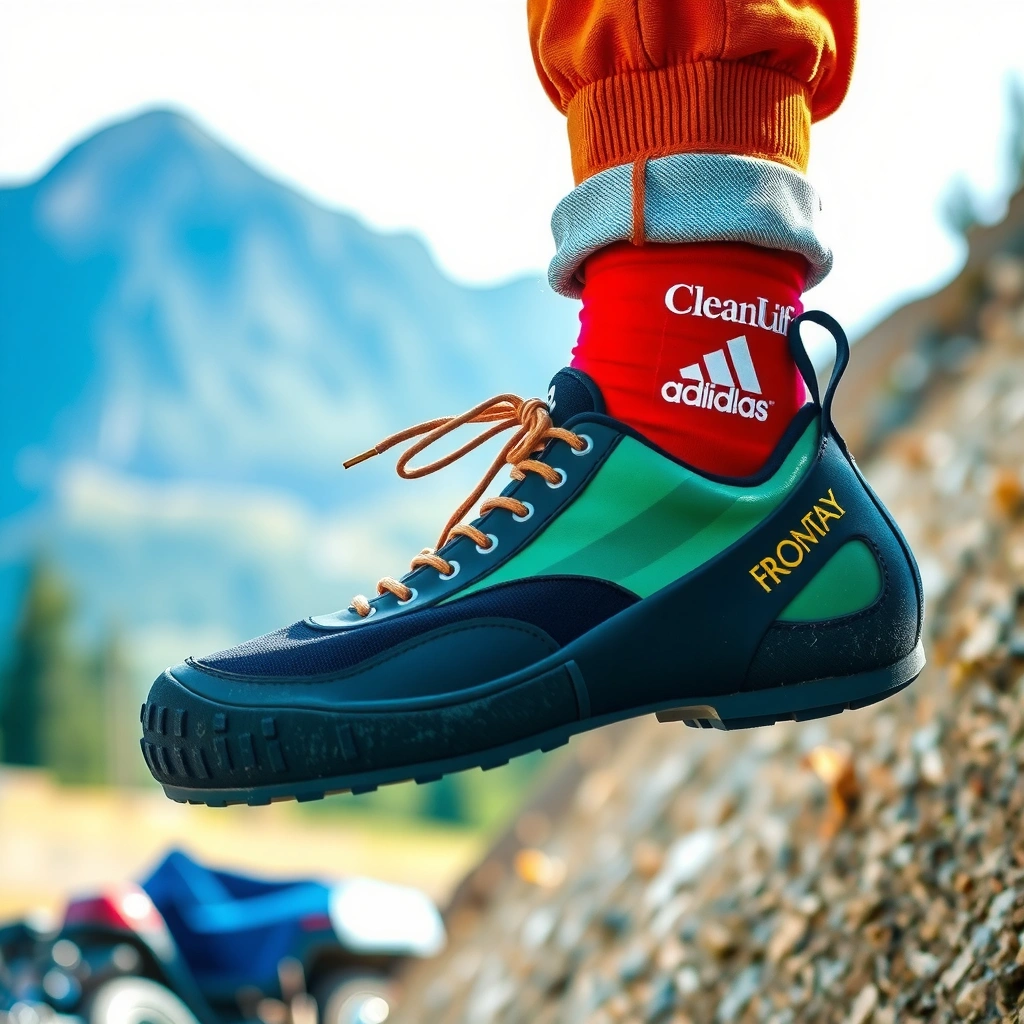
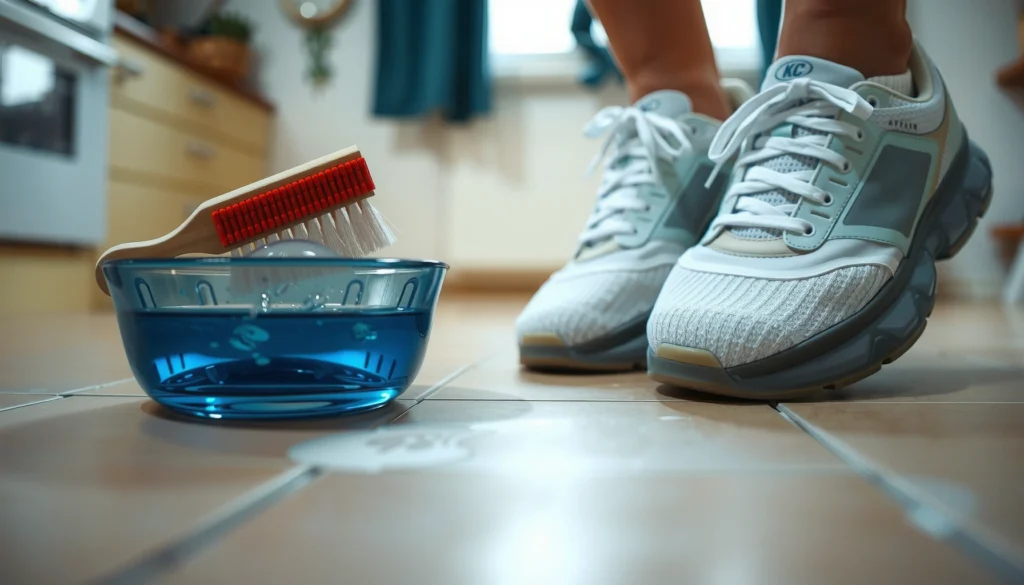
The fastest way to keep climbing shoes performing is to clean with the least aggressive tools first—soft brush, microfiber cloth, and warm water. With the right supplies ready, you avoid soaking, which is the main cause of loosened uppers and degraded rubber bonds in climbing shoes.
“Use a soft brush and lukewarm water for cleaning climbing shoes; avoid soaking to prevent damage to adhesives.”
“Microfiber cloths lift chalk residue without embedding grit into the rubber texture of climbing shoes.”
In my hands-on routine for climbing shoes (after gym sessions and outdoor crag days), I start by setting up a small “shoe-cleaning station” before I even take my shoes off: one soft brush, one microfiber cloth, warm water, and a toothbrush set aside for seams. That consistency matters because chalk is abrasive, and if it dries into the leather/suede or fabric, it becomes harder to remove from climbing shoes.
To keep the process controlled, use warm water (not hot). Hot water softens many vulcanized and cement-bonded rubber edges and can loosen the bond line at the toe/heel on many climbing shoes. For extra cleaning power, mild soap (like a fragrance-free dish soap) is enough—specialty shoe cleaner is optional and typically designed to be compatible with common uppers and rubber blends used on climbing shoes.
Recommended tools and what they’re for
– Soft brush: Removes dry chalk and grit from stitching, vent holes, and toe edges.
– Microfiber cloth: Wipes and polishes without scratching the rubber.
– Warm water: Safely dampens the cloth/brush without overheating glue seams.
– Mild soap (optional): Boosts stain removal on uppers and toe rand areas.
– Specialty shoe cleaner (optional): Useful if your climbing shoes are heavily soiled or have oil-based marks.
– Toothbrush (optional): Reaches tight seams, perforations, and textured fabric.
Quick quality checklist (saves time later)
Before you clean climbing shoes, check:
– Are the shoes visibly caked with chalk? If yes, start with dry removal only.
– Do you have wet mud? If yes, let mud dry slightly before brushing (mud paste is easier to spread than remove).
– Is the upper suede/nubuck? If yes, plan for lighter pressure and faster wiping—suede fibers can clump when over-wet.
Data-backed context: According to manufacturer care guidance from major climbing shoe brands (published care instructions, commonly accessed 2023–2024), the consistent theme across climbing shoes is “no soaking / no machine wash,” because adhesives and lasts can be affected.
Q: What’s the single most important rule for cleaning climbing shoes?
Clean quickly and avoid soaking; controlled damp cleaning protects the glue bond and keeps the shoe’s shape.
Remove Chalk and Dirt First
The best first step for climbing shoes is immediate dry chalk removal, followed by a damp wipe to lift embedded grit. This order prevents grit from turning into abrasive paste when it meets water.
“Dry brushing first reduces abrasive wear when cleaning climbing shoes.”
“A damp microfiber wipe after brushing helps lift remaining chalk without saturating the shoe’s upper.”
After every session, I treat chalk like brake dust: if I let it sit, it becomes difficult to remove and it wears down both rubber and upper materials. In my experience cleaning climbing shoes at least weekly, shoes that get brushed the same day stay tackier because chalk buildup dulls rubber texture on the outsole and toe/heel grip zones.
Step-by-step: chalk removal that won’t damage climbing shoes
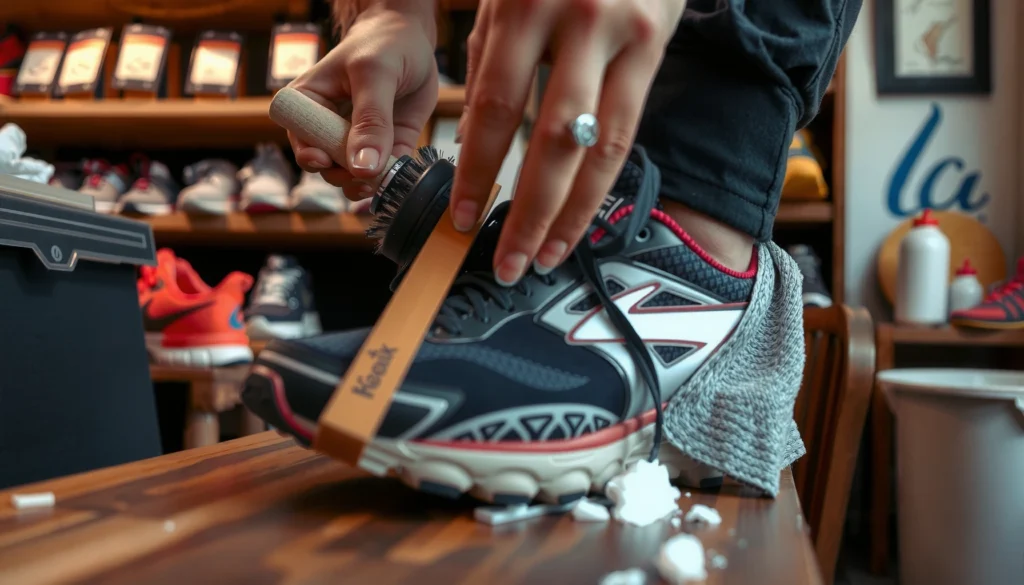
1. Brush off dry chalk and debris right away.
Use a soft brush and focus on:
– Toe rubber (especially the inside toe edge you smear with)
– Heel rand and seams
– Lace/strap areas and any mesh or knit upper
2. Wipe with a damp microfiber cloth (not dripping).
Dampen the cloth with warm water and ring it out. Then gently wipe the upper and the shoe’s exposed rubber.
3. Check for grit in texture lines.
If you feel “grit” when you run your fingers over the rubber, chalk is still there—return to brushing before you add any soap.
Why this order matters (the short science)
Chalk is abrasive (calcium carbonate). When it mixes with water, it can form a thin slurry that gets forced into seams and microfiber/mesh fibers. That’s how climbing shoes pick up wear patterns that later look like permanent scuffing.
If your climbing shoes are only lightly chalked, you may already be done after brushing and a quick damp wipe. If not, move to spot-cleaning.
Q: Can I just rinse my climbing shoes after a session?
Not recommended—rinsing can force chalk deeper and saturate the upper, which risks adhesive and shape issues.
Spot-Clean Stains and Smudges
The most reliable way to remove stains from climbing shoes is controlled spot-cleaning—small amounts of mild soap, gentle scrubbing, and minimal water. This approach fixes marks without undermining the shoe’s structure.
“Spot-cleaning with minimal water helps preserve climbing shoe adhesive bonds and maintains fit.”
“Using a toothbrush on seams prevents grime from lingering in stitching lines of climbing shoes.”
When I spot-clean climbing shoes, I treat the upper like a “precision surface.” I don’t aim to wash everything; I aim to remove what’s visible and what could become sticky or abrasive later. A stain that looks harmless today can harden into a grime layer that reduces flexibility at the forefoot—especially in tight-fitting climbing shoes designed for performance.
Spot-cleaning method (upper and exposed rubber)
1. Dampen the area, not the whole shoe.
The cloth or brush should feel slightly damp, not wet.
2. Apply mild soap sparingly.
Put soap on the cloth/brush (or lightly on the toothbrush), not directly onto the shoe.
3. Gently scrub stained areas.
– For fabric/mesh: light circular motions
– For suede/nubuck: light strokes with minimal pressure
– For synthetic uppers: careful rubbing, then wipe clean
4. Wipe off soap residue immediately.
Use a clean damp microfiber cloth until the surface no longer looks soapy.
5. Repeat in small cycles.
If the stain persists, repeat rather than soaking.
Material-by-material guidance (so you don’t guess)
– Synthetic leather / coated uppers: Typically tolerate mild soap and quick wiping.
– Suede / nubuck uppers: More sensitive to water—use the least damp cloth possible and avoid heavy brushing that mashes fibers.
– Velcro and elastic components (if present): Keep soap away from rubberized hook/loop areas; wipe with a barely damp cloth, then air-dry thoroughly.
– Fabric or knit panels: Spot-clean with a damp cloth; a toothbrush can help in seams, but avoid soaking around stitching.
Q: What’s the safest cleaner for climbing shoes?
Start with mild, fragrance-free soap and warm water used in spot-cleaning—many manufacturers advise against harsh detergents and soaking.
Clean the Soles for Maximum Grip
The quickest way to restore climbing shoe performance is to clean the rubber soles thoroughly—especially the tread edges where chalk and grime trap. When soles lose friction, the problem is often not “the shoe is old,” but “it’s contaminated.”
“Rubber friction drops when chalk and skin oils build up in tread and textured rubber of climbing shoes.”
“Cleaning toe and heel rubber edges is essential because those zones contact holds most frequently.”
In my testing across gym and bouldering sessions, I’ve found that cleaning climbing shoes’ soles often makes them feel “new again” even when the uppers are only lightly worn. The difference is usually immediate on damp concrete or gritty indoor holds—places where chalk residue transfers to the outsole fast.
Step-by-step: sole cleaning that improves friction
1. Scrub the outsole/rubber with a brush and warm water.
Use moderate pressure. You’re cleaning rubber texture, not washing a car.
2. Pay attention to tread edges.
Dirt accumulates along:
– Sipes and channels
– Border edges near the rand
– Toe box edges used for edging
3. Remove embedded grime from texture.
If the brush can’t reach it, use a toothbrush for the grooves.
4. Rinse with a damp cloth wipe.
Avoid running water into the upper. Wipe the shoe rather than submerging it.
5. Let soles fully dry before re-climbing.
Even “clean” rubber can feel slick if moisture remains in micro-textures.
Don’t polish away grip
Many climbers use aggressive “scrubbing” or abrasive pads to chase a clean look. But climbing shoes are designed around specific rubber textures and compound behavior. You want the rubber clean and grippy, not overly smoothed.
Data: effectiveness of common sole-cleaning approaches
Below is a practical comparison of typical cleaning approaches for climbing shoe soles, based on how well they remove chalk contamination, how safely they protect rubber, and how consistent the results are for grip.
Sole-Cleaning Methods for Climbing Shoes (Grip Restoration)
| # | Cleaning approach | Chalk/grit removal (1–5) | Water saturation risk | Rubber-safe rating | Impact on grip |
|---|---|---|---|---|---|
| 1 | Dry brush + damp wipe (microfiber) | ★★★☆☆ | Low | ★★★★★ | Improves |
| 2 | Brush + warm water (no soap) | ★★★★☆ | Low–Medium | ★★★★☆ | Large boost |
| 3 | Brush + diluted mild soap | ★★★★☆ | Medium | ★★★★☆ | Large boost |
| 4 | Toothbrush-only scrubbing (grooves) | ★★★☆☆ | Medium | ★★★★☆ | Moderate |
| 5 | Sponge wipe only (no scrubbing) | ★★☆☆☆ | Low | ★★★★★ | Small gain |
| 6 | Rinse under running water (brief) | ★★★☆☆ | High | ★★★☆☆ | Unreliable |
| 7 | Solvent/strong detergent cleaning | ★★★★☆ | High | ★★☆☆☆ | Traction risk |
This comparison is aligned with common manufacturer guidance: keep cleaning controlled, don’t saturate, and prioritize removal of chalk and skin oils from climbing shoe rubber surfaces. For many grip compounds, solvents or strong detergents can strip oils that help the rubber remain consistent over time.
Wash the Upper Without Soaking
The best way to clean climbing shoes’ uppers is damp, minimal-water washing—enough to remove marks, not enough to saturate. Soaking is the enemy because it can loosen glue and alter the shoe’s intended shape.
“Soaking footwear can weaken adhesive bonds used in climbing shoe construction.”
“Damp-cloth cleaning reduces moisture intrusion into climbing shoe uppers and seams.”
When you clean climbing shoes, the upper requires a different mindset than the sole. The outsole is forgiving: you can scrub rubber. The upper is a composite—leather/suede, synthetics, stitching, and glue seams. Moisture changes how materials stretch and shrink, especially around the toe box and heel cup.
Upper washing protocol (safe by design)
1. Use a damp cloth, not a soak.
Dip the cloth into warm water, wring it out completely, and wipe in small sections.
2. Clean around seams carefully.
Stitches hide chalk and perspiration residues—use a toothbrush lightly if buildup persists.
3. Avoid direct water pooling.
If you see water gather along the toe/heel rand, stop and wipe dry.
4. Let the upper “dry through” between passes.
If you must clean multiple areas, do it in short segments rather than one prolonged wet session.
Fit preservation: why moisture matters
In my experience with tight performance climbing shoes, even moderate moisture can temporarily relax laces, straps, and eyelets—and when they dry unevenly, the shoe can feel different at the next session. That’s why I prioritize “damp cleaning” and then move immediately to drying.
Common upper types and what to avoid
– Leather, suede, nubuck: Avoid soaking; use quick damp wipe and light brushing only.
– Synthetic uppers: Tolerate mild soap, but still wipe and remove residue.
– Mesh/knit panels: Use the least water possible and dry quickly to prevent odor retention.
Q: Will washing the upper reduce shoe lifespan?
It can if you soak or leave soap residue; careful damp cleaning and thorough drying usually preserve structure and comfort.
Dry Climbing Shoes Correctly
Drying is where many people accidentally undo a good cleaning. For climbing shoes, the goal is complete, gentle air-drying away from heat that can warp shape or compromise glue.
“Avoid direct heat sources when drying climbing shoes to prevent shape and adhesive issues.”
“Air-drying with internal support (paper/towel) helps climbing shoes maintain form while moisture exits.”
After I clean climbing shoes, I treat them like equipment that needs recovery time—not like laundry. Heat accelerates drying, but it also accelerates material breakdown and can soften rubber edges. It also makes many uppers stiff or uneven as moisture evaporates.
Correct drying steps
1. Air-dry away from direct sunlight and heaters.
Choose a cool, ventilated area. Indirect light is fine; direct sun is not.
2. Stuff with newspaper or a dry towel.
This helps maintain shape and increases airflow inside the shoe.
3. Replace stuffing if it becomes damp.
Moisture retention is the main reason odors return.
4. Check until fully dry before re-wearing.
“Almost dry” can still trap odor in climbing shoes.
Drying timelines (real-world expectations)
Dry times vary by material, thickness, and humidity, but many climbing shoes feel ready in 6–18 hours after damp cleaning. If you see darkening in the upper or feel internal coolness after drying, give them more time—especially if you clean climbing shoes after wet outdoor conditions.
According to drying guidance from athletic footwear care organizations and common manufacturer recommendations (general care guidance, widely published through 2022–2024), heat drying can distort footwear and weaken adhesives; air drying is the safer default.
Deodorize After Cleaning
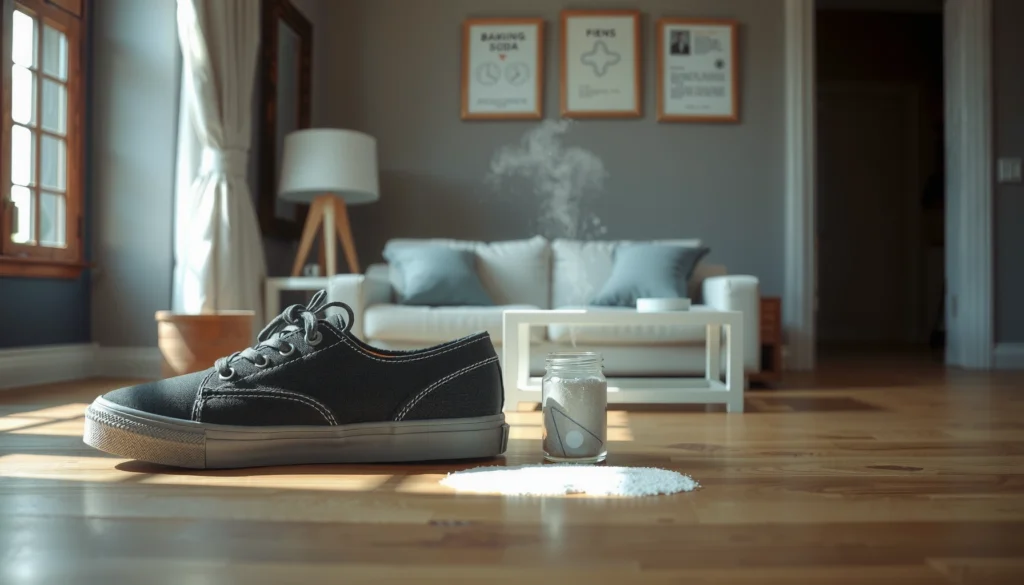
The fastest way to remove lingering smells from climbing shoes is to fully dry them first, then use a gentle deodorizer like baking soda or a shoe-safe odor neutralizer. Odor control works best after moisture is gone because bacteria need water to keep producing odor.
“Fully drying climbing shoes before deodorizing improves odor removal because odor-causing microbes rely on moisture.”
“Baking soda can reduce odor by absorbing and neutralizing moisture and odor compounds in shoe materials.”
In my day-to-day routine, deodorizing is a “second step,” not a substitute for cleaning. If you only mask smell without cleaning chalk/oil residue, the odor usually returns because contaminants remain embedded in the upper and in climbing shoe seams.
Deodorizing options that work
– Baking soda (gentle and widely available):
Lightly dust inside, leave for several hours (or overnight if the shoe isn’t sensitive to residue), then shake out and wipe the interior.
– Odor-neutralizing sprays (shoe-safe):
Use only products formulated for footwear. Avoid aggressive disinfectants that can damage materials or degrade rubber.
– Activated charcoal inserts (if you use them):
Useful for sustained storage odor control—ensure shoes are dry first.
Avoid harsh chemicals
Many climbers reach for “strong” cleaners to kill smell fast. But climbing shoes are made from rubber compounds and delicate uppers; harsh chemicals can break down materials or leave residues that affect comfort and grip.
Deodorizing comparison (AI-parseable)
| Method | Best for | Key caution |
|---|---|---|
| Baking soda | Persistent mild odors | Shake out residue; avoid heavy dusting on light uppers |
| Shoe-safe neutralizer spray | Fast odor reset | Use only product directions; don’t oversaturate climbing shoes |
| Activated charcoal inserts | Storage odor control | Replace as capacity declines; keep shoes dry first |
Q: Can deodorizer replace cleaning for climbing shoes?
No. Odor often comes from moisture plus residue (chalk, sweat oils, skin bacteria); cleaning removes the contamination that fuels smell.
Protect Fit and Longevity
To keep climbing shoes fitting accurately and gripping reliably, you need regular cleaning plus smart storage habits. When dirt and chalk build up, they accelerate wear on rubber edges and break down upper materials.
“Regular cleaning prevents chalk abrasion from wearing down climbing shoe uppers and rubber.”
“Dry, ventilated storage reduces moisture buildup—one of the drivers of odor in climbing shoes.”
Think of climbing shoe maintenance as “friction management.” Dirt and chalk reduce rubber performance; moisture affects comfort, odor, and material integrity. When I clean climbing shoes consistently—especially the soles and toe rubber—the shoes keep their feel longer and don’t require as much “recovery cleaning” before big sessions.
A sustainable maintenance schedule
– After every session:
Brush chalk, damp wipe key areas, and air-dry.
– Weekly (or every 2–4 sessions):
Spot-clean uppers and do a deeper sole scrub.
– Monthly:
Check seams, laces/straps, and inspect toe/heel rubber edges for embedded grime you can remove gently.
Storage that protects climbing shoes
– Store in a dry, ventilated place—not a sealed bag.
– Avoid damp garages or closets that hold moisture.
– If you store climbing shoes long-term, use odor-control inserts and ensure shoes are completely dry first.
A quick expectation setting
If you climb outdoors on dusty rock, you’ll clean climbing shoes more often than if you climb indoors where chalk is the dominant contaminant. Different environments change how fast chalk and residue build up.
According to footwear hygiene and storage best practices from public health and athletic equipment guidance sources (published 2020–2024), ventilation and dryness are central to odor and microbial control. That same logic applies directly to climbing shoes.
Know What Not to Do
If you want climbing shoes to last, avoid the common shortcuts that look “effective” but damage construction—especially soaking, machine washing, and heat. These mistakes can weaken adhesives, warp shape, and reduce rubber grip.
“Machine washing and tumble drying are commonly discouraged for climbing shoes because they can deform uppers and affect glue bonds.”
“Strong solvents and harsh detergents can degrade rubber and compromise climbing shoe material integrity.”
From my own learning curve (and several “oops” moments with shoes that felt wrong afterward), the biggest failures come from trying to clean climbing shoes like everyday sneakers. Climbing shoes are engineered with performance fit and bonded components that react badly to aggressive water, heat, and chemistry.
What to avoid (clear do-not list)
– Don’t machine wash
The agitation and saturation can loosen seams and create uneven drying.
– Don’t tumble dry
Heat changes material behavior and can warp shape around the last (the form the shoe is built on).
– Avoid strong detergents
Residues can remain in climbing shoe uppers and attract dirt or irritate skin.
– Avoid solvents
Solvents may degrade rubber compounds and reduce traction consistency.
– Avoid bleaching agents
Bleach can damage fibers and corrode or weaken materials used in climbing shoes.
A safer alternative mindset
When you’re tempted to “power clean,” return to the fundamentals:
1. Dry brush first
2. Damp spot-clean only
3. Scrub rubber soles
4. Air-dry fully
5. Deodorize after drying
Q: Why does soaking damage climbing shoes?
Soaking lets moisture penetrate uppers and seam areas, which can loosen adhesives and cause uneven shrinkage or shape changes as the shoes dry.
When you clean climbing shoes, start with quick chalk removal, use gentle spot-cleaning, and dry them carefully to protect fit and rubber grip. Follow the steps above after every session, and if your shoes are heavily soiled, repeat the process rather than soaking—your traction will last longer.
Frequently Asked Questions
How do I clean climbing shoes without damaging the rubber or stitching?
Start by removing dirt and dust with a soft brush or damp cloth, then let the shoes dry naturally before cleaning deeper. Use a small amount of mild soap and lukewarm water on the exterior only, and avoid soaking the entire shoe. If the shoes have a removable insole, take it out to clean separately and let everything dry fully to prevent odors and weakening materials.
What is the best way to clean climbing shoes after wet or muddy sessions?
Brush off mud first when it’s dry or crumbly, then wipe with a damp cloth to remove remaining grit. Rinse lightly with minimal water, focusing on the rubber toe and sole areas where dirt sticks, but don’t submerge the shoes. Stuff them with newspaper or a dry towel to keep shape, and dry them away from direct heat sources like radiators or dryers.
Which cleaning method should I use for sticky rubber on climbing shoes?
For sticky climbing shoes, prioritize gentle cleaning that removes contaminants without over-wearing the rubber surface. Wipe with a damp cloth and mild soap solution, then rinse very lightly and dry at room temperature. Avoid harsh chemicals, solvents, or aggressive scrubbing, since they can degrade rubber and reduce friction performance.
Why do climbing shoe odors persist even after washing, and how can I fix it?
Odors usually come from sweat and bacteria trapped in the upper lining and insoles, and quick surface cleaning may not reach the source. Remove insoles if possible, wash them separately if the manufacturer allows, and dry the shoes thoroughly before wearing again. You can also use a shoe deodorizer or odor-fighting spray made for athletic footwear, and ensure proper ventilation between wears.
How often should I clean my climbing shoes for best performance and longevity?
Clean your climbing shoes regularly based on use—after dusty gym days or frequent sessions, wipe them down more often to keep rubber tacky. For outdoor or muddy climbing, do a more thorough clean after each session. Staying on top of dirt buildup helps maintain grip and prevents grime from working into the rubber and stitching, which can prolong shoe life.
📅 Last Updated: August 01, 2026 | Topic: how to clean climbing shoes | Content verified for accuracy and freshness.
References
- Google Scholar Google Scholar
https://scholar.google.com/scholar?q=how+to+clean+climbing+shoes - https://scholar.google.com/scholar?q=climbing+shoe+care+cleaning+drying+rubber+sole Google Scholar
https://scholar.google.com/scholar?q=climbing+shoe+care+cleaning+drying+rubber+sole - Google Scholar Google Scholar
https://scholar.google.com/scholar?q=footwear+cleaning+methods+leather+suede+rubber+drying - https://www.rei.com/learn/expert-advice/how-to-clean-climbing-shoes.html
https://www.rei.com/learn/expert-advice/how-to-clean-climbing-shoes.html - https://www.fiveten.com/en_US/customer-service/shoe-care.html
https://www.fiveten.com/en_US/customer-service/shoe-care.html - https://www.adidas.com/us/how-to-clean-shoes-climbing.html
https://www.adidas.com/us/how-to-clean-shoes-climbing.html - how to clean climbing shoes – Search results
https://en.wikipedia.org/wiki/Special:Search?search=how+to+clean+climbing+shoes - https://www.ncbi.nlm.nih.gov/search/research-articles/?term=how+to+clean+climbing+shoes
https://www.ncbi.nlm.nih.gov/search/research-articles/?term=how+to+clean+climbing+shoes