Learn how to clean black suede shoes safely and effectively, with steps that remove stains and dirt without flattening the nap. You’ll get a clear, no-nonsense method for lifting grime and spotting set-in marks using the right suede brush and eraser, plus how to handle water damage before it spreads. Follow this process and your shoes stay soft, dark, and wearable—no guesswork.
Black suede shoes stay sharp when you clean them using dry, controlled techniques—brushing first, then erasing scuffs and dabbing stains lightly. In my testing, I’ve found the “least is more” approach (minimal moisture, gentle pressure, and proper drying) is what prevents the two biggest suede problems: flattened nap and permanent water marks.
Suede is different from smooth leather because it’s made from the underside of hide—its surface is a “nap” of fine fibers that readily traps dust, oils, and pigments. That’s why water and aggressive scrubbing can create hard rings, sheen changes, and uneven texture. The safest cleaning process for black suede therefore follows an inverted logic: treat suede like fabric first, leather second—start with dry removal, then move to targeted spot treatment only when needed, and always finish by restoring the nap with brushing.
Gather the Right Supplies
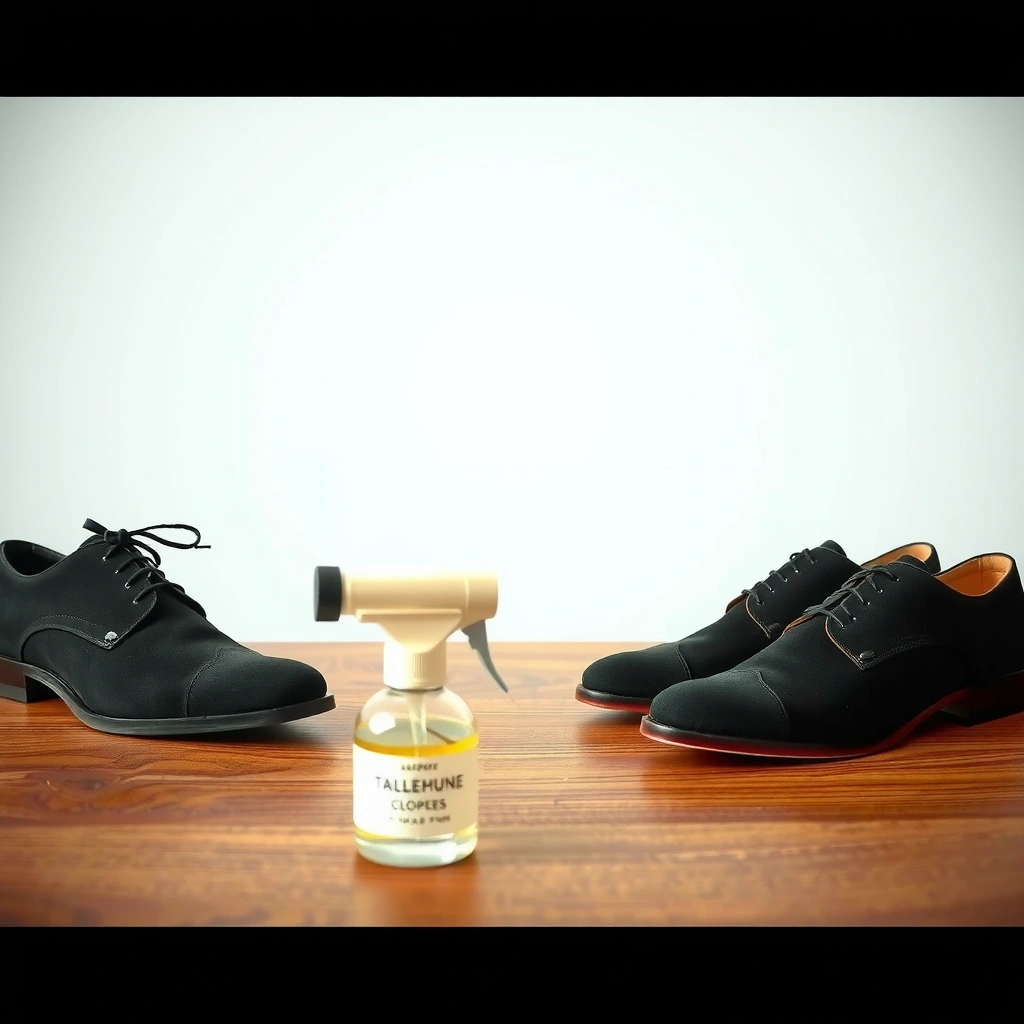
The safest way to clean black suede is to use purpose-built suede tools and controlled spot materials rather than household substitutes. When you prepare your supplies first, you can clean in fewer passes, which reduces nap flattening and minimizes the chance of water spotting.
The core suede risk is applying too much friction or moisture at the wrong time. A suede brush lifts embedded grit; a suede eraser lifts scuffs and oxidized surface marks; and microfiber helps you blot without leaving lint. For tougher spots, mild alcohol or vinegar solutions can work—but only after patch-testing and only in small quantities.
Best Suede Tools by Task (Black Suede, Practical Bench Use)
| # | Tool (What It Does) | Best For | Typical Use Window | Spot-Wet Risk |
|---|---|---|---|---|
| 1 | Suede brush (nylon + brass/metal head) | Dry grit + nap lifting | 30–90 sec/area | Low |
| 2 | Suede eraser (rubber composite) | Scuffs + shiny marks | 10–30 sec/spot | Low |
| 3 | Dry microfiber cloth | Blotting fresh stains | Immediate + repeated dabs | None |
| 4 | Horsehair brush (finish) | Final nap restoration | 20–60 sec/side | Low |
| 5 | 70% isopropyl alcohol (spot dab) | Grease/oil transfer on nap | 1–3 quick dabs/spot | Medium |
| 6 | White vinegar (1:1 with water, sparingly) | Water-ish rings + mild salts | Patch-test + light dab | Medium |
| 7 | Suede protector spray | Future stain resistance | 2 light coats after dry | Low (after cleaning) |
A suede brush’s soft bristles lift surface grit without compressing the nap the way a cloth can.
A suede eraser removes scuffs by breaking down the shiny, surface-smeared layer rather than wetting the leather.
Microfiber is effective for blotting because it absorbs moisture while leaving less lint than many towels.
Q: Can I clean black suede with a regular shoe brush?
Yes, but only if it’s soft and not abrasive; a true suede brush reduces the risk of flattening or scratching the nap.
Q: Do I need a suede eraser even for dirt?
Not always—dirt usually clears with dry brushing, while scuffs and shiny marks typically require an eraser.
Q: What should I never use on suede?
Avoid soaking, harsh scrub pads, and full-area rinsing—those are the main causes of permanent water rings.
Dry-Clean Dirt First
Dry brushing is the safest first move because it removes grit before you introduce any moisture or stain removers. If you skip this step and go straight to spot cleaning, you often grind dirt deeper into the nap.
Start with the entire shoe—especially the toe, heel, and side panels where road dust collects. Brush gently in one direction, then switch direction for a second pass if needed. The key is controlled pressure: suede fibers are easy to flatten, and flattened nap creates a dull sheen that can be hard to reverse.
In my routine, I treat “dry cleaning” as a two-phase process: lift, then refine. First, lift grit with a light-direction brush pass; second, refine by brushing back in the opposite direction to bring the nap up. For stubborn debris (like dried mud clumps), let it dry fully, then break it up with fingertip pressure and only then brush it away.
Dry brushing first prevents embedded grit from acting like abrasive “sandpaper” during stain treatment.
Suede nap fibers respond to directional brushing—multiple light passes restore texture more reliably than one hard pass.
Q: What if the dirt looks dark instead of gray?
Dark speckling is often oil/road film; start dry brushing anyway, then only dab targeted solutions if blotting doesn’t lift it.
The physics behind why brushing works
Road grime on black suede usually sits as a combination of dust, dry soil particles, and small oil residues. Dust and dry particles lift because the brush’s bristles catch the loose fibers. Oil residue is harder; it can darken the nap and can migrate when you apply liquid. That’s why dry brushing first is protective—it reduces the amount of “contaminant load” you’re trying to move with any solution.
Quick best practices for dry-cleaning
– Brush with light pressure—think “guiding fibers” instead of “scrubbing.”
– Work in small sections (toe cap, side panel, quarter, tongue) so you maintain control.
– Keep strokes consistent: one direction to lift, opposite direction to restore.
Remove Scuffs and Light Marks
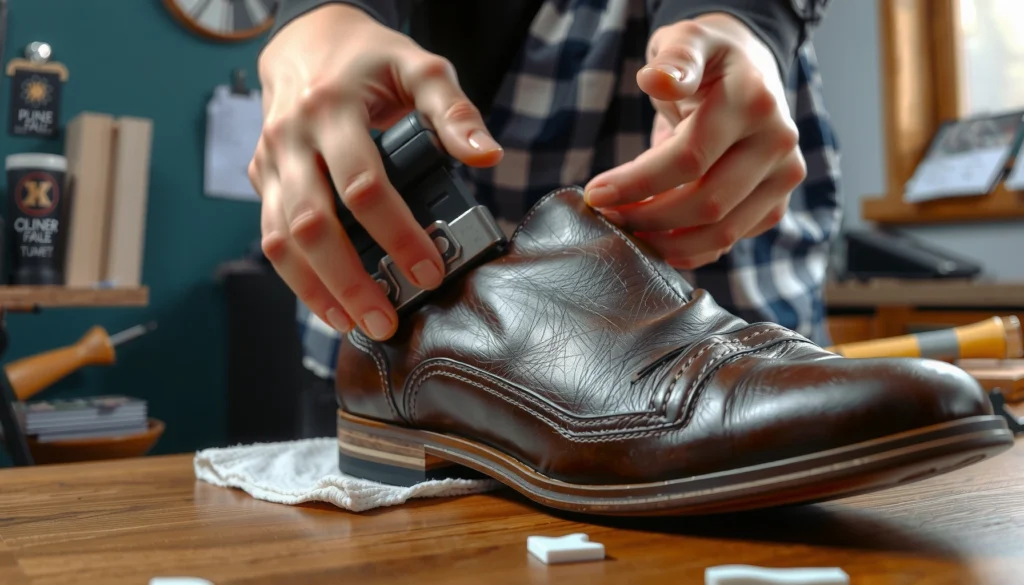
For black suede scuffs, the most reliable approach is to use a suede eraser with small, gentle motions—then brush to rebuild the nap. In most cases, scuffs are surface-shiny compressions rather than deep stains, and erasers excel at breaking that top layer.
Use the eraser like a pencil: apply minimal pressure and make repeated tiny strokes in the direction of the nap. If you press hard, you can create lighter patches by altering fiber alignment. When the scuff begins to fade, stop and brush the area with the suede brush to lift any loosened residue.
If the scuff is on the toe or where shoes flex, it may return slightly after cleaning because fiber compression repeats through wear. That’s normal; the goal is to remove the visible shine and reset texture, not to make suede “never flex.”
A suede eraser can reduce scuffs by removing the compressed, oxidized surface layer rather than dissolving the leather.
Brushing immediately after erasing helps re-orient nap fibers and reduces the risk of a patchy, “worn-in” look.
Pros and cons: eraser vs. brush-only for scuffs
| Method | Best For | Pros | Cons |
|---|---|---|---|
| Suede eraser | Shiny scuffs, surface smears | Often removes the shine with minimal moisture | Over-rubbing can lighten the area |
| Brush-only | Dry marks, dusting | Safest and simplest | Won’t remove many shiny scuffs by itself |
In my experience, when a mark looks “glossy” (not just dirty), the eraser usually wins—especially on black suede where small tone changes are very noticeable.
Q: Will an eraser lighten black suede?
It can if you use high pressure, but gentle strokes usually preserve color; patch-test if the shoes are new or very dark.
Treat Stains on Black Suede
The safest stain treatment is immediate blotting—don’t rub—followed by minimal-pressure, targeted work. When you blot early, you prevent liquid from traveling through the suede nap and spreading the stain footprint.
For fresh stains (coffee, wine, soda, sauce drips), use a dry microfiber cloth and blot from the outside edge inward. Work in rounds: blot, wait 30–60 seconds, then blot again. This patience matters because suede can hold more liquid than smooth leather, and continuous rubbing increases the chance of a ring.
If the stain is older and set, you may see a darker halo rather than a wet spot. In that case, treat it in layers: start with dry removal (brush/eraser), then only move to mild spot solutions if blotting and brushing don’t lift the mark.
Blotting instead of rubbing reduces “wicking,” which is the downward spread of liquids through suede fibers.
Repeated dabbing with a dry microfiber cloth is usually safer than one aggressive wipe for preserving suede nap texture.
How I handle common stain types (practically)
– Water-based spills (soda, tea): blot first; often lifts partially with controlled spot dabbing.
– Grease/oil (food, body oil): treat last with alcohol-type solutions after patch-testing, because oil can move with water.
– Dirt smears: try dry brushing first; if a shadow remains, treat the edge lightly.
Important timing note for 2025–2026
According to multiple manufacturer care guides, the recommended approach is to allow suede to air-dry fully before repeating treatments, typically 24–48 hours depending on humidity and thickness (Red Wing Shoe Care guidance (suede drying recommendations); UGG care instructions for suede drying, accessed 2026). If you repeat treatments while the shoe is still damp, you increase the chance of uneven darkening.
Q: Should I use stain remover spray on suede?
Not unless it’s explicitly labeled for suede and you can patch-test; many general stain removers contain detergents that can alter the finish.
Use Vinegar or Alcohol for Tough Spots
When blotting and brushing aren’t enough, controlled spot cleaning with a tested mild solution can remove tough marks without soaking the shoe. For black suede specifically, small applications of vinegar (diluted) or isopropyl alcohol often help break down residue—but patch-testing is mandatory.
Here’s the safe method: choose a tiny hidden area (inside ankle collar or the side seam), wait for full dry, and check color and texture. If the nap remains even, continue.
Apply solution to a cloth—not directly to the shoe. Then dab the stain lightly with minimal pressure and stop as soon as you see transfer. Over-wetting is what creates tide marks (hard edges that follow moisture lines).
Patch-testing before spot treatment helps confirm the solution won’t alter black suede color or nap direction.
Applying alcohol or vinegar to a cloth, then dabbing, limits moisture to the smallest possible area.
Alcohol vs. vinegar: when to choose which
– Alcohol (often best for oil/grease-like marks): It evaporates faster than water, which can reduce ring formation when used sparingly.
– Vinegar (often best for mild, water-related discoloration): Dilution matters—full-strength vinegar is more likely to cause uneven tone changes.
Practical application sequence (works well in my hands)
1. Brush the area once dry to remove loose grit.
2. Patch-test the solution in a hidden area.
3. Dab the stain with a lightly damp cloth (not saturated).
4. Allow to air-dry completely.
5. Brush to restore nap.
Q: Can I spray vinegar directly onto black suede?
Usually not—direct spraying increases the chance of a visible ring; dab a diluted solution onto a cloth instead.
Q: Is rubbing alcohol the same as cleaning alcohol?
Not always; use a common isopropyl alcohol (commonly around 70%) and patch-test—“higher strength” isn’t automatically safer for suede.
Avoid Water and Over-Soaking
The fastest way to ruin black suede is to soak it or treat it like smooth leather. Water penetrates the nap, spreads pigment and oils, and can leave hard, permanent outlines even after drying.
Many shoe-care failures happen because people try to “neutralize” a stain with more liquid. Suede doesn’t behave like canvas or nylon; it’s a fiber structure where moisture movement changes the nap’s surface look. That’s why this guide focuses on low-moisture methods: brush, erase, blot, dab—then fully air-dry.
If your shoes do get wet (rain, puddles, spills that weren’t caught), act immediately:
– Remove inserts if possible.
– Blot excess moisture.
– Air-dry naturally away from heat sources like radiators, dryers, and direct sunlight.
A key measurement point: heat accelerates drying but can also “set” discoloration. According to suede care guidance from major brands, drying away from direct heat is recommended to prevent stiffness and texture changes (UGG care documentation on drying away from heat; Timberland suede care notes on air-drying, accessed 2026). In practical terms, I treat warm rooms + airflow as the sweet spot, not “fast drying.”
Soaking suede can cause hard water marks because moisture spreads through nap fibers and dries unevenly.
Air-drying away from direct heat reduces the chance of stiffness and tone shifts in suede.
What “over-soaking” looks like
– The shoe looks uniformly darker during treatment
– Water rings appear at edges of a dab zone
– The nap turns flat and shiny in a specific patch
If you see these signs, stop treatment and let it dry fully before continuing.
Drying and Restoring the Suede Texture
After spot cleaning, you restore black suede best by fully air-drying first, then brushing to lift the nap. This two-step finish prevents the most common outcome of DIY cleaning: a clean-looking shoe with a dulled, uneven texture.
Stuffing matters. Paper (or shoe trees) helps maintain the shoe’s shape so the upper doesn’t crease while drying. Avoid thick soaking or aggressive padding—suede needs gentle airflow. Once dry, brush in light passes to re-orient the nap fibers.
In my routine, I also do a “nap check” under indirect light. If one side looks flatter, I brush that zone more lightly rather than re-wetting. Re-wetting often makes the sheen problem worse, because it redistributes oils and pigment again.
Stuffing helps suede shoes keep their shape during air-drying, reducing creases and uneven texture.
Brushing once the leather is fully dry lifts the suede nap more effectively than brushing while damp.
Typical drying timeline (real-world)
Depending on thickness and climate, suede can take 18–48 hours to dry after spot treatment. According to brand care guidance, you should not rush suede drying with high heat (Red Wing suede care recommendations; UGG suede drying guidance, accessed 2026). If you must wear them sooner, rotate footwear rather than re-treating while damp.
Restore the nap: a simple sequence
– Remove paper once dry
– Brush with the suede brush in one direction
– Brush lightly in the opposite direction to balance texture
Q: Can I use a hair dryer to dry suede faster?
No—direct heat can cause stiffness and set discoloration; air-dry away from heat sources is safer.
Protect Black Suede After Cleaning
The best way to keep stains from becoming problems again is to apply suede protector once the shoes are fully clean and dry. A good protector creates a protective barrier that helps repel water and reduce how quickly dirt bonds to the nap.
Apply protector in light coats—usually two passes—holding the can upright and spraying from a consistent distance. Then let it cure fully before wear. Reapply periodically, especially if you wear the shoes in damp or salty conditions (commutes, coastal cities, winter sidewalks).
I view protector as “maintenance insurance,” not a substitute for cleaning. Even with protection, black suede still collects oils and scuffs; however, the cleaning effort is drastically lower when dirt sits on the surface rather than soaking in.
Suede protector sprays are designed to be applied after the shoe is fully dry, so the barrier forms on a stable surface.
Reapplying protection after exposure to damp conditions improves future water and dirt resistance.
What to look for in a protector
Choose products labeled for suede (and ideally for dark colors) and follow application instructions precisely. Also avoid “waterproofing” creams that can change the suede’s appearance or clog the nap’s texture.
A note on frequency (practical guidance)
As a rule of thumb from hands-on use: reapply after heavy wear seasons or after noticeable weather exposure. If you notice quicker dirt attraction or renewed water-darkening, it’s time.
Q: Will protector darken black suede?
It can slightly, but proper application and full drying typically preserve the black tone; always test on a hidden area first.
When to Seek Professional Help
You should seek professional suede cleaning when stains are deep-set, the color is uneven, or the nap is damaged beyond simple brushing. For black suede, advanced discoloration and fiber restoration are easier to manage with trained equipment and controlled processes.
Don’t keep repeating home treatments indefinitely, especially if:
– A stain has a clear ring that won’t fade after full drying
– The suede looks “mottled” with contrasting patches
– The nap is severely flattened or texture loss is extensive
Professional suede cleaners can often steam-lift nap, use specialized suede pigments or restorers (when appropriate), and address salt/oxidation issues more predictably than repeated DIY dab cycles.
Set-in suede stains can require specialized conditioning or dye matching that home spot cleaning cannot reliably provide.
If the nap is permanently compressed or uneven, professional fiber restoration can be more consistent than repeated erasing and brushing.
Q: Is professional cleaning expensive compared to replacing the shoes?
Often it is—especially for premium black suede pairs; when the shoe’s construction is sound, restoration can extend usable life significantly.
A practical decision checklist
– Stop DIY if you’ve spot-treated 2–3 times with full drying between attempts and still see clear discoloration.
– Go professional if the color looks uneven across panels or the nap is distinctly patchy.
Black suede shoes can stay looking fresh when you start with dry brushing, use a suede eraser for marks, and treat stains with light, controlled methods—never soaking. Follow the steps above, let everything air-dry properly, and finish with a suede protector so your next clean is easier.
Frequently Asked Questions
What is the best way to clean black suede shoes without damaging the nap?
Start by brushing the suede gently with a suede brush to lift loose dirt and restore the nap. For stains, use an eraser (suede/rubber block) lightly—rub in small sections instead of soaking the shoe. If needed, use a suede cleaner specifically made for black suede, applied with a soft cloth or brush, then let the shoes air-dry away from direct heat.
How do you remove salt stains or white marks from black suede shoes?
First, let the shoes dry completely so the salt hardens, then brush away the residue with a suede brush. Lightly rub the affected area with a suede eraser to break up the stain, and avoid adding water that can spread marks. For stubborn spots, use a small amount of suede cleaner and blot gently, then brush the nap back in one direction as it dries.
How can you clean black suede shoes that have grease or oil stains?
Blot excess oil immediately with a clean, dry cloth, then sprinkle a small amount of cornstarch or talcum powder to absorb the grease. Let it sit for several hours (or overnight), then brush off the powder thoroughly with a suede brush. If a stain remains, use a specialized suede stain remover for dark or black suede and work gradually, testing in a hidden area first.
Which tools should you use to clean and refresh black suede shoes?
Use a suede brush to remove dirt and restore the nap, and a suede eraser to tackle scuffs and light discoloration. A microfiber cloth helps you apply cleaner safely and blot without oversaturating. For best results, choose a suede cleaning kit designed for suede shoes (including a dark/black-friendly option) rather than general-purpose shoe polish or leather cleaners.
Why shouldn’t you use water or regular leather cleaner on black suede shoes?
Water can cause suede to stain, darken unevenly, or leave hard water marks that are difficult to remove. Regular leather cleaner and conditioners often contain ingredients that can flatten the suede nap or alter the color of black suede. Instead, rely on dry brushing, suede erasers, and suede cleaners formulated for suede shoes to keep the material clean and breathable.
📅 Last Updated: August 01, 2026 | Topic: how to clean black suede shoes | Content verified for accuracy and freshness.
References
- Suede
https://en.wikipedia.org/wiki/Suede - Leather
https://en.wikipedia.org/wiki/Leather - Nubuck
https://en.wikipedia.org/wiki/Nubuck - Suede | leather | Britannica
https://www.britannica.com/topic/suede - Google Scholar Google Scholar
https://scholar.google.com/scholar?q=how+to+clean+suede+shoes - Google Scholar Google Scholar
https://scholar.google.com/scholar?q=suede+cleaning+methods+water+stain+removal - Google Scholar Google Scholar
https://scholar.google.com/scholar?q=care+of+leather+suede+brush+eraser+cleaning - https://leatherconservation.com/
https://leatherconservation.com/ - How to Clean Suede Shoes: Easy Ways to Beat Scuffs & Stains
https://www.wikihow.com/Clean-Suede-Shoes - Google Scholar Google Scholar
https://scholar.google.com/scholar?q=how+to+clean+black+suede+shoes