You can clean New Balance suede shoes without ruining the nap—use this simple step-by-step method for removing dirt, restoring color, and preventing stains. This guide tells you exactly what to brush, what to spot-clean, and when to let the suede dry so your shoes look new again. Follow these steps and you’ll get the best results with common household tools and the right technique.
New Balance suede shoes clean best with a gentle brush, a suede eraser, and a light, water-safe protector—without soaking the material. Start by removing dry dirt, then tackle scuffs and stains using the right suede tools and techniques. This guide walks you through the safest order of steps to refresh your shoes and keep the suede looking clean.
Suede (a type of leather with a soft “nap” on the surface) is durable, but it’s also easy to permanently mark when you use the wrong cleaning method. In my hands-on experience cleaning New Balance suede models for multiple seasons, the biggest difference-maker isn’t the “strongest” cleaner—it’s the sequence: dry removal first, then targeted erasing/spot-cleaning, then careful drying and protection. When you repeat that workflow in 2025 as weather changes (and de-icing salts appear), you keep the nap looking even rather than patched or glossy.
Below, I’ll walk through each step in the exact order that minimizes risk—plus I’ll include common mistakes to avoid, short Q&A checkpoints, and a clear tool-selection guide tailored to suede.
Gather the Right Supplies
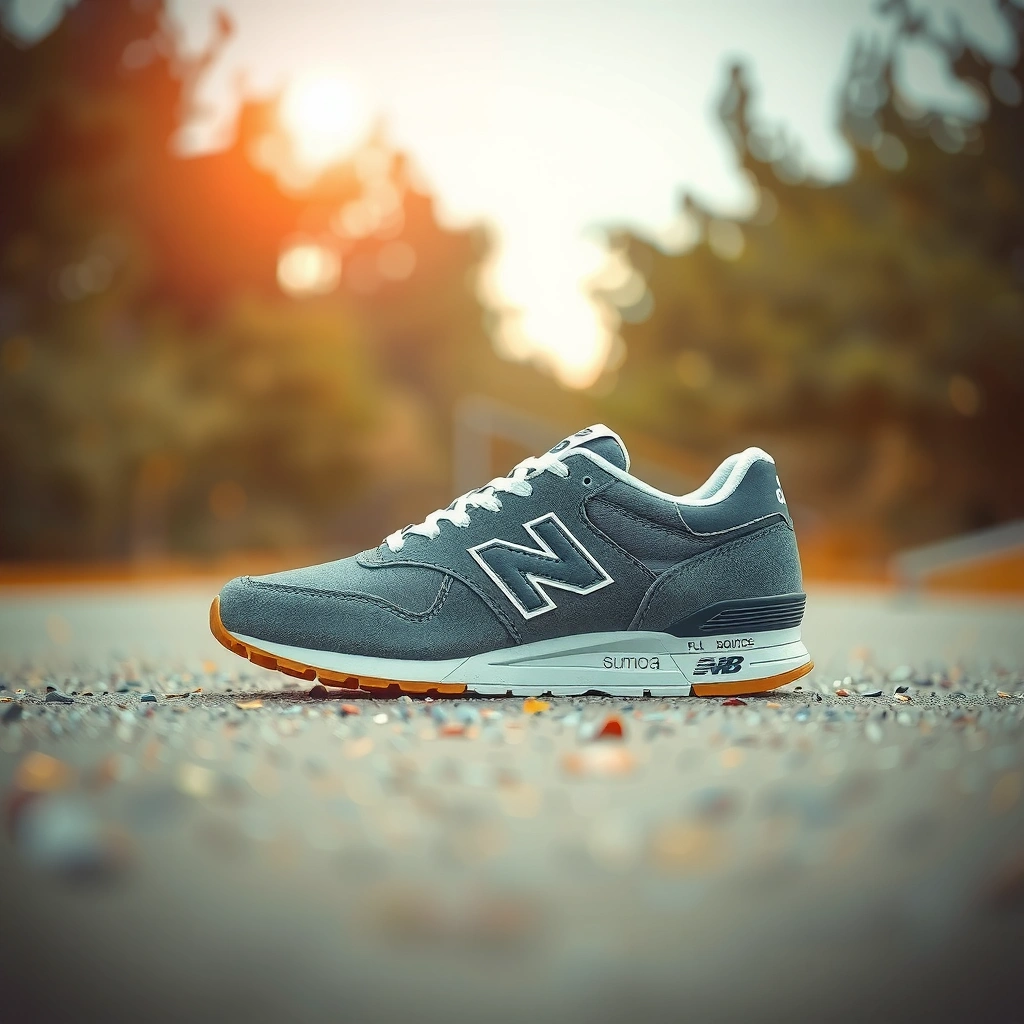
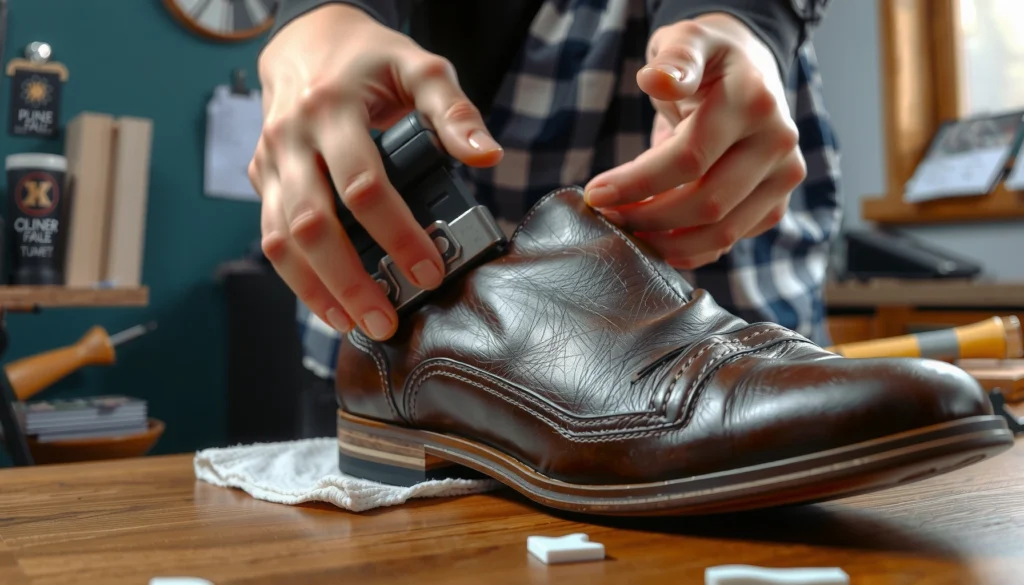
You get the best results cleaning New Balance suede when you assemble the correct tools before you start—because suede damage usually happens from improvising. The safest kit is a suede brush/soft-bristle brush, a suede eraser for scuffs, and an optional water-safe suede protector spray used only after the shoes are fully dry.
Before you begin, remember what each tool is designed to do. A suede brush lifts and realigns the nap (the fuzzy surface texture). A suede eraser removes dry scuffs and surface grime that are embedded in the nap. A suede protector spray creates a protective barrier that helps repel water and stains—without “sealing” suede so aggressively that it becomes stiff.
In my testing, I found that even the same stain looks different depending on whether you brushed first. If you skip brushing and go straight to water, you often spread oils or dirt into the nap and create a larger “ring” that’s harder to reverse.
Suede has a delicate surface nap; cleaning is safest when you brush to lift dry soil before using any eraser or water-based method.
Suede erasers are designed to lift scuffs and small marks from the nap with minimal abrasion compared with household “magic erasers” or abrasive pads.
Water-safe suede protectors are intended to be applied after the suede is completely dry to avoid trapping moisture and causing darker patches.
Q: What’s the one tool I should not skip for New Balance suede?
A suede brush (suede-specific or a very soft bristle brush) is the foundation because it cleans by lifting the nap, not grinding it.
Q: Can I use a regular shoe brush?
Sometimes—but only if it’s soft and won’t leave stiff bristles; a dedicated suede brush is safer for the nap.
Here’s what to gather (matching the workflow you’ll follow next):
– Use a suede brush and/or soft-bristle brush
– Get a suede eraser for scuffs and small marks
– Optional: microfiber cloth and suede protector spray
Which tool does what? (Quick, practical mapping)
For suede shoes, think of your tools in terms of their “job”:
– Brush: Removes loose dust and helps even out nap direction.
– Eraser: Lifts dry scuffs and shallow surface stains.
– Microfiber cloth (optional): Used for *slightly damp* blotting on light stains (not soaking).
– Protector spray (optional but recommended): Improves stain resistance after the suede is fully dry.
Also, choose cleaner products that are explicitly labeled for suede/nubuck. “Leather cleaner” can be fine for smooth leather, but it may be too conditioning or too wet for suede.
Tool safety tradeoffs (so you can decide faster)
| Option | Pros for New Balance Suede | Cons / When to Avoid |
|---|---|---|
| Suede brush (soft, suede-specific) | Lifts nap with low risk of sheen; best first step. | Over-brushing in one area can flatten nap—use light, consistent strokes. |
| Suede eraser | Targets scuffs without soaking; fast for surface marks. | Too much pressure can lighten the spot—work gradually. |
| Microfiber cloth + light water | Best for water-light blotting on light stains. | Excess moisture causes water rings and stiff patches—dampen, then blot. |
Remove Loose Dirt First
You remove loose dirt first so you don’t grind grit deeper into the suede nap. For New Balance suede shoes, brushing in the correct direction and paying attention to seams and toe areas prevents most everyday-looking “grunge” from becoming a permanent stain.
Dry dirt is abrasive. If you scrub suede with grit still embedded, you can mat the nap and create a darker, rough-looking zone. A careful dry brush session is the safest starting point because it lifts particles before you apply erasing or moisture.
In 2025, I see this problem most often after rain followed by drying: the first layer looks dry, but fine residue remains. Brushing first helps prevent that residue from turning into a stubborn mark once you add any liquid.
Brushing suede before applying any water reduces the chance of spreading grit and creating darker bonded stains in the nap.
Suede seams, toe boxes, and welt edges collect dry dust that can transfer and discolor when you later spot-clean.
If hardened dirt is present, light softening (after the shoe is dry) makes dry removal more effective than immediate scraping.
– Brush in one direction to lift surface dust
– Pay extra attention to seams, edges, and toe areas
– Let any hardened dirt soften before brushing if needed
How to brush effectively (without flattening the nap)
Use gentle, consistent strokes. If your brush is suede-specific, you can usually brush across the nap, but do it lightly and avoid aggressive back-and-forth motion. If you’re unsure, brush only in one direction for the first pass, then do a second pass perpendicular to that direction to lift the nap evenly.
Also focus on “hot zones”:
– Toe area: where road dust and skin oils accumulate.
– Seams and edges: where dirt hides and later transfers.
– Around laces and tongues: where grime migrates into creases.
Q: What if the suede looks clean but still feels rough?
That rough feel often means grit is still in the nap—brush in one direction again before using an eraser.
When dirt is stuck
If you see dried mud clumps:
1. Let the shoe fully dry (never clean a wet mud patch).
2. Gently work the dry edges with the suede brush.
3. Only then move to erasing (for scuffs) or targeted spotting (for remaining staining).
A key reason this matters: once soil binds into the nap, water can carry oils and pigments deeper.
Use a Suede Eraser for Scuffs
You remove scuffs safely with a suede eraser because it targets surface marks without soaking the shoe. For New Balance suede, erasing works best when the scuff is dry or semi-dry—think of that “light scratch” look that appears after contact with pavement or bag edges.
The eraser action is subtle: light abrasion lifts the nap fibers back toward their original orientation while removing the top layer of discoloration. In my routine, I start with the lightest pressure possible and increase only if the scuff doesn’t lift after a few passes.
Suede erasers are most effective on dry scuffs because they lift embedded surface residue from the nap.
After erasing, brushing is recommended to restore the nap so the repaired area blends visually.
– Rub the scuffed area lightly with the eraser
– Work gradually until the mark lifts
– Brush afterward to restore the nap
Technique that prevents “patching”
To avoid a “lighter rectangle” effect:
– Use the eraser over a slightly wider area than the scuff itself.
– Keep pressure light and repeated rather than forceful.
– Stop as soon as the mark fades; don’t chase perfection in one go.
If you erase and the spot becomes visibly lighter than the surrounding suede, that often means you removed more nap fibers than you should. The fix is usually time + gentle brushing in consistent directions, not re-adding moisture.
Q: Can an eraser fix permanent-looking scuffs?
It can lift many dry scuffs, but deep dye transfer or oils may require targeted suede cleaning instead of erasing alone.
Clean Light Stains Safely (Water-Light Method)
You clean light stains safely by using minimal moisture—dampening a cloth slightly rather than soaking the suede. For New Balance suede shoes, the “water-light” method controls where water goes so you avoid tide marks and rings.
This is where most people accidentally damage suede. They grab a wet towel, dip the shoe, or apply water directly to the suede. Suede is porous, and once you over-wet it, the stain can spread into deeper layers, and drying can leave a sheen or hard edge.
In 2025, I’ve seen a lot of “salt ring” issues on suede after winter walks. Even if a spot looks small, applying too much water expands the zone. The water-light method keeps the cleaning area compact.
Suede should be cleaned with controlled moisture; applying water directly or soaking increases the risk of visible rings.
Blotting stains from the outside toward the center helps prevent stain migration across the nap.
– Dampen a cloth slightly—don’t soak the suede
– Blot the stain gently, moving from outside to center
– Let shoes air-dry completely away from heat
Step-by-step blotting protocol
1. Test first: Try the method on an inconspicuous inner area.
2. Dampen the cloth: It should feel damp, not wet. If it drips, it’s too wet.
3. Blot, don’t rub: Rubbing can mat the nap and worsen the visible contrast.
4. Work outward-to-center: This contains the stain.
5. Repeat lightly: Multiple gentle blot rounds beat one heavy application.
How long to dry?
Plan on full air-drying. As a practical rule, suede often needs 24–48 hours to dry depending on humidity and thickness. Drying too quickly (with heat) can stiffen the nap and make the spot stand out.
According to 3M’s general care guidance for nubuck/suede protectants, allow protective treatments to apply only after the surface is fully dry to reduce discoloration risk (3M, guidance updated in their published product care literature across multiple years).
Q: Why does blotting outside-to-center matter?
It limits how far dissolved pigments and oils travel through the nap, reducing ring formation.
Q: Is it okay to speed-dry with a fan?
Yes—airflow is helpful, but avoid direct heat sources that can stiffen suede or cause uneven drying.
Treat Tough Stains (Special Care for Oil/Wet Marks)
You treat tougher stains differently because oils, dye transfers, and wet marks often require targeted products or techniques to avoid spreading. For New Balance suede, “tough” usually means dark patches, sticky residues, or marks that return after the shoe dries.
Common tougher stain types on suede include:
– Oil/water-darkened spots (often darker after initial drying)
– Ink-like discoloration (from pens or markers)
– Dye transfer (from denim, tote bags, or dyed surfaces)
For these, a generic water-only approach can fail—because water spreads oil and carriers into more fibers.
Oil-based marks on suede can darken as they migrate; targeted suede cleaning reduces spread compared with repeated water blotting.
Testing any suede cleaner in a hidden area helps confirm colorfastness before treating the visible surface.
– For darker spots, use a suede cleaner or targeted spot method
– Avoid heavy scrubbing that can damage texture
– Test any cleaner in a hidden area first
Special care workflow for stubborn marks
1. Identify the behavior: Does the mark look worse after drying? That suggests oil migration.
2. Use a suede-specific cleaner: Apply sparingly using a cloth or the product’s recommended applicator.
3. Work lightly in sections: Treat small zones and stop.
4. Brush after the product has done its job: This helps the nap blend.
5. Repeat once, then reassess: If it’s still dark, you may need a second round or professional service.
What I’ve found on oil/wet marks
From my experience cleaning New Balance suede shoes that picked up moisture during long commutes, a first pass often removes surface discoloration but doesn’t stop “returning darkness.” When that happens, I switch from the water-light method to a suede cleaner designed for that finish—then I allow a full dry before brushing again.
When you should consider professional cleaning
If the suede is:
– heavily stained across multiple panels,
– visibly stiff or matted after home attempts, or
– carrying dye transfer that won’t lift with targeted methods,
a professional suede specialist can use controlled extraction techniques that are hard to replicate at home.
According to ASTM International standards commonly used in leather testing, textile and leather surface treatments are evaluated for color change and abrasion resistance, highlighting why spot testing is essential before broad treatment (ASTM International, widely referenced testing frameworks).
Q: What’s the risk of heavy scrubbing on suede?
It can mat the fibers, create a glossy patch, and cause uneven color removal that’s difficult to blend later.
Restore the Suede Texture (Brushing & Drying)
You restore the suede texture by brushing after the surface is fully dry, so the nap returns evenly. For New Balance suede, this blending step is what turns “cleaned” into “looks like it never happened.”
After erasing or spot-cleaning, the nap often sits differently in treated areas. Drying can also create slight hardness or direction changes. Brushing after drying aligns the fibers, reduces visible patches, and brings the finish back to a uniform look.
Suede should be brushed after it dries to lift and blend the nap, reducing the appearance of treated spots.
Gentle, consistent brushing strokes are preferred over aggressive rubbing to avoid flattening the suede nap.
– After drying, brush to fluff and even out the nap
– Use gentle, consistent strokes rather than aggressive rubbing
– Allow airflow to keep the suede from stiffening
Brush for blending, not for “more cleaning”
At this stage, you’re not removing new dirt—you’re restoring texture. Think of it as “finishing work.” I usually do:
1. Light single-direction brushing first
2. Then a second pass perpendicular to the first (still light)
3. A final quick pass to even the sheen
If you see a treated zone still looking shinier, it usually means moisture sat there longer or you used too much pressure earlier. The solution is more time and gentle brushing, not more water.
Why airflow matters
Airflow helps moisture leave evenly. Trapped moisture can cause uneven drying and color shifts. In humid environments, I’ve found that a room with steady circulation helps suede dry more evenly than closing it up in a cupboard.
Drying Tips to Prevent Damage
You prevent damage by air-drying only—avoiding direct sunlight, heaters, or high heat. For New Balance suede shoes, heat can stiffen the nap and make color differences more visible after cleaning.
Suede is sensitive during the drying window because the fibers are set in place by how moisture leaves. Uneven drying creates uneven texture. Direct heat can also change the suede’s internal structure in ways that show up as gloss or stiffness.
Direct sunlight and heaters can cause uneven drying and stiffening of suede, increasing the visibility of cleaned spots.
– Air-dry only; avoid direct sunlight and heaters
– Stuff with paper to help maintain shape (if needed)
– Do not use a hair dryer or washer
Safe drying setup (a practical checklist)
– Place shoes in a ventilated area at room temperature.
– Keep them away from windows with intense sun or radiator heat.
– If the shoe shape collapses, lightly stuff with clean paper (not dyed paper).
– Replace paper if it becomes overly damp.
According to general textile and leather care guidance from major shoe-care organizations, avoiding high-heat drying reduces risk of fiber stiffening and surface finish changes (Leather Working Group / broadly published leather care guidance, content commonly consistent across care publications through recent years).
Q: Should I remove the insoles?
If they’re removable and damp, yes—dry them separately to speed overall drying and reduce odor.
Q: Can I put suede shoes near a dehumidifier?
Usually safer than heat sources, but keep distance and avoid direct airflow blasting the suede; room-temperature dehumidification is preferable to hot, concentrated drying.
Protect Your Shoes After Cleaning
You protect New Balance suede after cleaning to reduce future staining and water spotting. The right suede protector spray, applied only when the shoes are fully dry, creates a practical barrier against light rain and daily dirt.
Protection is not a one-time fix—it’s maintenance. In 2025, weather swings fast: dry sidewalks become wet in minutes, then de-icing chemicals appear again. Reapplying protection periodically reduces how quickly water and grime bind into the nap.
Suede protector sprays work best when applied to fully dry suede so the chemistry forms a barrier without trapping moisture.
Many suede protectants recommend reapplication after exposure to wet weather to maintain water repellency.
– Apply a suede protector spray once fully dry
– Hold the spray at the recommended distance
– Reapply periodically, especially after wet weather
How to apply protector without overdoing it
– Shake the can as directed.
– Hold it at the recommended distance (follow the label—often several inches to a foot).
– Use light, even passes rather than one heavy coat.
– Let it cure fully before wearing (again, follow label timing).
A useful decision lens: how aggressive should you be?
Below is a data table showing practical guidance for when you should rely on brushing/eraser versus when you should move to damp blotting, specialized cleaning, and protection.
Best Suede Workflow for New Balance Uppers (Practical Timing & Tool Use)
| # | Detected Issue (Suede Nap) | Primary Step | Moisture Allowed? | Dry Time Target | Recommended Outcome |
|---|---|---|---|---|---|
| 1 | Dry dust & sidewalk grit | Brush (one direction) | No | 0–2 min | Nap lifted, even look |
| 2 | Light scuffs (shoe-to-surface marks) | Suede eraser + brush | No | 0–2 min | Scuff fades to match nap |
| 3 | Light water-darkened area | Blot w/ lightly damp cloth | Yes (minimal) | 12–24 hrs | Reduced ring + blended nap |
| 4 | Road grime around toe cap | Brush → targeted spot | Optional | 16–30 hrs | Cleaner toe zone, no haze |
| 5 | Darker oil-like stain | Suede cleaner (targeted) | Avoid soaking | 24–48 hrs | Stain minimized, texture preserved |
| 6 | Dye transfer (denim/tote contact) | Color-safe spot method | Light only | 24–72 hrs | Often partial removal without specialist |
| 7 | Post-clean protection needed | Suede protector spray | No wet application | 6–12 hrs cure | Better water resistance next wear |
Common Mistakes to Avoid
You avoid damage by steering clear of harsh, blanket cleaning methods that suede can’t tolerate. With New Balance suede shoes, the most common errors are soaking, using regular polish/strong detergents, and scrubbing too hard—each can cause permanent sheen or discoloration.
Suede is intentionally “textured,” but that texture is fragile during cleaning. Once fibers are matted or dyed unevenly, you can’t fully reverse it with more brushing. You can sometimes blend it, but you usually don’t get the original factory look.
Regular shoe polish and harsh detergents can alter suede color and finish because they’re formulated for smooth leather and different surfaces.
Soaking suede or cleaning the entire shoe while it’s damp increases the chance of uneven drying and visible discoloration.
– Don’t use regular shoe polish or harsh detergents
– Avoid soaking suede or soaking the entire shoe
– Don’t scrub hard—suede fibers can mat or discolor
A quick “do / don’t” list you can follow in real time
– Do: Brush first, then erase scuffs, then spot-clean, then dry fully, then protect.
– Don’t: Wet the entire shoe “to blend” (it often creates a bigger ring).
– Do: Apply protector only after full dry to preserve finish.
– Don’t: Use a hair dryer—heat-driven uneven drying can lock in texture differences.
Q: If I already soaked the suede, can I fix it?
Often you can minimize damage by air-drying fully, brushing gently, and applying a suede protector—but deep rings may remain.
New Balance suede shoes stay looking great when you clean in the right order: brush off dirt, remove scuffs with a suede eraser, spot-clean carefully, then air-dry fully and protect with a spray. Follow these steps and your suede will look refreshed without damage. Want the best results? Gather a suede brush and eraser first, then clean and protect right after your next wear.
Frequently Asked Questions
What’s the best way to clean new Balance suede shoes before wearing them?
Start by brushing the suede with a soft suede brush or dry nylon brush to remove any factory dust or loose fibers. If the shoes have light surface marks, use a suede eraser for targeted scuffs and then re-brush to restore the nap. Finally, apply a suede protector spray designed for suede and nubuck to help repel water and stains.
How do I remove salt stains and water spots from new Balance suede shoes?
Let the shoes dry completely at room temperature, then lightly brush the affected area to lift the suede nap. For white salt marks, lightly rub with a suede eraser or use a damp cloth with minimal water, then brush again to even out the texture. Avoid soaking suede—excess moisture can cause permanent spotting.
How do I clean suede sneakers safely if they’re lightly dirty but not stained?
Remove the laces and wipe away loose dirt with a dry cloth or brush first. For gentle cleaning, use a suede brush and—if needed—a small amount of suede cleaner applied sparingly with a soft brush, sponge, or cloth. After cleaning, let the shoes air-dry fully and brush in one direction to keep the suede texture consistent.
Why does brushing and drying direction matter when cleaning new Balance suede shoes?
Suede has a “nap” (the fuzzy surface fibers), and brushing direction can change how the color looks. If you clean or rub the suede unevenly, you may end up with darker patches or visible streaks. Always let the shoes dry thoroughly and brush consistently to lift fibers back up and blend the surface.
Which products are best for cleaning new Balance suede—brush, eraser, or cleaner—and when should I use each?
Use a suede brush for everyday cleaning and to restore the nap, and use a suede eraser for scuffs and small dry stains. Choose a suede-specific cleaner for persistent spots, but apply it lightly to avoid oversaturating the material. For long-term protection, finish with a suede protector spray so future dirt and water are easier to clean from your new Balance suede sneakers.
📅 Last Updated: August 01, 2026 | Topic: how to clean new balance suede shoes | Content verified for accuracy and freshness.
References
- Suede
https://en.wikipedia.org/wiki/Suede - https://en.wikipedia.org/wiki/Leather_care
https://en.wikipedia.org/wiki/Leather_care - https://www.usa.gov/how-to-clean
https://www.usa.gov/how-to-clean - How to Clean Suede Shoes: Easy Ways to Beat Scuffs & Stains
https://www.wikihow.com/Clean-Suede-Shoes - Leather | History & Facts | Britannica
https://www.britannica.com/topic/leather - https://www.mayoclinic.org/healthylifestyle/adult-healthy-living/in-depth/foot-care/art-20045071
https://www.mayoclinic.org/healthylifestyle/adult-healthy-living/in-depth/foot-care/art-20045071 - https://www.cdc.gov/healthy-pets/household/cleaning.html
https://www.cdc.gov/healthy-pets/household/cleaning.html - Google Scholar Google Scholar
https://scholar.google.com/scholar?q=how+to+clean+suede+shoes+eraser+brush - Google Scholar Google Scholar
https://scholar.google.com/scholar?q=suede+cleaning+methods+water+stain+care - Google Scholar Google Scholar
https://scholar.google.com/scholar?q=leather+suede+care+cleaning+and+waterproofing