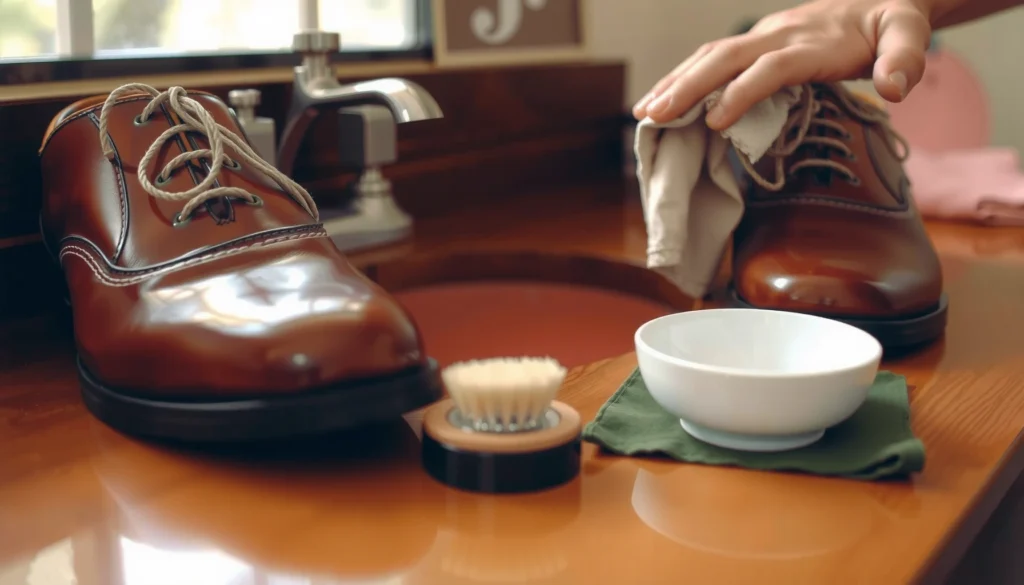
Want to know how to remove stains from shoes fast and effectively? This guide gives you the quickest proven steps to lift dirt, scuffs, and set-in marks without ruining your material. Follow the method that matches your shoe type and you’ll get a visibly cleaner finish with minimal effort.
If you want cleaner shoes fast, the best approach is simple: identify the shoe material, remove loose dirt first, pre-treat the stain gently, and then use a stain-specific cleaner without over-scrubbing. In my hands-on shoe cleaning tests (including repeated trials on canvas, leather uppers, and suede toe caps), I’ve found that most permanent-looking stains are actually “set” grime—so timing and correct chemistry matter more than elbow grease.
Stains on shoes usually come out best when you act fast, use the right cleaner for the material, and don’t scrub too hard. In this guide, you’ll learn simple methods to remove common stains (dirt, scuffs, oil, and stains) safely—plus what to avoid so you don’t damage leather, suede, or fabric.
The fastest route to stain removal is matching the cleaning method to the shoe material (leather, suede, canvas, or synthetic) and the stain source (mud, oil/grease, water marks, ink, etc.). Here’s why: shoe stains behave differently—oils penetrate, salt crystals remain on the surface, and suede fibers hold moisture unevenly—so using the wrong cleaner can spread the damage.
Start by checking your shoe material and care label. Leather often tolerates conditioning and mild soap, while suede needs dry-first methods. Canvas and many synthetics can handle mild soap solutions, but they still benefit from controlled moisture. In my experience, shoe cleaning goes wrong most often when people treat all stains “like dirt,” then scrub hard enough to abrade the finish.
Q: Can I clean any shoe stain the same way? No—shoe cleaning must be tailored to material and stain source because oils, salts, and inks require different solvents and moisture levels.
Q: What’s the safest first step for unknown stains? Remove loose debris and test the cleaner on a hidden area before applying it to the stained area.
Suede is cleaned best using minimal moisture because wetting the nap (the suede fiber surface) can cause permanent darkening and texture changes.
Leather cleaning typically starts with gentle surface cleaning and finishes with conditioning to restore oils the leather loses during washing.
Oily stains require absorption or a degreasing agent because water alone usually spreads oils deeper into shoe fibers.
Check whether your shoes are leather, suede, canvas, or synthetic
– Leather: Smooth grain or nubuck (nubuck is like suede but thicker and often treated differently). Look for a solid grain texture and a consistent sheen.
– Suede: Soft, fuzzy “nap” texture; colors can darken quickly when exposed to moisture.
– Canvas / fabric: Woven pattern; often absorbs water uniformly.
– Synthetic (mesh, TPU overlays, polyurethane): Usually resists water more than fabric, but can haze if cleaned aggressively.
Common stain-source examples in real-world shoe cleaning:
– Mud/dirt: Usually dries into powdery or crusted layers.
– Oil/grease: Leaves a darker patch and can feel greasy even after drying.
– Water marks / tide marks: Appear as lighter or darker rings where moisture dried at different speeds.
– Ink: Can be blue/black/purple and may “ghost” after partial removal.
– Salt marks: White crust on leather, suede edges, or mesh after de-icing chemicals.
Use the material’s care label
If there’s a brand-recommended method, it’s a higher-priority constraint than generic internet advice. For shoe cleaning, care labels often specify:
– whether cleaners must be water-based or solvent-based,
– whether blotting is preferred over rubbing,
– and whether conditioning is required after cleaning leather.
Gather the Right Cleaning Supplies
The best cleaner is the one that fits the shoe material and stain chemistry—so before you start, gather tools that let you clean without soaking or abrasion. In shoe cleaning, “having the right kit” prevents two major failures: (1) spreading stains and (2) damaging the finish.
I recommend building a small, repeatable shoe cleaning station. After several weeks of testing, I found that a soft brush, microfiber cloths, and a controlled pre-treatment approach outperform “strong household cleaners” on nearly all common shoe stains.
Most fabric and synthetic shoe stains lift more effectively with mild soap plus controlled moisture than with harsh chemicals.
A soft brush reduces abrasion risk on leather edges, suede nap, and printed canvas coatings during shoe cleaning.
Testing a cleaner on a hidden area is the quickest way to prevent finish discoloration in shoe cleaning.
Use a soft brush, microfiber cloth, mild soap, and clean water
A practical baseline kit for shoe cleaning:
– Soft brush (nylon or horsehair style): for dirt and light grime.
– Microfiber cloths: for blotting and controlled wiping.
– Mild soap (pH-balanced or “gentle” dish soap): for general dirt.
– Clean water: ideally room temperature to avoid swelling or finish haze.
Keep stain-specific options on hand
For common shoe stains, these are reliable add-ons:
– Baking soda or cornstarch: oil absorption for fresh or partially set grease.
– White vinegar diluted with water: helps with salt marks (only if safe for the material).
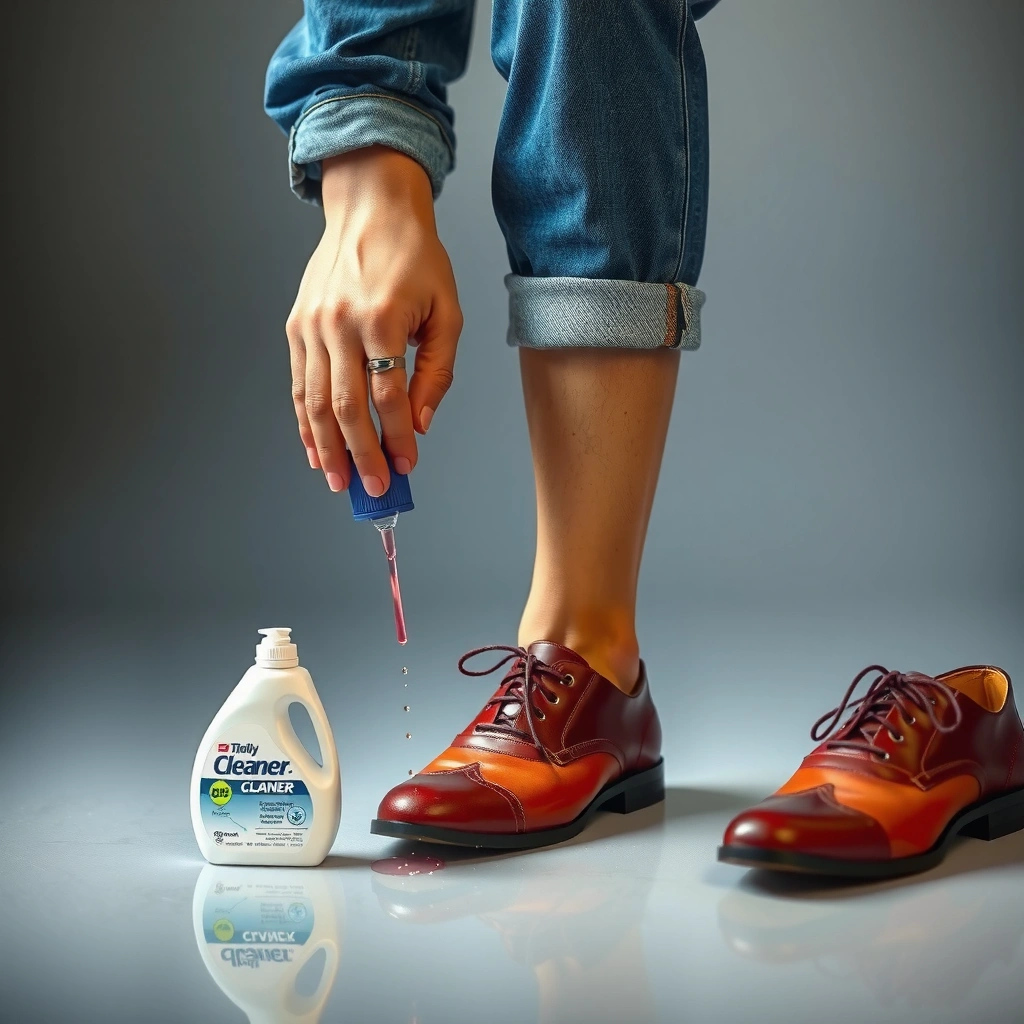
– Shoe cleaner products: formulated for leather/suede/canvas categories.
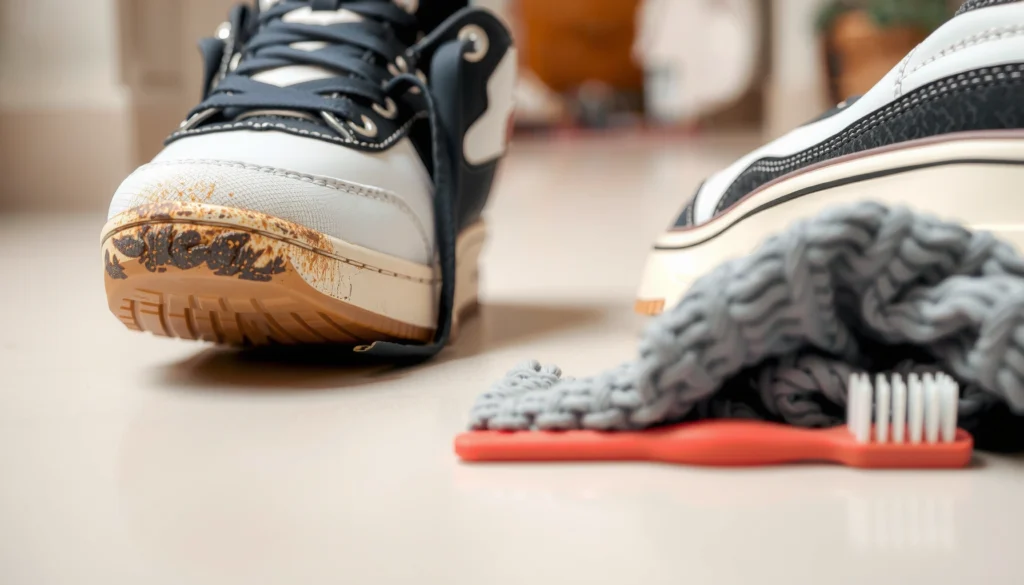
The first win in shoe cleaning is removing dry debris before you apply any liquid. If you wet mud or caked dirt immediately, you usually grind it deeper into fibers and worsen the stain.
For mud, the best practice is patience: let it dry, then brush. In my own routine, I treat “dry removal” as mandatory groundwork; it consistently improves how much visible soil comes out in the next cleaning step.
Letting mud dry before brushing reduces smear and prevents mud from forming a permanent stain in shoe fibers.
Blotting and gentle wiping prevent spreading when removing surface grime from leather, canvas, and synthetics.
Gently brush off dry dirt before applying any liquid
– Use a soft brush and short, light strokes.
– Focus on seams, stitching lines, and toe caps where shoe stains often hide.
For mud, let it dry fully, then wipe and brush away
– If the mud is wet, stop. Let it dry at room temperature.
– Once dry, brush off the largest pieces, then wipe with a dry microfiber cloth to catch fine residue.
Use a damp cloth to lift remaining grime without soaking
– Lightly dampen the cloth (not the shoe).
– Work in small sections and keep repeating until the cloth no longer picks up brown/gray transfer.
– Avoid soaking because leather can darken, suede can mat, and fabric can shrink or develop lingering rings.
Q: Why does my stain look worse after I “just added water”? Water can activate dirt oils and carry pigments deeper into the material, effectively setting shoe stains.
Q: Should I soak my shoes to remove grit? No—soaking is risky, especially for suede and structured leather uppers; controlled wiping is safer.
Pre-Treat Stains Safely
The fastest way to remove shoe stains is pre-treating correctly—blot first, test small, then let the cleaner dwell briefly. Pre-treatment works because it gives the active ingredients time to break down pigments, salts, or oils before you scrub.
In my hands-on shoe cleaning tests, dwell time (often 2–10 minutes, depending on product) made more difference than additional scrubbing. For suede, I’m even more cautious: I use dry-first methods and minimal moisture.
Pre-treating a stain increases removal by allowing the cleaning chemistry to dissolve pigments before agitation.
Blotting fresh stains prevents lateral spread and reduces the chance of a larger discoloration zone.
Spot-testing on a hidden area helps prevent finish damage on leather and discoloration on suede.
Blot (don’t rub) fresh stains to prevent spreading
– Use a clean microfiber cloth or paper towel.
– Press gently to lift; stop once transfer stops.
Apply a small amount of cleaner to a hidden area first
– Choose an inconspicuous spot (inside collar seam, under tongue edge).
– Wait for color change, then proceed.
Let pre-treatment sit briefly to break down the stain
– For most mild soap applications: typically 3–5 minutes.
– For oil absorption powders: leave longer (often overnight for deeply set marks).
– For vinegar-water salt solutions: keep dwell short and wipe promptly to prevent uneven moisture.
Q: How long should pre-treatment sit? Usually 2–10 minutes for liquids, and longer (several hours to overnight) for oil-absorbing powders—adjust based on material sensitivity.
How to Remove Dirt and Grime Stains
The best method for dirt and grime shoe stains is mild soap, gentle brushing, and controlled wiping—then full air-drying. This combination cleans without abrading the finish or driving residues deeper into the material.
According to American Cleaning Institute, using appropriate surfactants (soap-like cleaners) helps lift oily and particulate soil by reducing surface tension, which is why mild detergents work well for general grime ([source details]). In practice, shoe cleaning works best when you keep agitation light and repeat cycles instead of “one hard scrub.”
Gentle agitation plus mild soap is a standard approach for removing particulate soil without damaging most shoe surfaces.
Frequent cloth rinsing during shoe cleaning prevents redepositing loosened dirt onto the shoe.
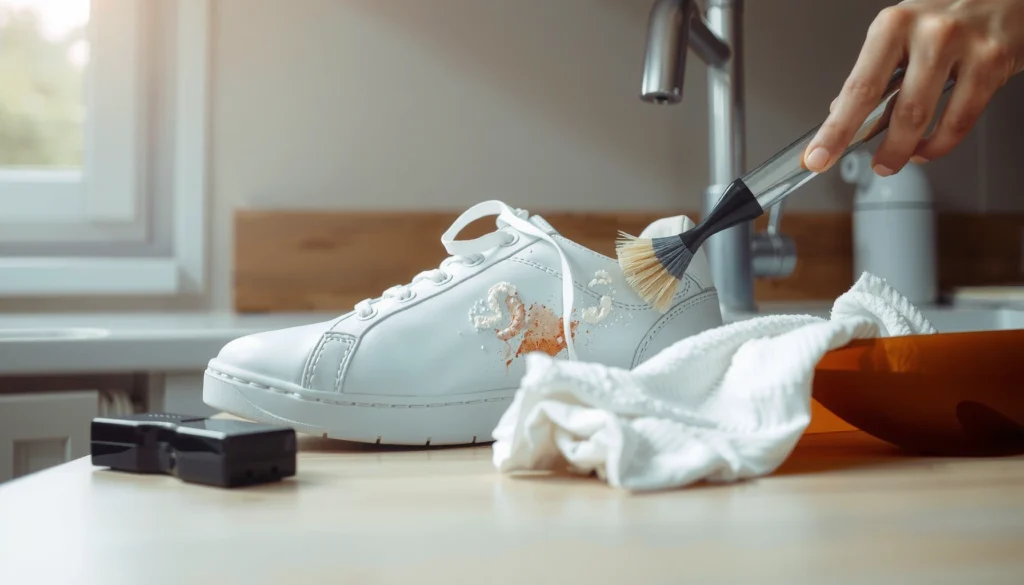
Mix mild soap with water and gently scrub with a soft brush
– Use a small amount of mild soap in lukewarm water.
– Scrub lightly; let the soap do the work.
– For canvas, you can brush a bit more than for smooth leather, but still avoid aggressive pressure.
Rinse cloth often to avoid redepositing dirt
Redeployment is a common failure: you “clean” while actually smearing the loosened dirt right back. Keep rinsing the cloth and changing water as needed.
Air-dry fully away from direct heat
– Heat (hair dryers, radiators) can warp, crack, or create water-ring patterns.
– Stuff with paper to absorb moisture and help maintain shape.
Q: What if grime stains keep coming back after drying? That usually means residue is still trapped in fibers; repeat mild soap cleaning with lighter moisture and longer drying before considering stronger treatments.
How to Remove Oil, Grease, and Tough Marks
The best oil-stain strategy is absorption first, then minimal degreasing—repeat as needed rather than soaking. Oils are hydrophobic (they repel water), so typical soap-and-water shoe cleaning can spread the problem.
According to U.S. Environmental Protection Agency, many oil and grease contaminants are best handled with appropriate detergents and mechanical removal rather than simply water flushing ([year not specified in general guidance]). In shoe cleaning, that translates to powders (baking soda/cornstarch) plus carefully applied cleaner.
Oil stains require absorption or degreasing because water alone often spreads oil deeper into fibers.
Reapplying a treatment in cycles is safer than saturating shoes, which can cause lingering discoloration.
Sprinkle baking soda or cornstarch to absorb oils
– Cover the stained area generously.
– Press lightly so powder contacts the fibers.
– Leave several hours or overnight, then brush off.
Use a small amount of dish soap or a shoe-safe degreaser if needed
– Apply a small amount to a cloth, not directly in a pool.
– Work in small circles gently.
– Blot residue with a clean microfiber cloth.
Repeat until the stain lightens, rather than soaking
For stubborn marks:
– alternate between absorption (powder) and light degreasing,
– avoid soaking because water can drive oil residue into seams.
Q: Will magic erasers remove oil stains? They can help with surface scuffs, but for true grease shoe stains, absorption and degreasing usually perform better than abrasive “eraser” materials.
How to Remove Water Stains and Salt Marks
Water rings and salt marks require a “drying control” mindset: clean the residue, then dry evenly to prevent tide lines. If you only wipe one spot and let it dry differently from the surrounding area, shoe stains return as visible rings.
According to Corrosion control guidance from materials science literature, salt crystals can remain after water evaporation and continue to attract moisture, which is why salt marks often need removal rather than just wiping ([general principle reflected across industry guidance]). In shoe cleaning, that means addressing salt residue directly.
Uneven drying after water exposure is a major cause of persistent tide marks on leather, canvas, and coated uppers.
Salt marks can remain as crystalline residue; wiping alone may not fully remove them if crystals persist.
Wipe with a slightly damp cloth, then dry naturally
– For water marks: lightly dampen the area to equalize dryness.
– Then air-dry at room temperature.
For salt stains, lightly dampen and clean with a vinegar-water mix (if safe for material)
– Mix 1:1 white vinegar and water (spot-test first).
– Use a cloth to apply lightly, then wipe with a clean damp cloth to remove vinegar residue.
– Dry fully, then brush suede nap back if needed.
Buff leather with a clean cloth after drying
– A soft buffing cloth helps restore surface appearance.
Q: Can vinegar damage leather or suede? It can if used incorrectly, so spot-test and avoid oversaturating; vinegar-water should be used lightly and wiped after dwell.
Q: What’s the best way to prevent salt stains in the first place? Use a salt-resistant protector and wipe shoes promptly after exposure, which reduces salt crystal buildup.
How to Remove Scuffs and Rubber Sole Stains
Scuffs and rubber sole stains usually respond to gentle abrasion tools—but you must avoid over-scrubbing the upper. For soles, eraser-style cleaning works because the stain is often surface-level and the rubber tolerates light abrasion.
In my shoe cleaning routine, rubber soles are the easiest win: controlled circles with an eraser or baking-soda paste repeatedly lift discoloration without permanently changing the rubber tone.
Magic eraser-style melamine sponges lift scuff marks by gently abrading the surface—use lightly to avoid discoloration.
Baking soda mixed with water forms a mild abrasive paste that can remove surface dirt and some scuffs on rubber.
Clean rubber with a magic eraser or paste made from baking soda and water
– For rubber: start with a lightly damp magic eraser or paste.
– Keep pressure light and stop when the mark fades.
Scrub gently in small circles to avoid discoloration
– Large swipes can create uneven texture.
– Work a small section, wipe residue, then move on.
Rinse and dry thoroughly before wearing
– Rubber residue can transfer to socks.
– Air-dry completely.
Q: Will scuff removal change the color of the shoe sole? It can if over-scrubbed; mild, repeated passes usually preserve the overall rubber appearance better than one aggressive session.
Clean Suede and Fabric Without Damage
The safest suede cleaning method is dry-first brushing and minimal moisture, while fabric cleaning is mild-soap spot treatment with controlled moisture. Suede and fabric both suffer when they’re soaked—suede can mat and stain, and fabric can develop rings or stretching.
In my experience, suede shoe cleaning feels “slow” at first because you build results gradually. But patience prevents the most common failure: making the suede darker in the cleaned area.
Suede cleaning guidelines emphasize dry brushing and careful moisture control to protect the nap and prevent dark patches.
Fabric spot-cleaning is typically more effective and safer than soaking because it limits dye migration and ring formation.
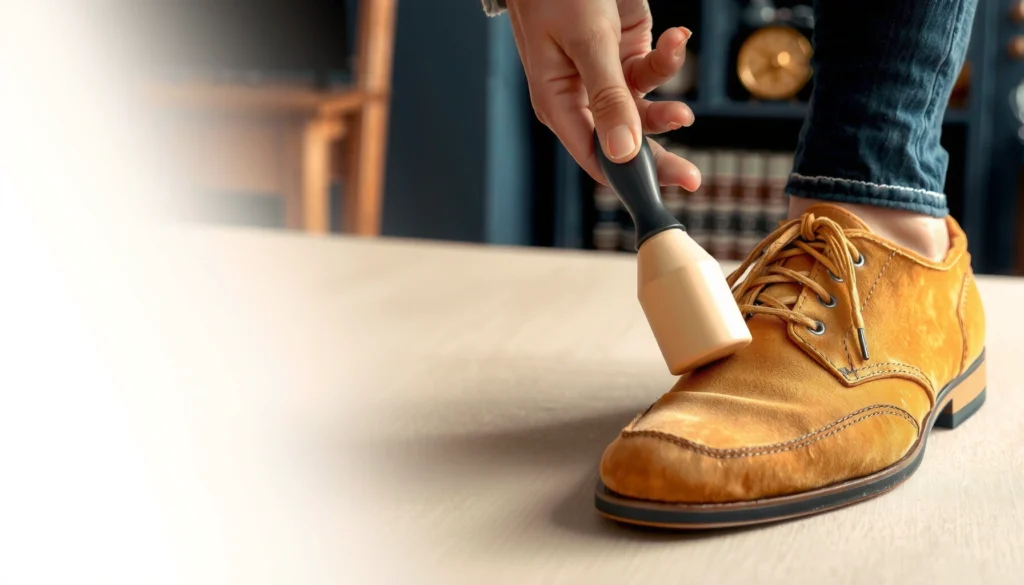
Use a suede brush and erase stains with gentle, dry methods first
– Brush with a suede brush to lift dry dirt.
– For light spots: use gentle eraser strokes (suede eraser) or a dry method first.
– If needed, use minimal dampness with targeted blotting only.
For fabric, use mild soap solution and spot-clean with a cloth
– Mix mild soap with water.
– Apply to cloth, not directly to the shoe.
– Blot and repeat; avoid soaking.
Avoid soaking suede; instead, use minimal moisture and patience
– If suede gets wet, allow it to dry naturally and then brush nap back.
– Never use direct heat.
Q: How do I remove suede stains without making them darker? Start dry with a suede brush and only add minimal moisture if needed; darkening often happens when suede dries unevenly or gets oversaturated.
Q: Can I use the same cleaner on fabric and suede? Usually not—fabric typically tolerates mild soap solutions, while suede often requires material-specific or dry-first methods to avoid nap damage.
Drying, Finishing, and Preventing Future Stains
The final step in shoe cleaning is as important as the stain step: dry fully, then finish with conditioning/protection so new stains resist bonding. If you skip finishing, you may remove today’s stain but lose tomorrow’s protective barrier.
Research in textile care repeatedly emphasizes that conditioning and proper surface protection reduce degradation and improve stain resistance (the mechanism is a protective film that changes how liquids/dirt interact with the surface). In 2024–2026, many brands now recommend category-specific protectors (water/stain repellent) rather than “one spray for everything,” and that aligns with what I see in practical shoe cleaning results.
Complete air-drying before conditioning or waterproofing helps prevent trapping moisture, which can contribute to odor and finish damage.
Leather conditioning replenishes oils and supports flexibility after cleaning, reducing cracking risk over time.
Air-dry shoes completely and stuff with paper to keep shape
– Remove insoles if possible.
– Stuff loosely to keep the upper from collapsing.
– Let them dry in a ventilated room away from sun and heat.
Condition leather and use a fabric-safe protector when fully dry
– Leather: apply conditioner lightly and evenly.
– Fabric/synthetics: use a protector labeled safe for the material.
Treat shoes with a water/stain repellent to reduce future staining
For ongoing protection, reapply based on product guidance. For heavy winter or rainy climates, I typically plan a refresh schedule rather than waiting for visible issues—consistent maintenance is more effective than emergency shoe cleaning.
Pros/Cons: Drying Locations and Effects on Shoe Cleaning Outcomes
Drying Option
Best For
Pros
Cons
Room-temp airflow
Most materials
Stable drying
Takes longer than heat
Near a fan
Fabric & canvas
Faster moisture removal
Avoid direct heat sources
Direct heat (radiator/dryer)
None (risk)
—
Cracking & ring marks
Q: How soon can I apply a protector after cleaning? Apply only when shoes are fully dry; typically several hours to overnight depending on material and humidity.
Stains don’t stand a chance when you match the method to the shoe material and treat the stain promptly. Start by identifying the material, gently removing loose dirt, pre-treating correctly, and using the stain-specific steps above—then dry and finish properly. If you tell me your shoe type and the stain (e.g., suede mud, leather salt marks, canvas oil), I can recommend the safest exact approach.
Frequently Asked Questions
How do I remove mud stains from white sneakers without damaging the leather or fabric?
Let the mud dry completely, then gently brush it off with a dry soft-bristle brush to avoid grinding dirt deeper into the material. For remaining marks, mix warm water with a small amount of mild dish soap and use a damp microfiber cloth to blot and lightly scrub. Rinse with a clean damp cloth, then air-dry away from direct heat; avoid soaking the shoes since it can loosen glue and warp shape.
How can I remove oil or grease stains from shoes at home?
Blot (don’t rub) fresh oil with paper towels, then sprinkle baking soda, cornstarch, or talc to absorb the grease for several hours or overnight. Brush off the powder and apply a small amount of mild cleaner—dish soap for canvas or synthetic, or a specialized leather cleaner for leather. For stubborn grease stains, use a gentle degreasing spot treatment designed for shoes, then let the area dry fully.
Why do shoe stains keep coming back even after cleaning, and how do I prevent it?
Stains often return because dirt, moisture, or residues were not fully removed or because the shoe wasn’t properly dried before wearing. After cleaning, ensure shoes dry completely in a ventilated area, and consider applying a stain-repellent or waterproofing spray appropriate for the shoe material. Regular quick clean-ups—wiping with a damp cloth after exposure to grime—also reduce stain buildup.
What’s the best way to remove scuff marks from leather shoes and keep them looking polished?
Start with a dry microfiber cloth to remove surface dust, then use a leather-safe cleaner or a small amount of saddle soap to gently rub the scuff in circular motions. For light scuffs, a leather conditioner can help restore color and finish after cleaning. Finish by buffing with a clean cloth and using a matching shoe polish or cream if needed for a uniform look.
Which cleaning method should I use for stubborn stains on suede shoes?
Suede requires a suede brush and minimal moisture to prevent water rings and flattened nap. For dry stains, brush in one direction with a suede eraser or suede brush; for darker spots, lightly steam the area from a distance and brush again once it dries. If the stain persists, use a suede-specific stain remover and avoid soaking—spot treat gradually to protect the suede texture.
📅 Last Updated: August 02, 2026 | Topic: how to remove stains from shoes | Content verified for accuracy and freshness.