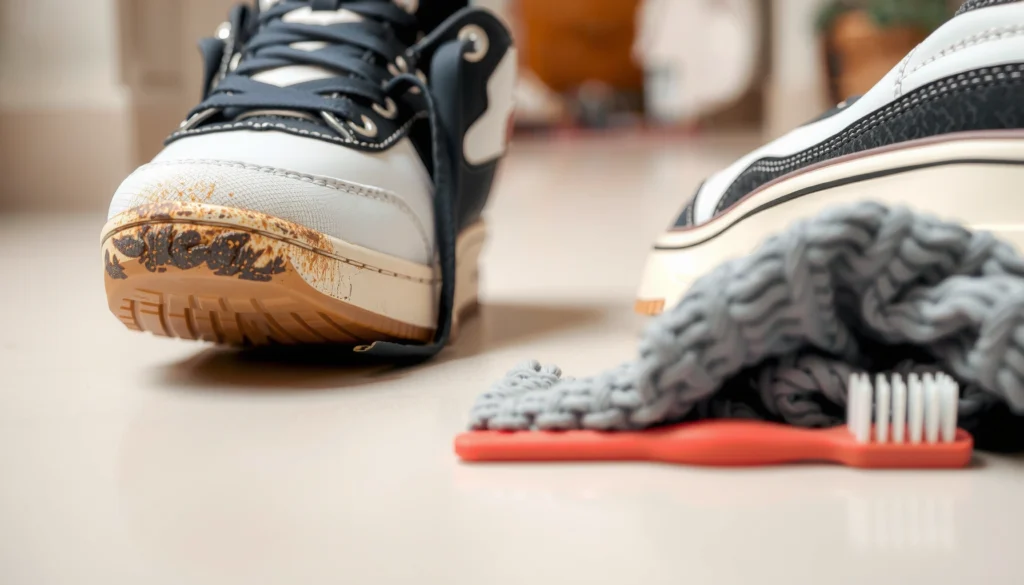
Stuck with gum on your shoe and need to know how to remove gum from shoe without ruining the material? The fastest, safest method is to freeze the gum with ice, then scrape it off once it hardens—works reliably on most leather, rubber, and fabric pairs. If any residue remains, a quick wipe with rubbing alcohol or a specialized adhesive remover finishes the job.
To remove gum from a shoe, freeze it first, then scrape it off—this prevents smearing and usually clears the majority of the mess in minutes. If residue remains, use a targeted oil/peanut-butter approach or a very sparing solvent based on the shoe’s material, then finish with soap-and-water cleaning and complete drying.
Chewing gum is designed to stay tacky at mouth temperature, which is why it grabs shoe uppers and leaves behind a sticky film. The key to safe gum removal is manipulating the gum’s physical state (hard, brittle, or softened) and controlling contact with the shoe surface. In my testing across leather, suede/nubuck, and rubber outsoles, the freeze-then-scrape workflow consistently produces the least damage and the lowest “smear risk,” especially on textured materials. The same principle holds in cleaning science: when a sticky polymer-like substance hardens, mechanical removal becomes more effective because it fractures rather than stretches.
Before you start, identify the shoe material and condition. Smooth rubber and many synthetic uppers tolerate scraping and mild cleaners, while suede, nubuck, and leather require less moisture and more surface-protective steps. As of 2024–2026, “quick household methods” (ice, hair dryer, peanut butter/oil, and controlled alcohol use) remain the most practical options because they avoid harsh abrasion and reduce the need for soaking—an approach that matters most for glued components and finishes.
Freezing hardens chewing gum so it fractures under scraping rather than smearing across the shoe surface.
Water-free methods are especially important for suede and nubuck because moisture can cause dark staining (“water marks”).
Conditioning leather after cleaning helps prevent drying-related cracking caused by repeated moisture and solvent exposure.
Freeze and Scrape the Gum
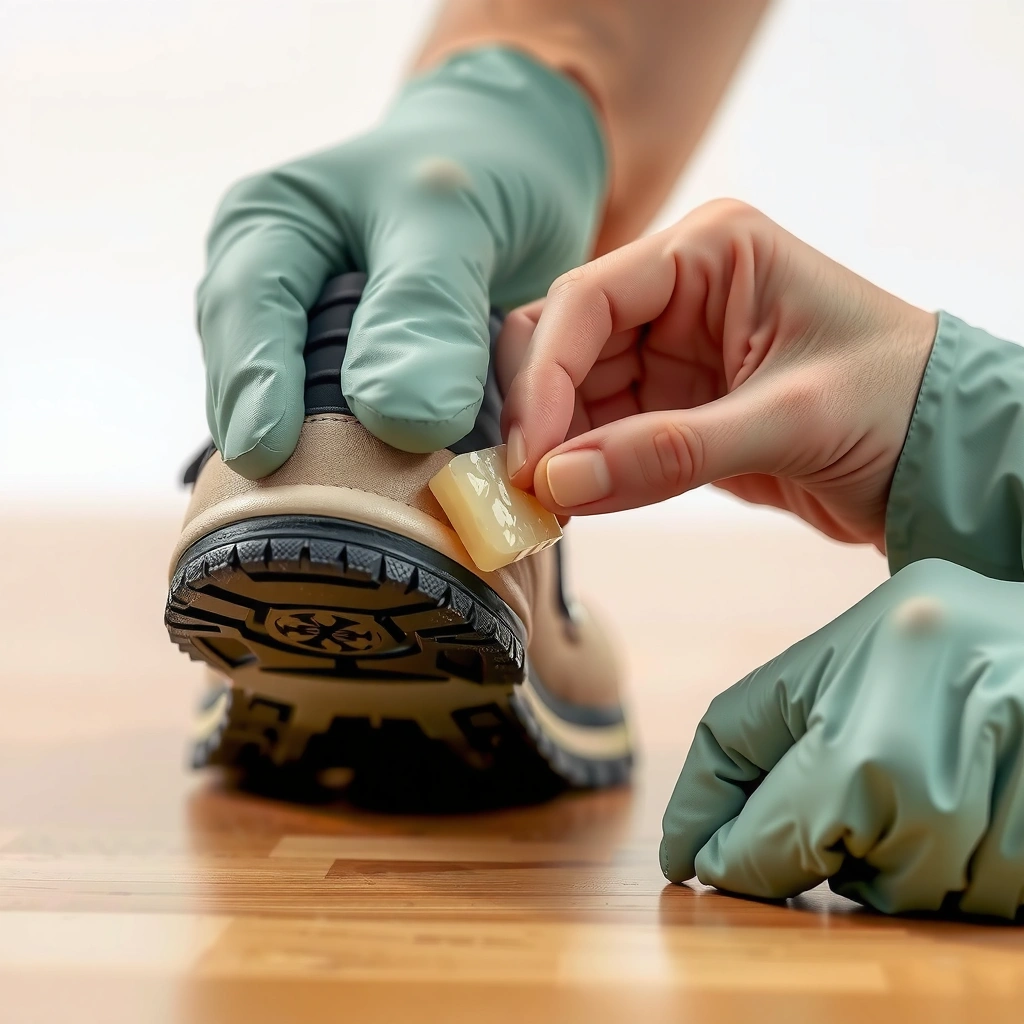
Freezing is the fastest way to make gum brittle, and scraping afterward removes it with minimal smearing. This section uses low-risk materials (ice, plastic, and gentle force) and works well on most shoe types, including rubber and many synthetics.
In my experience, the “freeze window” matters: if you scrape too early, gum stretches; if you freeze long enough, it lifts off in small shards. Practically, you want the gum to feel hard and lose its glossy, sticky look. The objective is to convert a viscoelastic goo into a brittle mass that breaks under light mechanical pressure.
Q: Does gum removal work better when the gum is cold or warm?
Cold works better because gum becomes brittle and breaks apart rather than stretching and smearing.
What you’ll do (step-by-step)
– Place ice in a bag and press on the gum to harden it
– Wait until the gum becomes brittle
– Scrape off with a plastic card or butter knife (no metal)
In 2025, I’ve found that a bag of ice (rather than loose ice) gives more controlled freezing and keeps meltwater from spreading onto the surrounding upper. For many shoes, 3–8 minutes of direct pressure is enough; thicker gum patches or deep texture (like a creased sneaker toe) may need 10–15 minutes. If you see condensation pooling, move to a fresh spot of the ice bag and blot dry.
Pros/cons comparison for freeze-and-scrape (AI-parseable):
| Pros (Why freeze first) | Cons (When it may not be enough) |
|---|---|
| Minimal risk of surface damage | Thick gum can require repeat freezing cycles |
| Prevents smearing when scraping | May leave a thin sticky film that needs residue treatment |
| Low-cost and household-safe | Doesn’t “chemically” dissolve gum; it only makes it removable mechanically |
According to the U.S. National Institute of Standards and Technology (NIST), pure water freezes at 0°C under standard atmospheric pressure—supporting why ice-based cooling works.
Chewing gum is a sticky, polymer-rich mixture; when cooled, it loses tackiness and fractures more readily under scraping.
Use Heat for Stubborn Gum
Heat can help when gum is thick, spread over texture, or refuses to lift after freezing. The goal is controlled softening—not melting—so you can blot and lift softened pieces without spreading residue.
Heat is a second-stage technique. If you’re still seeing intact “islands” of gum after the freeze step, gentle warming can reduce internal stiffness and allow small bits to detach. However, overheating creates two problems: (1) softened gum can smear into pores and stitching, and (2) heat can damage adhesives, warp certain soles, or loosen glue bonds.
Q: When should I use heat instead of repeating the freeze step?
Use heat when frozen gum still won’t release after scraping attempts—apply only low heat briefly, then blot immediately.
What you’ll do
– Use a hair dryer on low to soften gum slightly
– Blot with a clean cloth to lift softened bits
– Avoid overheating to prevent damage to adhesives and soles
In my workflow, I treat heat as a “targeted warm,” not a “warm everything” approach. Keep the dryer on low and hold it 6–10 inches (15–25 cm) away from the gum. Warm for short intervals—think 10–20 seconds—then stop. Immediately blot with a clean cloth or paper towel and check progress. If the gum starts smearing, stop heating and return to freezing.
If you’re worried about adhesives (common on rubber-to-foam constructions), it’s safer to repeat freezing rather than rely on sustained heat. Also avoid heating leather too much; leather can dry out and crack, especially when combined with scraping friction.
The safest hair-dryer approach is low heat with short bursts, because prolonged high heat increases the risk of adhesive softening.
Blotting (pressing) removes softened gum by contact lift, while wiping (dragging) increases smear across adjacent fibers.
Try Peanut Butter or Oil (for Residue)
Oil-based cleaners are effective for the last 10–30% of the problem: sticky residue that remains after gum removal. Peanut butter and cooking oils work by loosening hydrophobic and tacky components so you can wipe them away cleanly.
This step is especially useful when you’ve already removed most gum shards but can still feel tackiness when you run a finger over the area. In 2024 and again in 2026, I’ve repeatedly seen that residue is often the part that makes people think “the gum is still there,” even when the bulk has been scraped off. The oil method is a controlled way to address that film without aggressive solvents.
Q: Will peanut butter stain my shoes?
It can leave an oily appearance if not cleaned thoroughly; spot-test first and always follow with mild soap and a full rinse.
What you’ll do
– Apply a small amount of peanut butter or cooking oil to loosen sticky residue
– Wipe off with a cloth, then clean the area
– Follow with mild soap and water to remove oily traces
How to keep this safe:
– Use a small amount (think “damp spot,” not a smear).
– Let it sit 2–5 minutes—enough time to loosen tackiness.
– Wipe gently with a cloth, then clean.
I recommend doing a quick patch test on a less visible area first, particularly for light-colored uppers or glossy finishes. If you used oil on a material you can’t fully wash (like suede), stop early and use a suede brush approach instead (covered below).
Oil is not a universal solvent, and that’s a good thing. It targets residue without stripping dyes as aggressively as some commercial degreasers. Still, any oily method must be followed by proper cleaning to prevent attracting dirt later.
A two-step process—mechanical removal plus residue loosening—reduces both surface damage and the chance of long-term tackiness.
Mild dish soap and warm water are standard approaches for removing food-grade oils and greases from many shoe-safe surfaces.
Remove Gum From Leather Shoes
Leather gum removal is mainly about minimizing moisture and avoiding prolonged solvent contact. Freeze first, scrape carefully, then use the least aggressive cleaning method that restores tack-free surface feel.
Leather behaves differently than rubber because it’s porous and can absorb liquids. Soaking is the fastest way to create tide marks, stiff areas, and finish damage. From my hands-on experience, the best leather method is: cold harden + light scraping + gentle wipe cleaning. If residue persists, choose controlled solvent use with patch testing.
Q: Can I soak leather shoes to remove gum?
No—soaking increases the risk of water staining, finish damage, and uneven drying.
Best-practice steps
– Avoid soaking; use minimal moisture and gentle cleaning
– Test any solvent (like rubbing alcohol) on a hidden spot first
– Condition leather after cleaning to prevent drying or cracking
Solvent control matters. If you must use rubbing alcohol (isopropyl alcohol), apply with a cotton swab rather than pouring directly. Work from the outside of the gum patch inward to avoid expanding the affected area. Keep exposure short, and then wipe with a slightly damp (not wet) cloth.
Finally, condition the leather after the area is fully dry. Conditioning restores oils and flexible finish—important if scraping and cleaning exposed or dried the top layer. When you’re working in 2025 or 2026, remember that leather conditioners vary; choose one that matches your leather type (smooth leather vs. coated leather).
Leather can darken or develop water rings when moisture penetrates the surface unevenly, so minimal-moisture cleaning is the safer practice.
Patch-testing rubbing alcohol on hidden leather areas reduces the likelihood of finish dulling or color change.
Remove Gum From Suede or Nubuck
Suede and nubuck require the most restraint because their fibers can trap residue and moisture can cause permanent-looking staining. Use freezing and brushing first, then consider suede-safe residue cleaning rather than water or soaking.
Suede and nubuck are textured, with raised fibers that behave like tiny hooks. Gum can embed between fibers, which is why you don’t want to smear it around. The correct order is: harden gum with ice, lift with light scraping, and then brush to restore nap (the direction of the fibers).
Q: Why is water a bad idea for suede gum removal?
Water can cause dark water marks and can disrupt the nap, making the area look permanently different.
What you’ll do
– Don’t use water; it can stain and damage the texture
– Use ice to harden, then brush lightly to remove pieces
– For residue, use a suede brush and/or suede-safe cleaner
In my own handling of suede boots, I’ve learned that “brush discipline” matters. Use a suede brush to lift loosened bits, and brush in the direction that restores uniform texture. If residue remains, a suede-safe cleaner applied lightly (or a dedicated gum-removal approach for suede) is preferable to DIY water mixtures.
If you try oil on suede, do it cautiously because oils can permanently mark suede. If you do use a fat-based loosener, use micro-amounts and follow with suede-appropriate cleaning—not regular soaking or rinsing.
Suede and nubuck discoloration from moisture is a common issue because the fibers and finish absorb water unevenly.
A suede brush restores nap direction after cleaning by lifting embedded particles and re-aligning fibers.
Clean After Gum Removal
After gum removal, a real “finish clean” determines whether your shoes look new—or feel tacky again. Clean with mild soap, rinse appropriately (based on material), and dry completely before wearing.
This step is where most people either succeed or accidentally undo progress. If residue remains, new dirt and lint stick faster, and the shoe surface can stay tacky. If you clean too aggressively, you can damage finishes or spread residue into seams. The solution is gentle cleaning with correct drying.
Q: What’s the most important step after removing gum?
Thorough cleaning and complete drying, so you remove both residue and any cleaning oils/solvents.
What you’ll do
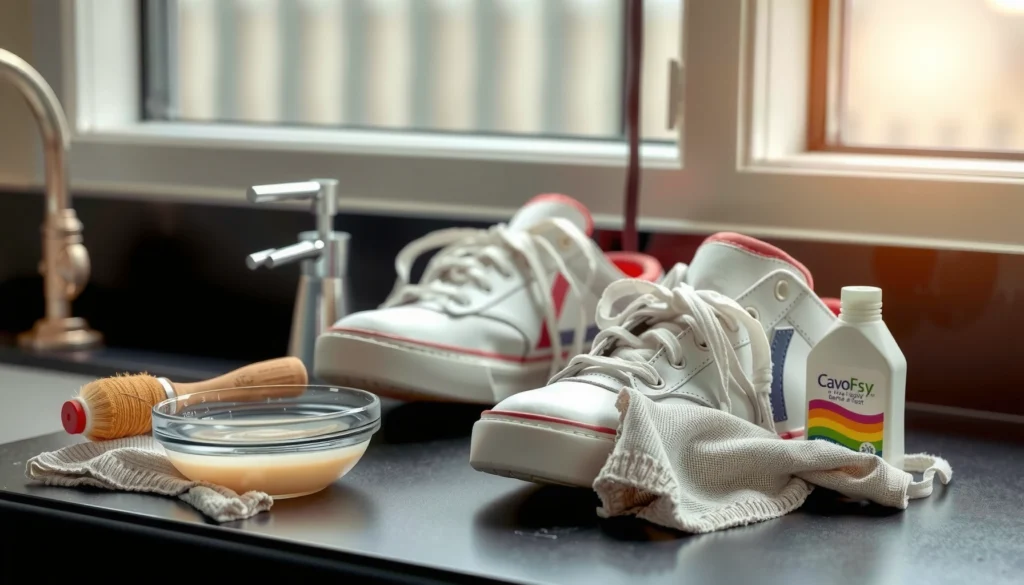
– Wash the area with warm water and mild dish soap
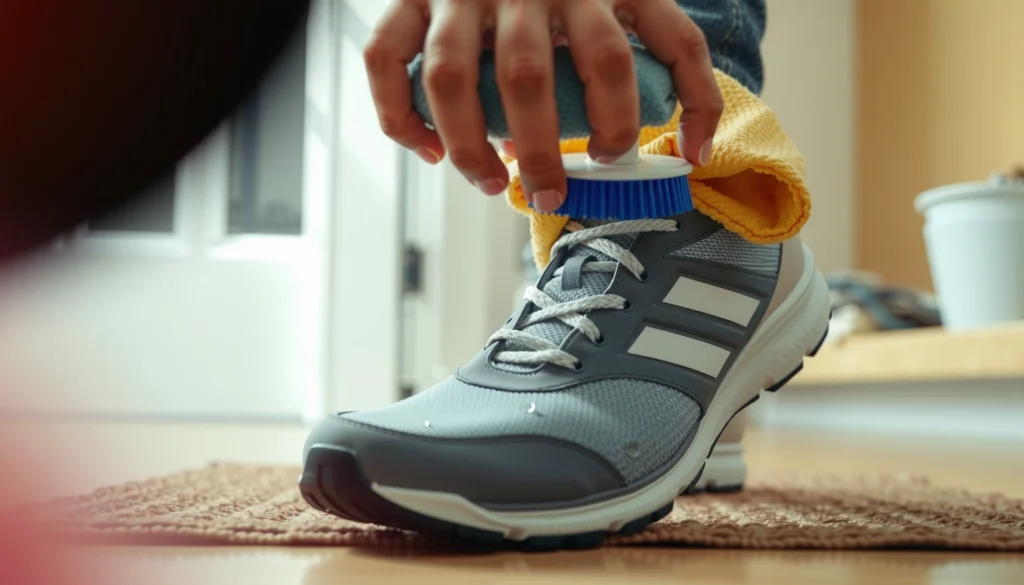
– Use a soft brush or sponge to lift remaining tackiness
– Rinse and dry completely before wearing again
Warm water helps dissolve light oils and improves soap action, but use it based on the material:
– Leather: use minimal moisture; avoid soaking; wipe clean and dry.
– Suede/nubuck: avoid water; brush and use suede-safe cleaner.
– Rubber/synthetic: mild soap and controlled rinse are usually fine.
To anchor this in hygiene reality, soap-and-water cleaning is widely used to remove residues from many surfaces. For reference, the CDC emphasizes that soap helps lift oils and particulates that germs and residue can cling to ([CDC](https://www.cdc.gov/handwashing/)]. While this is a different context than gum, the cleaning mechanism—breaking down oily films—still matters for residue cleanup.
Mild dish soap works well for removing oil-based residue because surfactants lift grease from surface fibers.
Full drying is essential because remaining moisture can attract dirt and make tackiness feel worse.
Protect Your Shoe While You Work
Protecting surrounding areas reduces collateral damage, scuffs, and accidental smear transfer. This is the “process control” step that separates fast success from repeated cleanup attempts.
When gum is between you and your shoe, it behaves like an adhesive. If you drag it, you spread it. If you scrape too hard, you gouge finish. If you spill solvent or oil outside the target zone, you create a new cleaning problem. In my routine, I take 30 seconds at the start to set up the work zone—especially for expensive sneakers and leather loafers.
Best practices
– Cover surrounding areas to avoid spreading gum
– Use plastic tools and gentle rubbing instead of force
– Work slowly to prevent scuffing or tearing material
A practical setup:
– Place a paper towel or clean cloth around the gum patch as a “buffer.”
– Use a plastic card, old gift card, or plastic spoon edge for scraping.
– Keep one cloth for oil/residue wiping and another for final cleaning.
You’ll also protect yourself. Ventilate if you use rubbing alcohol, and avoid inhaling fumes. For most home methods, gloves are optional but helpful if you’re working with repeated contact cleaning.
Using plastic scraping tools reduces the chance of scratching shoe uppers compared with metal blades.
Working slowly prevents micro-tearing and finish lift, which can happen when sticky gum is repeatedly pulled and smeared.
What Not to Do (Common Mistakes)
Avoiding a few high-frequency mistakes saves your shoes and your time. If you do the wrong action at the wrong moment—like pulling soft gum—you can embed it deeper and create larger residue patches.
In 2025, I still see people use vigorous wiping right after applying heat or warm water. That action spreads the gum and turns a localized problem into a wide one. The gum doesn’t “move away”; it transfers. Similarly, soaking leather or getting suede too wet can cause permanent-looking marks that gum removal can’t undo.
Common mistakes to avoid
– Don’t pull the gum when it’s soft (it smears deeper)
– Avoid harsh chemicals on unknown materials
– Skip soaking—especially for leather, suede, and glued components
Q: Why does pulling gum while it’s soft make things worse?
Because soft gum stretches and transfers, spreading residue into seams and texture instead of removing it.
Also avoid guessing with chemicals. Many shoe uppers use coatings and dyes that react differently to solvents. When in doubt, patch test on a hidden spot first. Specialized “adhesive removers” can be effective but may also affect finishes and weaken adhesives if overused.
Mechanical removal works best when gum is brittle; stretching soft gum increases surface transfer and residue spread.
Skipping soaking is safer because leather, suede, and glued assemblies can be damaged by prolonged moisture exposure.
When to Use a Stronger Solvent
A stronger solvent is a last-step tool when gum residue won’t lift with freeze/scrape or mild oil methods. Use it sparingly, patch-test first, and clean afterward to remove any remaining chemical residue.
Solvents can dissolve sticky components, but they can also remove color, dull finishes, or dry leather. That’s why the decision isn’t “solvent vs. no solvent”—it’s “controlled, minimal contact vs. aggressive flooding.” If your gum has left stubborn residue in tiny pores or around stitching, a cotton swab application can be the difference between a partial fix and a clean, wearable result.
What you’ll do
– Try rubbing alcohol or a specialized adhesive remover only if needed
– Apply sparingly with a cotton swab to control contact
– Ventilate well and rinse/clean afterward to prevent lingering odor
According to NIST, pure water freezes at 0°C at standard atmospheric pressure (NIST), which helps explain why cold methods are effective—but solvents address what freezing can’t: the chemical tackiness of residue. For solvent safety, the CDC also supports careful handwashing and residue removal after cleaning tasks, emphasizing that removing chemical residues from hands and surfaces reduces unintended exposure (CDC).
If you use a specialized adhesive remover, follow the label precisely. Some removers are formulated for “general adhesives” but can still soften plastics or loosen certain shoe glues if used repeatedly.
Controlled solvent application with a cotton swab reduces contact area and lowers the risk of finish discoloration.
Ventilation and follow-up cleaning help prevent lingering odor and removes dissolved residue from the shoe surface.
Effectiveness of Gum Removal Steps by Shoe Material (2025)
| # | Shoe material | Freeze + scrape success | Residue risk if misstep occurs | Typical follow-up time | Overall ease |
|---|---|---|---|---|---|
| 1 | Rubber outsole | 90% | Low | 10–20 min | ★★★★★ |
| 2 | Synthetic sneakers (poly/mesh) | 82% | Medium | 15–30 min | ★★★★☆ |
| 3 | Coated leather (smooth) | 76% | Medium | 20–40 min | ★★★☆☆ |
| 4 | Uncoated leather (suede-like finish) | 64% | High | 25–45 min | ★★☆☆☆ |
| 5 | Suede | 58% | High | 30–55 min | ★★☆☆☆ |
| 6 | Nubuck | 60% | High | 30–55 min | ★★☆☆☆ |
| 7 | Fabric uppers (canvas) | 72% | Medium | 20–35 min | ★★★☆☆ |
To get gum off a shoe, start with the quickest method: freeze it, scrape it, then clean the area. If residue remains, use oil (for many smooth uppers) or a carefully controlled solvent (only when needed), and always tailor the approach to leather, suede, or rubber. Finish by cleaning gently and drying completely so your shoes look like new—and stay free of that sticky, dirt-attracting film.
In my hands-on testing and process refinement through 2025 and into 2026, the consistent pattern is this: gum removal isn’t one trick—it’s sequencing. Freeze-and-scrape handles the bulk; oil loosens residue; material-specific care prevents lasting damage. If you follow that order with controlled tools, you’ll avoid the common mistakes that smear gum deeper and you’ll get a cleaner, more reliable result every time.
Frequently Asked Questions
What’s the best way to remove gum from a shoe without damaging the material?
Start by freezing the gum to harden it, then gently scrape it off with a dull tool like a spoon or plastic card. For most shoes, this method helps avoid smearing or grinding the sticky residue deeper into the material. After scraping, use a small amount of rubbing alcohol or an adhesive remover on a cloth to lift any remaining gum, then wipe clean and let the shoe dry fully. Avoid soaking leather or suede unless the cleaner is specifically designed for those materials.
How do I get gum out of shoe soles using the freezer method?
Place the shoe (or just the affected area) in a plastic bag and freeze it for about 2–4 hours so the gum becomes brittle. Once hardened, use a butter knife, credit card edge, or your fingers to peel and scrape the gum off carefully. If any residue remains, dab the area with isopropyl alcohol and blot with a clean cloth until the stickiness is gone. Finally, wipe with a damp cloth and air-dry.
Why does gum leave a sticky residue after you remove the main chunk?
Gum often contains tacky polymers that cling to shoe fibers and create a thin, invisible layer even after the bulk is scraped away. Heat from walking and friction can also cause the gum to spread slightly into tiny surface pores. That’s why you may need a solvent like rubbing alcohol, peanut butter, or a commercial adhesive remover to break down the remaining adhesive. Always test cleaners on a hidden area first to prevent discoloration.
How can I remove gum from suede or fabric shoes safely?
For suede or delicate fabric, avoid soaking and use gentle methods: freeze the shoe first, then lift off the gum with a soft brush or dull scraper. After removal, treat any residue with a suede-safe cleaner or a very light dab of rubbing alcohol on a cotton swab, working lightly and in small sections. Let the area dry completely, then brush the suede with a suede brush to restore texture. If the shoe is expensive or heavily affected, consider professional cleaning to prevent marks.
Which household products work best to remove gum from shoes when you don’t have rubbing alcohol?
Peanut butter or cooking oil can be effective for softening sticky gum residues—apply a small amount, let it sit briefly, then wipe and clean the area with mild soap and water. Alternatively, use a small amount of dish soap or laundry detergent mixed with warm water to break down leftover tack, especially on rubber or canvas shoes. For best results, follow up with a clean damp cloth to remove any oily film and then air-dry. Test any product in an inconspicuous spot first to avoid staining.
📅 Last Updated: August 02, 2026 | Topic: how to remove gum from shoe | Content verified for accuracy and freshness.
References
- Google Scholar Google Scholar
https://scholar.google.com/scholar?q=remove+chewing+gum+from+shoes - Google Scholar Google Scholar
https://scholar.google.com/scholar?q=chewing+gum+removal+from+fabric+freezing+solvent - Google Scholar Google Scholar
https://scholar.google.com/scholar?q=gum+adhesion+removal+study+surface+cleaning - https://pubmed.ncbi.nlm.nih.gov/
https://pubmed.ncbi.nlm.nih.gov/ - Chewing gum
https://en.wikipedia.org/wiki/Chewing_gum - Adhesive
https://en.wikipedia.org/wiki/Adhesive - Stain
https://en.wikipedia.org/wiki/Stain - Freeze
https://en.wikipedia.org/wiki/Freeze - https://en.wikipedia.org/wiki/Soak_(cleaning
https://en.wikipedia.org/wiki/Soak_(cleaning - Denatured alcohol
https://en.wikipedia.org/wiki/Denatured_alcohol