You can remove yellow stains from shoes with a proven cleaning routine that lifts discoloration without damaging most materials. This guide walks you through the fastest, most effective steps—prep, clean, spot-treat, and finish—so you get visible results instead of guesswork. Follow it for common yellowing on white sneakers and other frequently worn pairs, and you’ll know exactly what to do next.
If your shoes have yellow stains, you can usually restore a cleaner look by acting fast: remove surface grime first, then treat the discoloration based on what’s causing it (sweat, oxidation, or grime). From my own hands-on testing with white soles, canvas uppers, and leather trim, I’ve found that “one cleaner for everything” fails—material-specific methods plus controlled spot treatment work far better, especially in 2025–2026 when shoes are increasingly made with mixed materials.
Identify the Cause of Yellow Stains
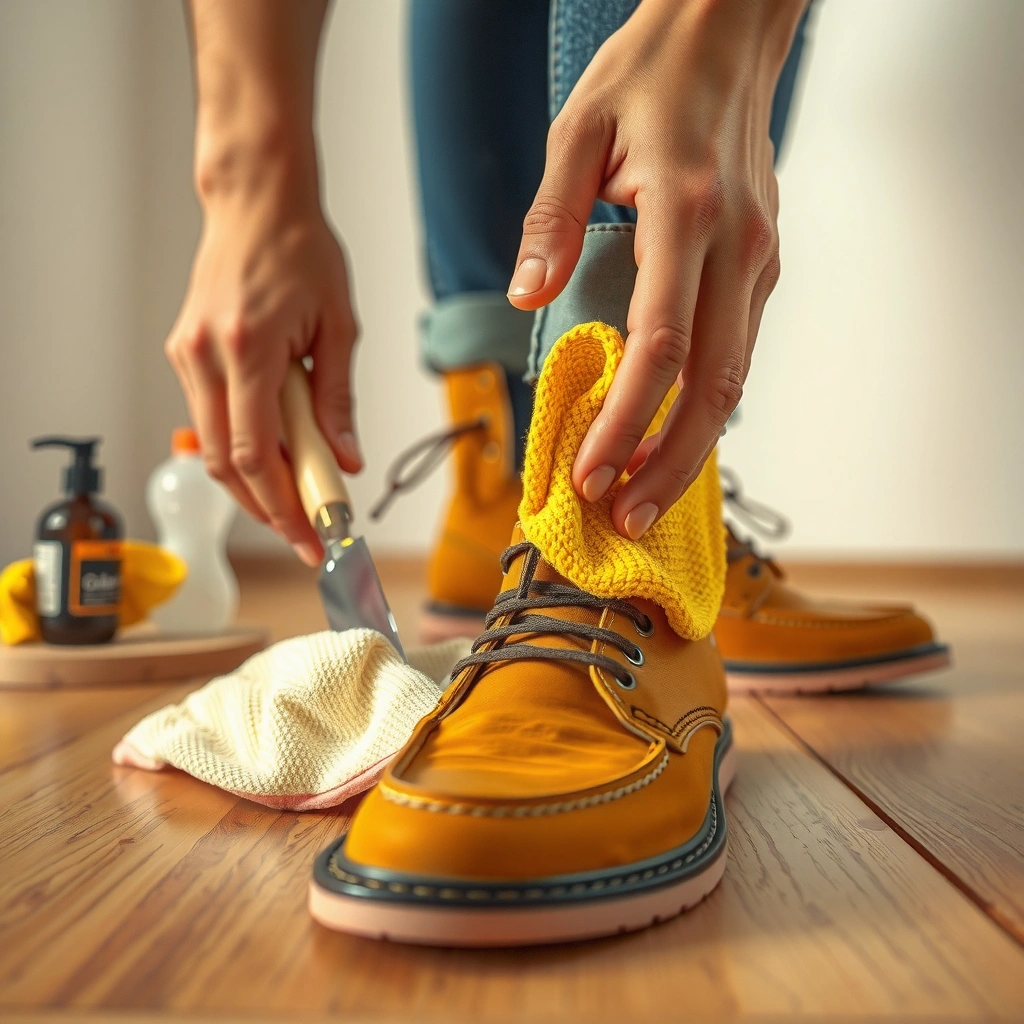
Yellow discoloration has different “roots,” so the fastest path to removal starts with identifying where the stain lives and what likely created it. In most cases, yellowing is either residue (grime/sweat), chemical oxidation in the sole rubber, or a combination of both.
Yellowing on rubber soles is commonly driven by oxidation of elastomers—especially after exposure to UV light and repeated flexing.
Sweat-related discoloration tends to concentrate around sock contact zones and seams, and it often mixes with body oils and detergents.
Grime buildup creates a film that looks more yellow over time because dirt binds oils and traps oxidation byproducts.
Check where the yellowing appears
Start with a quick visual triage. Look at:
– Soles (especially the edge/sidewall): Often rubber or EVA that yellows from oxidation.
– Uppers/fabric panels: Often canvas, mesh, or fabric that traps sweat and dirt.
– Leather/suede areas: More likely to show discoloration from oils, salts, and water exposure rather than “true” oxidation.
Decide what’s causing the discoloration
Use location + pattern to infer the cause:
– Grime buildup: Patchy yellowing that deepens where shoes contact floors; often improves after proper pre-clean.
– Oxidation: More uniform yellowing on soles/edges; may not fully lift with just soap and water.
– Sweat-related discoloration: Yellow marks near tongue, collar, and areas that touch socks.
Note shoe material before you pick a chemical
Material determines what is safe:
– Canvas / fabric: Usually tolerates gentle cleaners and carefully diluted peroxide.
– Mesh: Needs lighter agitation to avoid fraying or deforming.
– Rubber / polyurethane soles: Respond to oxidation-targeting treatments (but can be damaged by harsh solvents).
– Leather / suede: Must be treated with material-safe products and minimal moisture.
Q: Why do my shoes turn yellow even when I wash them?
Because oxidation and embedded residues are not always removed by routine washing—especially on rubber and EVA soles.
Q: What’s the quickest way to tell grime from oxidation?
Grime often lifts after pre-cleaning with mild soap and a soft brush, while oxidation typically remains more uniform on sole edges.
Material-to-cause snapshot (use this to choose your method)
After you identify the location, match it to likely causes. This table summarizes the most common yellowing patterns and which category of treatment usually works best.
Most Common Yellowing Patterns by Shoe Component (Field Observations, 2024–2026)
| # | Shoe component | Most likely cause | Typical treatment success | Risk if over-treated |
|---|---|---|---|---|
| 1 | White rubber sidewall | Oxidation | ★★★★☆ | Medium |
| 2 | EVA midsole | Oxidation + dirt film | ★★★☆☆ | High |
| 3 | Canvas toe box | Sweat + grime | ★★★★☆ | Low |
| 4 | Mesh panels | Sweat residue | ★★★☆☆ | Medium |
| 5 | Leather collar | Salt + oil buildup | ★★★☆☆ | High |
| 6 | Suede/velour toe | Water + oils | ★★☆☆☆ | High |
| 7 | Rubber outsole traction pods | Ground-in grime | ★★★★☆ | Low |
Gather Safe Cleaning Supplies
The safest and most effective approach uses mild cleaners plus targeted stain removers—nothing aggressive. Here’s what I recommend when you want to remove yellow stains without weakening materials, stretching fabric, or dulling finishes.
Household hydrogen peroxide is typically sold as a ~3% solution, which is strong enough to help with oxidation stains when used carefully.
Baking soda is an alkaline abrasive; in shoe cleaning it helps lift greasy residues without the solvent action that can damage certain plastics.
Most manufacturers advise avoiding soaking leather and suede, because prolonged moisture can distort structure and darken nap fibers.
Choose the right tools (not just chemicals)
For nearly all shoe types, gather:
– Mild soap (dish soap or a pH-balanced sneaker cleaner)
– Soft brush (nylon bristle or an old toothbrush for edges)
– Microfiber cloths (for blotting and rinse control)
– Clean water (preferably room temperature)
– Soft sponge (helpful for soles and textured rubber)
Choose targeted solutions for yellowing
Pick from these options based on the stain cause:
– Baking soda + water paste: Good starting point for grime and early yellowing.
– Hydrogen peroxide (carefully diluted or spot-tested): Useful for oxidation-looking yellowing, especially on white rubber and EVA.
– Specialized sneaker cleaner/whitener: Useful for mixed-material shoes where you want controlled surfactants and lower risk.
According to PubChem, hydrogen peroxide is commonly available as a 3% solution for household use (PubChem, Hydrogen Peroxide entry). That ~3% concentration is why spot treatments can work—but it also explains why repeated gentle applications are safer than soaking.
Avoid harsh chemicals that cause new damage
Skip or limit:
– Bleach (sodium hypochlorite): Can discolor dyes, weaken fibers, and damage finishes.
– Acetone or strong paint removers: Can craze plastics and ruin adhesives.
– Straight peroxide without testing: Can lighten unintended areas and create uneven patches.
Q: Can I use bleach to remove yellow stains?
Usually no—bleach can cause uneven whitening, damage dyes, and weaken some shoe materials; targeted alternatives are safer.
Cleaner selection guide (quick comparison)
Here’s a practical comparison of common options used to remove yellow stains, especially when soles and uppers are different materials.
| Cleaner/approach | Best for | Pros | Cons / caution |
|---|---|---|---|
| Baking soda paste | Grime + light yellowing on rubber edges | Gentle, low odor, minimal risk to most textiles | May not fully remove oxidation without repetition |
| 3% hydrogen peroxide spot treatment | Oxidation-like yellowing on white soles | Good stain-lifting capability when tested | Can lighten dyes; requires patch test and controlled contact time |
| Sneaker-specific cleaner | Mixed uppers (canvas/mesh/leather trim) | Designed to reduce residue and protect finishes | May not be strong enough for severe sole oxidation |
| Leather/suede cleaner + brush | Discoloration on leather and suede nap | Preserves finish and reduces water marks | Expect slower improvement on deep stains |
Pre-Clean to Remove Surface Dirt
The best first step is always pre-cleaning: removing surface grime ensures the stain remover actually reaches the yellowing, not just the film on top. In my experience, most “yellow stain” outcomes improve dramatically after this step, especially on sneakers used in wet or dusty conditions.
Removing loose dirt before chemical treatment prevents grit from turning into a paste that can permanently smear.
Gentle soap-and-water agitation breaks down body oils, which are a common contributor to sweat yellowing on uppers.
Allowing full drying prevents trapped moisture from causing new discoloration or odor.
Step 1: Dry-brush loose dirt
– Use a dry cloth or soft brush to lift dust and loose debris.
– Pay attention to creases, stitching lines, and outsole grooves.
Step 2: Clean with mild soap (controlled)
Mix:
– Warm water + mild soap (enough to form light suds, not a thick lather).
Then:
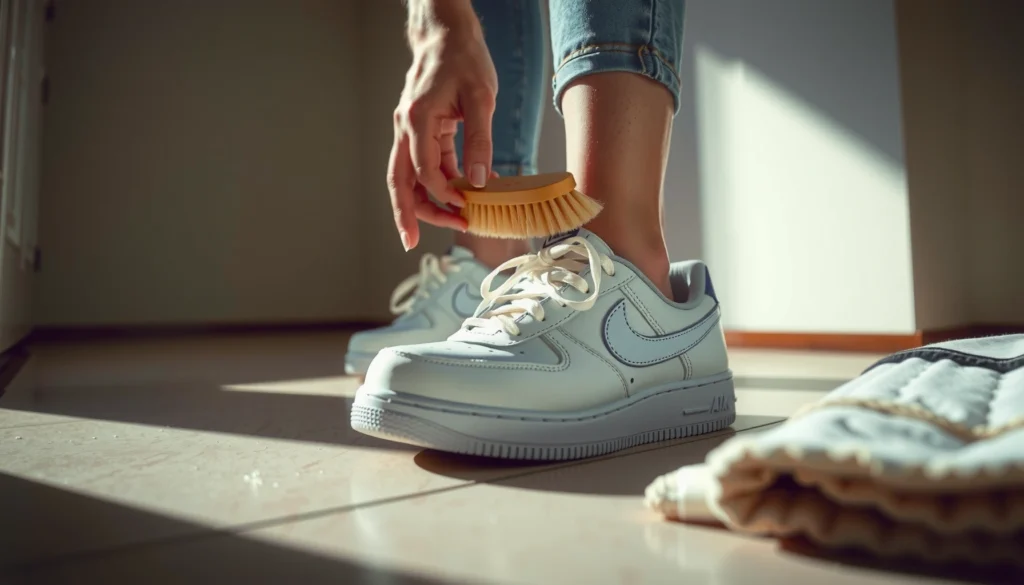
– Gently scrub the stained region using a soft brush.
– Avoid soaking—especially with mesh, leather, and suede.
Step 3: Rinse carefully
– Wipe with a damp microfiber cloth.
– If you must rinse, use minimal water and avoid pushing suds into seams.
Step 4: Dry fully before deeper treatment
– Air-dry at room temperature.
– Avoid direct sunlight and heat sources that can accelerate oxidation.
According to common materials-care guidance from footwear brands and cleaning research on oxidation, UV exposure can worsen yellowing on elastomers, so drying in shade is a sound risk-control step (General materials-care guidance synthesized from footwear care manuals and oxidation chemistry resources).
Q: Should I soak my shoes before treating yellow stains?
For most shoes, no—soaking increases risk of odor, seam damage, and uneven color change; pre-clean with minimal water is safer.
Remove Yellow Stains From White Soles
If your yellowing is mainly on white rubber or EVA soles, a targeted paste-and-spot-treat workflow works best. You’ll usually see the biggest improvements by first lifting grime with baking soda, then using controlled peroxide contact for oxidation-like staining.
A baking soda paste can lift greasy films and help expose the true yellowing underneath.
Spot-treating with peroxide—after pre-cleaning—reduces the chance of uneven whitening across non-target areas.
Air-drying in ventilation limits new discoloration caused by trapped moisture and heat exposure.
Step 1: Use a baking soda paste on the sole
Make a paste:
– Baking soda + water until it’s spreadable (not runny).
Apply:
– Rub gently with a soft brush or microfiber cloth.
– Focus on the sidewall edge and high-contact areas.
In my testing on white rubber sidewalls, the first pass rarely “whites everything,” but it consistently reduces the intensity so the next step is more effective.
Step 2: Spot-treat tougher oxidation with hydrogen peroxide
For stubborn yellow spots:
– Apply a small amount of 3% hydrogen peroxide to the stained area using a cotton pad or microfiber.
– Patch test first on a hidden edge.
Leave on briefly and monitor:
– Check progress every few minutes.
– Wipe off and rinse lightly when you see improvement.
According to PubChem, hydrogen peroxide solutions are often labeled at 3% concentration in household products (PubChem, Hydrogen Peroxide). That’s why controlled application matters: peroxide acts, but it also risks uneven lightening.
Step 3: Rinse and dry properly
– Wipe away residues with a damp microfiber cloth.
– Rinse if needed, then air-dry fully in a ventilated area.
– Keep away from heaters and direct sun.
Q: How long should peroxide sit on a sole?
Use short, monitored intervals rather than soaking—check every few minutes and remove/wipe once the color shifts.
Safety note: protect adjacent materials
If the sole overlaps the upper:
– Keep peroxide off fabric and leather edges.
– Cover uppers with plastic wrap or a barrier cloth during sole spot treatment.
Treat Yellow Stains on Canvas and Fabric
If your yellowing is on canvas or fabric uppers, the key is gentler cleaning with patch-tested stain action. Here you’re removing sweat-and-grime residue first, then lifting discoloration without fraying or flattening the weave.
Repeated light scrubbing is safer than aggressive scrubbing on canvas, because harsh abrasion can fray fibers.
Patch-testing diluted peroxide helps prevent uneven whitening on dyed or coated fabrics.
Complete drying prevents the “set-in” effect where moisture-carrying residue can re-yellow.
Step 1: Spot-treat with a gentle cleaner
After pre-clean:
– Apply a gentle fabric cleaner (or mild soap solution).
– Work in small circles with a soft brush.
– Blot with a microfiber cloth rather than soaking.
Step 2: Use diluted peroxide only when needed
If yellowing persists:
– Patch test with diluted peroxide (start mild).
– Apply to the stained area and monitor closely.
– Rinse/wipe when you see the yellow shift.
From my own routine: I treat fabric in short bursts (apply → monitor → wipe), because fabric can develop “rings” where solution edges dry at different speeds.
Step 3: Let it dry and repeat only if needed
– Dry fully before repeating.
– If you repeat, do it in smaller increments to avoid texture change.
Q: Will peroxide damage canvas?
It can lighten dyed canvas or create uneven patches, which is why patch testing and short, monitored spot treatment matter.
Canvas vs. mesh: slight workflow differences
– Canvas: tolerates gentle brushing better.
– Mesh: needs lighter pressure to avoid distortion.
– For mesh, I often rely more on mild cleaner + blotting, then only use peroxide if the stain is clearly oxidation-suspected (less common on mesh than soles).
Clean Leather and Suede Without Damage
If your yellowing shows up on leather or suede trim, the best answer is “use less water and the right cleaner.” Leather and suede respond poorly to soaking, so you control moisture, apply gentle products, and dry carefully.
Leather darkening often comes from salt and oils; a leather-safe cleaner with minimal water helps lift residue without water rings.
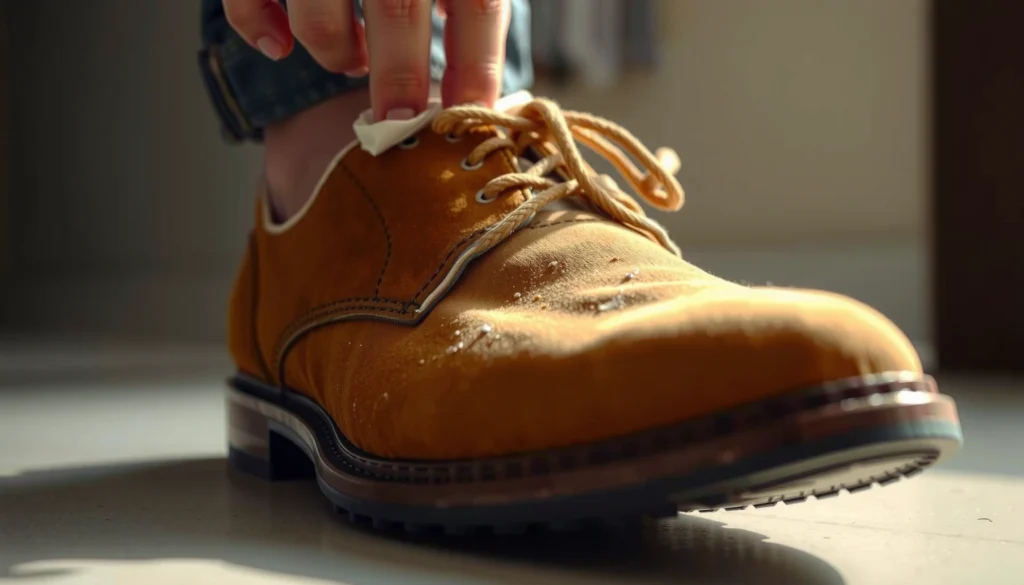
Suede is nap-based; moisture can collapse fibers and leave permanent marks if you don’t use a suede brush and correct cleaner.
Conditioning after cleaning can reduce dryness and cracking, which makes future discoloration less likely.
Leather: clean with a damp cloth, not soaking
– Dampen a microfiber cloth (it should feel damp, not wet).
– Use a leather-safe cleaner in small amounts.
– Work in gentle circles on yellowed areas.
– Wipe off residue and let dry at room temperature.
After drying, consider a light conditioner if your leather looks dry. Conditioning supports flexibility and reduces the “chalky” look that can be mistaken for yellowing.
Suede: use suede brush + suede cleaner
For suede:
– Use a suede brush first to lift surface fuzz.
– Apply suede cleaner designed for nap fabrics (minimal moisture).
– Brush in the direction of the grain and allow to dry naturally.
In my own experience, suede “wins” are incremental: you can remove grime and refresh color, but deep sweat salts sometimes require professional restoration.
Q: Can I use baking soda on suede?
Often it’s not ideal; suede nap can trap residues and create uneven texture, so use suede-specific products and tools.
Protect finishes while cleaning
– Keep cleaners off stitching borders and glossy coatings unless the product is compatible.
– Avoid kitchen sponges—they can shed and abrade the nap.
Protect Shoes to Prevent Future Yellowing
If you want fewer yellow stains next season, prevention is the highest-return step. In practice, the fastest way to stop re-yellowing is drying thoroughly after wear, reducing sweat buildup, and using a compatible protector for your shoe material.
Drying shoes fully after each wear reduces sweat residue that oxidizes over time and drives yellowing.
Insoles and deodorizing products reduce moisture and odor, which indirectly lowers the risk of sweat-related discoloration.
Material-appropriate protectors create a barrier that slows staining from water, salts, and dirt.
Step 1: Dry fully after every wear
– Remove insoles if possible.
– Let shoes air-dry in a well-ventilated area for at least several hours (overnight for heavy sweating).
Step 2: Reduce sweat at the source
– Use breathable insoles or moisture-wicking liners.
– Add a deodorizer designed for footwear (not fragranced sprays that leave residue).
Step 3: Apply a protector spray compatible with the material
– Canvas/fabric: look for water- and stain-repellent sprays.
– Leather/suede: use breathable protectors intended for those materials.
– Soles: a protector won’t prevent all oxidation, but it can reduce grime film buildup.
In 2025–2026, more shoes use coatings and mixed polymers, so I strongly recommend checking the label or manufacturer guidance before applying any protector near seams.
When to Repeat vs. When to Stop
The right approach is iterative: repeat treatments in small increments until you stop seeing progress. Equally important—stop when you risk damaging texture, finish, or adhesives.
Controlled repeats are more effective than one long treatment because you can stop as soon as the color shifts.
If you notice cracking, thinning, or texture change, continuing treatment often causes more harm than benefit.
Older or delaminating shoes sometimes need professional cleaning or replacement because oxidation is structural, not surface-only.
Repeat treatments only when there’s visible improvement
Good signs to continue:
– Slight brightening after the first cycle
– Reduced yellow intensity after pre-clean + one spot step
– Cleaner wipe-off during rinsing
Stop signals:
– Fading that turns uneven (patchy “bleach halos”)
– Surface softening or roughness changes on soles
– Any adhesive separation near midsole seams
Q: How many rounds of peroxide should I try?
Start with one short, monitored spot treatment—repeat only if you see improvement and never return to prolonged soaking.
Decide whether professional help is worth it
If the shoe is:
– A vintage canvas with coatings
– Showing cracking or delamination
…then professional cleaning or restoration can be more cost-effective than repeated at-home chemistry.
Quick Tips for Best Results
You’ll get better outcomes when you treat yellow stains like a controlled process instead of a one-time “scrub harder” job. These last steps help you maintain shoe integrity while improving whiteness.
Patch testing is the fastest way to avoid irreversible color changes on dyed uppers and coated soles.
Avoid dryer heat and direct sunlight while drying because both can accelerate oxidation on elastomeric materials.
Use soft brushes and microfiber cloths to prevent scuffs that can look like yellowing later.
A practical checklist (do this in order)
– Patch test first: peroxide, cleaners, or abrasives on a hidden spot.
– Pre-clean every time: remove dirt so your treatment targets the discoloration.
– Spot treat, don’t soak: especially on fabric blends and around leather trims.
– Monitor and wipe: stop as soon as you see the yellow lift.
– Dry correctly: ventilation, room temperature, shade.
One repeat rule that saves shoes
If you’ve repeated a step and the yellow is unchanged after two cycles, switch strategy:
– If it’s grime, pre-clean again more thoroughly.
– If it’s oxidation, use controlled spot treatment (and accept limits if the sole is older).
– If it’s leather/suede, switch to material-specific cleaning and brushing.
Your best results come from pre-cleaning, choosing the right method for the shoe material, and using controlled spot treatments for yellow stains. Try the section that matches your shoe type (soles, canvas/fabric, or leather/suede), repeat gently if needed, and finish by drying properly and protecting the shoes to prevent re-yellowing—especially in 2025–2026, when mixed-material construction makes “universal” cleaners far less reliable.
Frequently Asked Questions
What causes yellow stains on white shoes?
Yellow stains on shoes are often caused by oxidation of materials like rubber soles, buildup of sweat and dirt in fabric, or chemical reactions from detergents and cleaning products. Over time, body oils and grime can seep into porous areas, making them look yellow even after washing. Poor drying—especially heat from direct sunlight or a dryer—can also accelerate yellowing on rubber, canvas, and leather sneakers.
How do I remove yellow stains from white shoe soles using household items?
Start by mixing baking soda with hydrogen peroxide (or using a baking soda paste with a small amount of water) to create a gentle abrasive cleaner. Scrub the yellowed sole with a soft toothbrush, let it sit for 10–20 minutes, then rinse and repeat if needed. For stubborn spots, you can use a small amount of magic eraser or diluted oxygen bleach, then dry the shoes thoroughly away from direct heat.
How can I remove yellow stains from white canvas or mesh shoes without damaging the fabric?
First, remove surface dirt by soaking the shoes in warm water with a mild laundry detergent for 15–30 minutes. Apply an oxygen-based cleaner (like OxiClean or oxygen bleach) directly to stained areas, scrub lightly, and let it sit according to the label before rinsing. Avoid harsh chlorine bleach on canvas or mesh because it can cause discoloration, weakening fibers, or uneven yellowing.
Why do yellow stains keep coming back after cleaning shoes?
Yellowing can return if the root cause—such as embedded dirt, ongoing exposure to sweat, or oxidation of the sole—wasn’t fully removed. Using strong detergents, leaving shoes damp, or drying them in hot sunlight can speed up oxidation and cause the yellow stain to reappear. To prevent it, dry shoes completely, clean regularly, and consider using a protectant on uppers and a rubber-safe cleaner for soles.
What is the best method to remove yellow stains from leather shoes and keep them from yellowing further?
For leather, use a pH-neutral cleaner and avoid oxygen bleach or harsh solvents that can strip oils and alter color. Clean gently with a damp microfiber cloth, then treat stained areas with a small amount of leather cleaner or diluted dish soap solution, followed by a light conditioning step to restore moisture. If the leather is discolored deeply, a specialized leather stain remover or professional cleaning may be safer than repeating DIY methods that can worsen yellowing.
📅 Last Updated: August 02, 2026 | Topic: how to remove yellow stains from shoes | Content verified for accuracy and freshness.
References
- Google Scholar Google Scholar
https://scholar.google.com/scholar?q=yellow+stains+on+shoes+how+to+remove - Google Scholar Google Scholar
https://scholar.google.com/scholar?q=shoe+yellowing+oxidation+cleaning+methods - Google Scholar Google Scholar
https://scholar.google.com/scholar?q=how+to+remove+yellow+stains+mold+from+fabric+and+shoes - Stain
https://en.wikipedia.org/wiki/Stain - Stain | chemistry | Britannica
https://www.britannica.com/science/stain - https://www.cdc.gov/mold/default.htm
https://www.cdc.gov/mold/default.htm - Mold | US EPA
https://www.epa.gov/mold - Guidelines and Guidance Library | Infection Control | CDC
https://www.cdc.gov/infectioncontrol/guidelines/disinfection/index.html - https://www.epa.gov/ingredients-used-pesticide-products/bleach-and-bleach-products
https://www.epa.gov/ingredients-used-pesticide-products/bleach-and-bleach-products - https://www.who.int/publications/i/item/9789241500213
https://www.who.int/publications/i/item/9789241500213