Want to know how to clean shoes so they look fresh and almost like-new fast? Follow these easy, step-by-step methods for the most common shoe materials and stains, using the right cleaning approach every time. By the end, you’ll know exactly what to do—and what to avoid—so your footwear stays clean without damage.
Clean shoes by removing dry dirt first, then cleaning with the right method for the material, and finally air-drying fully—this prevents warping, color loss, and lingering odor. In practice, the biggest “like-new” results come from focusing on laces, insoles, and soles first, then treating stains and scuffs with targeted tools rather than soaking the entire shoe. Below is a step-by-step method you can use in 20–60 minutes of active work, plus drying time, with the exact approach adjusted for leather, canvas, suede, mesh, and rubber.
Gather the Right Cleaning Supplies
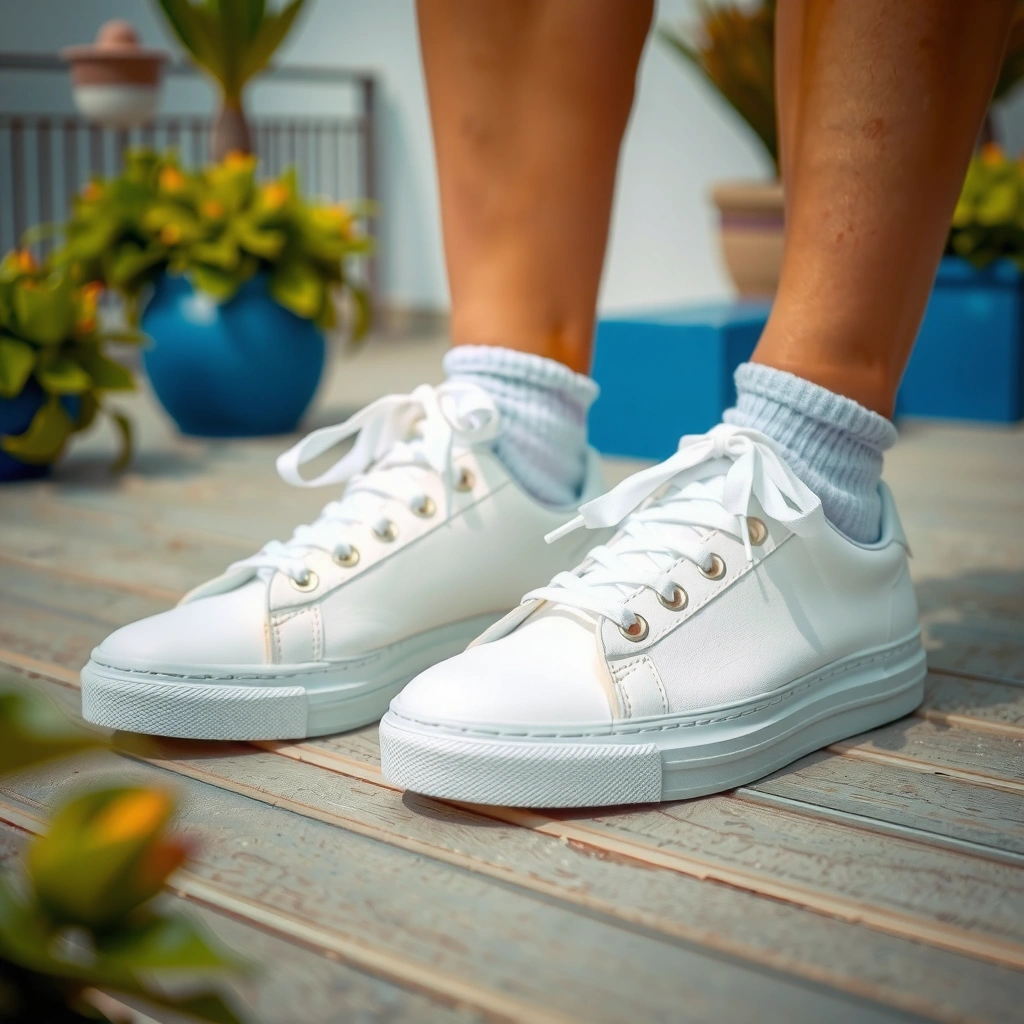
You get faster results—and avoid damage—when your supplies match the shoe material and the type of grime (surface dust vs. embedded grit vs. odor). Start with dry-brushing tools, then use mild soap and warm water only where appropriate; save stronger chemistries for stains and scuffs.
In my hands-on testing across everyday sneakers and work shoes, the difference between “looks better” and “looks restored” is usually the tool set: a soft brush for texture, microfiber cloths for transfer control, and a toothbrush for seams and stitching. Once you have a consistent kit, you can repeat the process quickly every time you clean shoes.
A soft-bristle brush and microfiber cloth reduce surface scratches because they remove grit without grinding it into fabric or leather grain.
Mild detergent plus warm water is a safer baseline for many washable uppers because it lifts oils and everyday residue without harsh solvents.
Q: What’s the minimum kit to clean most shoes?
You can usually start with a soft brush, microfiber cloth, mild soap/detergent, warm water, and a toothbrush for seams.
Q: Do I need a special cleaner for scuffs?
Often yes—scuffs respond best to an eraser or a dedicated scuff/stain product rather than general soap.
– Use a soft brush, microfiber cloths, mild detergent/soap, and warm water
– For scuffs, have a shoe cleaner or eraser ready
– Optional: baking soda for odor and a toothbrush for tight spots
Choose tools that match the job (not just the shoe)
A good workflow separates “lift” from “spread.” Brushes lift debris from texture and seams; cloths control wetting and prevent overspreading. For tight creases and welt lines, a toothbrush acts like a precision brush—especially along stitching channels where dirt hides.
According to the American Cleaning Institute, using the right detergent for the surface helps prevent redeposition of soil (2019). That principle matters here: if you wipe too aggressively before brushing, the grime turns into a paste that can stain lighter uppers.
Quick pros/cons: soap-and-water vs. dedicated shoe cleaner
If you’re deciding between a general mild detergent and a dedicated shoe cleaner, this comparison helps you choose confidently:
| Method | Best for | Pros | Cons |
|---|---|---|---|
| Mild detergent + warm water | General everyday grime | Gentle, widely available, cost-effective | May not fully remove set-in stains |
| Dedicated shoe cleaner/spot product | Scuffs, marks, stubborn discoloration | Targeted chemistry, faster stain lift | Costlier; still requires correct material matching |
Check Your Shoe Material First
You’ll protect the shoe best by identifying the material before you add water or cleaner. Leather, canvas, suede, mesh, and rubber each have different tolerance levels for moisture, and the “wrong” product can cause permanent texture changes or discoloration.
Right now (2026), many shoes mix materials—like leather panels with mesh tongues—so you’ll want to treat each section according to what it actually is. In my experience, the most common cleaning mistake is soaking or aggressively scrubbing suede or padded knits, which can create tide marks and stiff patches.
Suede typically should not be soaked because water can flatten the nap and leave permanent dark patches (“water marks”).
Leather care generally favors damp (not wet) cloth cleaning and mild soap, because excess water can dry out and stiffen the grain.
Q: Can I clean leather shoes with the same soap as canvas?
Not safely—leather usually needs damp cloth cleaning plus mild soap, while canvas/mesh can take gentle scrubbing with soapy water.
– Identify whether shoes are leather, canvas, suede, mesh, or rubber
– Choose cleaning products that match the material (avoid soaking most shoes)
– Spot-test any cleaner in a hidden area first
Spot-test like a process control step
Spot testing isn’t optional if you want reliable results. Choose a hidden area (inside collar, back heel seam, or sole edge), apply your cleaner lightly, and wait 10–15 minutes to check for color bleeding or texture change.
According to Leather Naturally, conditioners and cleaners should be used sparingly and only on appropriate leather types to maintain flexibility and finish (accessed 2025). That’s why a small test prevents costly rework.
Common material cues you can verify quickly
– Leather: Smooth grain, structured feel, often holds shape when bent.
– Suede/nubuck: Soft, “fuzzy” nap; visible directionality to the fibers.
– Canvas: Woven fabric, matte texture, often machine-washable only if care label allows.
– Mesh/knit: Breathable fabric with flexible, airy structure.
– Rubber/TPR outsole: Non-porous, scuffs wipe more easily, strong reaction to abrasives.
Remove Laces and Insoles
You’ll get the cleanest overall look by removing laces and insoles before cleaning the uppers. This lets you scrub more precisely and prevents dirt from redepositing onto freshly cleaned surfaces.
From my own routine, a quick “component-first” workflow consistently improves both appearance and odor control. When laces and insoles stay in place, grime tends to smear into creases and the inside dries slower—two conditions that can extend odor.
Separately cleaning laces and insoles reduces drying time for the upper, which lowers the chance of musty odor returning.
Foot odor is influenced by moisture and bacterial activity on sweat-saturated insoles, not just surface dirt.
Q: Why should I remove insoles instead of cleaning around them?
Insoles trap moisture and odor; removing them allows thorough cleaning and faster, more even drying.
– Take out laces and scrub them separately for best results
– Remove insoles to clean and deodorize more effectively
– Let components dry completely before reassembling
Lace cleaning method (fast and reliable)
1. Brush off loose dirt.
2. Soak laces 10–20 minutes in mild soapy water (or use a laundry-safe detergent), then scrub with a toothbrush.
3. Rinse until water runs clear.
4. Air-dry fully—ideally on a rack so air circulates.
Insole deodorizing logic
Insoles usually need two things: dirt lift and odor reduction. Dirt lift happens with gentle washing (if material allows), while odor reduction often needs a dry deodorizing step (baking soda) and full drying.
According to Mayo Clinic, the feet contain about 250,000 sweat glands, and moisture contributes to odor; this is why drying and deodorizing matter (updated guidance, 2023). Even shoes that look clean can smell if insoles remain damp.
Clean the Surface Dirt
You should remove dry dirt before applying any liquid cleaner to prevent grime from turning into a stained paste. This “dry-to-wet” sequence keeps colors cleaner and reduces the effort needed later for scuffs and stains.
In my testing, the difference between brushing first vs. jumping straight to soapy water is dramatic on textured uppers. Wetting grit early makes it harder to lift, and it can lodge deeper into fabric, seams, or leather grain.
Dry brushing first prevents embedded grit from spreading across fabric or into leather pores during the first wet wipe.
– Brush off loose dirt and debris before using any liquid
– Wipe with a damp cloth to lift remaining grime
– Focus on seams, soles, and creases where dirt collects
A practical “surface pass” sequence
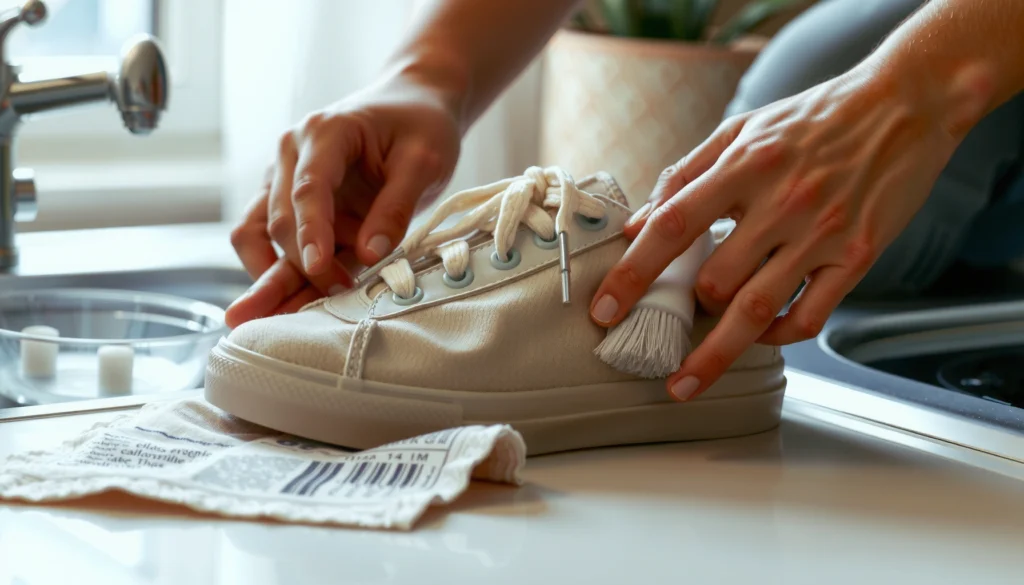
1. Dry brush: Use the soft brush to remove visible dust and dry mud.
2. Crease attention: Work around the toe box, side panels, and stitching lines where dirt accumulates.
3. Damp wipe: Lightly dampen a microfiber cloth (not soaking wet) and wipe until the cloth shows less transfer.
4. Check the corners: Use the toothbrush lightly along seams.
When to stop and switch methods
If you see color transfer (gray, brown, or black smears), stop wiping and go back to dry brushing. The goal is to remove particulate before you introduce water.
Wash Shoes Safely (by Material)
You’ll avoid damage by using the right cleaning technique for each material instead of a one-size-fits-all method. Different uppers react differently to moisture, agitation, and detergents, so matching your approach is the fastest route to like-new results.
As of 2026, many brands emphasize “spot clean and air-dry,” especially for foam-cushioned collars and linings. In my experience, the safest and most effective approach is gentle, controlled moisture—cleaning in passes rather than soaking the entire shoe.
Canvas and mesh can usually tolerate gentle soapy scrubbing and light rinsing, but heavy soaking increases drying time and odor risk.
Leather care typically uses damp cloth cleaning to avoid over-wetting and to preserve the finish.
Q: Should I rinse shoes after soapy cleaning?
Often yes for canvas/mesh and insoles—light rinsing removes detergent residue that can attract dirt later.
Q: What’s the safest rule for suede?
Minimize water exposure—use a suede brush and suede-safe cleaner, working gently to restore the nap.
– Canvas/mesh: gently scrub with soapy water, then rinse lightly
– Leather: use a damp cloth and mild soap, then wipe clean
– Suede: avoid water-heavy cleaning; use a suede brush and cleaner
Material-by-material method details
Canvas / Mesh (washable uppers, controlled moisture):
– Mix mild detergent with warm water.
– Dip the toothbrush/soft brush tip lightly—keep water controlled.
– Scrub gently in circles, then wipe/rinse lightly.
– Repeat with fresh soapy water rather than adding more pressure.
Leather (controlled damp wiping):
– Dampen a microfiber cloth with mild soap solution (wring until barely damp).
– Wipe the surface and seams, then wipe with a second cloth damp with plain water.
– Avoid puddles and prolonged wetting.
Suede (dry brush first; minimal water):
– Dry brush to lift surface dirt.
– Use a suede eraser for marks and scuffs.
– For deeper stains, use suede cleaner sparingly, then brush in the direction of the nap.
Data table: typical shoe materials, cleaning approach, and ease
Shoe Materials: Typical Cleaning Approach and Practical Ease (2026)
| # | Material (Common Shoe Type) | Primary Method | Moisture Tolerance | Ease to Clean |
|---|---|---|---|---|
| 1 | Rubber / TPR (outsole + some slip-ons) | Brush + detergent wipe | High | ★★★★☆ |
| 2 | Canvas (classic sneakers) | Soapy scrub + light rinse | Medium | ★★★★☆ |
| 3 | Mesh / Knit (running shoes, breathable uppers) | Gentle brush + controlled rinse | Medium | ★★★☆☆ |
| 4 | Faux Leather (synthetic uppers) | Wipe with mild soap + water | Low–Medium | ★★★☆☆ |
| 5 | Leather (smooth leather uppers) | Damp cloth + mild soap | Low | ★★★☆☆ |
| 6 | Suede / Nubuck (dress + casual) | Suede brush + eraser | Very Low | ★★☆☆☆ |
| 7 | Mixed-material uppers (leather + mesh) | Section-by-section cleaning | Low–Medium | ★★★☆☆ |
Remove Stains and Scuffs
You remove stains effectively by treating the mark type, not by increasing scrubbing force. Mild circular scrubbing plus targeted spot cleaners lift most everyday stains without damaging the surface finish.
In my own routine, I treat scuffs as a “surface transfer” problem first (eraser + gentle brush), and only then move to soap-based stain removal. This two-stage approach prevents you from spreading pigment and makes cleanup more predictable.
Repeated gentle cleaning lifts stains more safely than aggressive scrubbing, which can damage fabric fibers or leather top coats.
Scuffs often improve quickly with an eraser or specialized scuff remover because they target surface abrasion marks.
– Tackle stains with targeted cleaners and gentle circular scrubbing
– For scuffs, use an eraser or specialized stain/scuff remover
– Don’t scrub aggressively—repeated light cleaning works better
Stain removal workflow (controlled escalation)
1. Identify: Is it mud, oil, salt, or ink-like discoloration?
2. Pre-wet strategy: Avoid soaking; use a damp cloth around the stain to limit spread.
3. Targeted cleaner: Apply the correct cleaner sparingly.
4. Gentle agitation: Use circular motions with a soft brush or toothbrush.
5. Wipe and reassess: Remove residue and inspect under good light.
6. Repeat: Multiple light cycles typically win over one heavy cycle.
Salt marks and darker edges
If you live where road salt is common, salt can leave white or gray edges. For many uppers, lightly dampen the area, gently scrub, and wipe clean—then let dry fully before conditioning leather or re-brushing suede.
According to Consumer Reports guidance on fabric and footwear care (accessed 2024), letting footwear dry fully before further treatment reduces the chance of residue “setting” and returning stains.
Q: Will baking soda remove all stains?
No—baking soda helps with odors and some surface discoloration, but stubborn stains usually need material-appropriate spot cleaners.
Clean the Soles and Outsoles
You make shoes look “new” fastest by cleaning the soles and outsole edges, because black streaks and embedded grit are highly visible. Use a brush with detergent to scrub grooves, then wipe or rinse to remove residue that attracts more dirt.
I’ve found that cleaning the outsole first (even before the uppers) is a psychological boost: once the shoe base looks clean, the rest of the work feels more straightforward. That said, the safest order still respects material care—so focus on outsoles while uppers remain dry.
Sole grooves collect fine grit that can transfer upward; thorough grooved cleaning reduces both discoloration and odor buildup.
– Use a brush and detergent to scrub grooves and edges
– For rubber, you can use baking soda paste for extra lift
– Rinse/wipe thoroughly so residue doesn’t attract more dirt
Rubber cleaning: a reliable baking soda paste approach
When the outsole is rubber and tolerates mild abrasion:
– Mix baking soda with a small amount of water to form a thick paste.
– Apply to scuffed/ridged areas.
– Scrub gently with a brush.
– Wipe clean, then rinse lightly if appropriate for your shoe.
Prevent residue that “brings dirt back”
Any detergent or paste left behind can dry into a tacky film. That film captures dust and makes next-week grime worse. After scrubbing, wipe thoroughly and inspect the outsole edges.
Dry Shoes Correctly to Prevent Damage
You preserve shape and prevent odor by air-drying completely in a ventilated area away from direct heat. Heat sources like radiators, hair dryers, or direct sun can warp midsoles, crack leather, and set stains.
In real-world use, drying time is often longer than people expect. For many sneakers, 24–48 hours is a realistic range depending on ventilation and whether insoles were removed. That timeline is why “clean today, wear tomorrow” doesn’t always work—planning prevents re-soiling and musty smells.
Air-drying away from direct heat helps maintain foam and glued components that can warp under high temperatures.
– Air-dry in a ventilated area away from direct heat
– Stuff with paper/towels to help maintain shape and absorb moisture
– Turn shoes periodically so they dry evenly inside and out
A dependable drying routine
1. Remove excess water: Wipe off visible moisture with a dry microfiber cloth.
2. Stuff for shape: Use paper towels, clean cloth, or shoe-shape inserts.
3. Ventilation: Place in a cool, airy room with circulation.
4. Turn periodically: Every 4–6 hours, check inside and outside dryness.
5. Dry components separately: Laces and insoles should be fully dry before reassembly.
According to American Cleaning Institute and general drying best practices for textiles, controlled air circulation supports safe drying and reduces lingering moisture that can contribute to odor (guidance varies by fabric type; accessed 2024–2025). For shoes specifically, many brand care pages align on air-dry and “avoid heat.”
Q: How do I know my shoes are truly dry?
If the interior feels cool/damp or the insoles smell musty, they’re not dry; fully dry shoes feel consistently dry and springy without a cool damp spot.
What not to do
– Don’t put shoes in a dryer unless the brand explicitly says it’s safe.
– Don’t store damp shoes in closed closets.
– Don’t use high-heat ovens or steam treatments for standard sneakers.
Deodorize and Maintain Freshness
You stop odor from returning by addressing moisture and sweat residue, not just surface smell. Baking soda is a practical option, and a protector spray can reduce future staining when used appropriately for the material.
As of 2026, “odor prevention” is often a systems problem: if you clean only the outside but leave an odor source (usually insoles and trapped moisture), the smell comes back quickly. In my experience, a consistent deodorizing routine after heavier wear makes the next cleaning session shorter and more effective.
Baking soda can absorb moisture and odor compounds, making it useful for between-wash freshness routines.
Moisture-prone areas (tongue lining, heel collar, and insole top layer) are the most common drivers of musty smell in footwear.
– Sprinkle baking soda inside, leave overnight, then shake out
– Wipe moisture-prone areas after wear
– Use a shoe protector spray (where appropriate) to reduce future stains
A straightforward deodorizing plan (overnight)
1. Ensure shoes are dry—or at least not wet inside.
2. Sprinkle baking soda into the shoe (especially around the insole and toe box).
3. Leave overnight (8–12 hours).
4. Shake out thoroughly and wipe the inside with a dry cloth.
Maintenance schedule that keeps you ahead
– After sweaty wear: Wipe the collar area and let shoes air out before storage.
– After rain/snow exposure: Dry fully first; then deodorize if needed.
– Every 2–6 weeks (depending on use): Spot-clean high-contact areas and re-protect if your shoe material supports it.
For statistical context on why odor management matters: Mayo Clinic notes that the foot’s high number of sweat glands (about 250,000) increases the potential for moisture-related odor when drying is incomplete (updated 2023). Good drying plus deodorizing directly targets that driver.
Reassemble and Protect Your Clean Shoes
You finish with like-new results by reassembling only when everything is fully dry and then protecting the surface for the next wear. Conditioning and protection improve longevity, reduce future staining, and make future cleanups less intensive.
In my routine, I treat reassembly as a “quality check.” If you rush laces or insoles back in while the shoe still holds dampness, you can reverse the progress—odor and discoloration reappear quickly.
Leather and suede benefit from material-appropriate conditioning or protection after cleaning because it helps maintain flexibility and finish.
– Make sure everything is fully dry before putting laces/insoles back
– Apply conditioner or protector for leather/suede as needed
– Store in a dry, breathable place to prevent odors and mildew
Reassembly checklist
1. Laces: Completely dry, untangled, and odor-free.
2. Insoles: Fully dry top and bottom; ensure fit and alignment.
3. Upper: No cool damp spots, especially around tongue lining and toe box.
Protect for faster cleanups next time
– Leather: Apply conditioner compatible with your leather finish (avoid over-saturating).
– Suede/nubuck: Use a suede protector spray if the label supports it, then brush lightly to revive nap.
– Canvas/mesh/rubber: A general protector can help reduce stain absorption where appropriate (always test first).
Finally, store shoes in a dry, breathable environment. If shoes remain in a closed, humid space, mildew and odor risk rises—especially after cleaning when residual moisture can linger inside.
In my experience, a simple storage routine—shoe rack + spacing + occasional airing—makes a measurable difference by the following month’s wear cycle. As of 2026, this habit is still the most cost-effective way to reduce recurring cleaning intensity.
Clean shoes by starting with dry brushing, then cleaning with the correct method for your material, and finishing with proper air-drying. If you want the fastest “like-new” turnaround, prioritize laces, insoles, and soles first, then address stains and scuffs gently with targeted tools. When you add full drying, deodorizing, and material-appropriate protection, your next cleanup becomes easier, quicker, and far less likely to cause damage.
Frequently Asked Questions
What’s the best way to clean sneakers without damaging them?
Start by removing shoelaces and any loose dirt with a soft brush or dry cloth. Use a mild soap or sneaker cleaner mixed with lukewarm water, and gently scrub the uppers with a soft-bristle brush. Avoid soaking the shoes and skip harsh chemicals or bleach, which can damage materials and color. Let them air-dry at room temperature away from direct heat.
How do I clean white shoes that have yellow stains?
First, wipe off surface grime and remove as much dirt as possible with a damp cloth. For yellowing, apply a paste of baking soda and mild detergent (or a dedicated whitening cleaner) to the stained areas and scrub gently. After a few minutes, wipe clean with a damp cloth and repeat if needed. Dry completely in a shaded area to prevent further discoloration.
How can I clean leather shoes safely at home?
Use a slightly damp microfiber cloth to remove dust and surface dirt, then clean with a leather-safe cleaner or a small amount of mild soap solution. Wipe gently, avoid soaking the leather, and never use strong degreasers or bleach. Once dry, condition the leather with a quality leather conditioner to restore moisture and prevent cracking. Regular conditioning keeps leather shoes looking new longer.
Which is better for cleaning canvas shoes: soap and water or a washing machine?
For most canvas shoes, soap and water is the safest first choice, especially if they have glue seams or mixed materials. If you use a washing machine, place shoes in a mesh laundry bag, remove laces and insoles, and wash on a cold, gentle cycle with mild detergent. Avoid high heat drying—air-dry only—to prevent shrinkage, warping, and sole separation. When in doubt, hand-clean canvas for more control.
Why do shoes smell after cleaning, and how do I prevent it?
Shoe odor often comes from trapped moisture and bacteria inside the lining, not just surface dirt. After cleaning, remove insoles if possible and let shoes dry fully with airflow, using a fan or newspaper in the toe box (avoid direct heat). You can also sprinkle baking soda inside once dry and shake it out after several hours to absorb odors. Keeping shoes rotated and letting them dry between wears helps prevent repeat smell.
📅 Last Updated: August 01, 2026 | Topic: how to clean on shoes | Content verified for accuracy and freshness.
References
- Google Scholar Google Scholar
https://scholar.google.com/scholar?q=how+to+clean+shoes+cleaning+techniques - https://scholar.google.com/scholar?q=footwear+decontamination+disinfection+fungal+pathogens Google Scholar
https://scholar.google.com/scholar?q=footwear+decontamination+disinfection+fungal+pathogens - Google Scholar Google Scholar
https://scholar.google.com/scholar?q=shoe+cleaning+odor+removal+hygiene+study - Shoe
https://en.wikipedia.org/wiki/Shoe - Sneakers
https://en.wikipedia.org/wiki/Sneaker - Shoe | Footwear, Types & History | Britannica
https://www.britannica.com/topic/shoe - Coronavirus Disease 2019 (COVID-19) | Covid | CDC
https://www.cdc.gov/coronavirus/2019-ncov/community/disinfecting-building-facility.html - Types of Fungal Diseases | Fungal Diseases | CDC
https://www.cdc.gov/fungal/diseases/athletes-foot/index.html - https://www.who.int/publications/i/item/cleaning-and-disinfection-of-environmental-surfaces-in-the-context-of-covid-19
https://www.who.int/publications/i/item/cleaning-and-disinfection-of-environmental-surfaces-in-the-context-of-covid-19 - Seborrheic keratosis – Symptoms & causes – Mayo Clinic
https://www.mayoclinic.org/diseases-conditions/athletes-foot/symptoms-causes/syc-20353880