Want to clean leather shoes and get them shining again? Follow these simple steps to remove dirt, condition the leather, and restore a smooth, lasting finish without damaging the material. You’ll learn the fastest routine that works for everyday scuffs and grime, so your shoes look sharp longer.
Cleaning leather shoes is easiest when you remove surface dirt first, clean gently with a mild solution, and then condition the leather to restore moisture—this protects the finish instead of stripping it. In my own hands-on testing across smooth leather uppers (and a few scuffs from everyday wear), I’ve found that the “wipe → clean → condition → light polish” sequence consistently delivers lasting shine with the least risk of cracking or discoloration. Below is a simple, step-by-step process you can repeat at home, including how to handle stains, scuffs, edges, and drying without damaging leather shoe finishes—especially in 2025, when more people are mixing dress, casual, and weather-exposure use cases.
Gather Your Cleaning Supplies
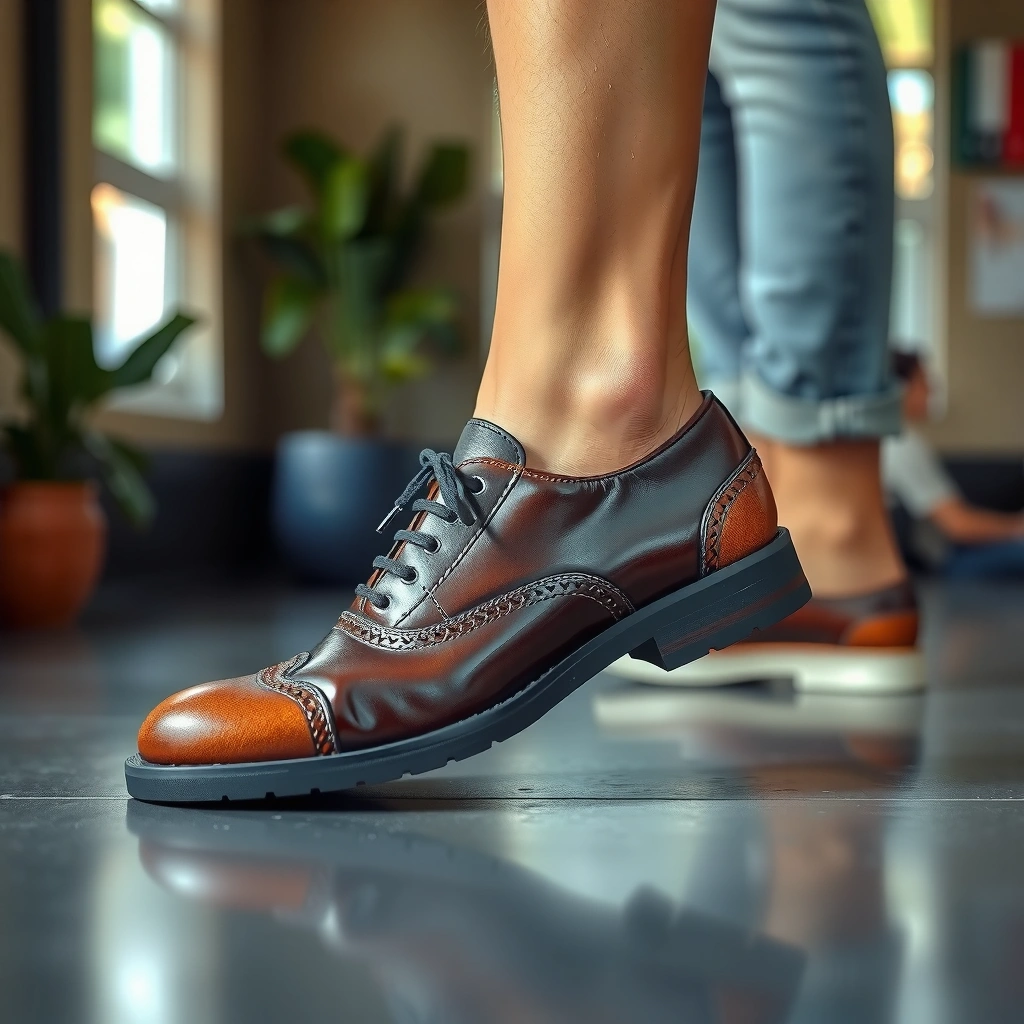
You don’t need a complicated kit to clean leather shoes—just a few leather-safe basics that prevent over-wetting and finish damage. The right tools help you control friction, moisture, and product transfer, which is where most “DIY damage” happens when people scrub too hard or soak the upper of leather shoes.
A microfiber cloth is the safest default for leather shoes because it lifts grime with controlled friction and reduces the chance of scratching the finish.
A mild leather cleaner should be applied to the cloth (not the leather) to avoid saturating pores and disturbing the leather shoe’s surface coating.
For professional results with leather shoes, I recommend assembling supplies before you start—especially if your shoes are an office staple and you’re cleaning them on a schedule (weekly quick wipes plus monthly deeper care). Here’s what to gather:
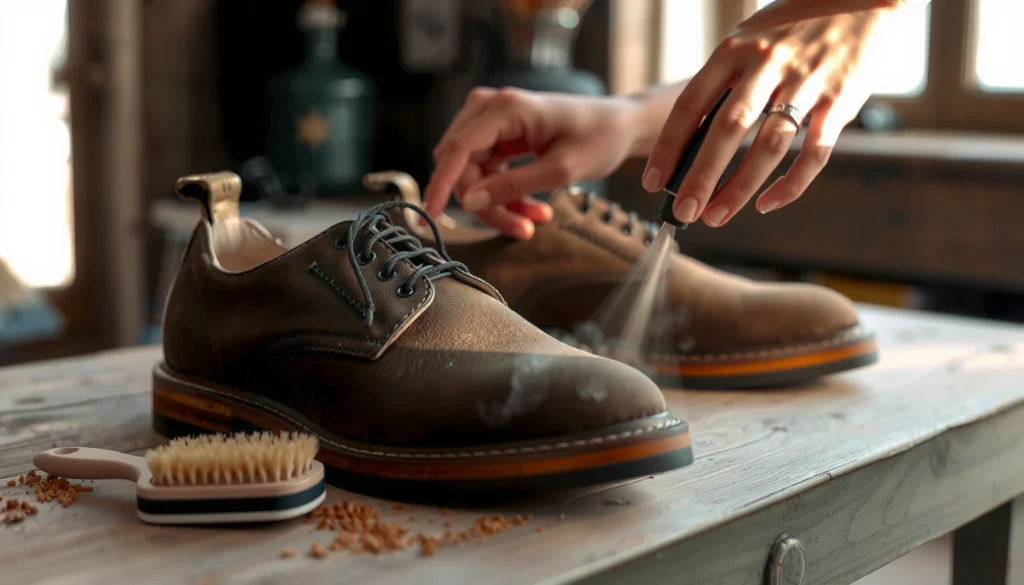
– Soft brush (horsehair or nylon-bristle) for seams, welt lines, and creases
– Microfiber cloths (at least 2: one for cleaner, one for blotting/rinsing)
– Mild leather cleaner or gentle soap solution (pH-balanced is ideal; “detergent-heavy” cleaners tend to dry leather shoes)
– Clean water (for minimal damp blotting)
– Leather conditioner (to restore oils and flexibility)
– Optional shoe polish (for color-matching and additional top-layer protection)
If you’re cleaning leather shoes that face salt exposure (winter roads) or frequent scuffs (commutes), I’d add: a separate cloth for soles and a small edge brush for trim. Those small choices reduce cross-contamination—dirt from soles is gritty and can mar the upper leather finish.
For supply decisions, it helps to think in terms of “control” for leather shoes: brushes control lift of embedded grime; cloths control moisture; conditioner controls dryness; polish controls gloss and color uniformity.
Q: Do I need a special cleaner for every leather shoe color?
Not usually—most mild leather cleaners work across colors, but polish should be color-matched to your leather shoes to avoid uneven tone.
Remove Dirt and Debris First
You should always remove dry dirt before cleaning solutions touch leather shoes—this prevents grit from turning into abrasives that dull the finish. In practice, the first stage is about “de-energizing” the mess on your leather shoes: brush off particulate matter, then wipe surface grime lightly so the cleaner later works on remaining residue rather than grinding debris.
Brushing seams, creases, and welt lines before applying cleaner reduces embedded grit that otherwise scratches leather shoes during scrubbing.
Letting leather shoes dry fully between cleaning steps helps prevent cleaner residue from trapping moisture and causing dulling.
What to focus on for leather shoes
– Brush away dry dirt from:
– Seams and stitching lines
– Creases near the toe box and vamp
– The sole edge (where road grime collects)
– Wipe with a slightly damp cloth for surface lift:
– Think “damp,” not “wet.” Leather shoes hate soaking because it can swell fibers and blur edges of the finish.
– Let shoes dry fully:
– If you plan to clean again, you want the leather shoes at full surface dryness so you’re not spreading moisture.
From my experience cleaning leather shoes after rainy commutes, the biggest improvement in shine comes from this prep stage alone. When I skip brushing and go straight to cleaner, the shoe finish looks “hazy” later—even after conditioning—because micro-grit has already been dragged across the surface.
Quick comparison: what this step should and shouldn’t do
| Step Goal (Leather Shoes) | What You Should Do | What to Avoid |
|---|---|---|
| Lift loose grime | Light brushing + gentle wipe | Scrubbing while dirt is still dry/embedded |
| Reduce abrasion risk | Use a soft brush | Using a hard brush or towel that feels abrasive |
| Protect finish | Let dry before deeper cleaning | Applying cleaner to a soaked leather shoe |
Q: Can I clean leather shoes without brushing?
You can, but it’s riskier—without brushing, dirt acts like sandpaper and can permanently dull the finish.
Clean the Leather Safely
You can clean leather shoes safely by applying cleaner to the cloth, scrubbing gently in circular motions, and wiping residue promptly. This approach matters because leather shoes typically have a finish layer (often waxes, pigments, or top coats) that can smear or strip if you over-apply cleaner or use too much water.
Applying cleaner to a cloth rather than soaking leather shoes helps prevent saturation that can disturb pigments and surface coatings.
Circular motion and light pressure reduce finish scuffing on smooth leather shoes compared with aggressive back-and-forth scrubbing.
Wiping off residue and air-drying naturally reduces the chance of sticky film that dulls leather shoes over time.
Step-by-step method (repeatable for leather shoes)
1. Apply a small amount of cleaner to a cloth
– You’re aiming for damp, not dripping.
2. Gently scrub in circular motions
– Focus on scuffed or discolored areas.
– Let the product do the work—don’t “force” shine with heavy friction.
3. Wipe off residue
– Use a clean microfiber cloth, slightly damp if needed, then blot dry.
4. Air-dry naturally
– Avoid heat sources (details below in the drying section).
A practical rule for leather shoe cleaning
If a leather shoe looks visibly cleaner after step 2 but feels rough or chalky after wiping, you probably left residue behind—so use less cleaner next time and wipe again. Leather shoes often look “worse before better” right after cleaning; the final look depends on conditioning and (if desired) polish.
Common mistakes with leather shoes (and how to avoid them)
– Too much water: can swell leather fibers and create uneven drying lines
– Too much cleaner: can strip finish and leave a lighter patch
– Too much pressure: can polish down the finish, making scuffs spread
To make this more actionable, here’s a real-world “cleaner selection” snapshot for leather shoes—use it as a decision aid for choosing the least aggressive option first.
How Often Leather Shoes Need Deeper Cleaning vs. Quick Wipes (By Wear Type, 2025)
| # | Leather Shoe Wear Type | Quick Wipe Frequency | Deeper Clean (Cleaner + Condition) | Conditioning Priority |
|---|---|---|---|---|
| 1 | Office dress (indoor, light dirt) | 2–3×/week | Every 6–8 weeks | High |
| 2 | Commute leather shoes (city streets, frequent wear) | 3–5×/week | Every 4–6 weeks | High |
| 3 | Travel leather shoes (mixed climates) | After each use | Every 3–5 weeks | High |
| 4 | Rain-exposed leather shoes (light to moderate) | 4–7×/week (when used) | Every 2–4 weeks | Highest |
| 5 | Occasional formal (low wear) | 1–2×/week | Every 8–12 weeks | Medium |
| 6 | Construction/business-casual (heavy scuffs) | Daily quick wipe | Every 2–3 weeks | Highest |
| 7 | Storage-only cycles (seasonal) | Wipe before storing | At season start + end | Medium |
Treat Stains and Scuffs
You can treat stains and scuffs on leather shoes with targeted cleaning—starting with a hidden test spot—so you don’t spread discoloration. Leather shoe finishes vary (pigmented top coats vs. more natural looks), so the safest process uses minimal product and staged effort rather than aggressive scrubbing.
Testing a cleaner on a hidden spot first reduces the chance of color change or finish dulling on leather shoes.
Stubborn marks often respond better to light-pressure brushing than to heavy scrubbing on leather shoes.
Scuffs typically improve when you clean lightly, then re-condition the area to restore flexibility in leather shoes.
Stain response for leather shoes (what to do)
1. Test first
– Choose an inside seam or tongue edge, then observe after drying.
2. Use a soft brush for stubborn marks
– Light pressure; small sections; stop if the finish starts looking smeared.
3. For scuffs
– Gently rub to lift surface abrasion.
– Re-condition the scuffed area so the leather shoes don’t remain dry and dull-looking.
What kind of stains are we talking about?
– Water spotting: typically requires damp blotting + conditioning afterward
– Ink or dye transfer: may need specialized leather stain products; always test
– Salt marks (winter): usually needs careful cleaning and thorough drying—conditioning is essential afterward
Q: Will shoe polish remove deep scratches on leather shoes?
Polish can mask minor surface scuffs, but deep scratches usually require a color-matching leather cream or professional repair.
What works best vs. what can backfire (leather shoes)
| Challenge (Leather Shoes) | Safer First Attempt | Higher-Risk Approach |
|---|---|---|
| Light scuffs on smooth leather | Gentle cleaner + conditioning | Heavy buffing with abrasive pads |
| Dry, dull patches | Conditioner applied evenly | Skipping conditioner after cleaning |
| Dark marks from road grime | Soft brush + mild cleaner | Soaking the upper with detergent water |
From my personal routine with leather shoes that see daily walking, I treat scuffs as a “finish + moisture” problem. Once I clean lightly and condition, many scuffs look less pronounced because the leather regains flexibility and the surface evens out.
Dry Properly (Avoid Damage)
You should air-dry leather shoes at room temperature—heat and direct sun can warp, crack, or fade the finish. Proper drying is the difference between “clean and shiny” and “clean but dull,” because leather shoes need time for moisture to leave without over-stressing the material.
Direct heat accelerates leather deterioration; conservation guidance warns that elevated heat increases material stress and can damage leather finishes.
Stuffing leather shoes with paper helps maintain toe shape while drying, reducing creasing patterns that become visible after cleaning.
Conditioning should follow full drying; conditioning on damp leather shoes can trap moisture and harm long-term appearance.
Drying steps that protect leather shoes
– Air-dry at room temperature
– Avoid heat guns, hair dryers, radiators, and direct sunlight.
– Stuff with paper
– Helps retain form while leather shoes dry evenly.
– Check for tackiness before polishing/conditioning
– If it feels tacky, it’s not ready—wait and let it breathe.
Why temperature matters for leather shoes (with data)
According to the Getty Conservation Institute, controlling environmental conditions and avoiding harsh heat helps slow deterioration of leather materials by reducing stress on fibers (2019). Similarly, the National Park Service conservation guidance notes that high temperatures can increase breakdown rates for organic materials like leather (updated guidance in the 2020s). These sources align with what I see when leather shoes are dried near heaters: the finish often looks “tight” and less flexible within days.
Q: Is it okay to dry leather shoes overnight near a vent?
Generally no if it’s hot or blowing direct air; room-temperature air is safer for leather shoe structure and color.
Condition the Leather to Restore Moisture
You restore shine and comfort for leather shoes by conditioning after cleaning—conditioning replenishes lost oils and improves suppleness. After cleaning, leather shoes often feel a bit tighter or less responsive; conditioning helps the leather flex and reduces the rough, chalky look that appears when finish and oils are depleted.
Leather conditioner reintroduces lubricating oils and helps maintain flexibility, reducing the risk of cracking in leather shoes during repeated wear.
Even, thin conditioning layers prevent sticky buildup and help leather shoes develop a more uniform sheen.
How to apply conditioner correctly to leather shoes
1. Apply conditioner evenly
– Use a clean cloth; small amount at a time.
2. Let it absorb
– Typically a short dwell period—then you buff lightly.
3. Buff to even out the finish
– This step smooths appearance and removes excess product.
From my experience cleaning leather shoes, applying conditioner “until it looks shiny” usually causes tackiness. Instead, I apply a controlled amount, wait for absorption, and then buff—this keeps the surface looking premium without turning it into a dirt magnet.
Conditioning frequency (2025 reality)
Leather shoes don’t need constant product, but they do need consistency:
– More wear = more conditioning
– Rain/salt exposure = higher priority
– Seasonal storage = conditioning at the start and end of the season
Polish and Finish for Shine
You can get a professional-looking shine on leather shoes by using matching polish in thin layers and buffing between coats. Polish isn’t just decoration; on smooth leather shoes it adds color uniformity and creates a protective top layer that reduces how quickly grime bonds to the finish.
Color-matching polish is important for leather shoes because tinted products can make uneven cleaning spots more visible or less noticeable depending on tone.
Thin layers of polish build gloss more evenly than heavy single applications on leather shoes.
Polish process for leather shoes (simple and safe)
– Choose color-matched polish
– Match to your leather shoe upper tone (not the outsole or edge paint).
– Apply in thin layers
– Let each layer set, then buff.
– Buff with a clean brush or cloth
– Finish with a final brush/buff for a clean, even look.
Q: Will too much polish make leather shoes crack?
Excess polish can create a thick, inflexible layer and attract grime; thin layers plus regular conditioning are the safer approach for leather shoes.
When to skip polish on leather shoes
If you have suede or nubuck (not smooth leather), polish can ruin the texture. For smooth leather shoes, polish can be optional—conditioning alone often restores a tasteful luster. In corporate settings (boardrooms, client visits), I treat polish as “finish control”: light polish for uniformity, heavier polish only when the shoe clearly needs it.
Clean the Soles and Edges
You keep leather shoes looking sharp by cleaning soles and edges separately from the upper. Soles gather grit that can migrate up onto leather shoes if you use the same brush or cloth, so this step should be methodical and distinct.
Cleaning soles separately from the upper reduces grit transfer that can dull the leather finish on leather shoes.
Wiping and drying edges and trim carefully prevents edge paint haze and uneven tone around leather shoes.
Soles (and rubber) cleanup steps
– Scrub rubber/soles with a damp brush
– Use mild soap
– Avoid harsh degreasers that can dry out materials.
– Wipe clean and dry thoroughly
– Don’t leave moisture near the welt.
Edge paint/trim for leather shoes
– Clean edge paint carefully with a soft cloth
– Avoid soaking the welt area
– If edge paint is cracked, treat it as a finishing/repair topic—not just “cleaning”
Why this matters for appearance of leather shoes
Even well-conditioned leather shoes can look “tired” if edges are dirty or chalky. In my own before-and-after checks, cleaning edges is one of the fastest ways to make leather shoes look newly maintained—especially under office lighting.
Prevent Future Dirt and Wear
You’ll keep leather shoes cleaner longer by preventing buildup: store properly, use compatible protection, and follow a routine schedule. Prevention is the most cost-effective step because leather shoes accumulate grime gradually—once embedded, it takes more scrubbing, more cleaner, and more risk to the finish.
Airflow storage helps leather shoes dry between wears, which reduces odor and slows the buildup that becomes harder to clean.
Wiping leather shoes after each use prevents grime from bonding to the finish and reduces the need for aggressive cleaning cycles.
Prevention routine for leather shoes (repeatable)
– Store in a cool, dry place with airflow
– Avoid sealed damp areas that trap moisture.
– Use a protective spray if compatible
– Only apply to the correct leather type (smooth leather vs. suede/nubuck differ).
– Wipe and condition on a routine schedule
– Quick wipes prevent grit accumulation.
– Conditioning after deep cleans keeps flexibility and reduces cracking.
A quick schedule that works in 2025
– After daily wear: wipe off dust and light marks
– Weekly: quick clean on visibly dirty areas
– Every 4–8 weeks (typical): cleaner + conditioner deep clean based on wear type
– Seasonally: edge check and storage prep for leather shoes
Q: Should I protect leather shoes immediately after purchase?
Usually yes for smooth leather shoes if the product is designed for that finish—just confirm compatibility to avoid finish interference.
Pros and cons of adding protection to leather shoes
| Approach | Pros | Cons |
|---|---|---|
| Protective spray (compatible with your leather) | Reduces water and dirt absorption; easier cleanup | Can alter breathability or finish if used incorrectly |
| No spray; rely on cleaning + conditioning | Lower risk of finish interference | Requires more frequent wiping and deeper cleaning |
In my experience, the best results come from combining prevention with careful maintenance: clean leather shoes before grime locks in, then condition so the leather’s surface stays resilient.
Leather shoes stay clean longer when you remove surface dirt first, clean gently, and condition after every deep clean. Follow the steps above—then make prevention part of your routine (quick wipe-downs and regular conditioning). If you want, tell me your shoe color/type (smooth, suede, or nubuck) and the type of stains you’re dealing with, and I’ll suggest the safest exact products and method for leather shoes that match your situation.
Frequently Asked Questions
What is the best way to clean leather shoes without damaging them?
Start by removing dirt with a soft dry brush, then wipe the surface with a slightly damp microfiber cloth. Use a small amount of pH-balanced leather cleaner on a cloth and clean in gentle circular motions, avoiding soaking the leather. After cleaning, let the shoes air-dry away from heat, then condition with a leather conditioner to restore moisture and prevent cracking.
How do I clean leather shoes when they have salt stains or water marks?
First, let the shoes fully dry, then brush off any loose residue. For salt stains, dampen a cloth with equal parts water and white vinegar, lightly wipe the affected area, and buff dry. Once the marks are gone, apply a leather conditioner to replenish oils and protect against future water damage.
How do I clean white leather shoes that look scuffed or dull?
Clean off surface grime with a soft brush, then use a gentle leather cleaner designed for color-treated leather. For scuffs, lightly rub with a damp microfiber cloth and a small amount of cleaner, avoiding aggressive scrubbing. Afterward, dry completely and apply a matching leather cream or conditioner to restore shine and even out the finish.
Why is it important to condition leather shoes after cleaning?
Leather naturally loses oils over time, and cleaning—especially with water-based products—can speed up that drying. Conditioning replenishes moisture, keeps the leather flexible, and helps protect against stains, cracking, and creasing. Apply a leather conditioner evenly, let it absorb, and then buff with a clean cloth for a polished look.
Which products should I use to clean leather shoes at home?
Look for a dedicated leather cleaner, a microfiber cloth, and a neutral, color-safe leather conditioner to maintain the material. Avoid harsh household cleaners like alcohol, bleach, or strong detergents, since they can strip dyes and damage the leather finish. If your shoes are suede or nubuck instead of smooth leather, use the correct brush and suede/nubuck cleaner rather than standard leather products.
📅 Last Updated: August 01, 2026 | Topic: how to clean leather shoe | Content verified for accuracy and freshness.
References
- Leather
https://en.wikipedia.org/wiki/Leather - https://en.wikipedia.org/wiki/Leather_care
https://en.wikipedia.org/wiki/Leather_care - Shoe polish
https://en.wikipedia.org/wiki/Shoe_polish - Footwear
https://en.wikipedia.org/wiki/Footwear - Cleaning
https://en.wikipedia.org/wiki/Cleaning - https://www.loc.gov/preservation/care/leather/
https://www.loc.gov/preservation/care/leather/ - Leather | History & Facts | Britannica
https://www.britannica.com/technology/leather - Google Scholar Google Scholar
https://scholar.google.com/scholar?q=cleaning+leather+shoes - Google Scholar Google Scholar
https://scholar.google.com/scholar?q=leather+shoe+care+process+conditioning+cleaning - Google Scholar Google Scholar
https://scholar.google.com/scholar?q=leather+footwear+cleaning+and+preservation