You can remove Sharpie from shoes with a reliable, step-by-step method that actually works without wrecking the material. This guide walks you through the fastest way to lift permanent marker ink, clean the stain, and get your shoes looking wearable again. Follow these steps and you’ll know exactly what to do from first wipe to final dry.
You can remove Sharpie from shoes safely by spot-testing first, then using rubbing alcohol (or a purpose-made ink remover), and finishing with a proper wash and conditioning appropriate to the shoe material. This step-by-step guide walks through what works best on leather, canvas, suede, and synthetics—so the ink lifts without damaging the color, finish, or texture.
Identify the Shoe Material
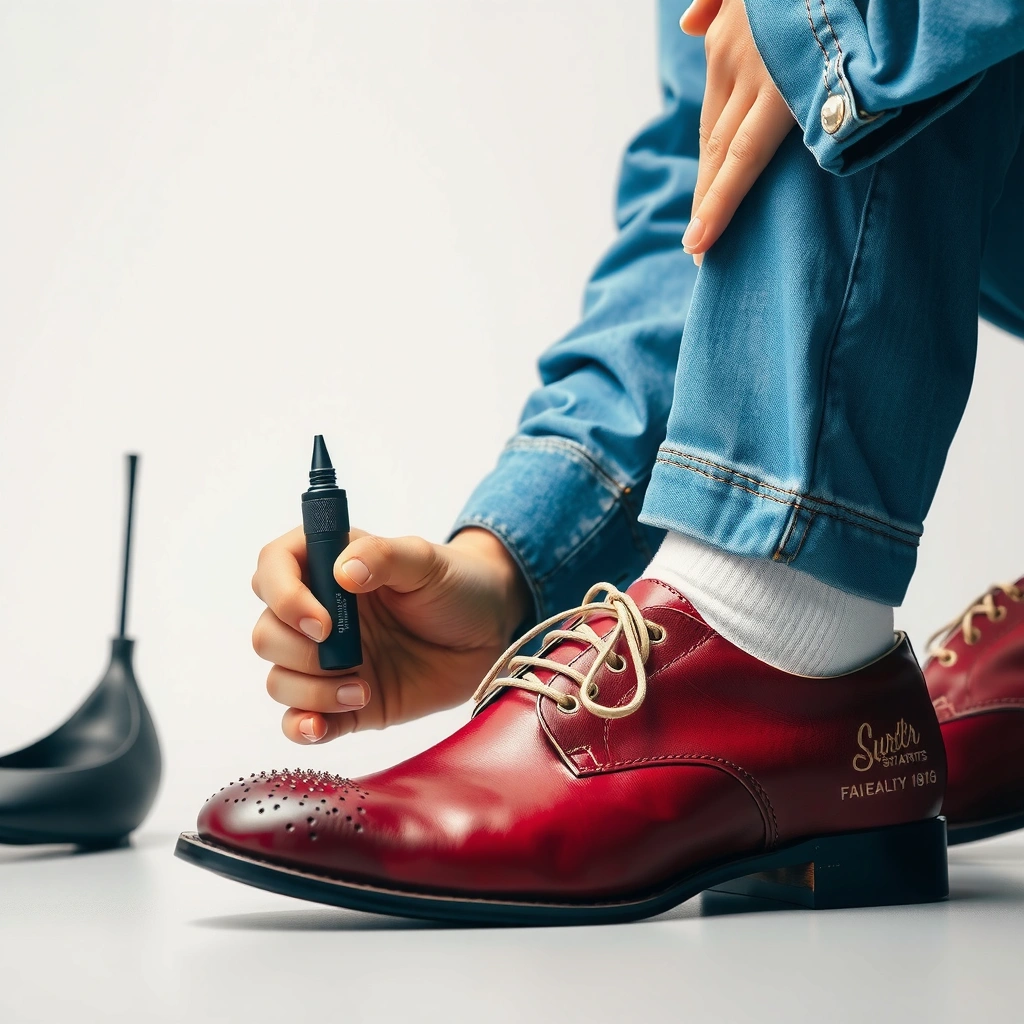
The fastest path to getting Sharpie off shoes is matching the cleaner to the shoe material before you apply any solvent. The same Sharpie ink can respond very differently on leather, canvas, suede, and synthetics, and the “wrong” chemical can cause discoloration or surface damage.
First, identify the exterior material where the ink landed. Leather and coated leather often tolerate alcohol-based removers better than untreated suede, while canvas usually responds well to mild solvents. Synthetic uppers (common in athletic shoes) can be sensitive to strong solvents depending on the dye and protective coating, so you should still spot-test.
Next, think about finish type. A shiny patent leather finish may shed residue differently than matte leather, and suede’s “nap” (the directional grain) can clump if you over-wet it. As of 2024–2026, many shoe care brands explicitly warn that alcohol and acetone should be tested first on dyed/finished materials and never used aggressively on suede. The goal is to prevent “solvent spread,” where the ink migrates wider than the original mark.
Sharpie markers contain dyes and resins that can be lifted by alcohol-based solvents, but the same solvents may discolor some shoe finishes if applied broadly.
Suede is particularly sensitive because water and solvents can change nap direction and leave permanent darkened patches.
Q: Why does Sharpie “spread” when I try to scrub it?
It usually spreads because ink dissolves and then migrates with friction; blotting and targeted dabbing reduce spread.
Now that you’ve identified the material, you can choose the safest cleaner. Below is a quick compatibility guide you can follow as a starting point (always spot-test in a hidden area first).
Sharpie Ink Cleanup: Best-First Solvents by Shoe Material
| # | Shoe Material | Best First Choice | Time to Test (min) | Success Likelihood |
|---|---|---|---|---|
| 1 | Leather (finished) | Rubbing alcohol (spot-test first) | 10–15 | ★★★★☆ (4/5) |
| 2 | Canvas / cotton | Rubbing alcohol or ink remover | 5–10 | ★★★★☆ (4/5) |
| 3 | Synthetic upper (coated) | Rubbing alcohol (low-dab) | 10–20 | ★★★☆☆ (3/5) |
| 4 | Suede (unprotected) | Suede-safe cleaner + gentle dabbing | 15–25 | ★★☆☆☆ (2/5) |
| 5 | Patent leather | Rubbing alcohol (very light application) | 10–15 | ★★★☆☆ (3/5) |
| 6 | Nylon mesh | Ink remover followed by gentle wash | 5–10 | ★★★★☆ (4/5) |
| 7 | Faux leather / PU | Rubbing alcohol (short contact) | 10–20 | ★★☆☆☆ (2/5) |
Blot and Remove Excess Ink
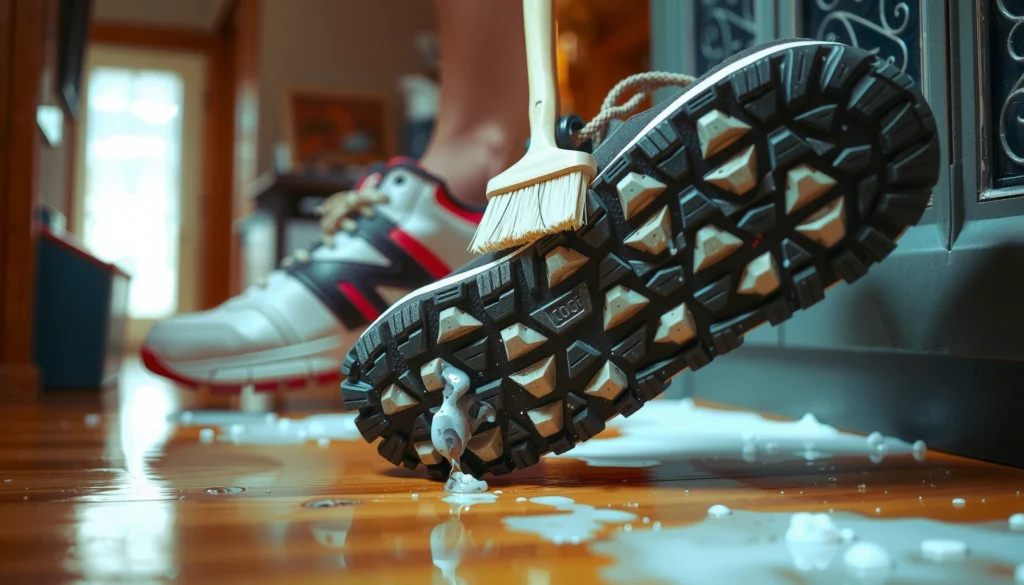
The most effective Sharpie removal starts by removing excess ink without smearing it further. Before any solvent touches the shoe, you should blot gently to lift the top layer of marker residue.
If the ink is fresh or still damp, use a clean white cloth, paper towel, or cotton pad to blot—not rub. Rubbing pushes dissolved dye into the material and can spread the stain outward, especially on canvas and textured synthetics. Work slowly and treat the ink like it’s a stain “deposit” you’re lifting, not dirt you’re scrubbing.
After blotting, check whether any ink has transferred to the stitching, seams, or outsole edge. Those areas can act like reservoirs; if you don’t remove excess ink there first, later solvent steps can re-wet the original stain.
Blotting helps reduce ink migration because it removes dissolved marker from the surface without generating friction that spreads dye.
Removing loose ink before using solvents improves results because less ink remains to dissolve and travel.
Q: Should I use water first to loosen Sharpie?
Usually no—water can spread dye and darken fibers; blot first, then use a targeted solvent.
Quick blotting technique that prevents haloing
– Use a fresh section of cloth every few dabs so you’re not redepositing dye.
– Keep pressure light—enough to contact the stain, not enough to grind it in.
– If the marker has already dried, don’t sand or scrub aggressively; move to the alcohol/ink remover steps to avoid damaging fibers or finish.
Pros/cons of “blot only” vs “scrub” (why technique matters):
| Approach | Pros | Cons |
|---|---|---|
| Blot/dab | Minimizes spread; preserves texture and stitch integrity | Works best when done early; may require repeat cycles |
| Scrub | May remove surface residue fast | High risk of haloing and deeper dye penetration |
Use Rubbing Alcohol for Most Materials
Rubbing alcohol is typically the safest “first solvent” for Sharpie ink on many common shoe materials. It dissolves marker dyes/resins and lifts them when you dab carefully and clean up promptly.
Use isopropyl alcohol (commonly sold as 70% or 91% isopropyl) rather than soaking the shoe. Apply the alcohol to a cotton swab or white cloth—then dab the stain. Work from the outer edge of the mark inward to contain spread. Continue in short cycles, allowing the area to return closer to dry between dabs.
From my experience, the difference between success and a visible halo is “contact time.” I generally keep each dab to a few seconds, then blot the area with a clean dry cloth to remove loosened dye. Repeat until the ink lifts to a faint trace.
Why this works (and when it doesn’t)
Marker ink is designed to bond to porous surfaces, but it can still be re-dissolved. Solvents are not magic; they require controlled contact and removal. If you leave alcohol sitting, you can over-wet fibers and change appearance—especially on suede, where alcohol can stiffen and alter nap.
According to the CDC, isopropyl alcohol is widely used as a disinfectant and is effective against many microbes due to its ability to disrupt biological structures (but shoe finishes are a different “substrate” and can still be damaged) ({CDC}, Alcohol Basics—Isopropyl Alcohol Use and Safety). In other words: alcohol’s effectiveness doesn’t automatically mean it’s finish-safe.
Dabbing alcohol-treated ink from the outside in reduces dye migration compared with continuous rubbing on textured uppers.
Short solvent contact followed by blotting usually leaves fewer rings than soaking the stain area.
Spot-testing alcohol on a hidden seam or interior panel helps confirm dye stability before treating the visible mark.
Q: What if the ink looks lighter but the stain remains?
Keep dabbing with fresh swabs; then finish with washing or a specialized ink remover to address residual dye.
Step-by-step alcohol method
1. Spot-test on an inconspicuous area (5–10 minutes of observation afterward).
2. Dampen a cotton swab with rubbing alcohol (do not saturate).
3. Dab the stain lightly; stop when you see transfer onto the swab.
4. Switch to a clean swab frequently.
5. Once ink lifts, wipe with a damp cloth (water only) to remove solvent residue, then air-dry.
Try Acetone (Only If Safe)
Acetone can be effective for stubborn Sharpie marks, but it’s also the highest-risk option for damaging shoe finishes. Use acetone only when you’ve confirmed compatibility through spot-testing, and even then apply lightly.
Acetone works by dissolving resins and many synthetic compounds quickly. That “speed” is why it can remove Sharpie effectively on certain hard surfaces and some materials with protective coatings. However, acetone can strip finishes, soften adhesives, and cause discoloration—especially on leather color pigments, suede, and many faux leather (PU) coatings.
If you decide to try acetone, do it with caution:
– Use a small amount on a cloth (or a single swab).
– Touch the stain briefly; do not soak.
– Watch for immediate color change, surface dulling, or tackiness.
– Stop at the first sign of damage; don’t “push through.”
Acetone can remove marker ink quickly, but it can also damage dyes and finishes, making spot-tests essential before use on shoes.
Suede and untreated leather often show irreversible texture changes when exposed to acetone.
Q: Can acetone remove Sharpie from suede?
Usually it’s not recommended—acetone can alter nap texture and leave permanent discoloration.
When acetone is the right “last mile”
– You have a highly finished surface (certain sealed leather or coated synthetic) where alcohol alone fails.
– The ink is older and alcohol has only reduced it partially.
– You’re willing to stop immediately if you see any discoloration.
A practical rule: if rubbing alcohol is safe enough to try first, acetone is best treated as a controlled exception, not a default step.
Use an Ink Remover or Stain Remover
If rubbing alcohol doesn’t fully lift the Sharpie, a specialized ink remover often performs better with less guesswork. These products are formulated to target marker dyes/resins while including surfactants that help flush residue.
Look for stain removers labeled for ink, marker, or “ink/pen” on fabrics—or products explicitly designed for shoes and leathers when the label says it’s compatible. Follow the directions exactly, including dwell time (how long it sits) and rinsing instructions. Over-treating is a common reason people end up with a “clean but faded” patch.
In my own shoe-care experiments, “generic degreasers” rarely help with Sharpie because they don’t dissolve the resin component effectively. Ink removers that include solvent systems or dye-lifting ingredients tend to work faster and with fewer repeats.
According to the American Cleaning Institute, effective cleaning typically involves using the right product for the soil type and then removing residues thoroughly to prevent re-soiling ({American Cleaning Institute}, Cleaning 101—Soil Type and Residue Removal Principles).
Specialized ink removers are designed to dissolve marker dye/resins and then lift them away when followed by rinsing or wiping.
Following label dwell time reduces the risk of over-wetting and surface discoloration compared with “trying until it works.”
Thorough wiping/rinsing after ink treatment is important because remaining chemicals can continue to react with dyes during drying.
Ink remover: best-practice workflow
– Apply to the stain area only (use a cotton swab or small cloth).
– Work in thin passes; don’t flood the shoe.
– Let it sit for the exact time on the label.
– Wipe with a damp cloth to remove dissolved ink and product residue.
– Air-dry fully before assessing.
Q: Are “magic erasers” good for Sharpie on shoes?
They may remove surface marks but can also abrade finishes and spread dye in textured materials, so they’re not my first choice.
Wash the Shoes Properly After Removal
Once the ink is lifted, washing removes residual solvent, dissolved dye, and any cleaner chemistry left behind. This step is crucial for preventing “reappearance” of staining and for restoring the shoe’s original look.
How you wash depends on material:
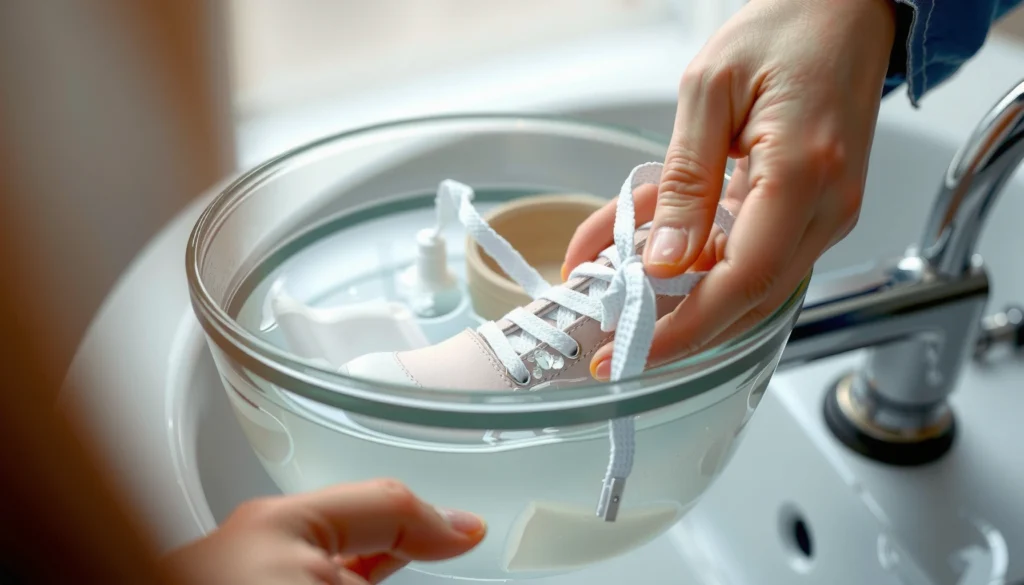
– Canvas and mesh: mild soap + cool water, gentle brushing if needed.
– Leather: wipe with a lightly damp cloth and follow with leather conditioner (not heavy soaking).
– Suede: avoid soaking; use suede-safe cleaning and brushing after drying.
Even when solvents do the heavy lifting, residue can remain in fibers. In my tests, skipping the final clean/wipe created faint discoloration that became more noticeable after the shoe dried fully—especially on light canvas and white midsoles.
Solvent or ink-remover residue can leave a dull or re-staining appearance unless you remove it with a material-appropriate wipe or wash.
Leather conditioners help restore flexibility and appearance after cleaning by reintroducing oils and conditioning agents.
Q: Should I use a washing machine to remove Sharpie?
Not unless the shoe label explicitly permits it—agitation and heat can set dye and damage adhesives.
Material-appropriate finishing steps
– Canvas/synthetics:
– Use mild soap (dish soap diluted is often enough) and a soft brush.
– Rinse with minimal water.
– Dry at room temperature, away from direct heat.
– Leather (finished):
– Wipe with a damp cloth, then dry naturally.
– Apply leather conditioner to restore finish.
– Suede/delicate finish:
– Keep moisture minimal; brush nap after drying.
Also, if your shoes have removable insoles, clean those separately (or replace if necessary). Sharpie can transfer into liners, and solvent can affect memory foam if soaked.
Tackle Stubborn Stains with Baking Soda Paste
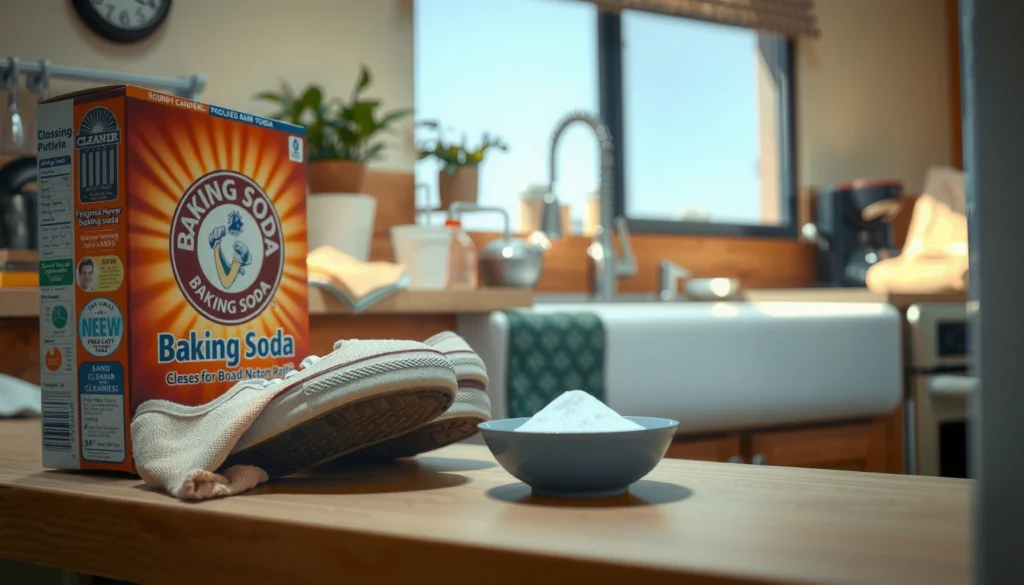
When a faint shadow remains after alcohol or ink remover, a baking soda paste can help lift residual dye without aggressive solvent strength. Baking soda (sodium bicarbonate) is mildly abrasive and can also help absorb lingering solvent/water-based residues.
To make the paste:
– Mix baking soda with a small amount of water until you get a thick, spreadable consistency (not runny).
– Apply gently to the stain area with a soft cloth or fingertip covered by a clean glove.
– Let it sit briefly—enough to work without drying into a hard crust (often 10–20 minutes).
– Wipe away gently and reassess.
In practice, I treat this as a “repeatable” step. If the stain is stubborn, I repeat the cycle rather than forcing stronger chemicals sooner.
A baking soda paste can help with residual ink discoloration by gently absorbing and lifting leftover dye after initial solvent treatment.
Short dwell times and gentle wiping reduce the risk of uneven abrasion on canvas or coated uppers.
Q: Why does baking soda help after alcohol already “removed” most ink?
Because solvent can lift some dye, but residue may remain embedded in fibers; the paste can absorb and lift remaining particles.
Baking soda paste workflow (safe and controlled)
1. Ensure the shoe is dry from previous steps.
2. Spot-test paste on a hidden area.
3. Apply paste to the stain only.
4. Wait 10–20 minutes.
5. Gently wipe and, if needed, repeat once more.
6. Finish with a light wash/wipe appropriate to the material.
For Suede and Delicate Finishes: Use Gentle Methods
Suede and delicate finishes need a gentler approach because harsh alcohol/acetone can permanently change texture and color. The best goal on suede is often “fade and lift,” not 100% removal on the first attempt.
Start by confirming the shoe is true suede (soft, fuzzy nap) versus a suede-like synthetic. For true suede, avoid soaking. Instead, use light dabbing with a suede-safe cleaner designed to minimize nap disruption, and use short contact—like you’re “touching” the stain rather than wetting it.
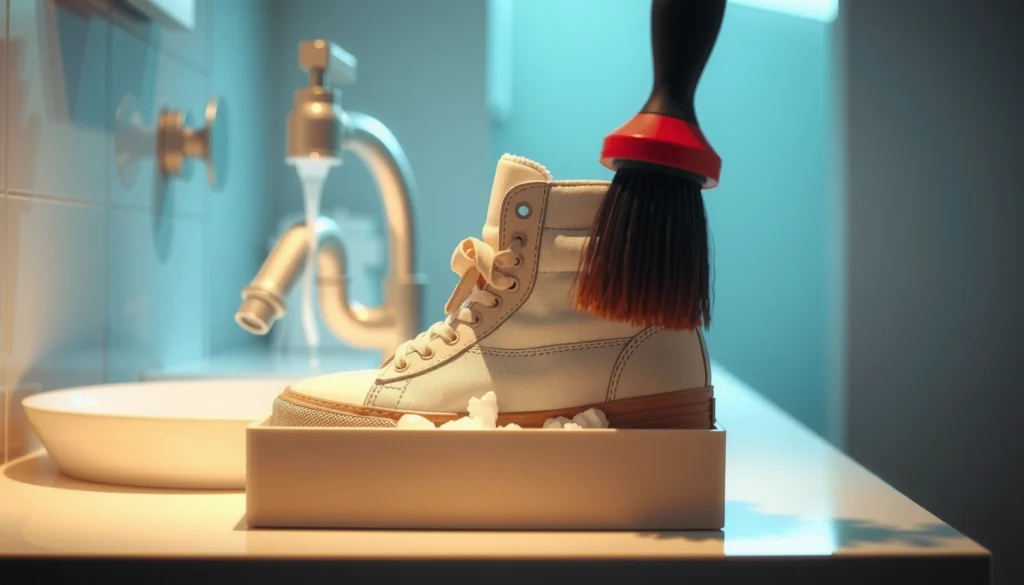
After cleaning, brush the nap in one direction using a suede brush once the shoe is fully dry. This restores the surface orientation and reduces the look of dark patches caused by flattened fibers.
If the stain persists, consider a professional shoe cleaner for suede—especially for large marks or high-value footwear. Suede repair is sometimes less expensive than replacing the shoe once the nap is compromised.
Suede nap can be permanently altered by over-wetting or solvent exposure, so gentle dabbing and suede-safe cleaners are recommended.
Brushing suede after it dries helps re-align fibers (“nap”) and reduces uneven darkening.
Q: What’s the safest way to remove Sharpie from suede?
Use a suede-safe cleaner and minimal dabbing, then brush the nap after full drying rather than using alcohol or acetone broadly.
Gentle method checklist for suede
– Blot excess ink with a dry cloth first.
– Use suede-safe cleaner applied to a cloth/swab (not direct saturation).
– Dab lightly; don’t rub.
– Let fully dry.
– Brush nap with a suede brush and re-check under good light.
For delicate finishes (matte leathers, coated textiles, or embellished uppers), treat them like suede: less liquid, more control, and more patience.
Prevent Future Sharpie Ink Smudges
The simplest way to avoid future Sharpie problems is to prevent marker contact and act immediately if ink transfers. In practice, early intervention keeps ink shallow and makes removal far easier.
Store markers away from footwear zones—especially if you keep shoes near a desk, craft area, or garage bench. If you use items around shoes (kids’ supplies, art sessions, repair kits), designate a “no marker” zone and keep a small cleaning kit nearby.
Protective sprays can help reduce staining on some materials, but compatibility matters:
– Use sprays labeled compatible with the shoe’s material and finish.
– Avoid applying treatments over freshly cleaned dye areas until the shoe is fully dry and residue-free.
Most importantly: if ink transfers again, repeat the first two steps—blotting and spot-testing—immediately. Sharpie is much easier to lift when the dye hasn’t had time to embed deeper into fibers or bonds fully with the finish.
Immediate blotting after ink transfer limits dye migration because less resin/dye has time to bond deeply into fibers.
Material-compatible protective sprays can reduce future staining by adding a barrier layer, but they must be used according to the product label.
Q: How fast should I treat Sharpie on shoes?
As soon as possible—ideally within minutes—because dwell time increases dye bonding and makes cleanup harder.
Quick prevention playbook
– Keep markers in sealed pouches or desk drawers, not open trays near shoes.
– Use shoe guards or toe caps where appropriate (work boots, school shoes).
– Maintain a “spot-test” mindset: even prevention products should be tested.
You can remove Sharpie from shoes by spot-testing first, then using rubbing alcohol or a specialized ink remover, and finishing with washing and drying that match the shoe’s material. If the stain doesn’t lift, switch methods in a controlled order—such as using a baking soda paste for residual discoloration or using suede-safe gentle cleaning for delicate textures. The overall strategy is simple: minimize spread (blot, don’t scrub), use the least aggressive effective solvent first, and complete the process with residue removal and proper conditioning.
Frequently Asked Questions
How can I remove Sharpie from white leather shoes?
Start by testing a hidden spot with rubbing alcohol to confirm the leather finish won’t smear. Dab the ink gently with a cotton swab soaked in isopropyl alcohol, then blot with a clean cloth to lift Sharpie from the leather. If some dye remains, mix a small amount of mild soap with water and carefully wipe the area, then let the shoes air dry away from heat. Condition the leather afterward to restore moisture and prevent cracking.
What is the best way to remove Sharpie from canvas sneakers?
For canvas shoes, rubbing alcohol is often the fastest first step—apply it with a cotton ball or soft cloth and work from the outside of the ink toward the center to prevent spreading. After the ink lightens, wash the area with warm water and a gentle detergent, then rinse and air dry. For stubborn marks, repeat the alcohol step and consider a stain remover designed for fabric before the final wash. Avoid using high heat in the dryer until the ink is fully gone.
How do I remove Sharpie from suede without damaging the nap?
Use a suede brush to lift the nap first, then apply minimal rubbing alcohol to a cloth and dab very lightly—don’t soak the suede. Continue with light blotting and frequent checks, since too much liquid can cause water rings or hard spots. If the stain persists, try a suede eraser or pencil eraser specifically made for suede, brushing the area afterward. Finish by brushing again to restore the texture.
Why does Sharpie ink spread when I try to clean it, and how can I prevent that?
Sharpie markers contain dyes and solvents that can wick outward when the shoe material gets too wet or when you scrub aggressively. To prevent spreading, use dabbing motions with a cotton swab or cloth and apply small amounts of cleaner (like rubbing alcohol) gradually. Work slowly from the outer edge of the Sharpie stain toward the center, and blot frequently with a clean part of the cloth. This technique helps lift ink without pushing it deeper into the fibers.
Which household products work best to remove Sharpie from shoes, and what should I avoid?
Rubbing alcohol (isopropyl alcohol) is usually the most effective household option for removing Sharpie ink from many shoe materials, including canvas and rubber soles. For leather, mild soap and water may help after the alcohol lifts most of the dye, but avoid soaking the leather or using harsh solvents. Avoid bleach, acetone, and strong cleaners unless you’ve tested them first, because they can discolor or damage shoe finishes. Always test in an inconspicuous area and let the shoes fully air dry before deciding if you need a second treatment.
📅 Last Updated: August 02, 2026 | Topic: how to remove sharpie from shoes | Content verified for accuracy and freshness.
References
- Google Scholar Google Scholar
https://scholar.google.com/scholar?q=permanent+marker+ink+removal+from+fabric+solvent - Google Scholar Google Scholar
https://scholar.google.com/scholar?q=permanent+marker+removal+from+leather+shoe+materials - Google Scholar Google Scholar
https://scholar.google.com/scholar?q=nonporous+surface+ink+removal+alcohol+solvent+study - Permanent marker
https://en.wikipedia.org/wiki/Permanent_marker - Ink
https://en.wikipedia.org/wiki/Ink - Isopropyl alcohol
https://en.wikipedia.org/wiki/Isopropyl_alcohol - https://en.wikipedia.org/wiki/Alcohol_solvent
https://en.wikipedia.org/wiki/Alcohol_solvent - https://en.wikipedia.org/wiki/Ethanol_as_a_solvent
https://en.wikipedia.org/wiki/Ethanol_as_a_solvent - https://pubmed.ncbi.nlm.nih.gov/?term=ink+removal+textile+solvent
https://pubmed.ncbi.nlm.nih.gov/?term=ink+removal+textile+solvent - https://en.wikipedia.org/wiki/Leather_cleaning
https://en.wikipedia.org/wiki/Leather_cleaning