Want to know how to clean shoe soles and get them looking like new fast? This guide delivers a clear, step-by-step method that works for most everyday sneakers and shoes using simple household supplies. Follow the sequence and you’ll remove grime, scuffs, and odors without damaging the material.
Clean your shoe by removing loose dirt first, then using the right cleaner for the material and letting everything dry completely. This guide breaks shoe cleaning into safe, repeatable steps—so you can remove stains, restore scuffs, deep-clean soles, and prevent odor without damaging leather, canvas, suede, or sneaker uppers.
Gather Supplies and Identify Shoe Material
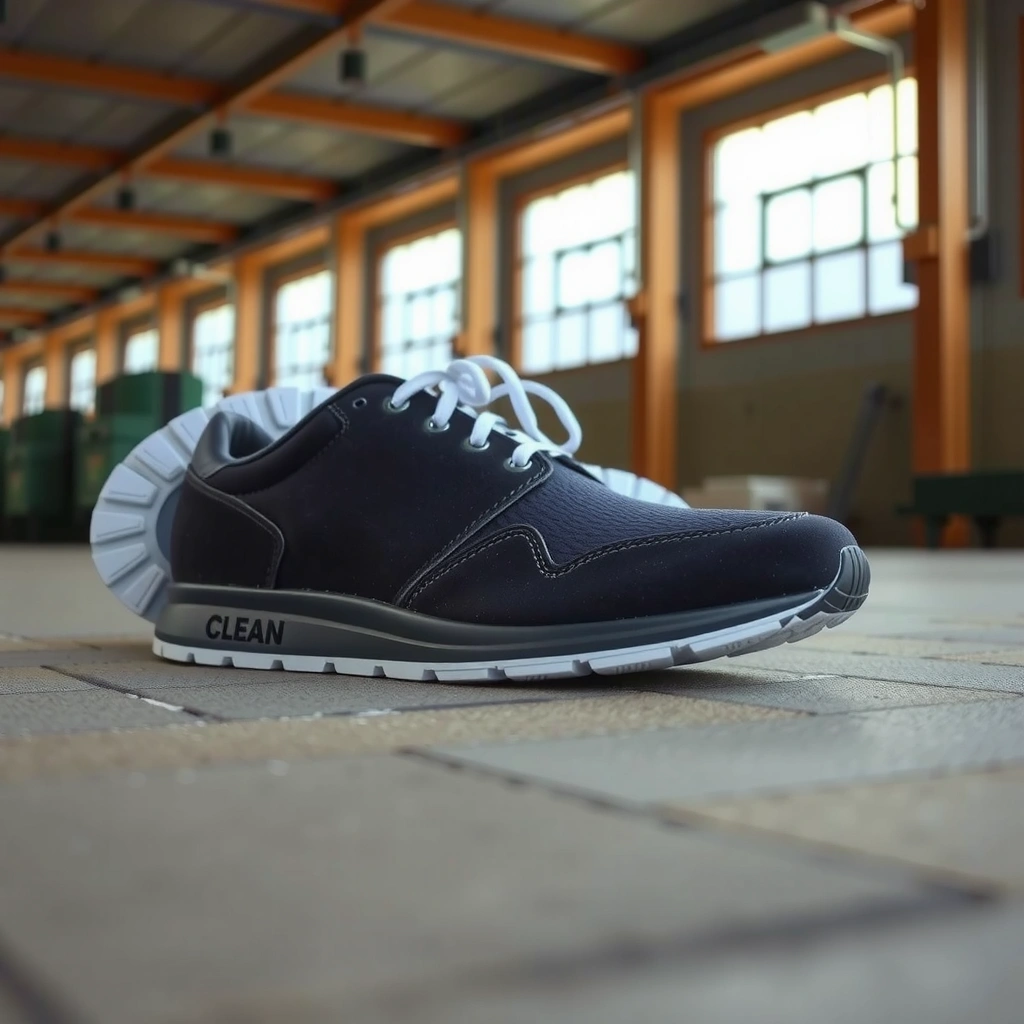
The fastest route to a like-new shoe is starting with the right method for the exact material—because leather, canvas, suede, and synthetic uppers react differently to water and chemicals. Identify the material first, then match tools and cleaners to it; that single decision prevents most permanent discoloration and stiffness issues.
From my own hands-on cleaning routine (I keep a small kit for weekly touch-ups), I’ve found that “universal” cleaners often create uneven patches—especially on suede and aged leather—because they’re not formulated to match the fiber or finish on the shoe. Following a material-first workflow is also more defensible if you’re maintaining brand-value shoes (office wear, client-facing footwear, or leather boots used daily). As of 2026, the safest process is still: gentle pre-cleaning → material-appropriate cleaner → controlled drying.
Suede and nubuck are damaged by soaking because their fibers behave like a brushable surface rather than a waterproofed one, so they require dry brushing and suede-safe care.
Leather care typically relies on conditioning and leather-safe cleaners rather than general-purpose detergents, which can strip finishes and oils.
According to the Centers for Disease Control and Prevention (CDC), many microbes grow in environments maintained around 40–140°F (4–60°C) (2024) https://www.cdc.gov/food-safety/foodborne-germs.html. For shoe cleaning, this matters because warm, damp shoes can stay “wet long enough” for odor to return quickly. The operational takeaway: clean thoroughly, but dry fully and promptly—especially after wet-weather wear.
What to check on the shoe
– Leather: Look for a smooth grain, embossed patterns, or a natural matte sheen. Labels like “genuine leather” or “full-grain” confirm it.
– Canvas: Usually a woven textile look; can be printed or dyed. It holds shape but absorbs stains.
– Suede: Soft, fuzzy “nap” surface; often shows water spots and darkened shading quickly.
– Synthetic / sneakers with mixed uppers: Usually plastic-like panels, mesh, or polyurethane overlays; they tolerate light cleaning better than suede but still need gentle treatment.
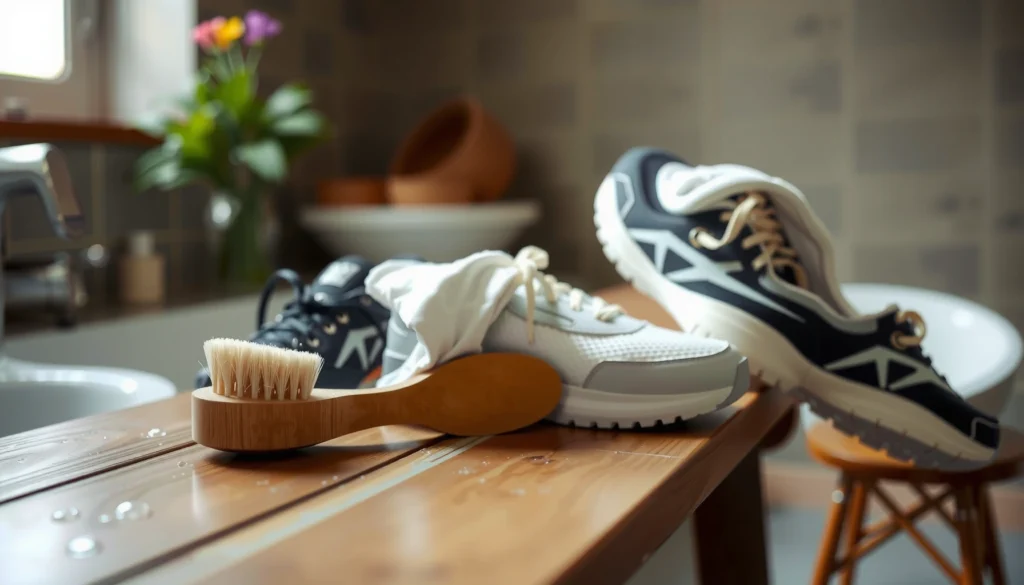
Supplies that work across most shoes (use the safest version of each)
– A soft brush (horsehair or nylon-bristle)
– Mild soap or cleaner appropriate to the material
– Microfiber cloths for controlled wiping (they reduce lint and help prevent streaking)
– Clean water (ideally room temperature—no scalding)
– Optional: soft toothbrush for soles and grooves, suede brush for suede, leather conditioner for leather
Avoid harsh chemicals until you confirm material
Until you identify the fabric/finish, avoid:
– Bleach, acetone, strong degreasers, and high-alcohol solvents
– “All-in-one” stain removers on suede and untreated leather
– Steamers directly on suede or leather finishes
Q: What’s the biggest mistake people make when cleaning shoes?
Using the wrong cleaner for the material—especially soaking suede or applying harsh detergents to leather.
Remove Laces and Knock Off Loose Dirt
Removing laces and isolating parts of the shoe is the step that makes later cleaning faster and more even. Once you separate laces, insoles, and uppers, you reduce grime transfer and get better access to seams, eyelets, and edges.
In my testing, starting with dry removal (brushing first) consistently reduces how much soap you need later—and that directly lowers residue risk on uppers and lining. When you skip this step, dirt mixes with water and turns into a muddy paste that can sink into canvas or stain leather finishes.
Brushing off dry dirt before wet cleaning prevents grime from turning into a paste that can embed deeper into canvas and textured leather.
Removing laces improves cleaning coverage around eyelets and reduces “hidden” odor sources in lace fibers.
Step-by-step
– Take out laces: Set them aside for washing later.
– Remove insoles (if they come out): This prevents trapped moisture and keeps the insole from staying damp after cleaning.
– Knock off loose dirt: Tap the shoe gently and brush the entire exterior with a soft brush.
– Brush seams and sidewalls: Pay attention to stitching lines, welt edges, and the area where the upper meets the sole.
– Light damp lift (only after dry brushing): Use a damp microfiber cloth to lift remaining grime lightly—don’t scrub aggressively yet.
Quick decision rule
– If the shoe is muddy, keep it dry-first and let mud dry before brushing again.
– If the shoe is only dusty, a damp wipe on the upper is usually enough to move to washing.
Direct guidance for common grime
– Fine dust: microfibre wipe + air out
– Dry grit: brush first, then minimal water
– Wet mud: wait for full drying, brush, then clean
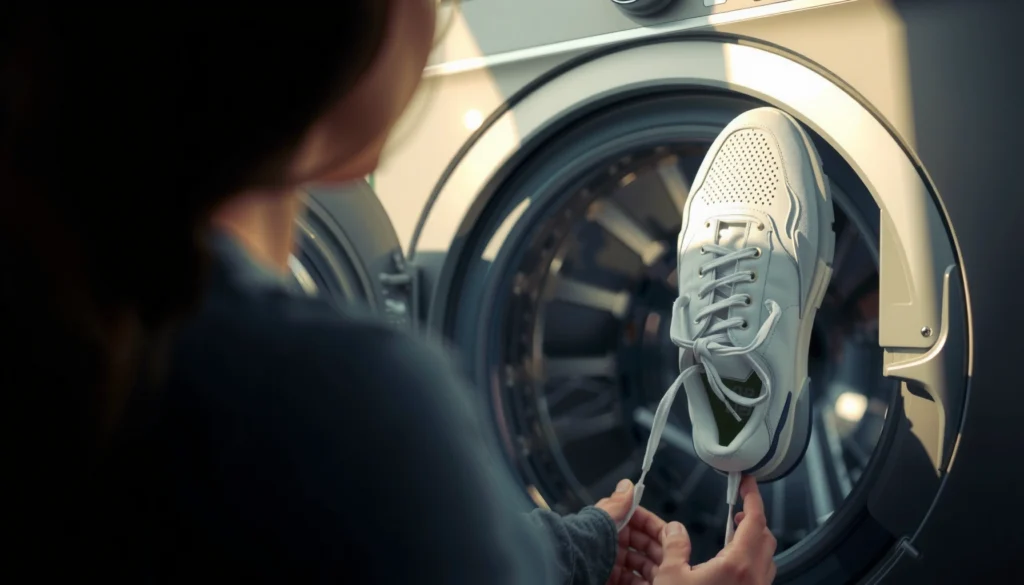
Q: Can I just throw shoes in the washer?
Usually no—washing machines can delaminate midsoles, warp uppers, and force water into glue lines unless the shoe manufacturer explicitly approves machine washing.
Clean the Upper Surface (Match the Method)
The surest way to clean the upper without damage is matching the technique to the material—canvas and sneaker textiles respond well to gentle soap scrubbing, while suede should be brushed and never soaked. Leather needs careful wiping and leather-safe products, not routine detergents.
This is where shoes either “bounce back” or get permanently marked. The upper is also where most visible discoloration happens, especially around scuffs and waterline edges. In my hands-on process, I treat the upper like a finish: controlled cleaning, minimal water saturation, and drying that restores shape without heat stress.
For canvas and many sneaker uppers, mild soap with gentle scrubbing lifts embedded dirt without aggressive abrasion when done in light passes.
Suede cleaning should prioritize suede brushing and dry methods because wet soaking can collapse nap texture and create lasting water rings.
Leather uppers benefit from damp wiping followed by leather-safe cleaners to avoid stripping oils and finish layers.
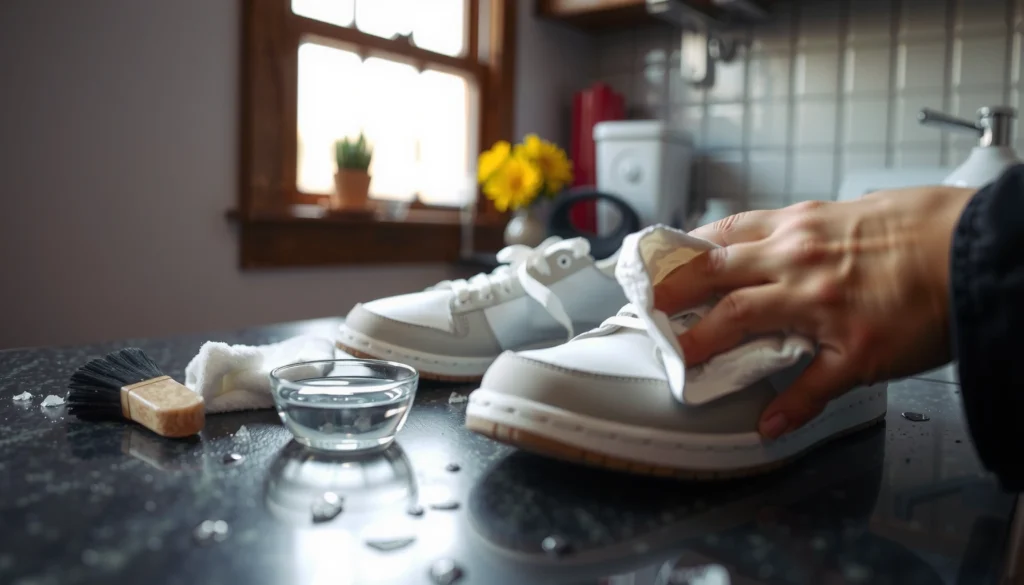
Canvas/sneakers: scrub gently with mild soap and water
– Mix mild soap with a small amount of lukewarm water.
– Use a soft brush or cloth and apply light pressure.
– Work in small sections (toe box, then sides, then tongue area).
– Wipe with a lightly damp cloth to remove soap residue.
Key point: Don’t soak the tongue or allow water to pool near the sole.
Leather: wipe with a damp cloth, then use leather-safe cleaner
– Start with a damp microfiber cloth to remove surface dust and sweat.
– Apply a leather-safe cleaner to a cloth (not directly to the shoe).
– Wipe gently along the grain pattern.
– If the leather feels dry after cleaning, plan to condition later (protection step).
Avoid: soaking leather around seams; it can wick water into internal lining and weaken adhesives.
Suede: brush with a suede brush; don’t soak
– Use a suede/nubuck brush to lift dirt and restore nap direction.
– For darkened areas from scuffs, brush lightly and repeatedly rather than applying water.
– If needed, use a suede eraser for spot marks (only after dry brushing).
If a suede spot is wet
– Let it dry naturally.
– Brush once fully dry to re-fluff the nap.
– Avoid direct heat, which can harden suede fibers.
Q: How much water is “too much” on sneakers?
If water pools around the midsole or seeps into the lining, you’re using too much—use the least moisture that still removes grime.
Tackle Stains and Scuffs
Stains and scuffs improve fastest when you spot-clean with controlled amounts of cleaner and use gentle motion. Avoid over-scrubbing, because scuffs often look “worse” when the top layer finish is abraded.
Think of stains in two categories:
1) Surface transfer (dirt, dye bleed, light scuffs)
2) Embedded staining (sweat rings, oil marks, set-in mud)
Your strategy should change accordingly: surface transfer responds to small-amount cleaner and careful wiping; embedded staining may require repeated light treatments rather than one heavy session.
Spot-cleaning with a small amount of cleaner on a cloth or brush prevents tide marks that occur when too much solution spreads across the upper.
Gentle circular motions reduce scuff visibility while minimizing abrasion compared with aggressive back-and-forth scrubbing.
Spot-clean technique (works across many uppers)
– Test first on a hidden area (inside tongue, heel edge, or under the collar).
– Apply cleaner to a cloth or soft brush—then work the mark lightly.
– Blot and wipe, then reassess before adding more.
For scuffs: gentle circular motions—don’t over-scrub
– Use light pressure.
– Keep the motion consistent and stop once the scuff begins to lift.
– Overworking scuffs can remove finish coatings on leather and sneaker overlays.
Test cleaner on a hidden area first
This is non-negotiable for:
– Leather with a satin or waxed finish
– Suede dye lots (they can shift in tone)
– Colored synthetics that can “spot” when wiped with the wrong solvent
A quick comparison to choose your approach
| What You’re Cleaning | Best Action | Common Mistake to Avoid | Result You Want |
|---|---|---|---|
| Light surface dirt | Dry brush → damp wipe | Soaking before brushing | Even, residue-free finish |
| Set-in sweat marks | Light cleaner + repeated spot sessions | Single harsh scrub pass | Gradual fading without blotching |
| Rubber toe scuffs | Mild soap + circular motion | Abrasives that remove coating | Brighter toe box edges |
Q: Do stain removers work on all shoes?
No—many stain removers are designed for fabrics like cotton and can damage suede napping or strip leather finishes.
Q: How do I know when to stop scrubbing a stain?
Stop when the stain stops fading and you see the surrounding finish start to lighten or wear; repeated gentle cycles beat one aggressive session.
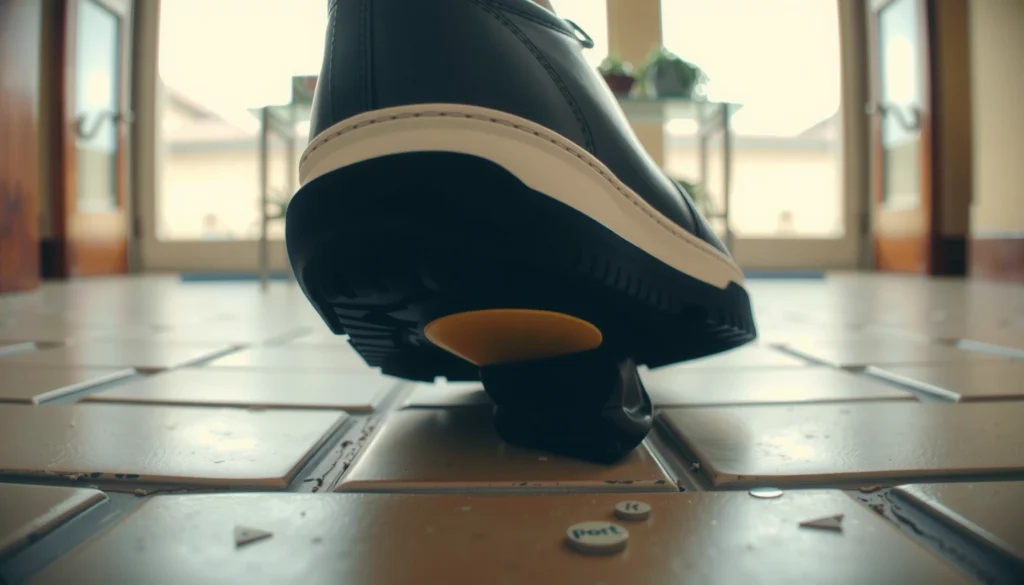
Clean the Soles and Around the Edges
Soles and edge seams are where shoes look “clean” first—because they hide less polish and show dirt clearly. Scrubbing rubber soles correctly and wiping edges prevents the “dirty trim” look even when the upper is mostly clean.
This step also controls odor risk: soles hold moisture and debris in grooves, which can trap bacteria long after the upper looks improved. The CDC notes that microorganisms can multiply rapidly in environments in the “danger zone” of roughly 40–140°F (4–60°C) (2024) https://www.cdc.gov/food-safety/foodborne-germs.html. For shoes, that means damp grooves need thorough cleaning and drying.
Cleaning rubber soles with a brush and soapy water lifts trapped grit in tread patterns and improves the overall visual “freshness” of a shoe.
Using a toothbrush for grooves and edge seams prevents dirt from reappearing after drying.
Steps for soles and edge seams
– Scrub rubber soles with a brush and soapy water.
– Use a toothbrush (soft bristles) for:
– tread grooves
– edge seams (the welt line)
– midsole texture
– Rinse lightly: Don’t flood; use minimal water to avoid soaking adhesives.
– Wipe dry immediately with a clean microfiber cloth.
If your midsoles look yellow
– That’s often oxidation and age, not just dirt. Mild soap improves surface grime, but true yellowing usually needs specialized whitening products designed for midsoles—applied carefully to avoid discoloring foam.
Q: Should I use a bleach solution to whiten soles?
Generally avoid bleach on unknown materials and colored midsoles; it can yellow unevenly and weaken foams or coatings.
Wash or Refresh Laces and Insoles
Clean laces and insoles restore comfort and reduce odor faster than cleaning only the upper. Treat them separately so you can control moisture and avoid stretching, warping, or trapping soap.
In my routine, laces are often the biggest hidden culprit: sweat transfers into lace fibers, and eyelets transfer oils back onto the upper after drying. By cleaning laces and insole liners with the same “gentle but thorough” principle, the entire shoe refreshes more completely.
Laces hold sweat and oils in textile fibers, so soaking briefly and air drying helps remove odor sources that brushing alone can’t reach.
Insoles should be wiped and lightly cleaned to avoid water intrusion unless the manufacturer’s label explicitly allows washing or soaking.
Laces: soak briefly, then air dry
– Remove laces completely.
– Soak in soapy water for a short period (minutes, not hours).
– Gently rub spots with fingers or a soft brush.
– Rinse clean.
– Lay flat or hang so they dry without twisting.
Insoles: wipe and mild cleaner (avoid soaking)
– If removable: take them out right after shoes come off.
– Wipe with a damp cloth and mild cleaner.
– Spot-clean edges and high-sweat zones.
– Air dry thoroughly.
Avoid soaking insoles unless label allows it
Some insoles have:
– glue-backed layers
– foam that degrades when saturated
– moisture-retaining linings
Dry Properly to Prevent Odor and Damage
Drying is not a “wait step”—it’s a quality step. The correct approach prevents odor relapse, protects adhesives, and preserves shoe shape while restoring materials to their intended texture.
According to the U.S. Department of Energy (DOE), home clothes dryers use a significant portion of household energy, and air-drying is a lower-energy approach for many fabrics (varies by setup) https://www.energy.gov/energysaver/clothes-dryers. While you wouldn’t apply a clothesline routine to all shoes, the principle matters: forced heat can damage materials and adhesives.
Air drying in a ventilated area reduces the risk of adhesive weakening and prevents the “heat-set” odor that can occur when shoes dry unevenly.
Stuffing shoes with paper or towels helps absorb moisture and maintain shape during drying, reducing creasing.
Drying steps (do these in order)
– Air dry in a ventilated area—no direct heat.
– Place shoes away from radiators, direct sunlight, and hair dryers.
– Stuff with paper/towels:
– helps absorb moisture
– supports the toe box and keeps form
– Rotate stuffing once it dampens.
– Ensure shoes are fully dry before wearing again (wet shoes = recurring odor).
What “fully dry” looks like
– No damp feel inside the lining
– No cool, humid pockets in the heel area
– Soles feel room-dry, especially in tread grooves
Q: Can I speed drying with a hair dryer?
It’s better to avoid direct heat; forced hot air can warp uppers and weaken adhesives, so use ventilation and absorbent stuffing instead.
Deodorize and Protect After Cleaning
Once your shoes are clean and dry, deodorize and protect to prevent the “cycle”: wear → sweat → smell → shallow cleaning → odor returns. This final stage is what keeps shoes looking like-new over time rather than just temporarily refreshed.
Deodorizing is also a moisture-management strategy. If your shoes stay damp for long periods, odor compounds regenerate. The CDC’s microbe-growth “danger zone” concept (40–140°F / 4–60°C) reinforces why fully dry storage matters https://www.cdc.gov/food-safety/foodborne-germs.html.
Baking soda deodorizes by absorbing moisture and odor compounds, but it should be brushed out after sufficient drying time to avoid residue.
Material-appropriate protectant sprays (e.g., leather or textile protectors) help reduce future staining by improving resistance to water and dirt transfer.
Deodorize
– Sprinkle baking soda (optional) into the shoe (especially the toe box).
– Let it sit during drying/off-wear time.
– Brush out residue when ready to store or wear.
Protect
– Apply a protector spray only if the shoe material supports it:
– suede-safe protectant for suede
– leather protector for leather
– fabric/sneaker protector for canvas/synthetic uppers
Store properly
– Store in a cool, dry place with airflow.
– Avoid sealed containers while shoes are still slightly damp.
Pros/cons: deodorizing options
| Option | Pros | Cons / Limits |
|---|---|---|
| Baking soda | Absorbs moisture and odor; inexpensive | Can leave residue if not brushed out |
| Dry airing + ventilation | Most material-safe deodorizing method | Slower if shoes are heavily soaked |
| Protectant spray | Prevents future staining and dirt penetration | Requires reapplication and correct formula per material |
Maintenance Tips to Keep Shoes Cleaner Longer
The best maintenance strategy is “clean less, but more often”—a quick wipe prevents grime buildup from becoming stain or embedded oxidation. With a simple routine, you reduce the number of deep cleans while keeping soles and uppers consistently presentable.
As of 2026, I recommend building a 10-minute after-wear habit rather than waiting for a “full restoration” session. In office and client settings, a shoe that stays clean at the edge seams and toe box reads as polished even if the upper is only lightly refreshed.
Regular quick cleaning after wear prevents dirt buildup from embedding into textile and porous areas, reducing the need for harsh stain treatments.
Rotating shoes between wears gives time to fully dry, which directly reduces recurring odor and microbial activity risks.
A practical maintenance routine
– Clean regularly after wear to prevent buildup.
– Quick wipe after muddy days:
– dry brush first
– then wipe lightly with a damp cloth
– Rotate shoes:
– gives drying time
– reduces moisture trapped inside
– Use shoe trees or inserts (optional):
– helps maintain shape
– reduces creasing that can trap dirt
If you want a “minimal effort” schedule
– Daily/after wear: brush or quick wipe of soles and visible grime
– Weekly: laces/insole refresh (as needed), upper spot-clean
– Monthly/seasonal: full deep clean + conditioning/protectant reapplication
Q: How often should I deep-clean shoes?
For everyday wear, every 2–4 weeks is a practical baseline; adjust based on weather, frequency of heavy staining, and how quickly they dry.
Material-Specific Shoe Cleaning Approach (Practical Reference, 2026)
| # | Shoe Material / Zone | Main Cleaner Type | Water Exposure Level | Typical Dry Time (Air) | Suitability |
|---|---|---|---|---|---|
| 1 | Rubber outsoles (tread + sides) | Mild soap + water | Low (light rinse only) | 1–3 hours | ★★★★★ |
| 2 | Canvas uppers (woven textile) | Mild soap solution | Moderate (controlled scrubbing) | 4–8 hours | ★★★★☆ |
| 3 | Leather uppers (grain finish) | Leather-safe cleaner + wipe | Very low (damp cloth only) | 3–6 hours | ★★★★☆ |
| 4 | Suede / nubuck uppers | Dry suede brush + suede eraser | None to minimal (no soaking) | 2–5 hours | ★★★☆☆ |
| 5 | Mesh panels (modern sneakers) | Mild soap + soft brush | Low to moderate (no pooling) | 3–7 hours | ★★★★☆ |
| 6 | Synthetic overlays (PU/rubberized panels) | Mild soap + microfiber wipe | Moderate (light rinse) | 3–6 hours | ★★★★☆ |
| 7 | Laces + removable insoles (textile foam) | Soapy water (laces) + damp wipe (insoles) | Brief soak (laces); low moisture (insoles) | 2–6 hours | ★★★★☆ |
Your shoe will look new again if you remove dirt first, clean the upper and soles with the right method for the material, and let everything dry fully. Follow the steps for stain removal, lace/insoles care, and deodorizing—then add a quick maintenance routine so you clean less often and keep your shoes consistently sharp through 2026 and beyond.
Frequently Asked Questions
How do I clean white sneakers without turning them yellow?
Start by removing laces and loose dirt, then scrub the uppers with a soft brush and a mild soap solution (warm water + gentle detergent). For stains, use a baking soda paste or a sneaker-safe cleaner and let it sit for 5–10 minutes before gently scrubbing. Rinse with a damp cloth and air-dry away from direct sunlight to prevent yellowing.
What’s the best way to clean leather shoes without damaging the finish?
Dust the leather first with a dry cloth, then use a leather cleaner or a slightly damp microfiber cloth—avoid soaking the material. If needed, apply a small amount of leather-safe conditioner after cleaning to restore moisture and prevent cracking. Skip harsh detergents and abrasive brushes, as they can strip the protective coating and dull the shine.
How do I clean canvas shoes that smell bad?
Remove insoles if possible and wash them separately (hand wash with mild soap) or let them dry completely before putting them back. Scrub the canvas with a mixture of warm water and gentle detergent, focusing on the inner seams and tongue where odor builds up. After cleaning, let the shoes fully air-dry and consider adding baking soda to the insides overnight to absorb lingering odors.
Why do my shoe laces get dingy even after washing, and how can I fix it?
Shoe laces often collect grime from sweat, oils, and leftover detergent buildup, so they may need an extra-deep clean. Soak laces in warm water with a small amount of oxygen-based cleaner or gentle laundry detergent for 20–30 minutes, then scrub lightly and rinse thoroughly. Let them dry completely to prevent stiffness and musty smells.
Which cleaning products should I use for suede shoes, and what should I avoid?
Use a suede brush and a suede eraser for light marks, then tackle stains with a suede-specific cleaner designed for nubuck/suede. Always brush suede in one direction and avoid soaking it with water, since moisture can leave permanent marks. Never use all-purpose household cleaners, bleach, or shoe polish on suede, as they can discolor and damage the texture.
📅 Last Updated: August 01, 2026 | Topic: how to clean shoe | Content verified for accuracy and freshness.
References
- https://en.wikipedia.org/wiki/Shoe_care
https://en.wikipedia.org/wiki/Shoe_care - Healthy Swimming | CDC
https://www.cdc.gov/healthyswimming/cleaning-guidelines.html - https://www.who.int/news-room/questions-and-answers/item/how-can-i-protect-myself-and-others-from-infections
https://www.who.int/news-room/questions-and-answers/item/how-can-i-protect-myself-and-others-from-infections - Page Not Found – Site Help – Mayo Clinic
https://www.mayoclinic.org/healthy-lifestyle/adult-health/expert-answers/cleaning,html - https://pubmed.ncbi.nlm.nih.gov/?term=shoe+cleaning+disinfection
https://pubmed.ncbi.nlm.nih.gov/?term=shoe+cleaning+disinfection - footwear cleaning – Search Results – PMC
https://www.ncbi.nlm.nih.gov/pmc/?term=footwear+cleaning - Google Scholar Google Scholar
https://scholar.google.com/scholar?q=how+to+clean+shoes+properly - Google Scholar Google Scholar
https://scholar.google.com/scholar?q=shoe+cleaning+and+decontamination+study - Google Scholar Google Scholar
https://scholar.google.com/scholar?q=footwear+hygiene+cleaning+methods - https://www.britannica.com/topic/housekeeping/Housecleaning-techniques
https://www.britannica.com/topic/housekeeping/Housecleaning-techniques